DIY Floating Shelves
When I first saw the plans for these Shanty 2 Chic Floating Shelves, I was instantly in love! I absolutely adore inexpensive projects that look great, and that are easy to make. These shelves were about $15 apiece to make, and I am so happy with how they turned out!
Supply List for 3 Shelves
1 – 1″ x 10″ x 8′ pine or whitewood board
2 – 2″ x 3″ x 8′ pine or whitewood board
1/4″ hardwood plywood material
3 – 1″ x 4″ x 6′ select pine or whitewood boards
brad nailer
Kreg Jig (optional and totally recommended)
2.5″ pocket hole screws
3.5″ torx or wood screws
stain of your choice
Before this project, we had a sad lonely wall in our master bathroom that I was so unsure of what to do with. It’s not a very wide wall, so every piece of furniture I tried to put there was just too large. We needed a little bit of extra storage, so when I saw these easy DIY shelves, I knew they were the perfect solution!

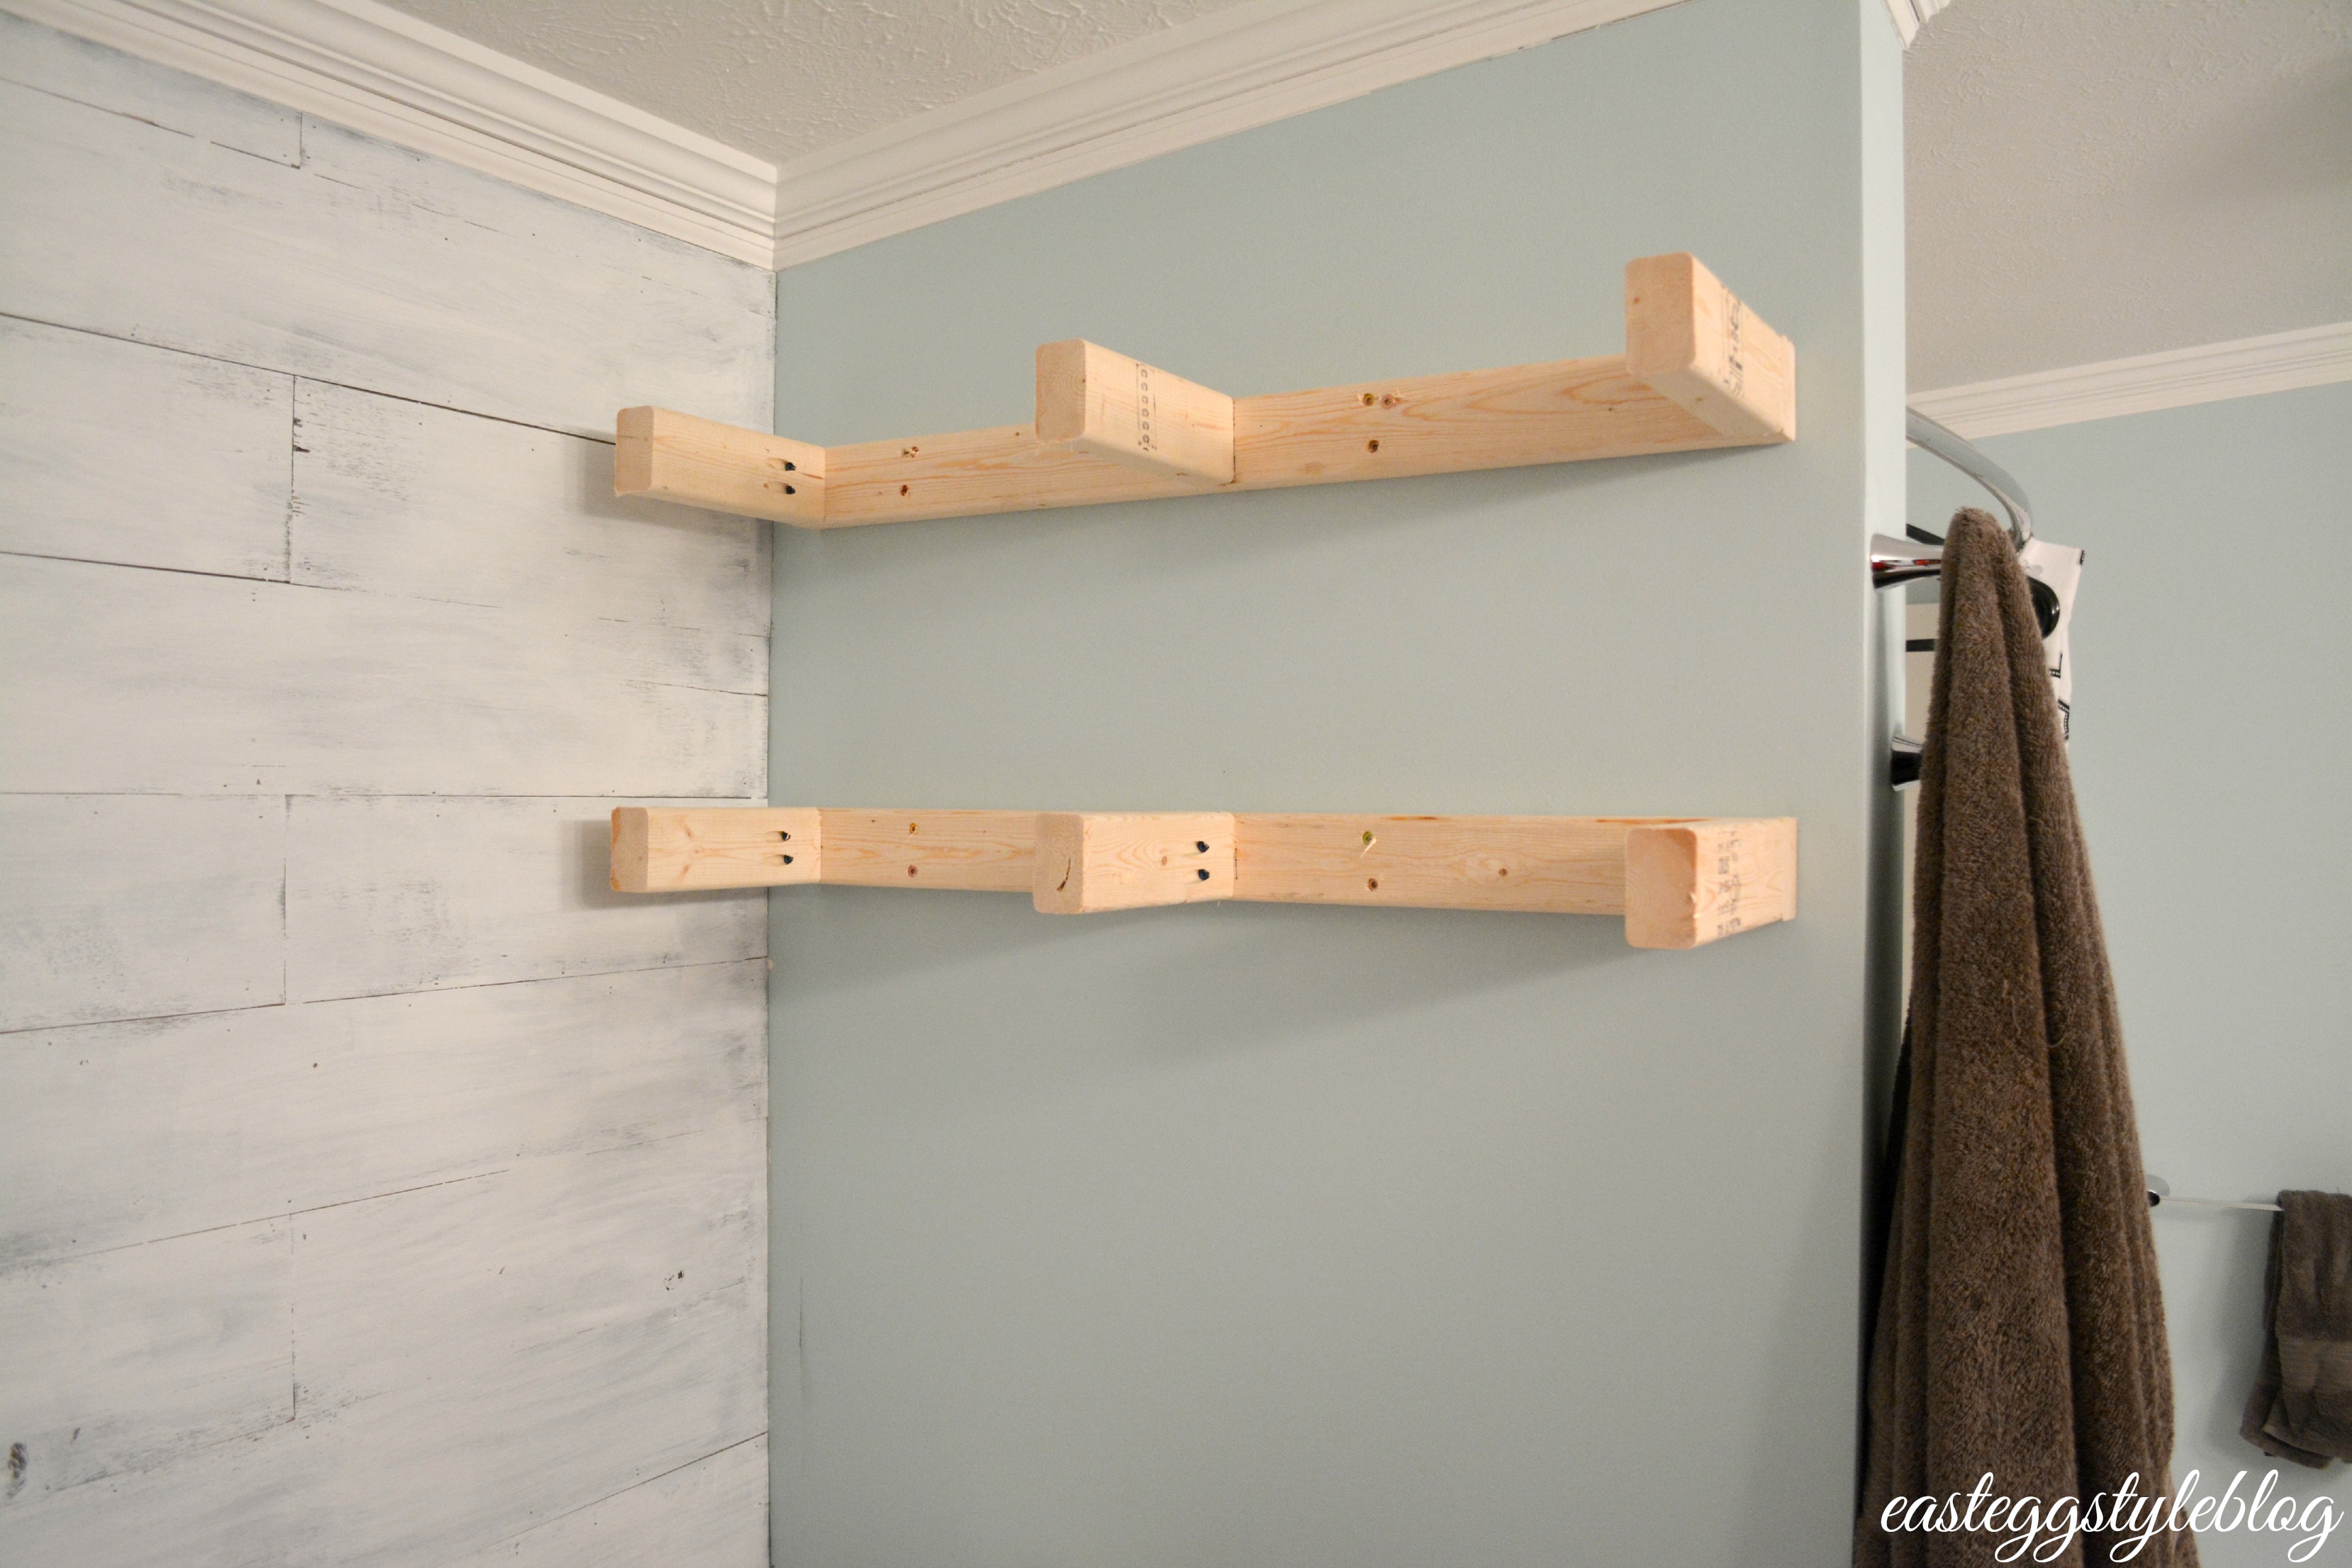
In order to make these shelves, Sam and I first took our 2x3x8′ boards and cut the first piece into two 32″ boards (this will leave you with one 7 3/4″ board). We then took the second board and cut one more 32″ board, and then cut 8 more 7 3/4″ boards out of the remaining wood. Shanty 2 Chic’s plans may be helpful if you are at all confused with these measurements. These pieces will be used to build the bases as pictured below.
It’s very important to make sure that your shelves are level before you screw anything into the wall. As soon as you are sure everything is correct, you will need to find studs in your wall, and then use your 3.5″ torx or wood screws to fasten each shelf base into the wall.

As soon as our bases were secured to the wall, we took our 1x10x8″ board and cut it down into three 32″ long pieces. These were used for the tops of the shelves.
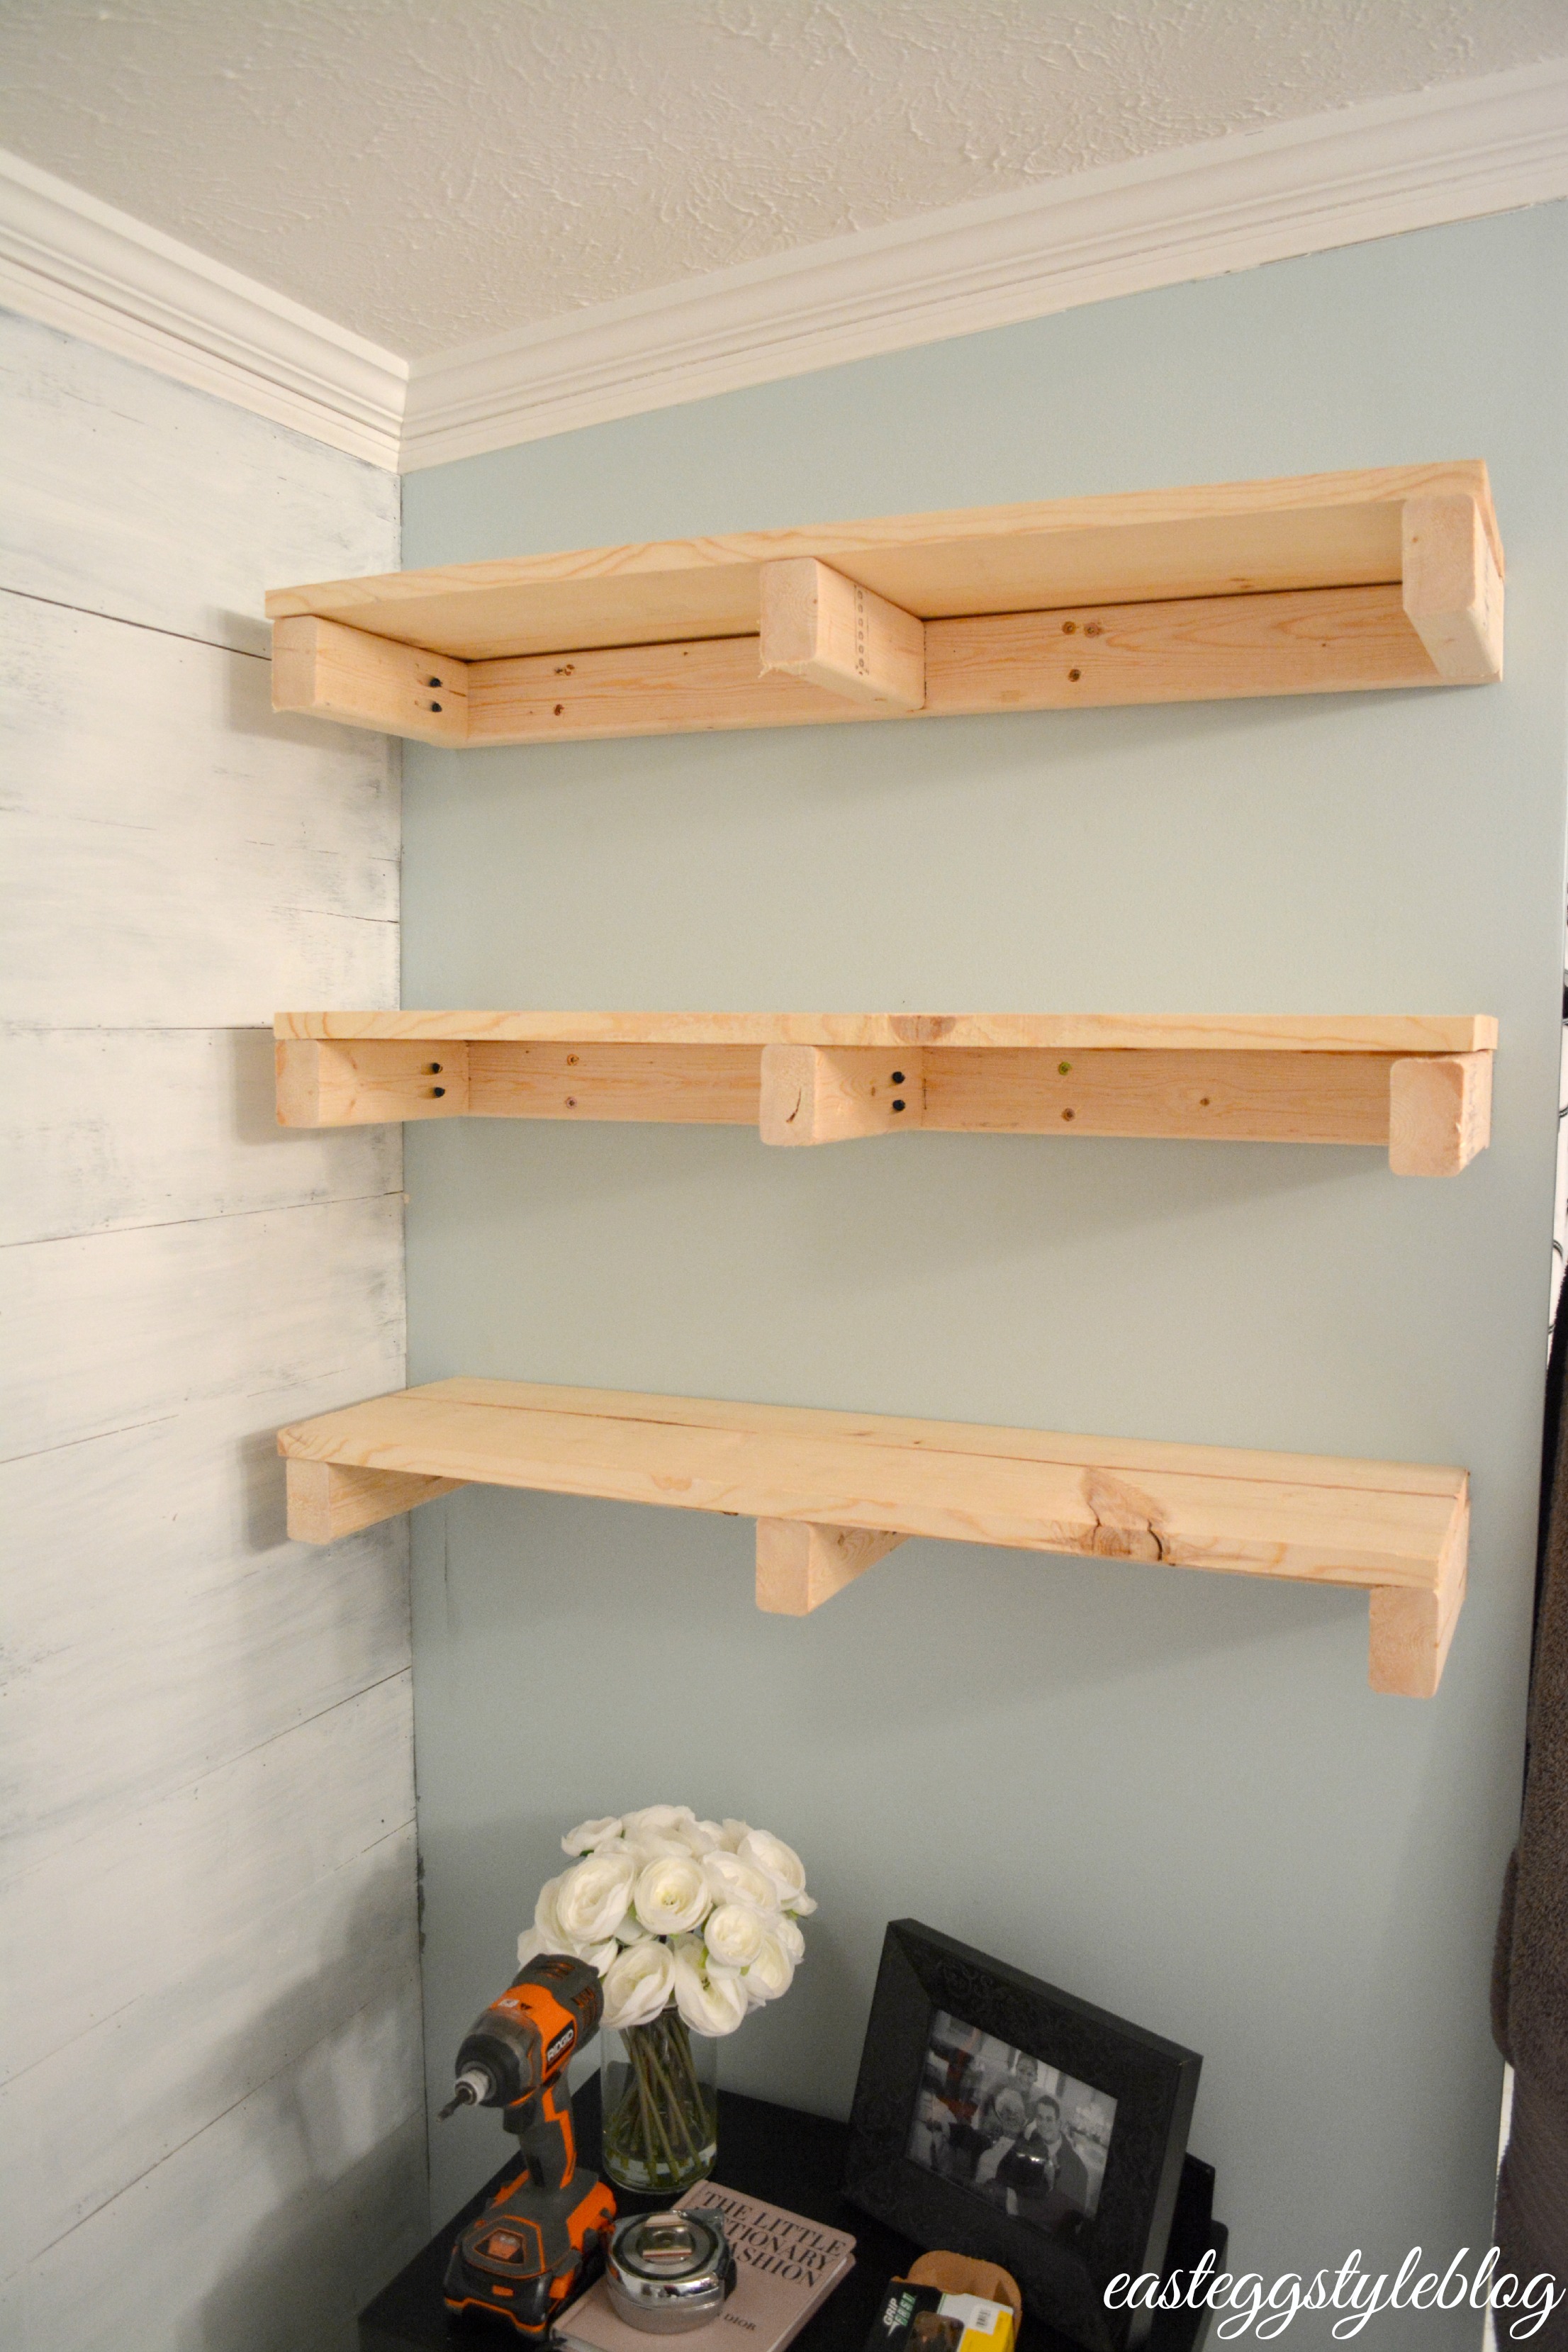
Next, it was time to add the bottoms. We took our piece of 1/4″ plywood, and cut it into three pieces that are 32″ long by 9 1/4″ wide. This next step is where Sam and I deviated from Shanty 2 Chic’s plans a bit. They recommend using wood glue and 1 1/4″ brad nails to secure the tops and bottoms, but we used an air gun instead. I did have to fill a few small holes with wood filler before staining, but they were extremely small, and there weren’t too many of them. This step just comes down to personal preference – either way will work just fine.

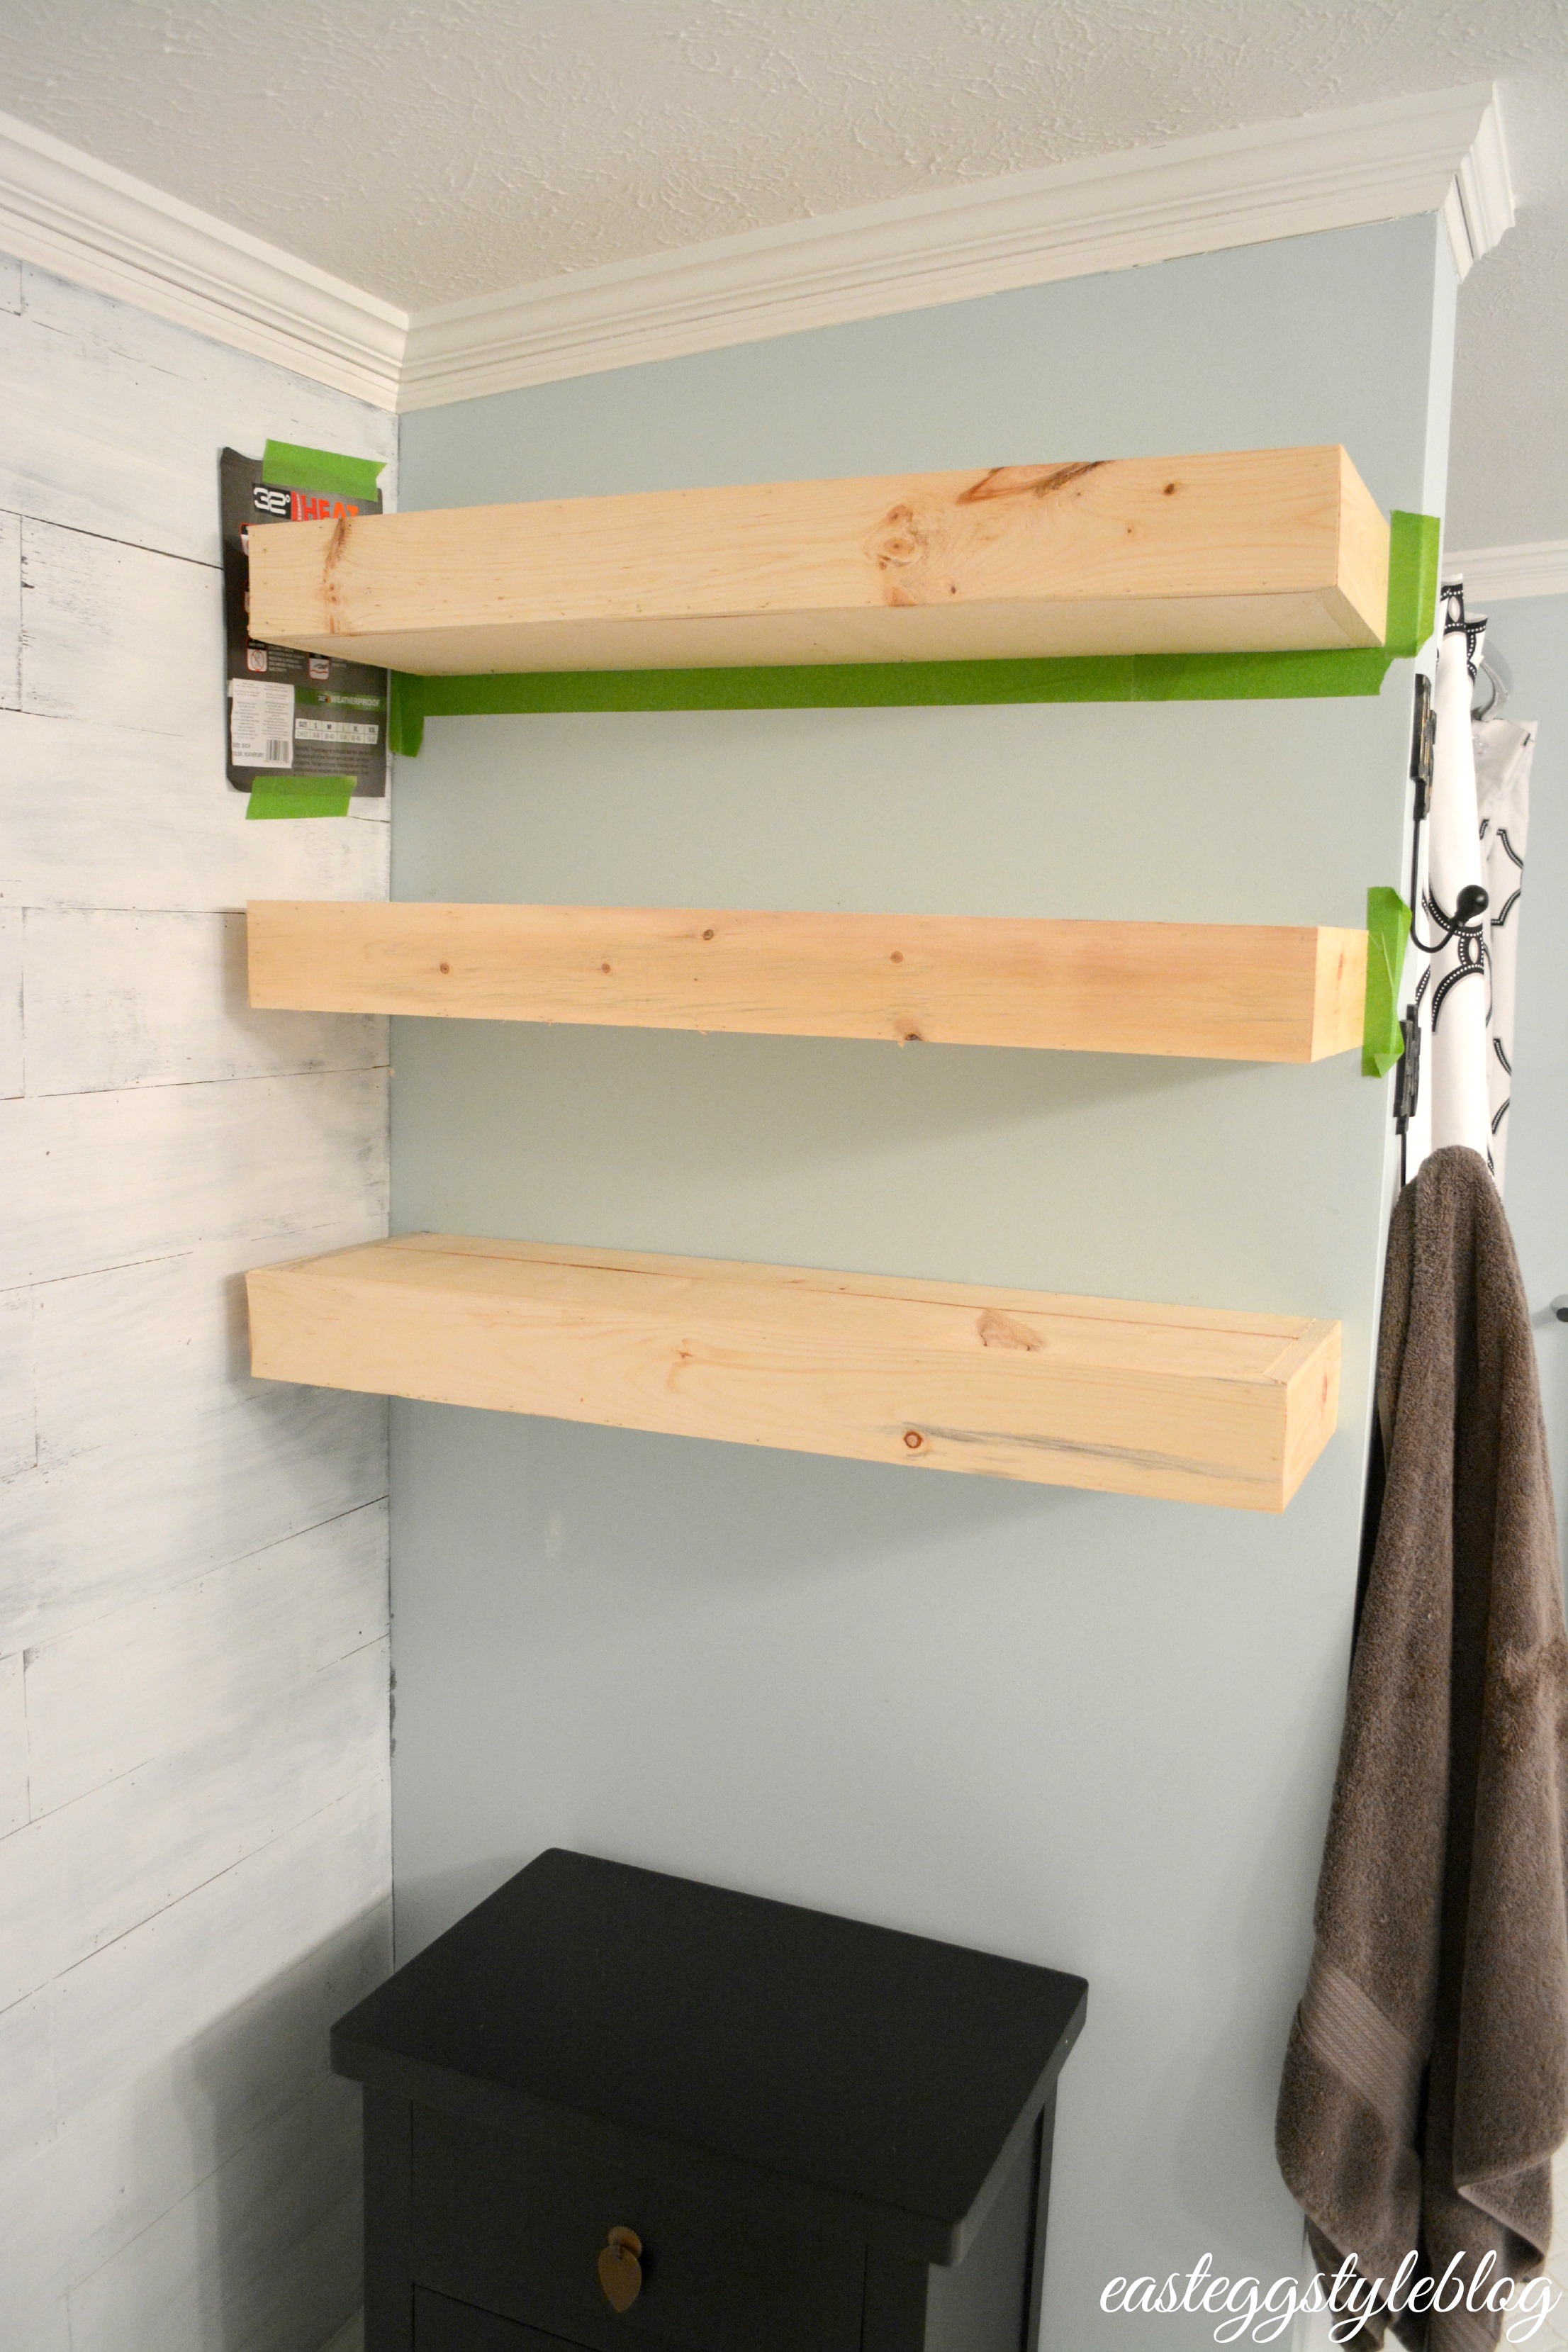
We then took our three 1x4x6″ boards and cut two of them in half (so you end up with four 33 1/2″ boards). The third board needs to be cut up into six 9 1/4″ boards (you will end up with a small amount of scrap wood with this piece).
We deviated from Shanty 2 Chic’s plans again a little bit here. Rather than leaving the edges flat, Sam cut 45 degree angles so that the corners fit together. This is not necessary, and it will change up the measurements slightly. We just liked the look of this better, but again, it’s totally personal preference.
We used clamps to keep everything fitting tightly together, and used our air gun again to tack everything down.

 As soon as our shelves were in place, my husband sanded everything down to ensure a smooth surface.

I then taped off around the shelves, and used grey stain by Minwax to get the desired color. 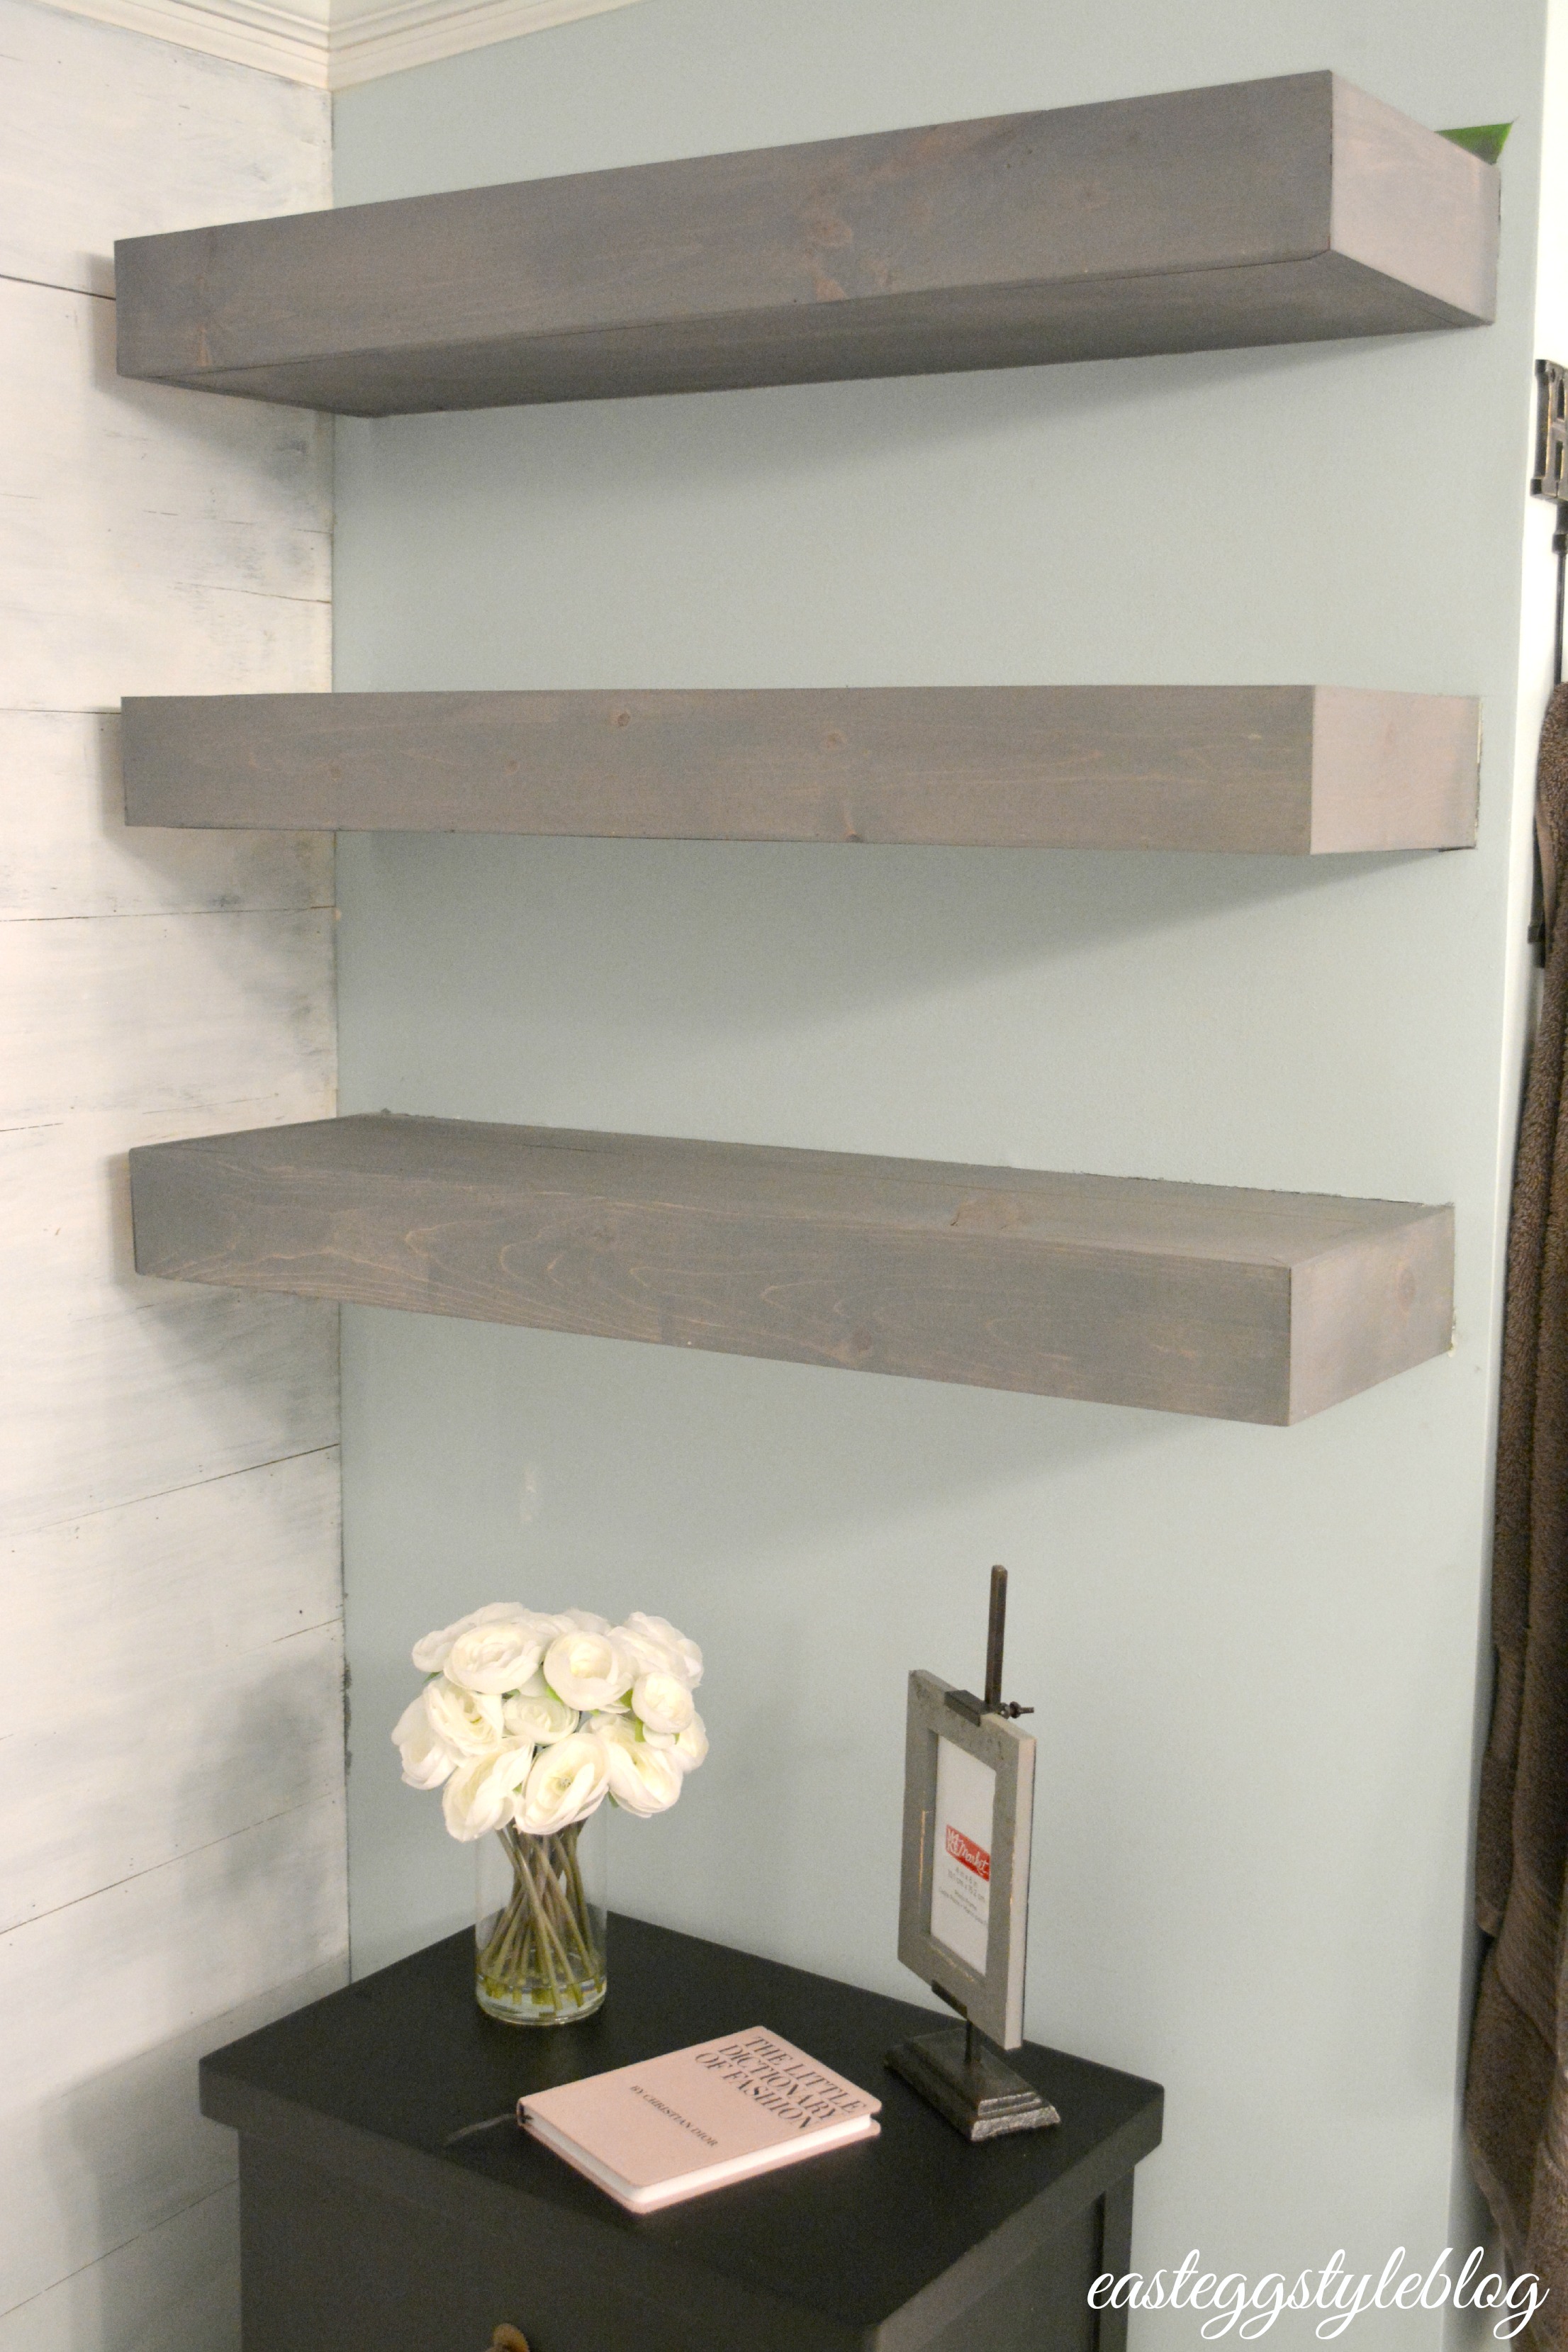
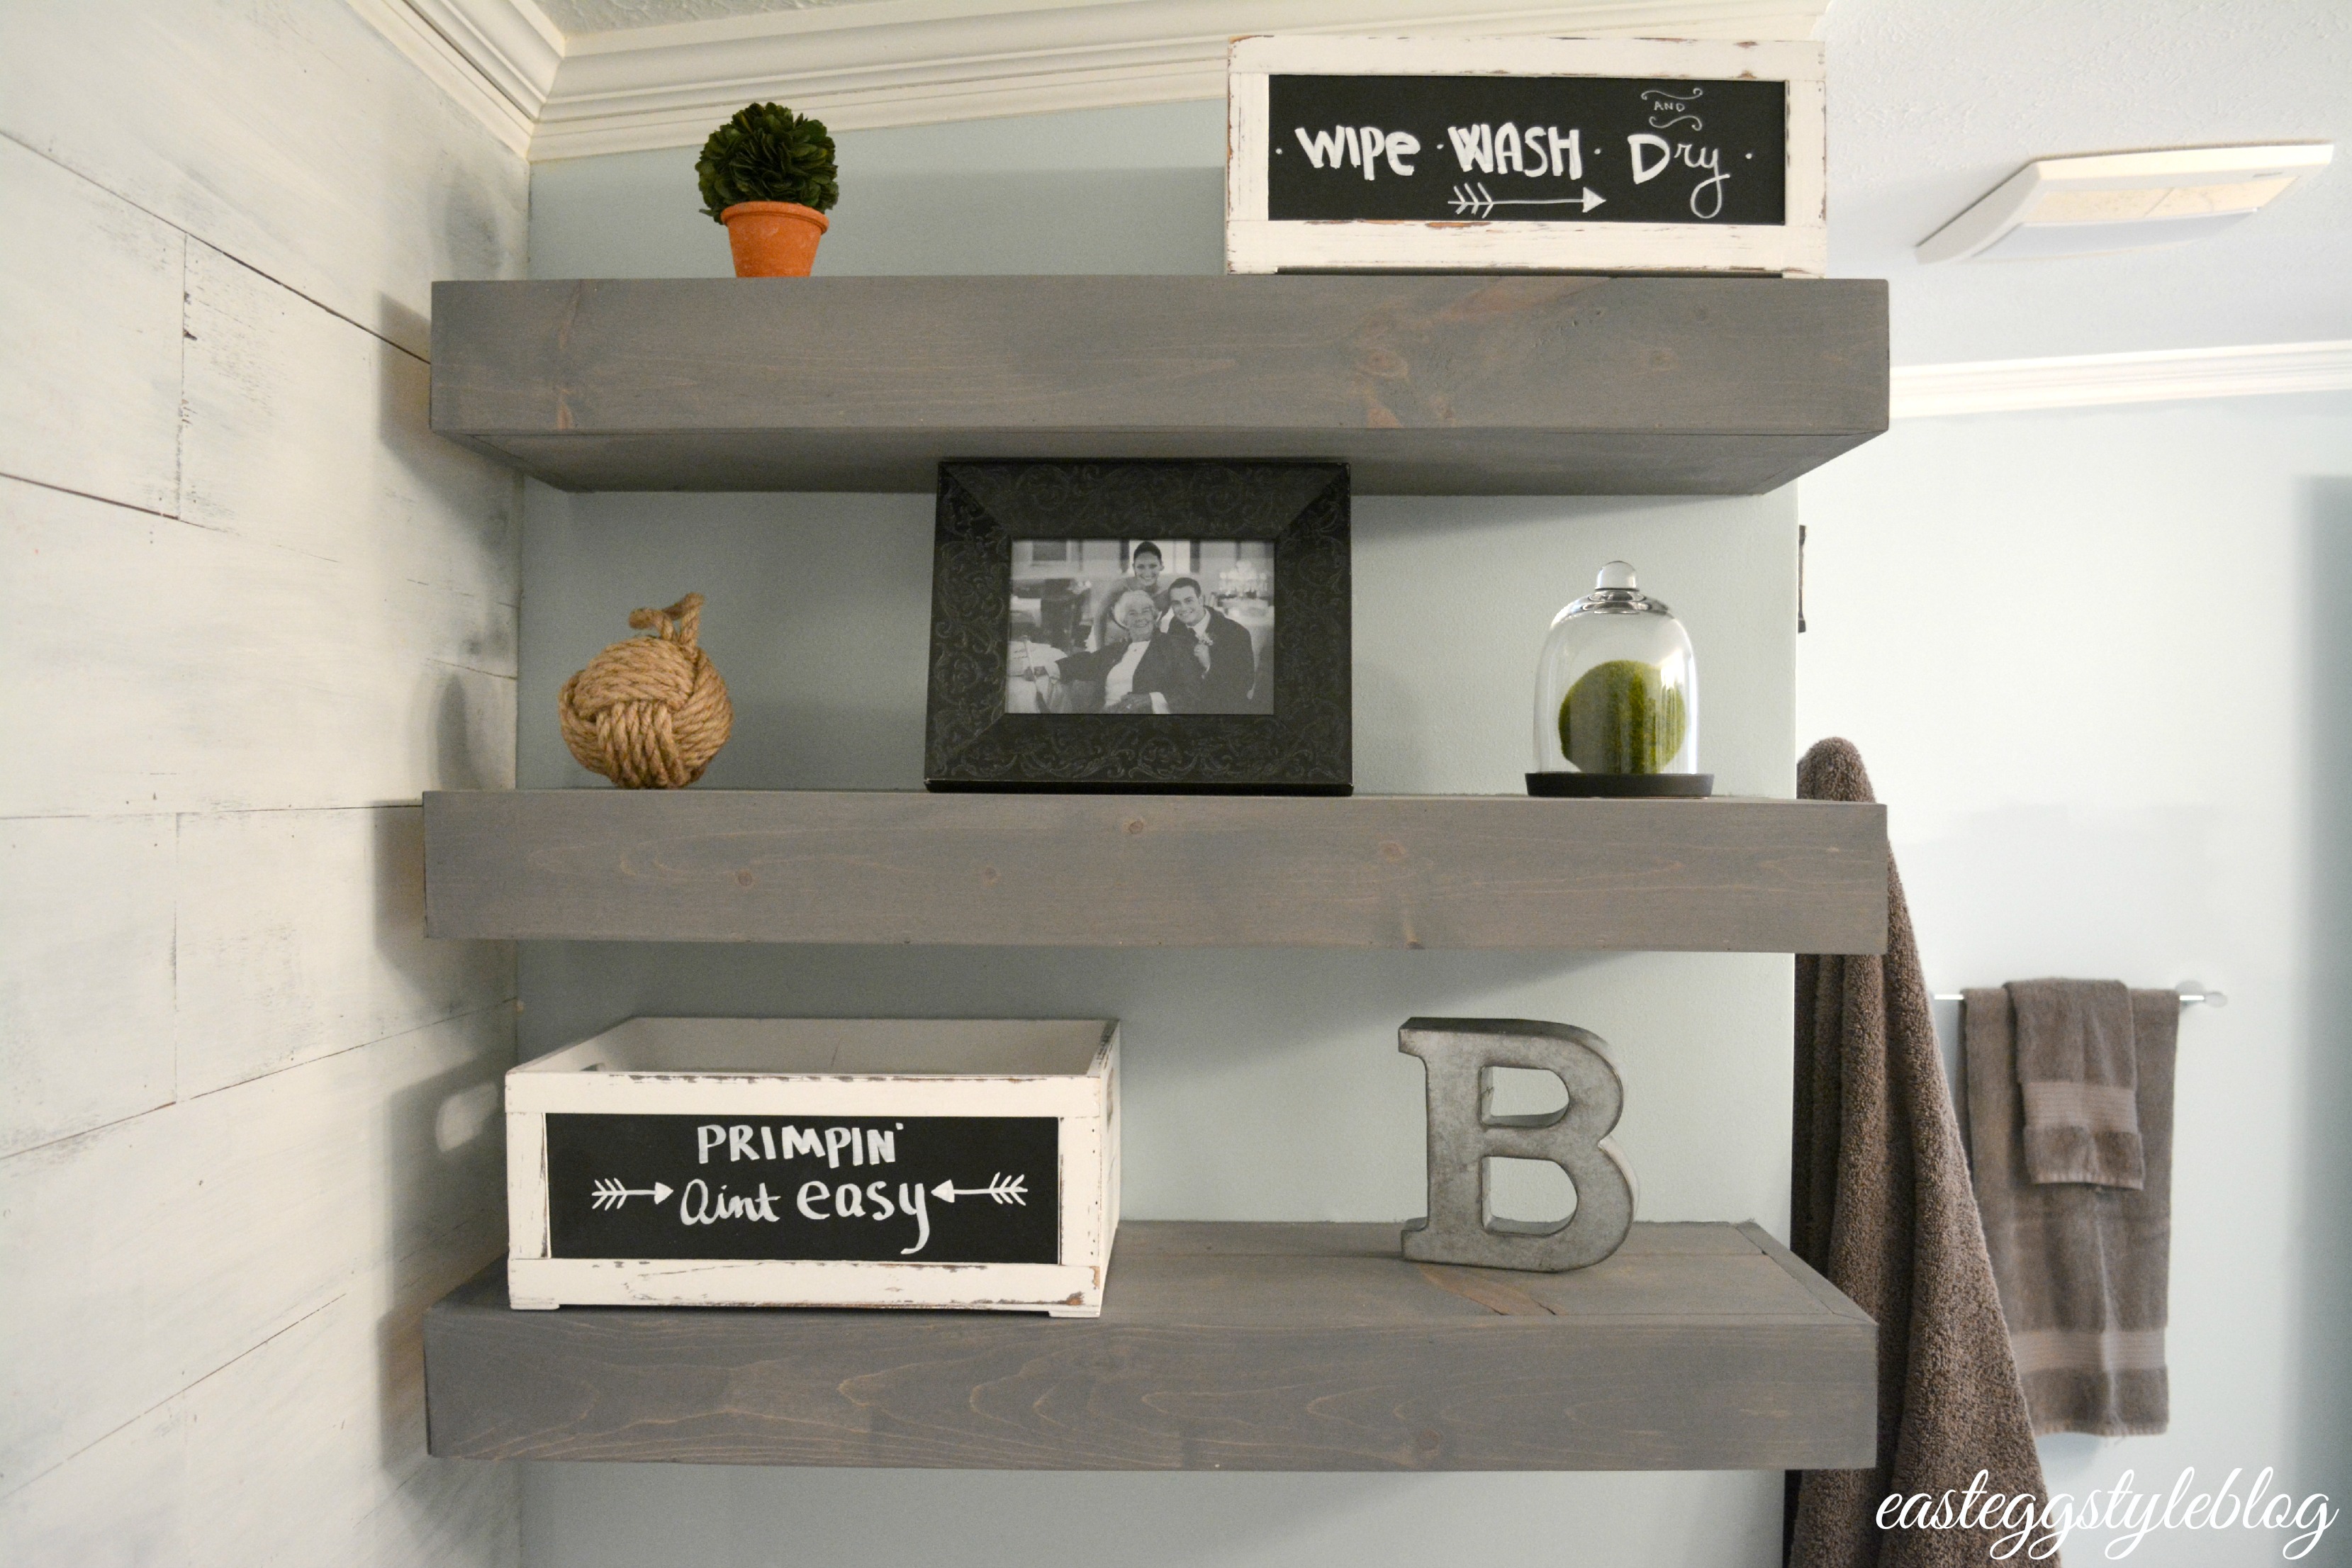
After the stain was dry, I was able to complete my favorite part of the project – styling the shelves!

Thanks so much for checking out how we made our floating shelves! Be sure to check out Shanty 2 Chic’s blog as well for other fun projects – they have a ton of neat ideas!
If you don’t already follow me on Instagram, head on over and look me up (@aaragonaburns) to see the rest of our crazy projects – we are always up to something new!
Love these!! Great job!!
LikeLike
Thank you so much!!! ❤️
LikeLike
Looks great but why do you paint after you hang?
LikeLike
Thanks! I stained the wood after I hung each shelf because sometimes different pieces fit in better one way rather the other, and I didn’t want to waste stain by staining all sides of each piece. I also wanted to fill any holes I created before staining. I suppose you could do it either way, it’s just personal preference.
LikeLiked by 1 person