Bye Bye Builder Grade Bathtub
When we first built our home a year and a half ago, we settled on builder grade bathtubs because, well, they were in budget. Even though I hated them, I knew that I could dress them up later. If you also have these large white monstrosities in your home, and you hate them as much as I do, then this might be the perfect project for you! I first found a tutorial for using AirStone on Lovely Crafty Home’s Blog. I loved how her bathtub turned out, so I decided to give it a try myself! I did find a few tips and tricks that were not mentioned in her blog, so I will walk through my experiece completing![]() this project.
this project.
I think the best part about this DIY was that I was able to do this one completely![]() on my own! Though I love that Sam helps me with most of our projects, (I am extremely lucky and grateful that he loves helping me with my long list of DIYs…ok, maybe not loves – but he always has a smile! ;)…) it was nice to do this one all by myself. Sam did help me chisel around the woodwork, but I did everything else by myself. The total cost on this project was $66.34 – not too bad for the huge impact it made in our master bathroom! I. AM. IN. LOVE.
on my own! Though I love that Sam helps me with most of our projects, (I am extremely lucky and grateful that he loves helping me with my long list of DIYs…ok, maybe not loves – but he always has a smile! ;)…) it was nice to do this one all by myself. Sam did help me chisel around the woodwork, but I did everything else by myself. The total cost on this project was $66.34 – not too bad for the huge impact it made in our master bathroom! I. AM. IN. LOVE.
SUPPLIES
– One box of AirStone (I used Spring Creek)
– Chop Saw (you can use a hack saw on this stone if you don’t have a chop saw)
-2 tubes of PL Premium Construction Adhesive


Due to the fact that our house is new construction, we have noticed some cracks/imperfections developing because of settling. You can see in the picture below where it was time to re-caulk around the tub. Sam was thrilled that he got out of doing this job (he is a caulking pro!) because the AirStone covered all of this up. 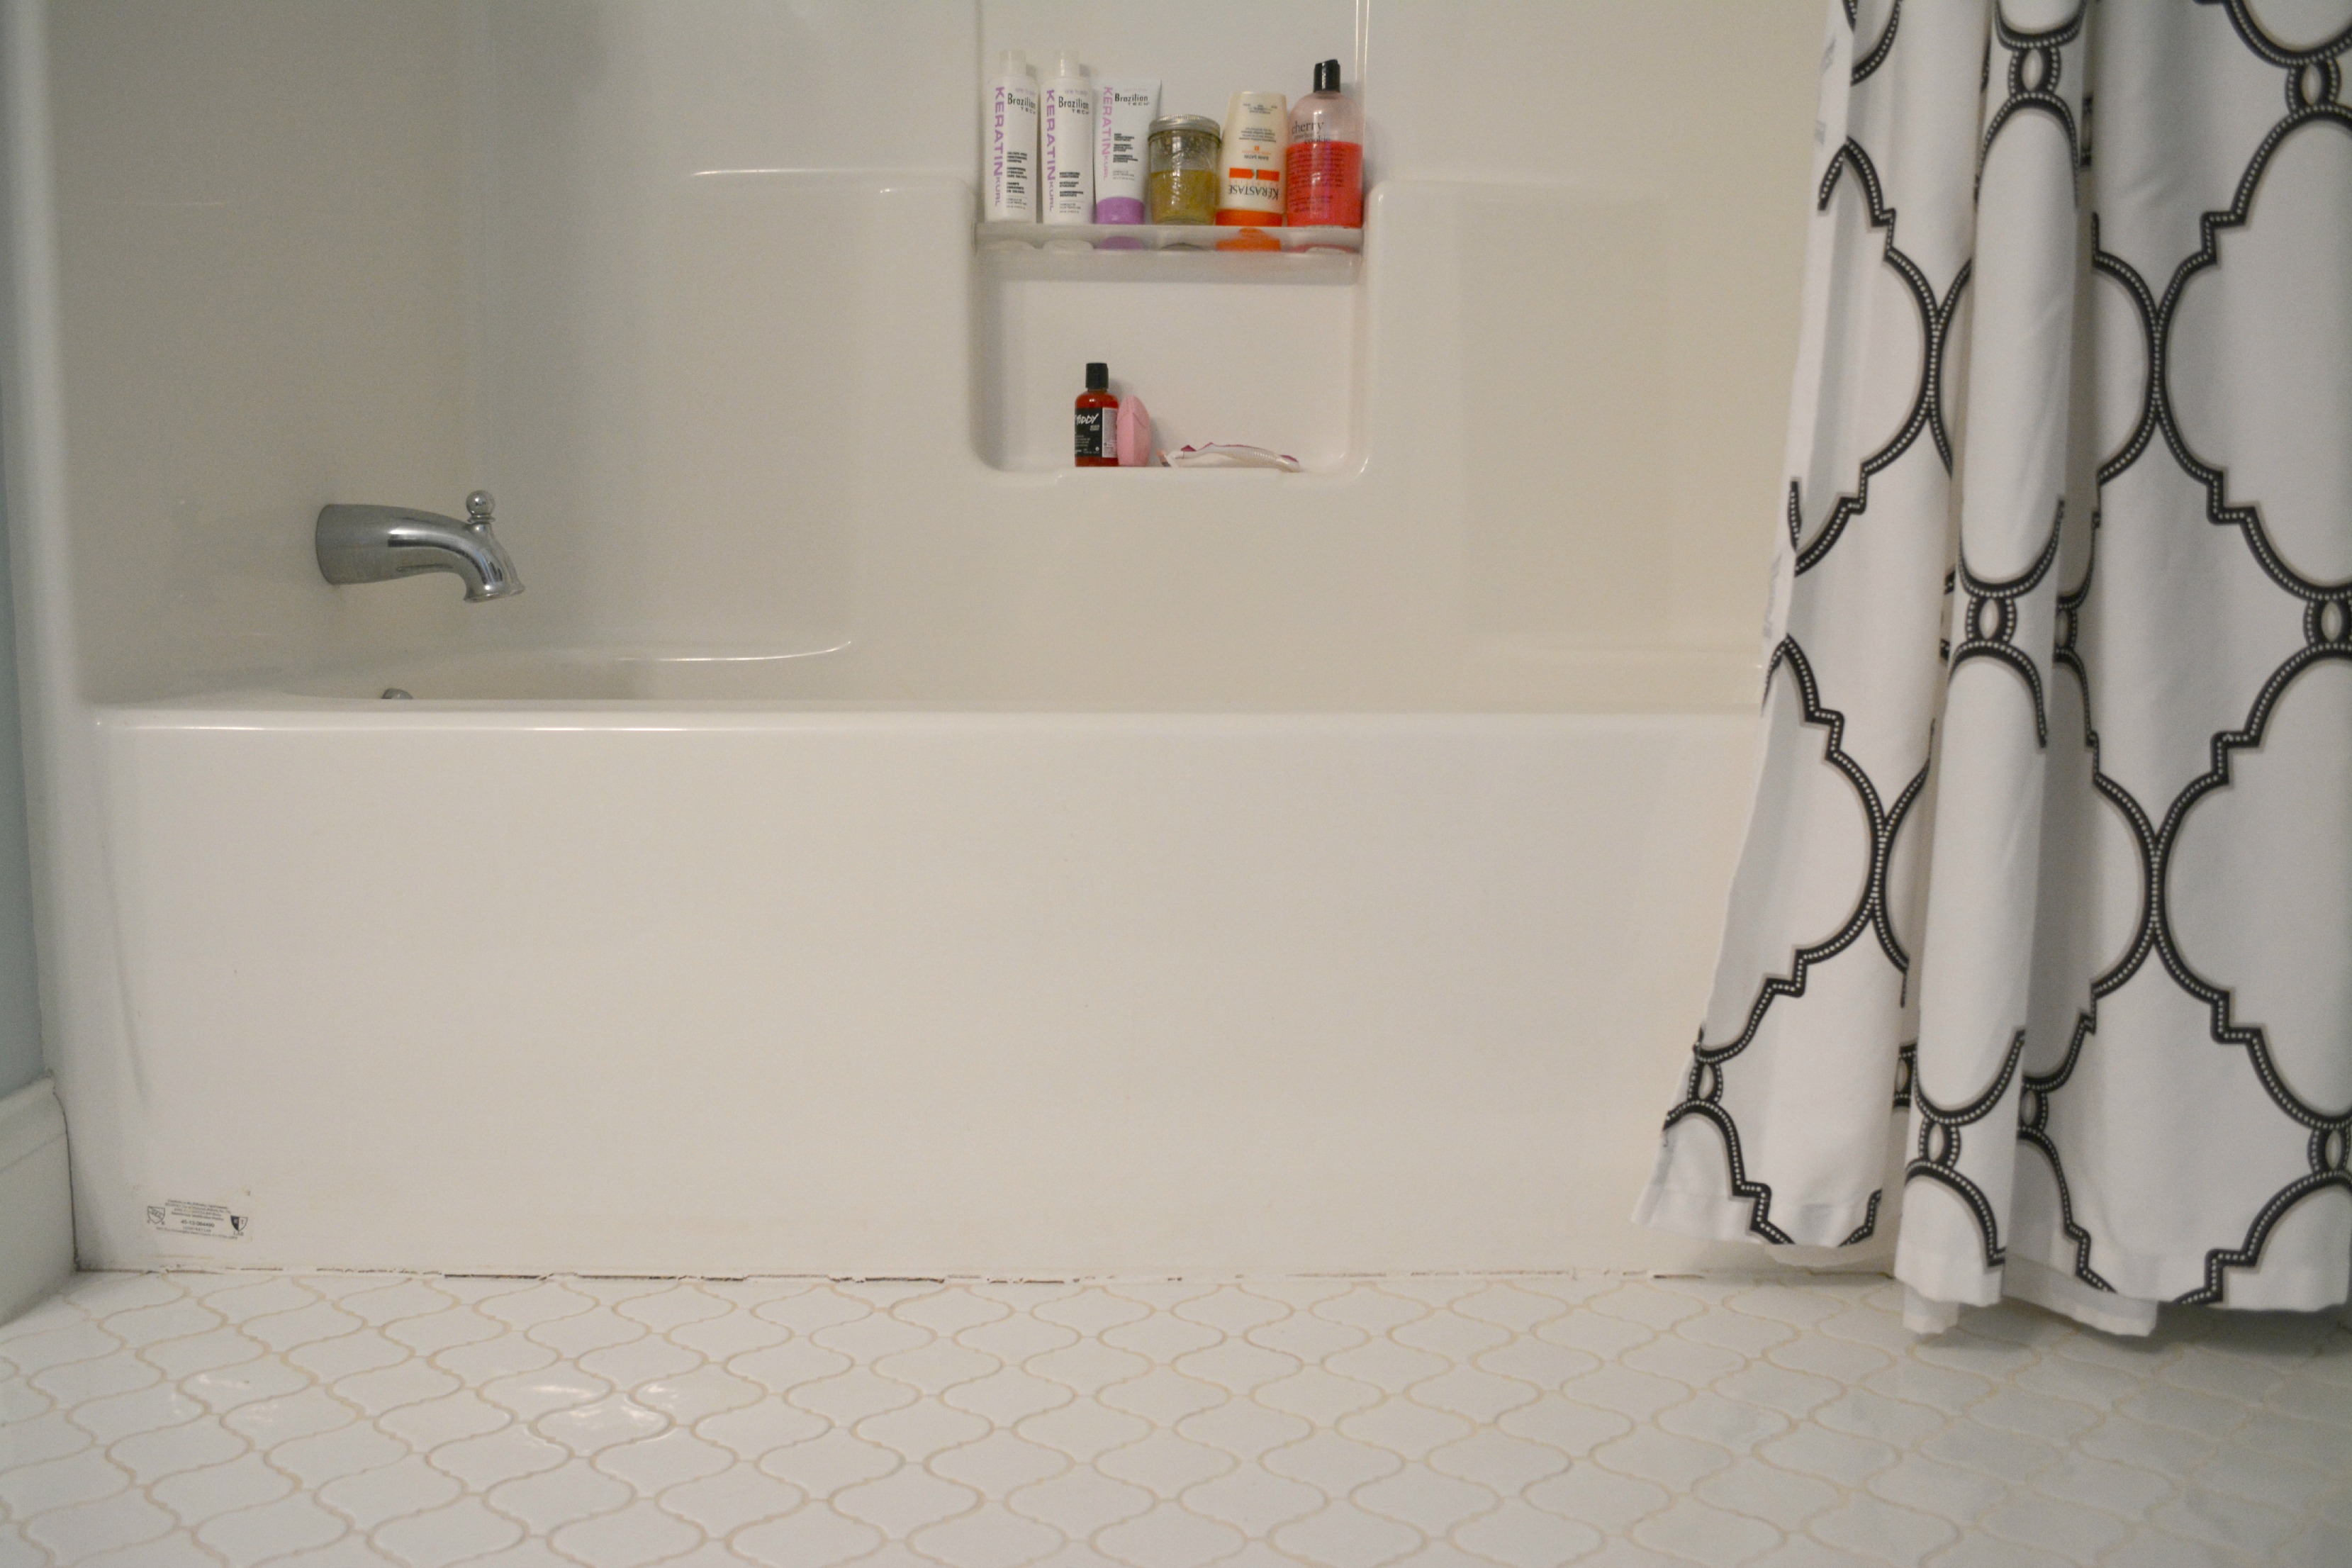
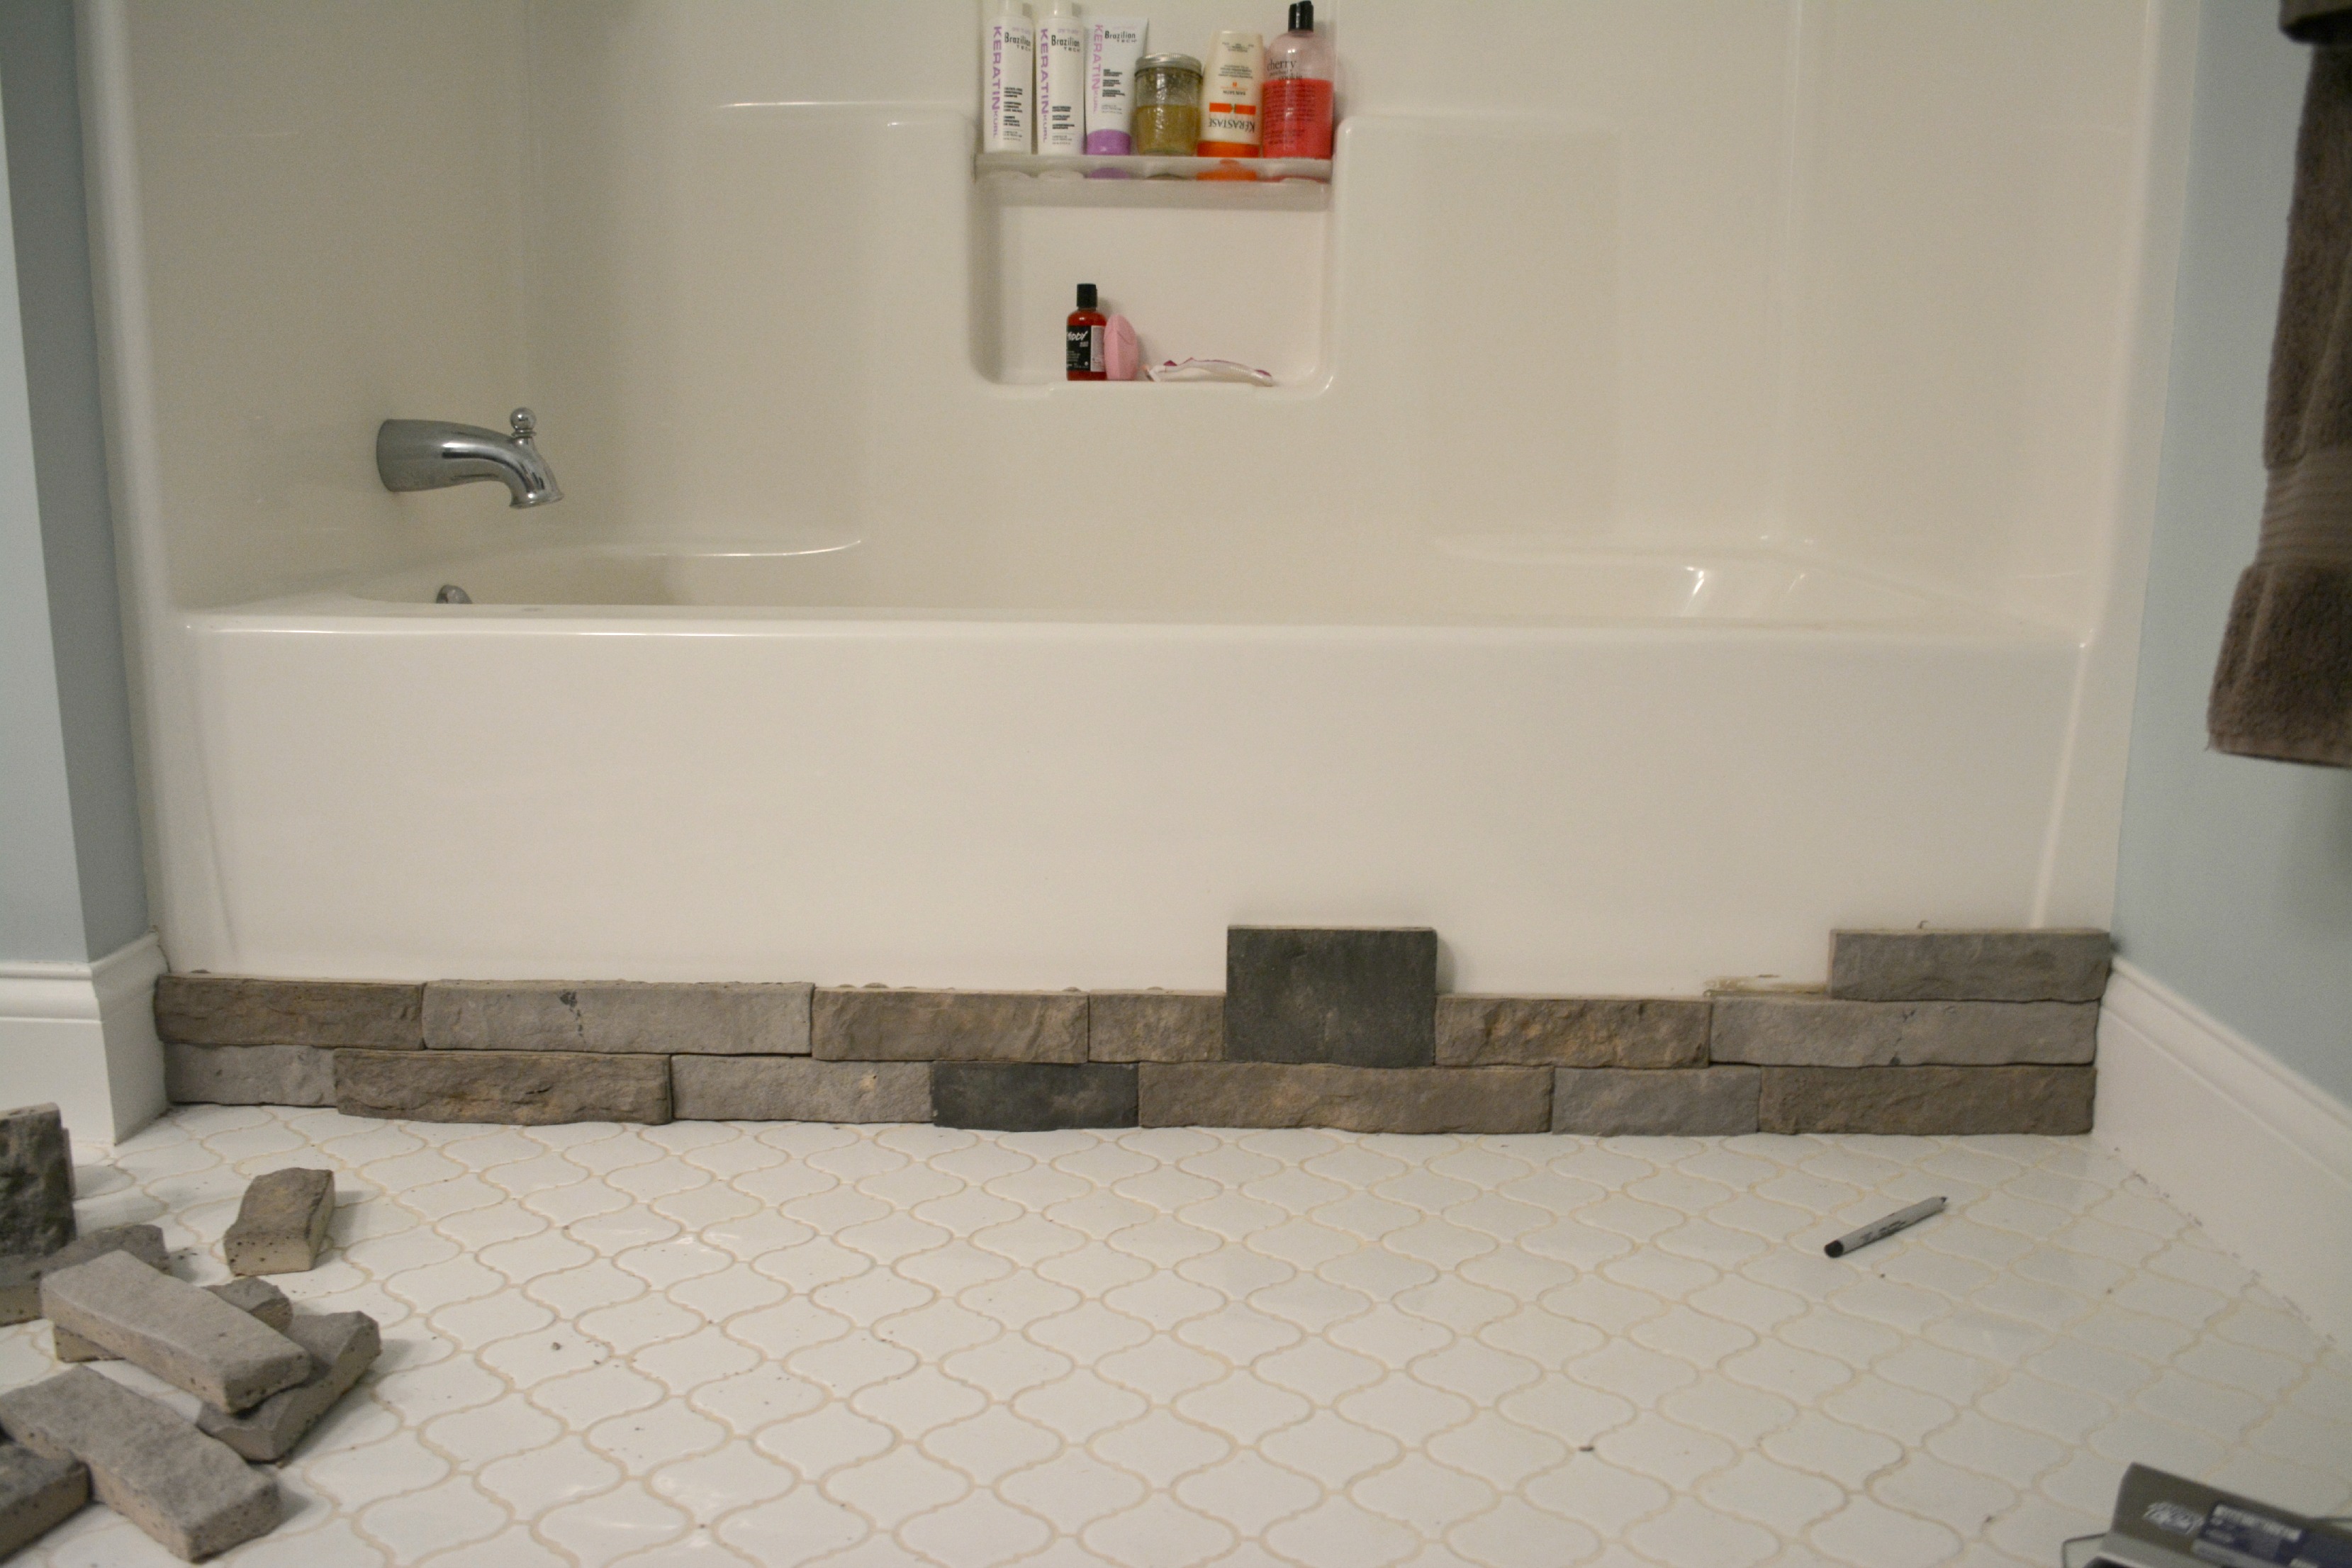
When you open your box of AirStone, you will notice that there are different colors of stone, each separately packaged. I laid out every piece before I started gluing anything so that I could see exactly what I was working with. It’s important to start from the outside of the tub and work your way in so that you don’t end up with a bunch of small pieces on the ends. I used the chop saw to make any cuts that needed to be made – I only made about 10-12 cuts throughout the whole project.
When applying the adhesive, be sure to apply generously. If it oozes out the sides a little, that is ok because the next piece of stone will cover it. I used about a tube and a half of adhesive on this project.
You can see in the image below that I had intended to use a large piece next to the two smaller ones on the far left. The piece I had in the color I wanted just wasn’t lining up correctly. The top is the most important because you will need to maintian a straight line – you won’t want any jagged edges. You can see how I lined things up and moved different pieces around in the far right. This project is a bit like a puzzle – you will have to just move different stones around until you get the look you want. Though I had read that this project took two boxed of AirStone, I was determined to make one work (it was actually fairly easy to do, I just had to make a few extra cuts), and I even had several pieces left over. 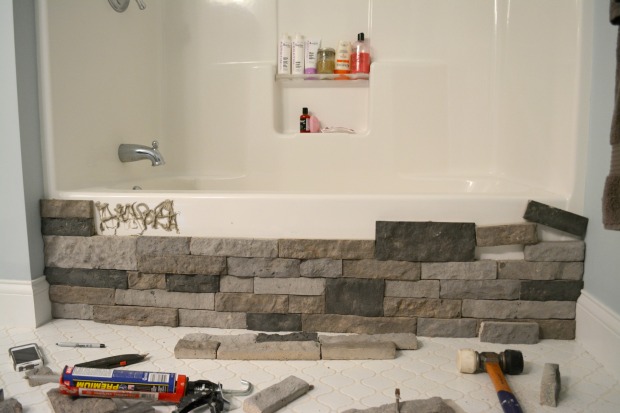
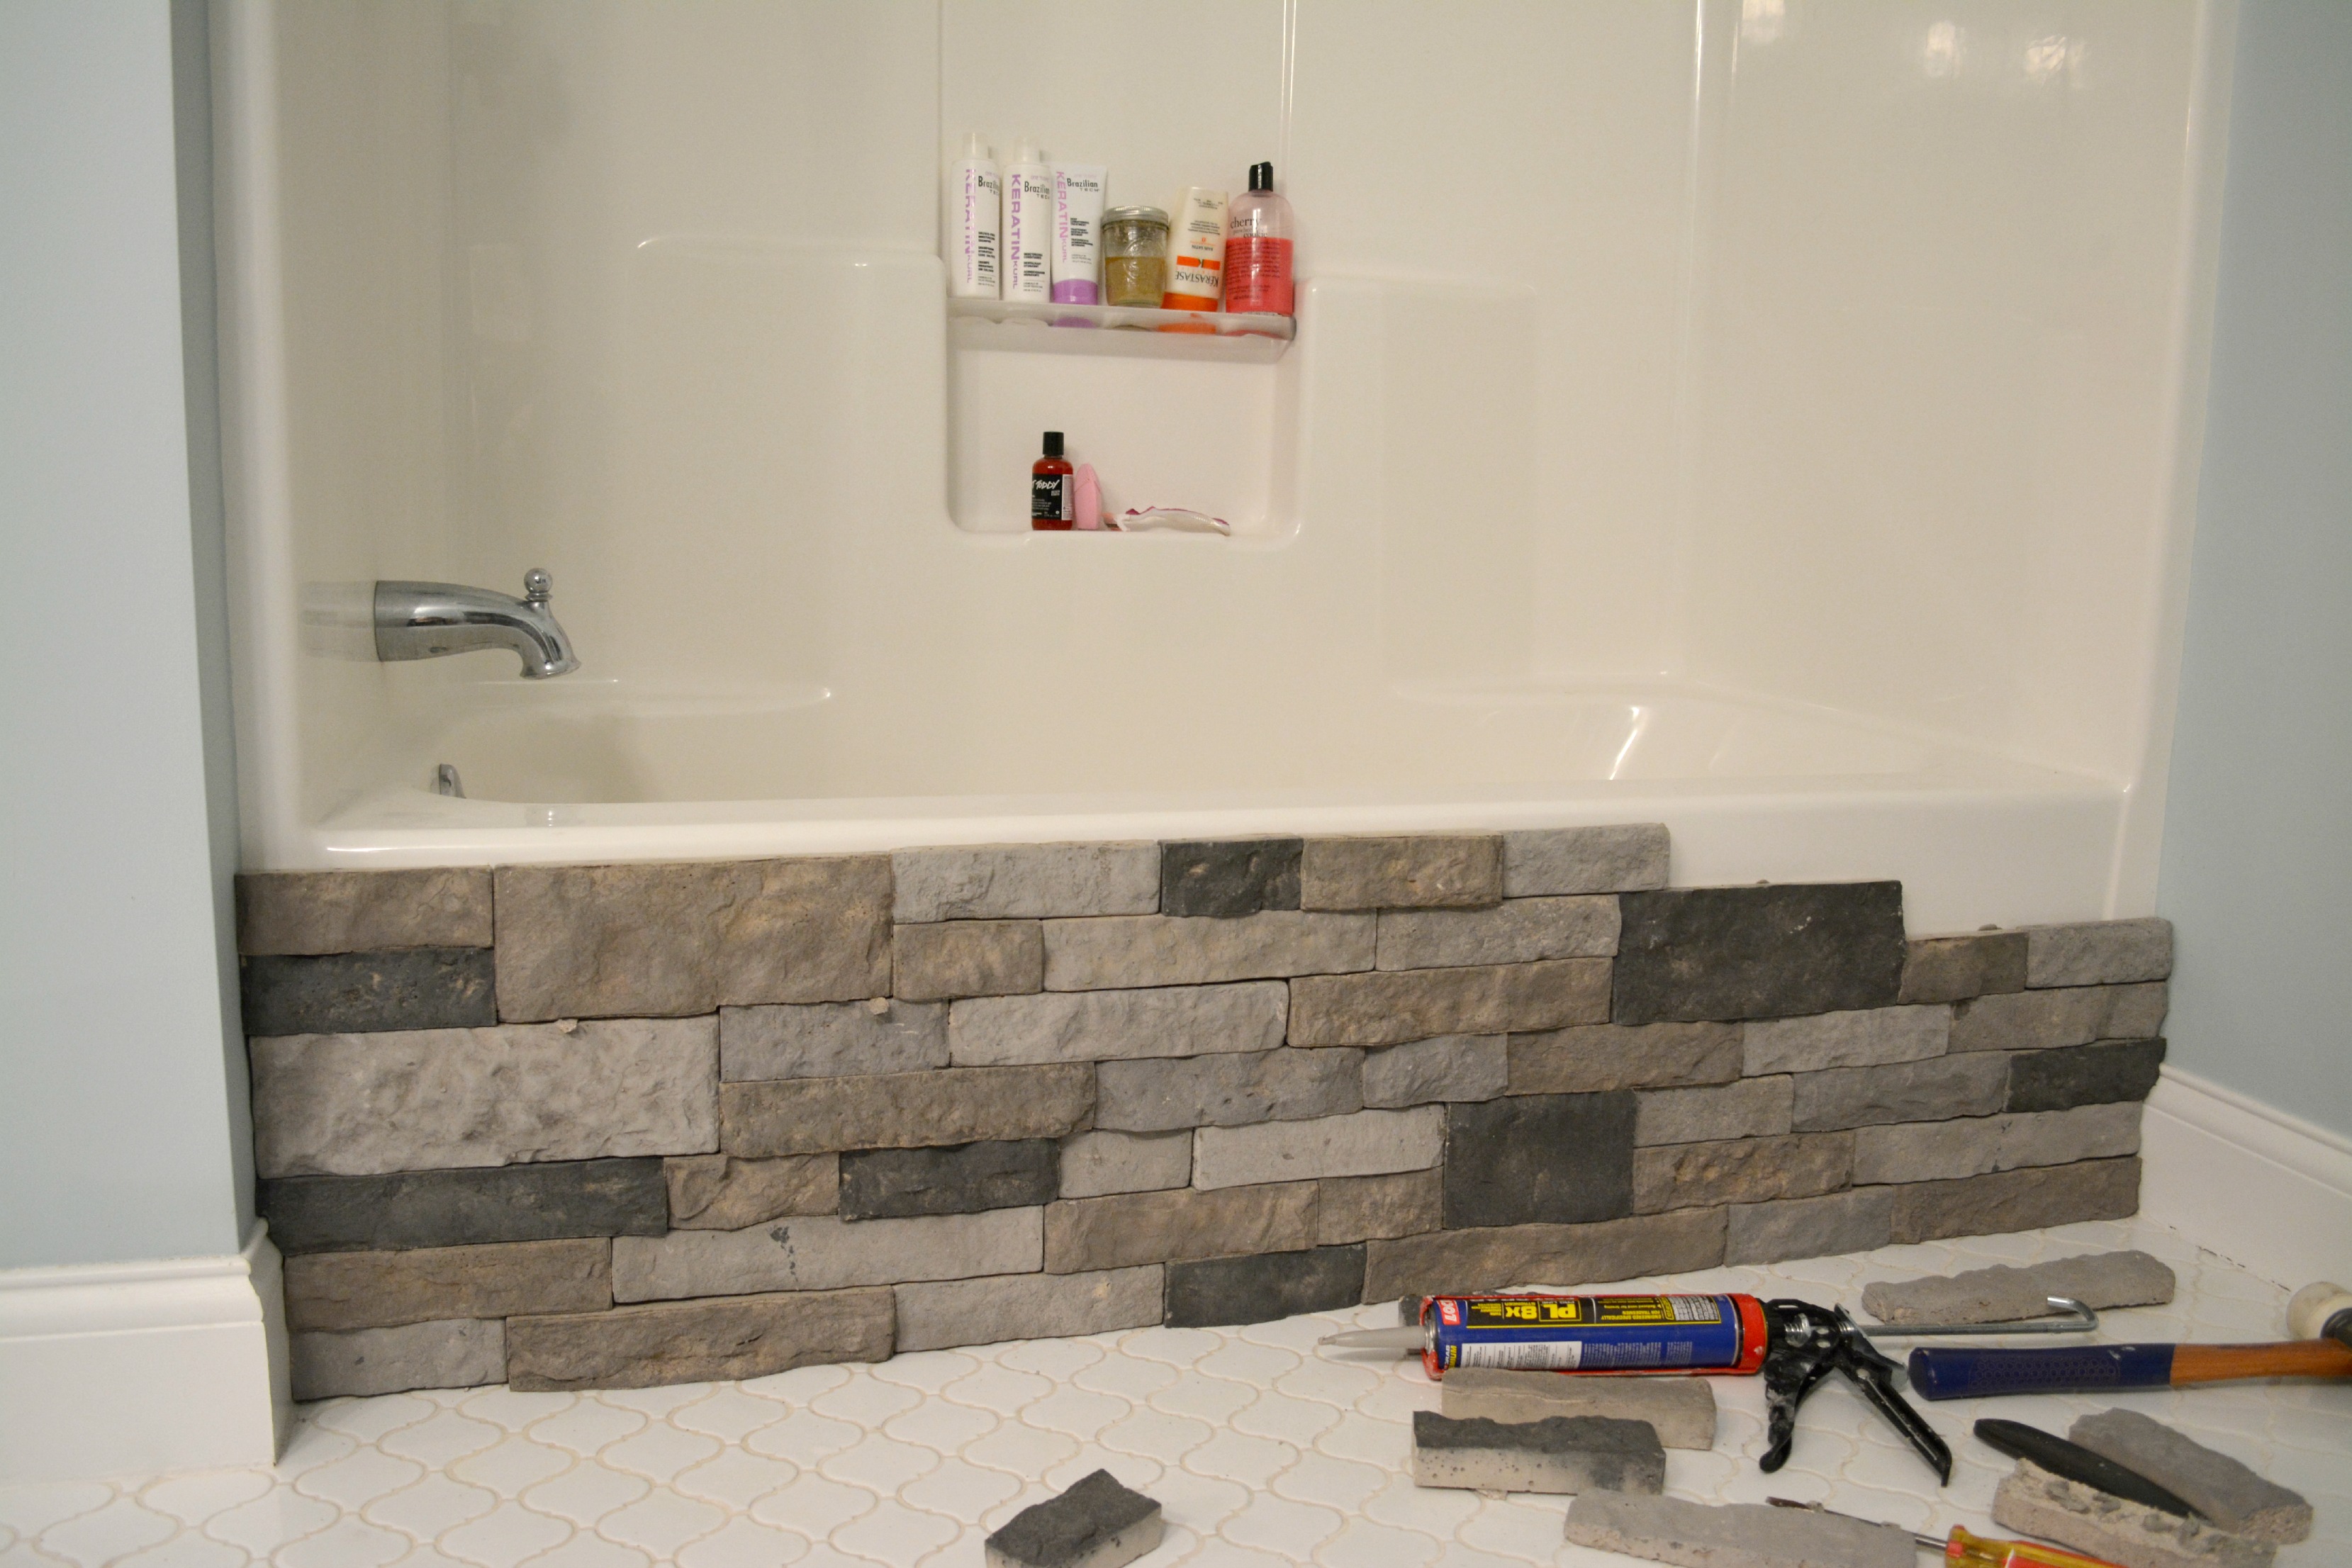
After all of the stones were in place, Sam caulked along the very top between the tub and stone to make sure everything was sealed (no, he didn’t totally get out of caulking). Though the tutorial I read said to use a piece of molding along the top, I opted not to because I just didn’t love the look of it – this is just personal preference! 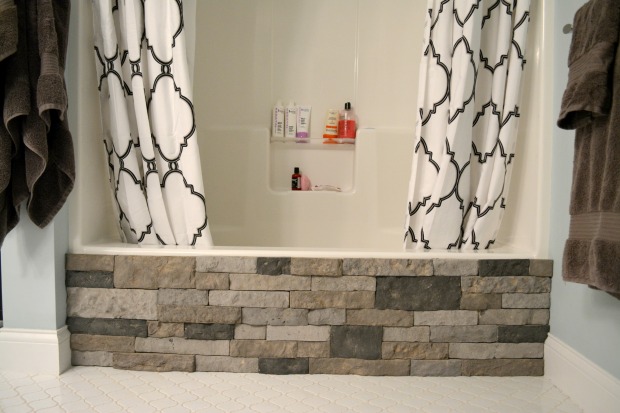
I added a second shower curtain for looks, and a shower caddy to de-clutter our tub area. I absolutely love this DIY, and I love how much character it has added to our previously boring builder grade bathtub. Our master bathroom mini makeover is almost complete. I can’t wait to share all of the details on here soon!

Wow this turned out amazing! I love a small project with huge results! Great job!
LikeLike
Thank you so much, Courtney! This was such a fun project to do. I’m so glad to finally knock out our bathroom – it was in desperate need of a little makeover! 😉
LikeLike
It looks great!! Thanks for the link back!
LikeLike
Thanks so much, Rachel! Thanks for the awesome idea – I just love your blog!😊
LikeLike
what a gorgeous transformation!!
LikeLike
That’s so sweet of you to say, thanks so much!!
LikeLike