Concrete Countertops
I am so excited to share our new concrete countertops with you guys, as well as a full tutorial on how we made them. Our laundry room was so dysfunctional before this mini reno. I did not have any storage, there was no hanging room, and no place to fold anything. Needless to say, I am super pumped to finally have cabinets and counter space!!!
When first looking at counter options, we weren’t loving most of our choices. We finally decided that we would give concrete counters a try for several reasons. Sam and I both loved the look of concrete counters, but we also loved the price! This counter cost us a grand total of $95 in supplies to make (plus $100 in sealer, though we chose a really expensive sealer kit that we plan on using elsewhere) – you seriously can’t beat that!
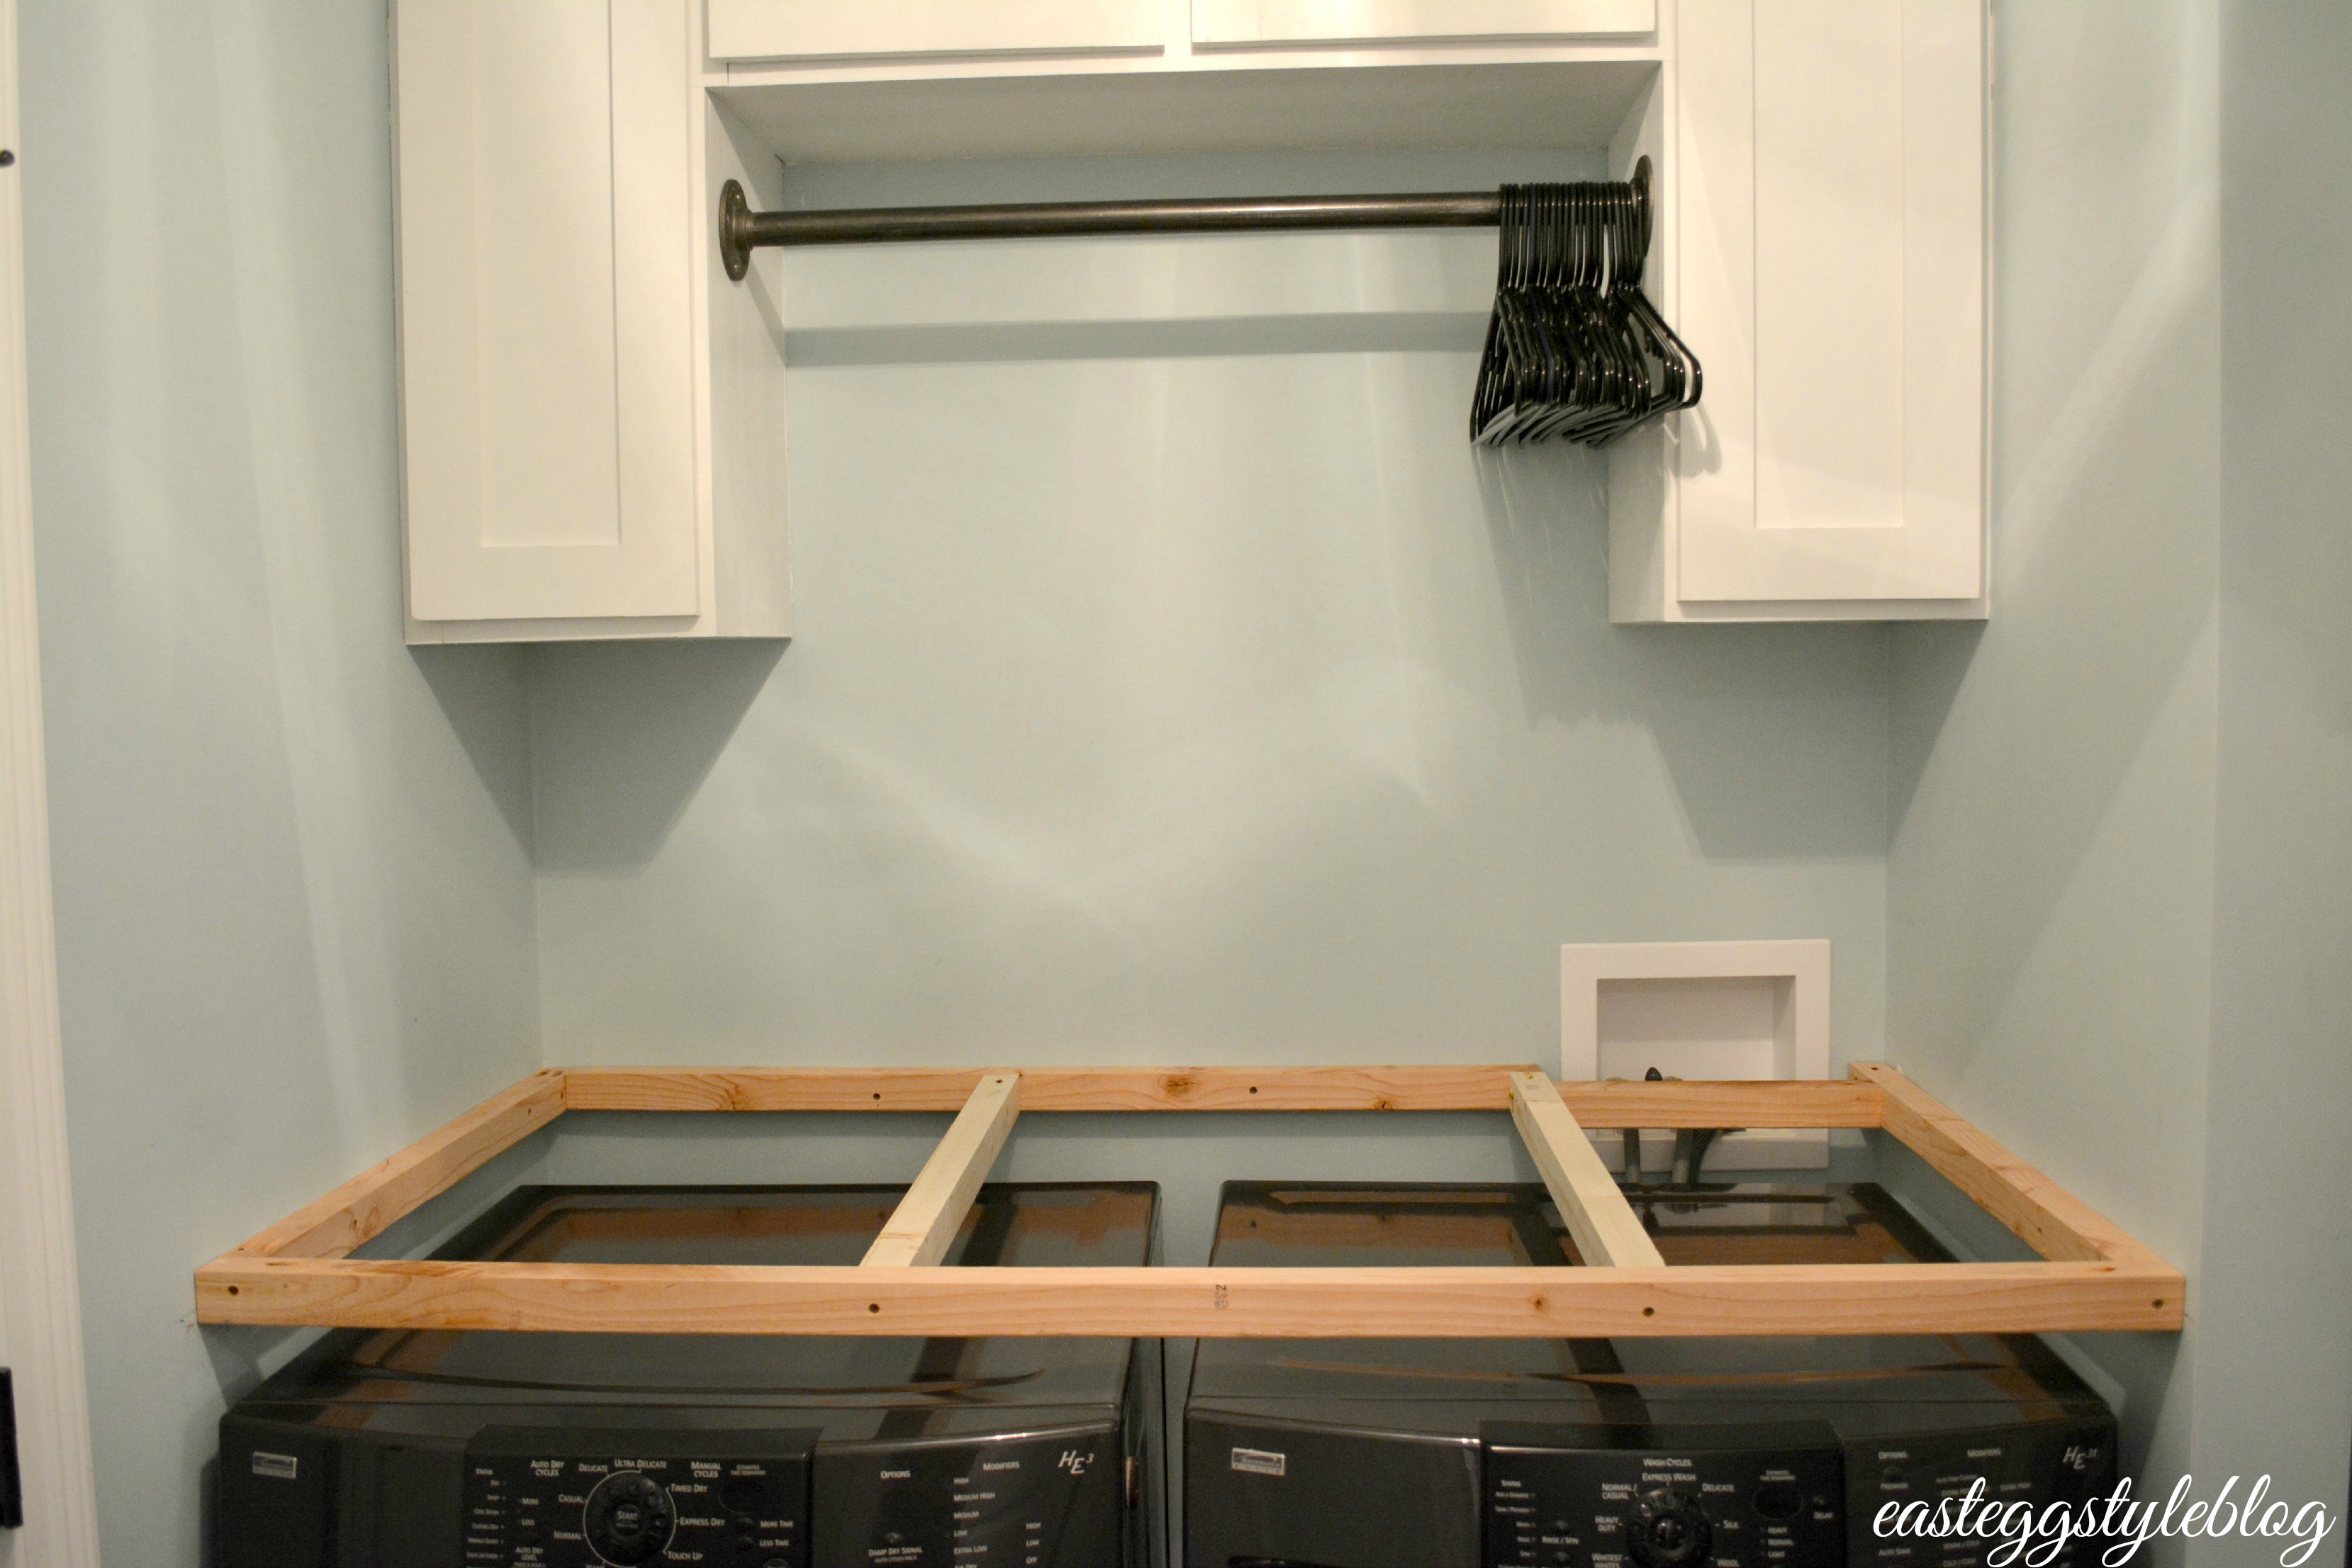
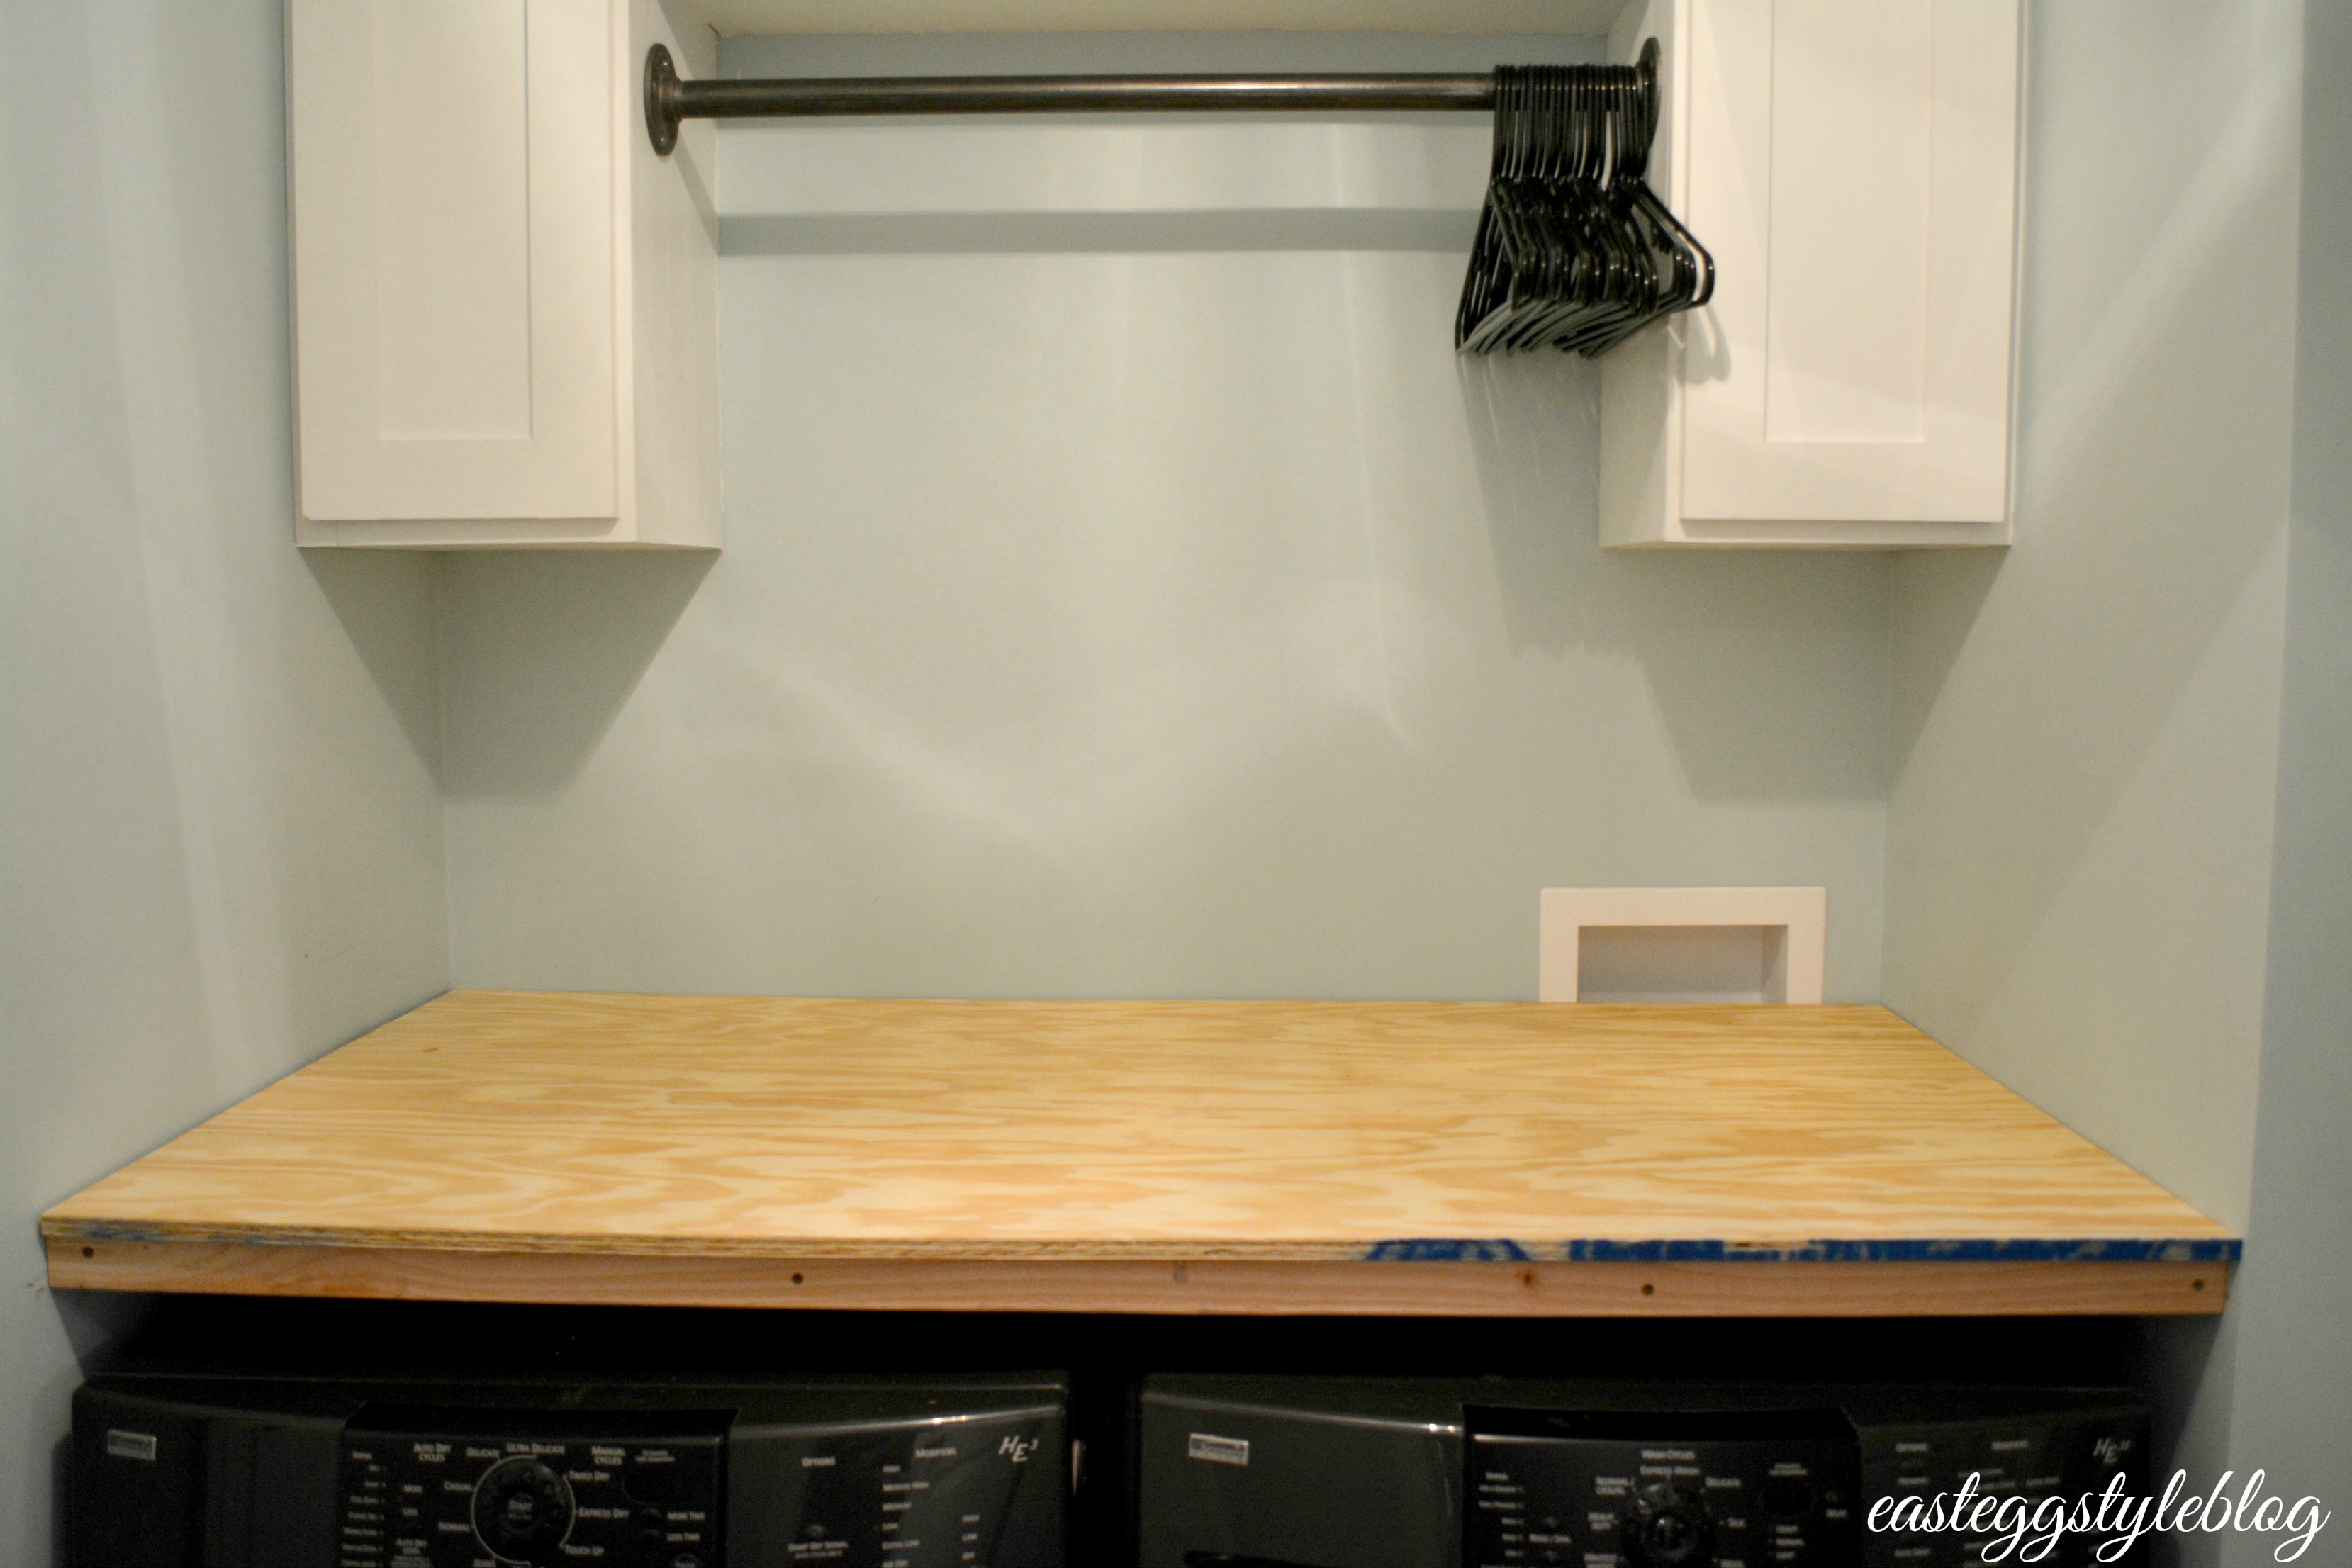
All of that being said, we also had some major concerns about attempting this project. Our first concern was the weight of the concrete. There are several ways to go at this project, but due to weight concerns, we built a base out of plywood first. After the base was installed, we added layers of cement. This process eliminated any concerns we had about weight (I had horrible visions of my counter ripping out of the wall and falling on my washer and dryer – yikes!).
SUPPLIES
– One 2×4 (cut in half, and used as base – could use two 1×2’s)
-Two 3/4′ Thick Pieces of Plywood
-Grey Powder Polymer Modified Mortar
– Metal Mesh
-Polymer Additive
-Decorative Molding Of Your Choice
-Flat Trowel
-Angle Corner Trowel
– Concrete Sealer
Once the base was in place, we covered the washer and dryer to make sure cement didn’t get all over.
After the base was in place, and everything was protected, we mixed up our first batch of the cement mixture. We used gray mortar tile grout, combined with a mixture of half water and half polymer additive to make the mixture sticky. The consistency should be fairly runny, but still firm enough hat you can shape it.

Once we spread the mixture evenly on the plywood base, we put a second piece of plywood on top of the first. Once the boards were lined up, we screwed the top piece to the bottom piece as quickly as possible before the cement mixture dried (you only about 10 minutes to do this).

After both boards were cemented and screwed together, we put down a layer of metal mesh. We used more screws for this step, as well as a staple gun to tack down the corners.
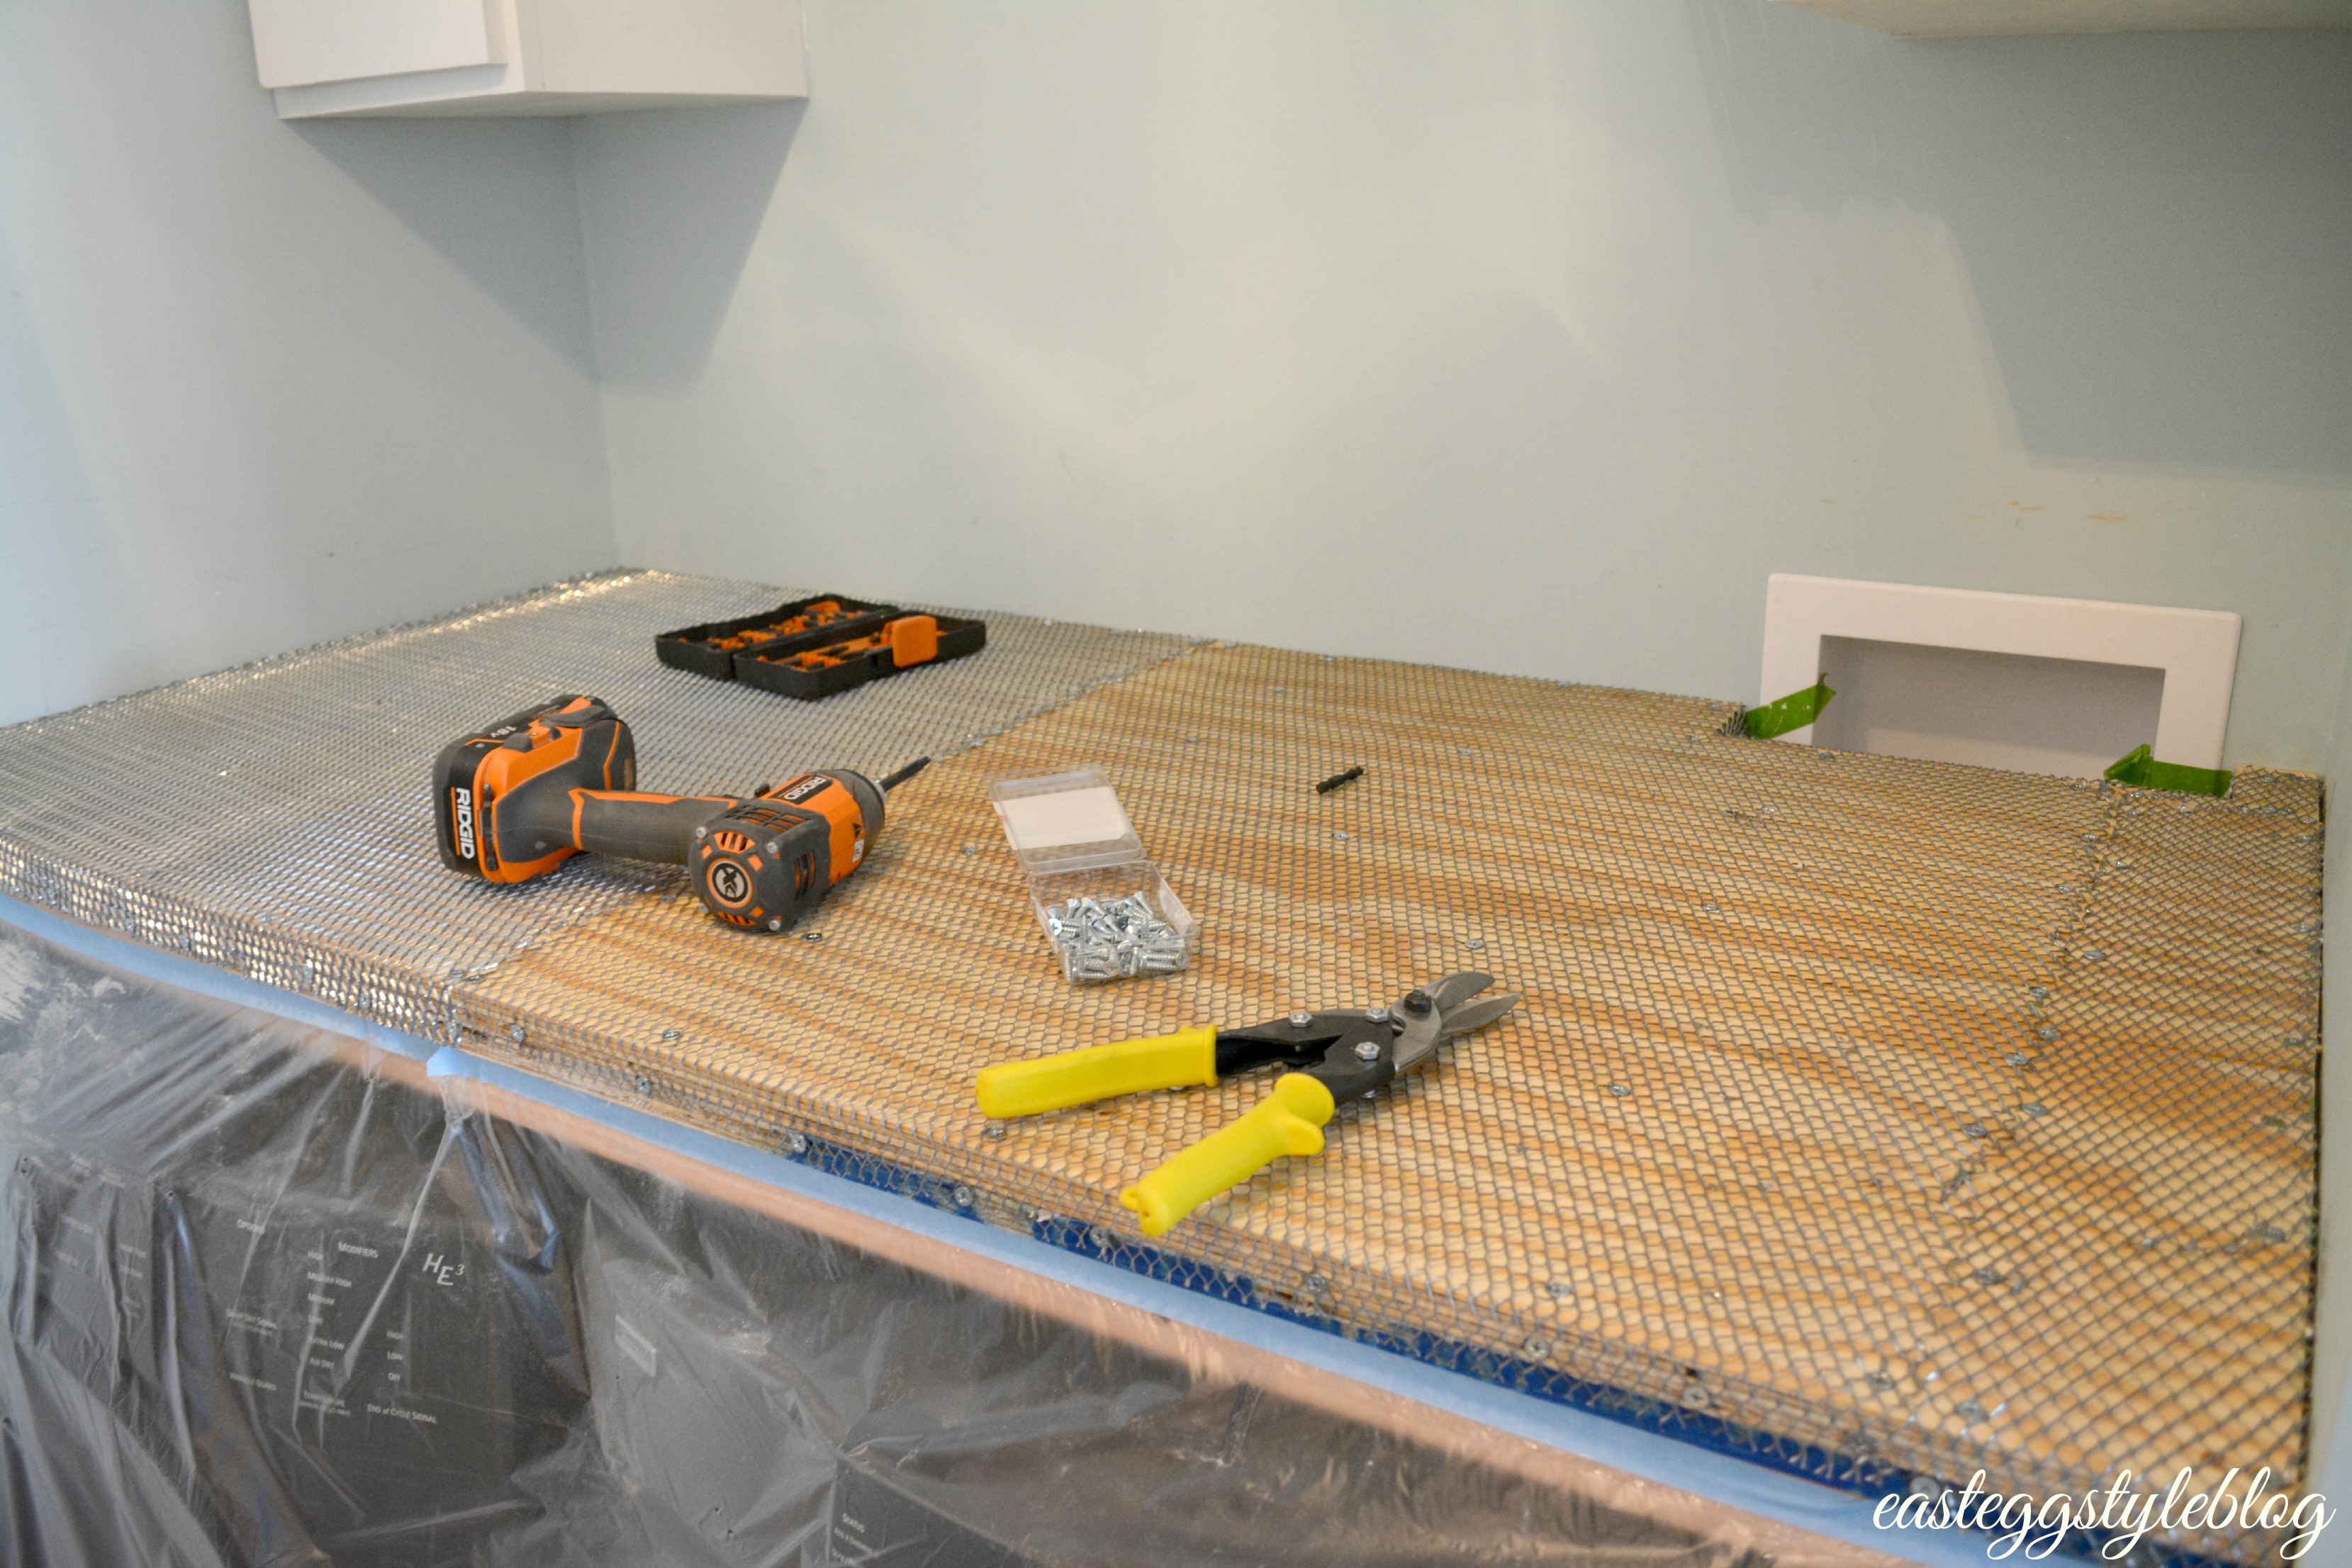
It’s really important to be sure that you are not overlapping the mesh. You must line up the pieces as closely as possible, but without overlapping (this will just creat bulges).

After the mesh was in place, we mixed up more of our mortar concoction – again using the grey mortar, half water, and half of the polymer additive. This mixture should be of the same consistency as you made before.
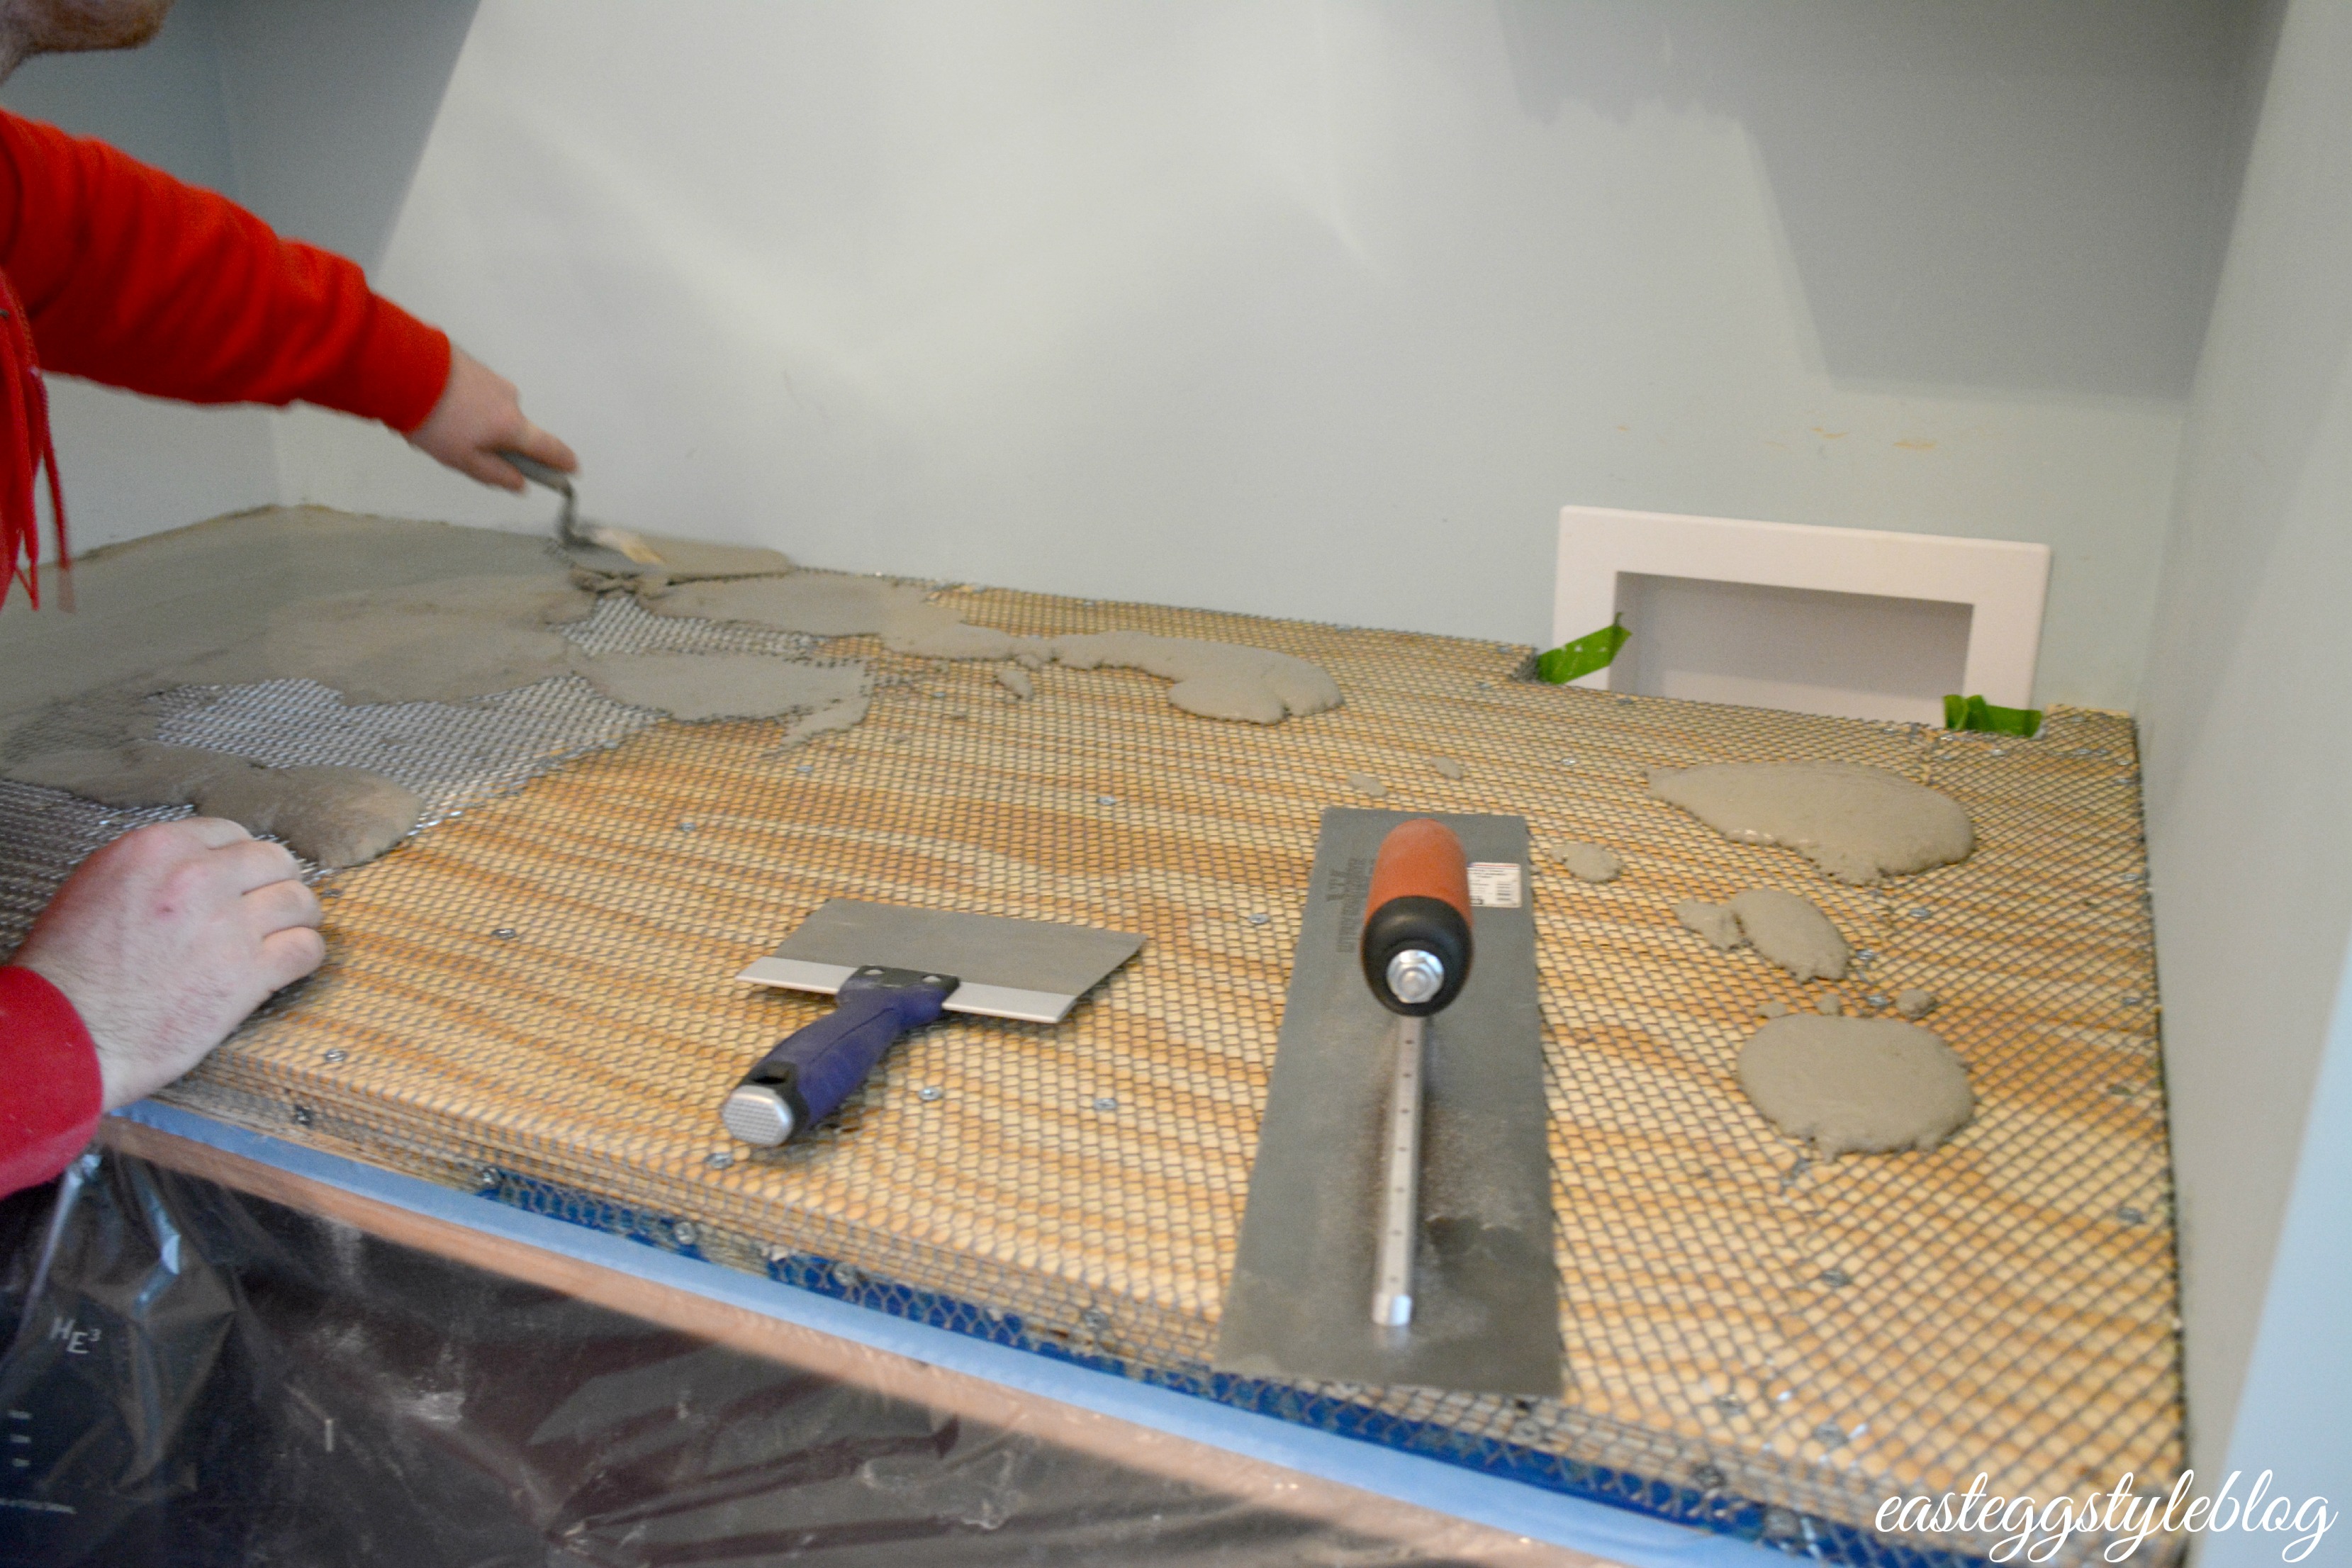

After the first layer is pretty much dry (it should be a light grey color as pictured below), it is time to lightly sand the first layer, and then apply the second coat. We made this next mixture a bit thicker, and not as runny.

With each layer, you will want to be sure to smooth everything out with your trowel. Sanding between layers will also help. The smoother, the better!

You will also want to be sure that you are keeping your corners sharp by using your angled corner trowel.
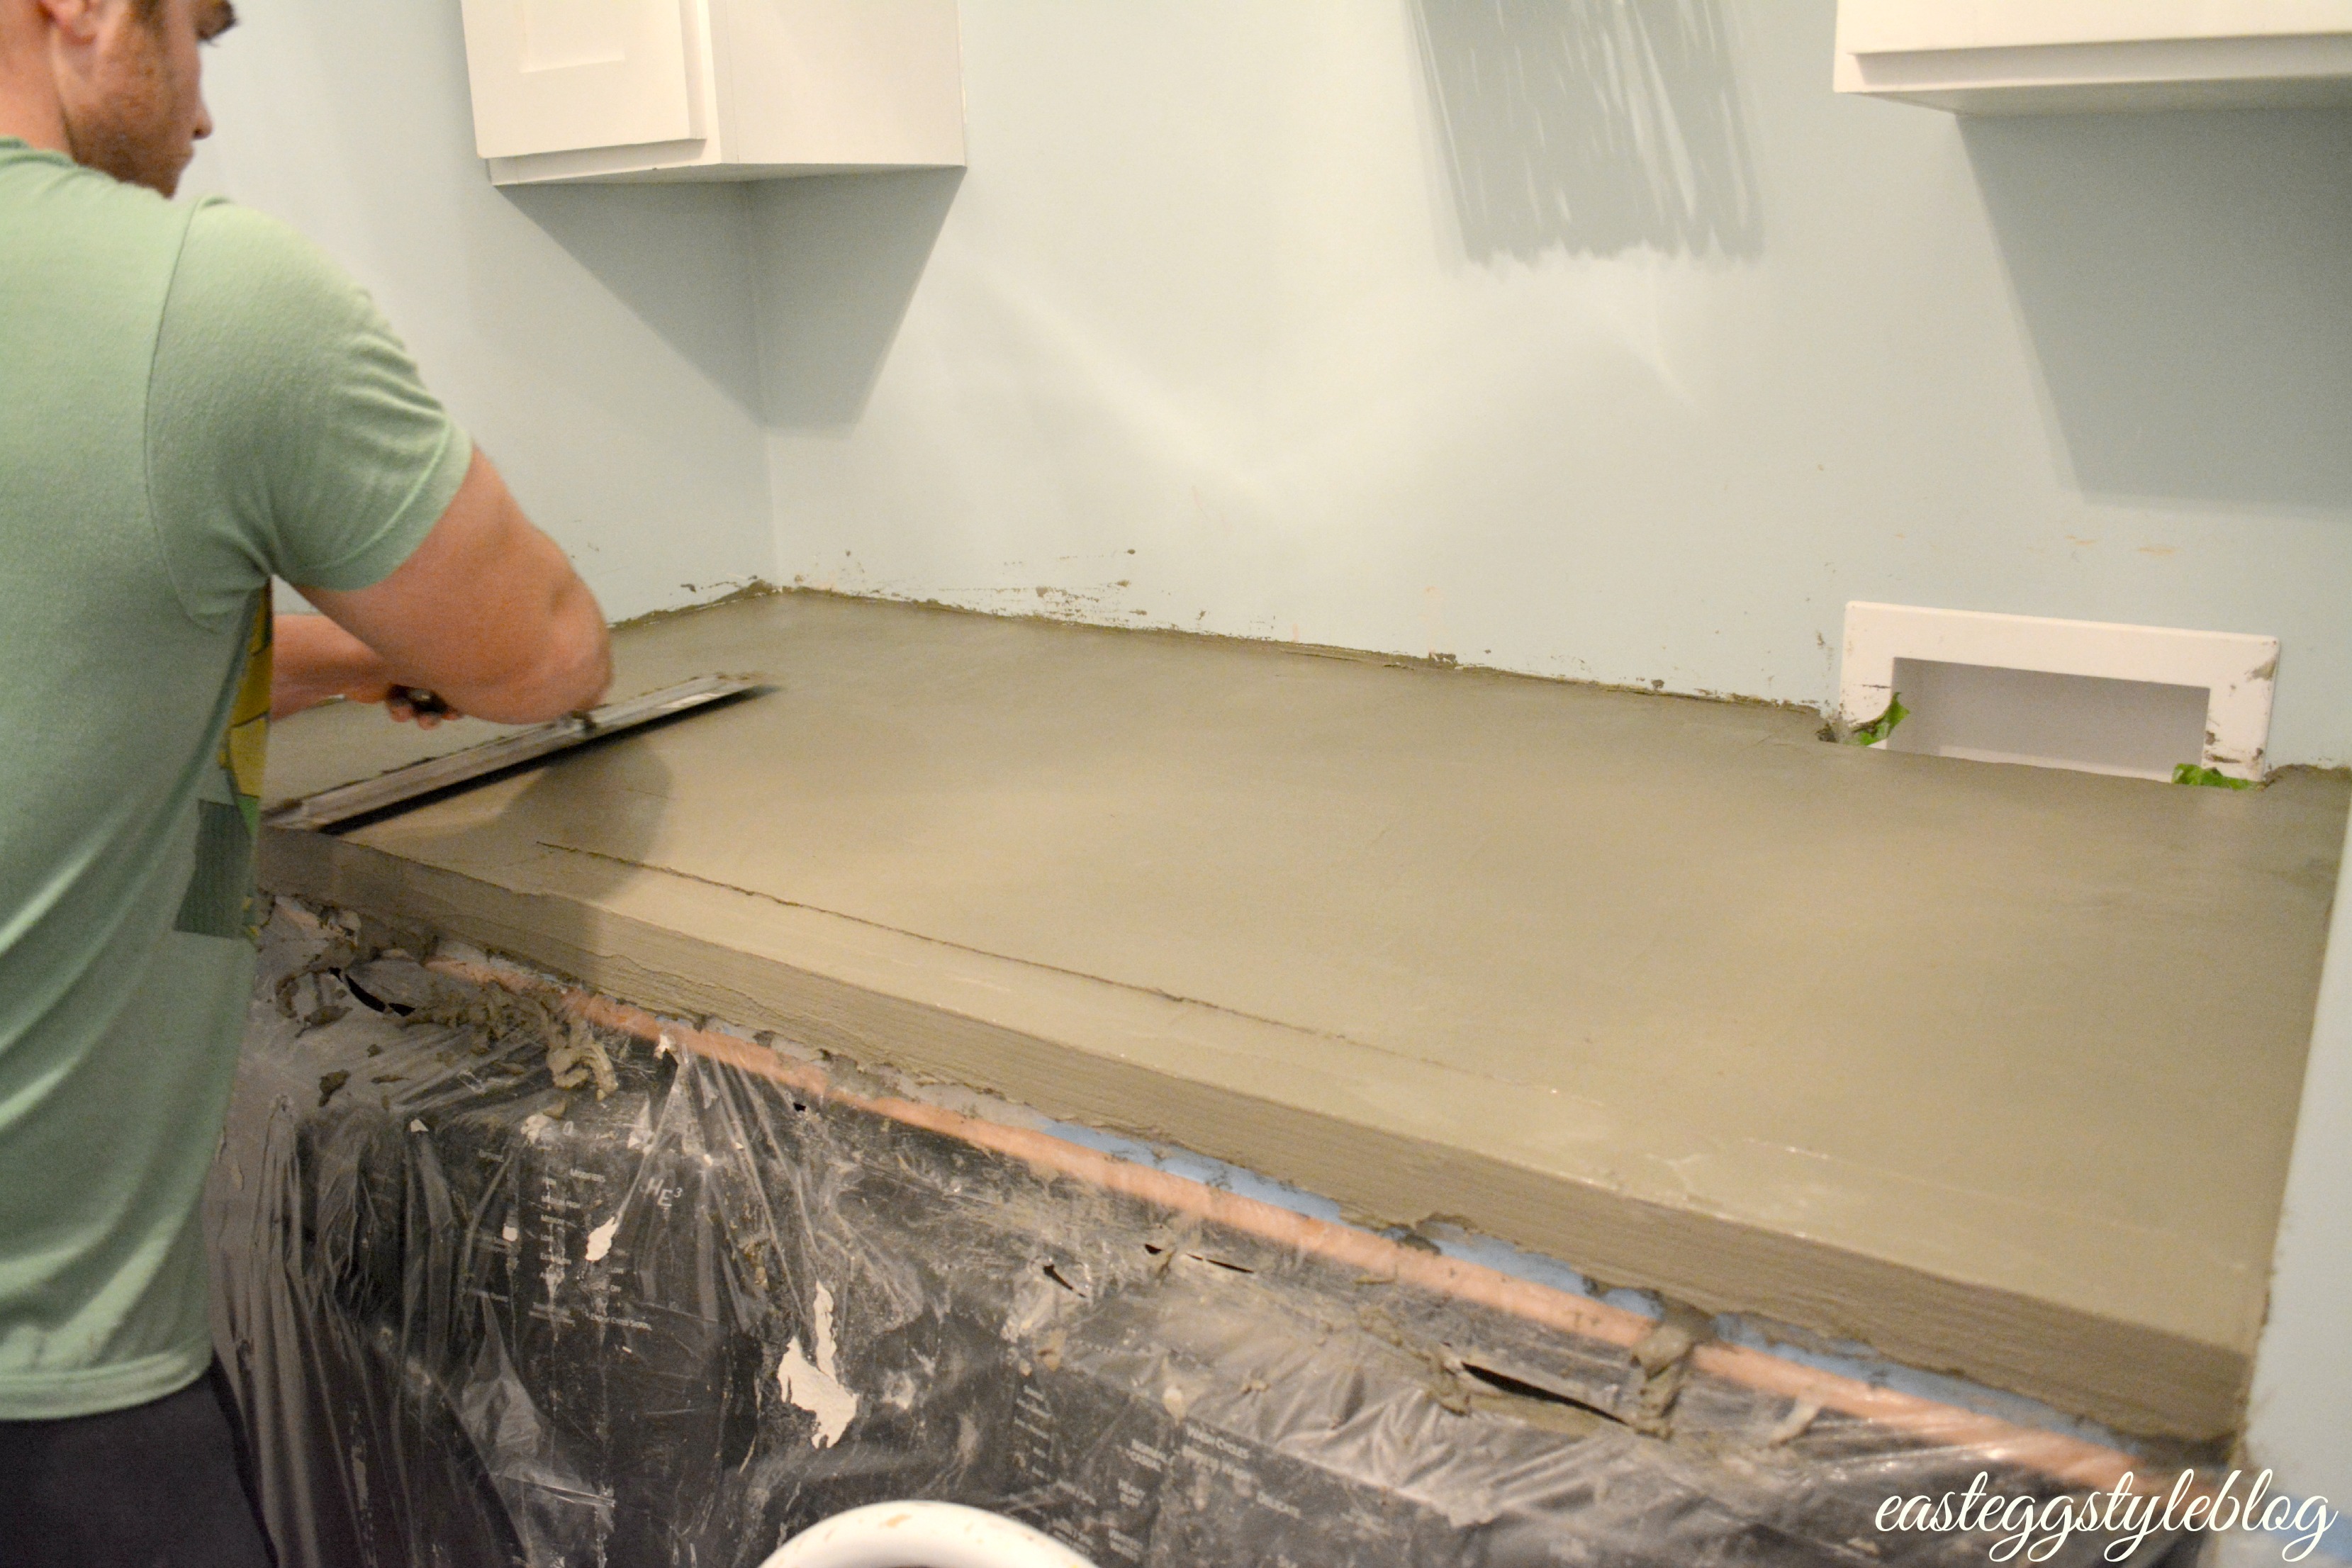

After the second layer was dry, we peeled the plastic off from the bottom edge, and applied a piece of decorative molding over the little bit of exposed wood frame – this is how we got the pretty edge. We then applied a third coat to the entire countertop, including the new edge. After everything was dry, we put on another coat of our mixture, but this time only on the edge.
After the second coat was dry enough to touch, we used a wet cloth to even everything out. We found it helpful to use a spray bottle in areas that needed a bit of moisture to even everything out. 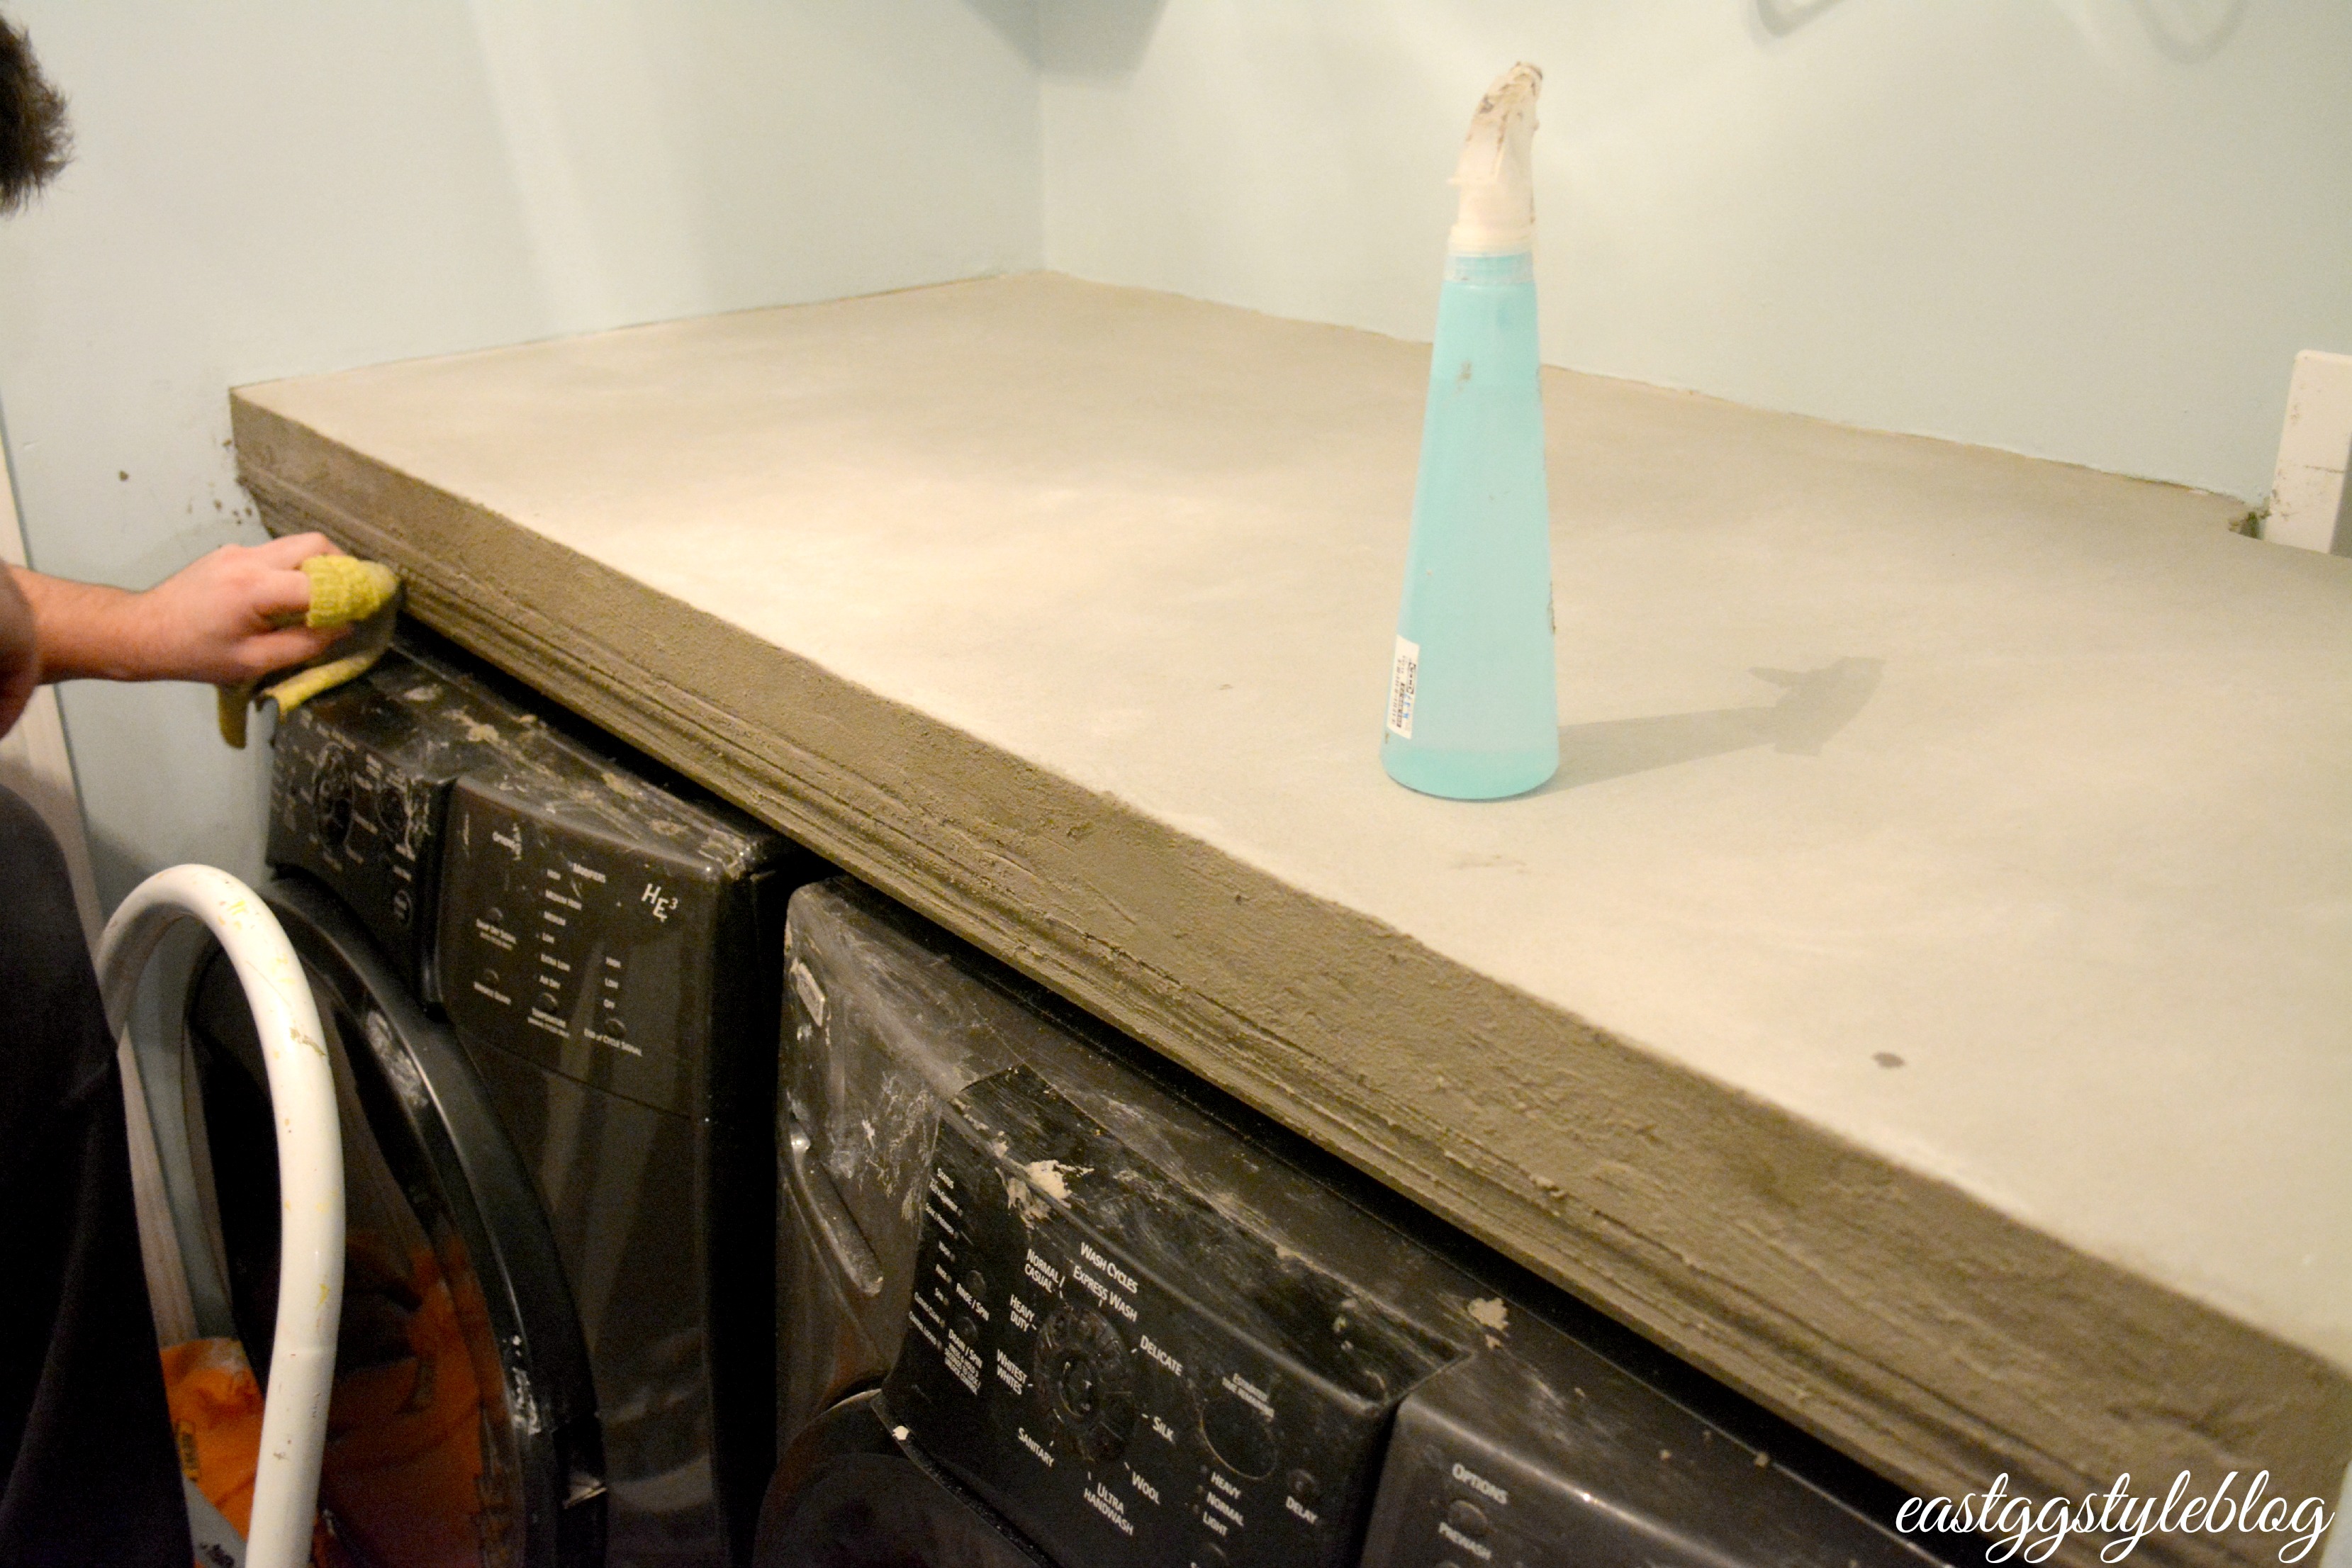
We let everything dry for about 24 hours before sealing. Once everything was dry, we used a paint brush to apply sealer around all of the edges. Using a brush was the best way to make sure everything was fully covered, and that we didn’t get any sealer on the walls. 
After all of the edges were covered, we used a roller to apply the sealer to the rest of the counter. Using a roller ensured that we got an even coat.

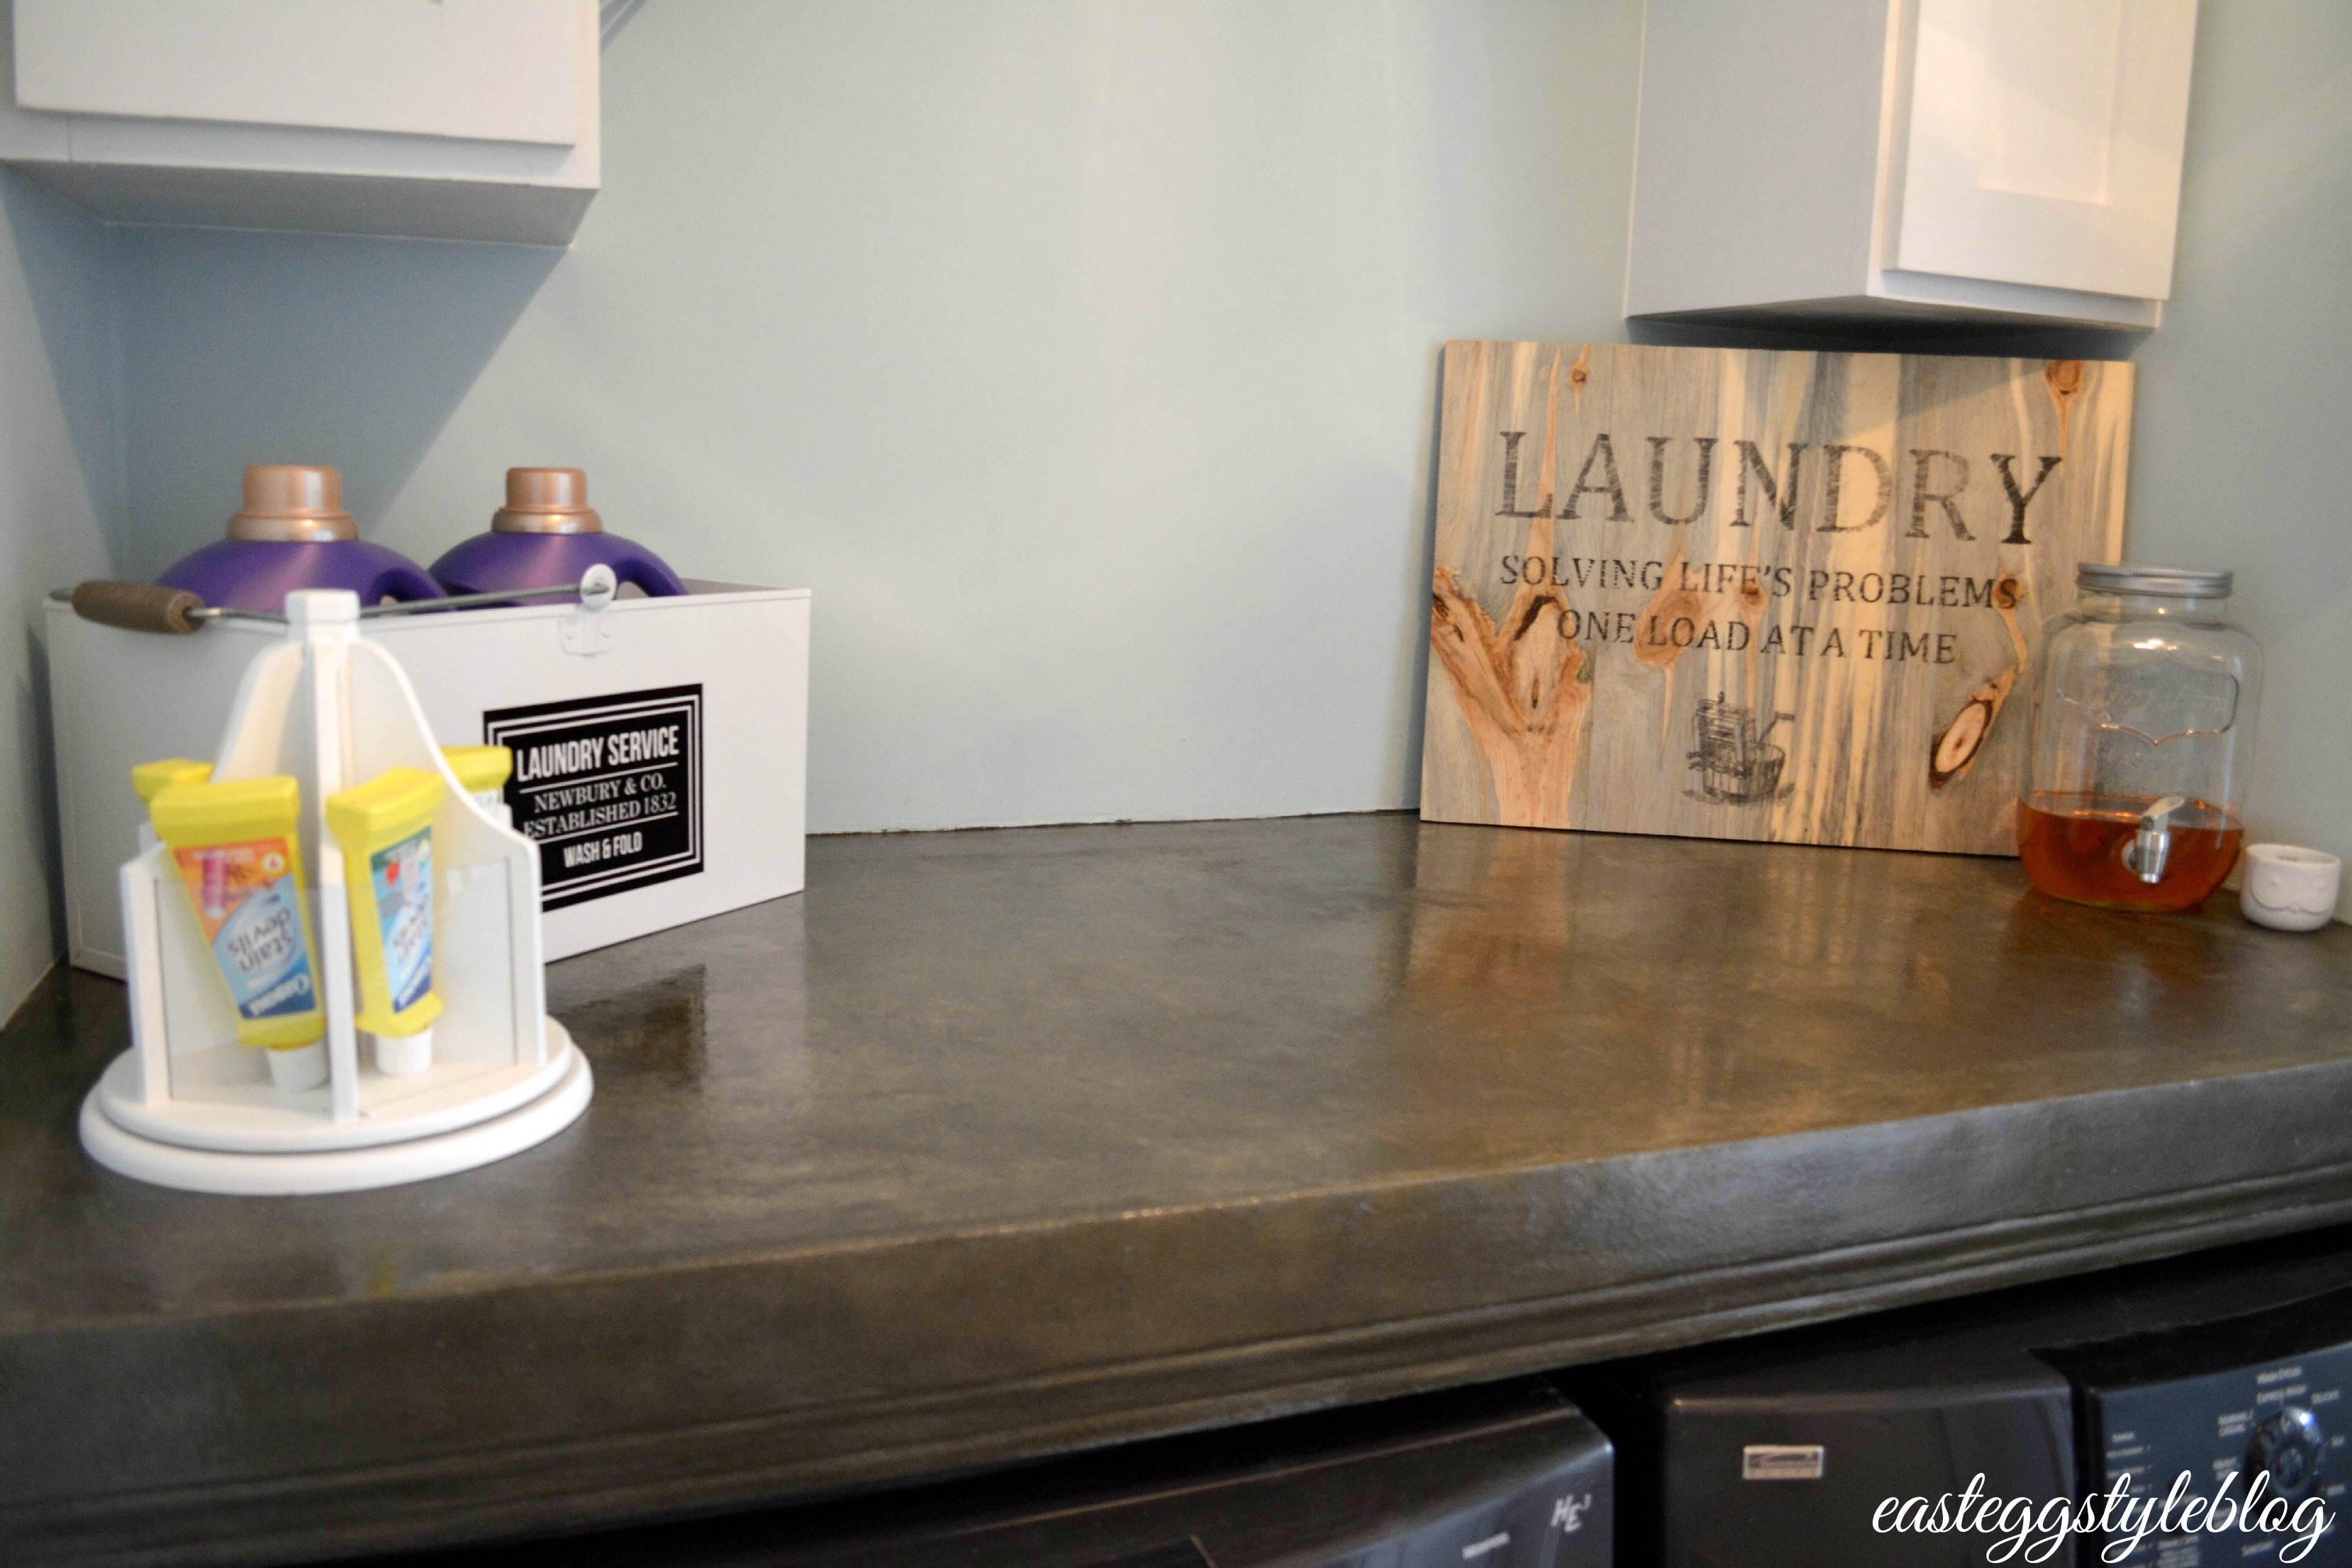
Once we add a backsplash, this area will be complete. It’s so nice to finally have a functional laundry room!

Thanks so much for taking the time to read my post – hopefully you found it helpful!
This turned out awesome!!! Looks so great and so affordable!!
LikeLike
Thanks so much, Courtney!! Yes, very affordable – my favorite kind of project!! 😊
LikeLike
I just wanted to thank you for going over your process for making a concrete countertop. You mentioned that you should smooth everything out with each layer. I’m interested to learn if you should clean your trowel as well after each application, especially if it can help create a smooth surface.
LikeLike
Hi Taylor, thanks for your comment! Yes – I would recommend cleaning the trowel after each use! It will definitely make the process much easier and you will get a much smoother finish.
LikeLike