Stained Concrete Floors Tutorial – Part 2 – Applying Color and Sealer
If you are working with cement that has never had any color on it, this is where you will begin the process. I apologize in advance for the extremely long post, I just want to be sure to be as thorough as possible for those of you who have never done this. Hopefully all of the pictures will aid in your understanding – I know we would have LOVED pictures the first time we attempted this project. It can be a bit of a stressful process, but I promise, it is so worth it when you are done!
First, you must acid wash the cement. We used concentrate safe-etch solution by RockSolid Floors. This is necessary so that the floors can absorb the color correctly.


While one person is applying the acid wash, another person needs to follow behind them with a scrub brush and work the acid wash into the concrete. 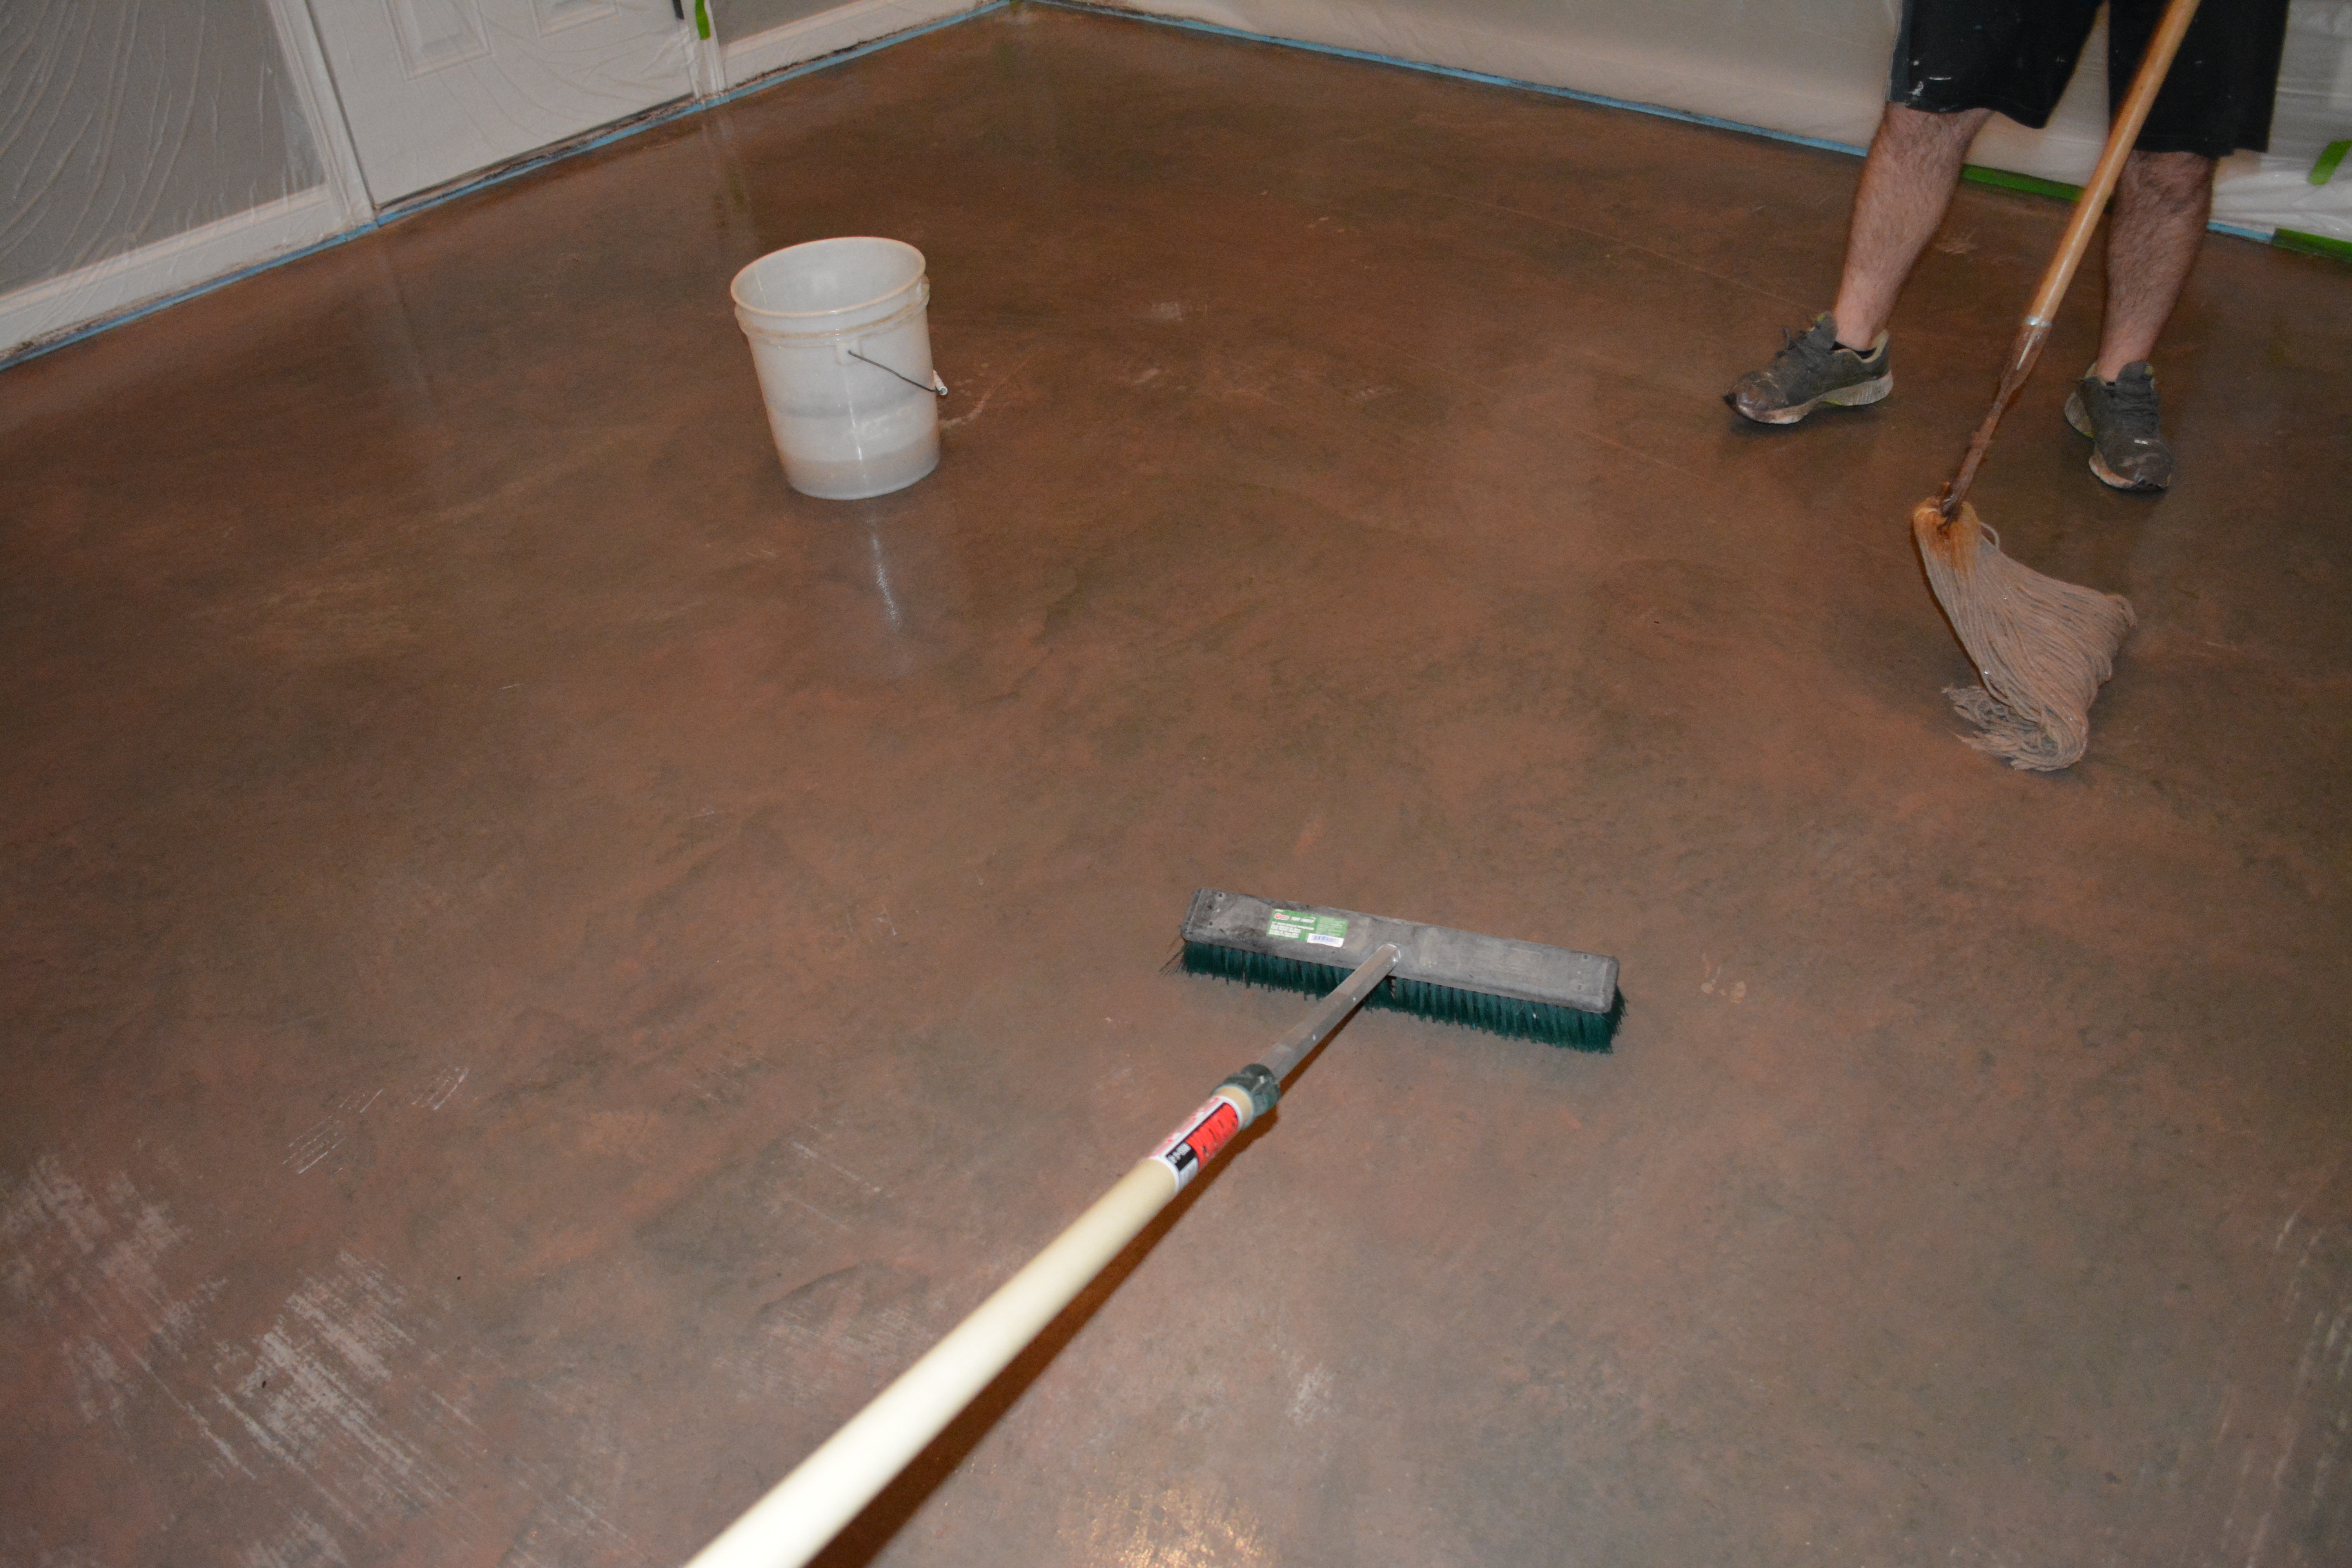
After the entire area has been covered thoroughly, and the acid wash has been scrubbed in, you must dilute the mixture with water and shop-vac the liquids up as quickly as possible. Be sure to rinse the floor at least three times or so. If any acid wash is left on the floors, they will not absorb the color correctly. 
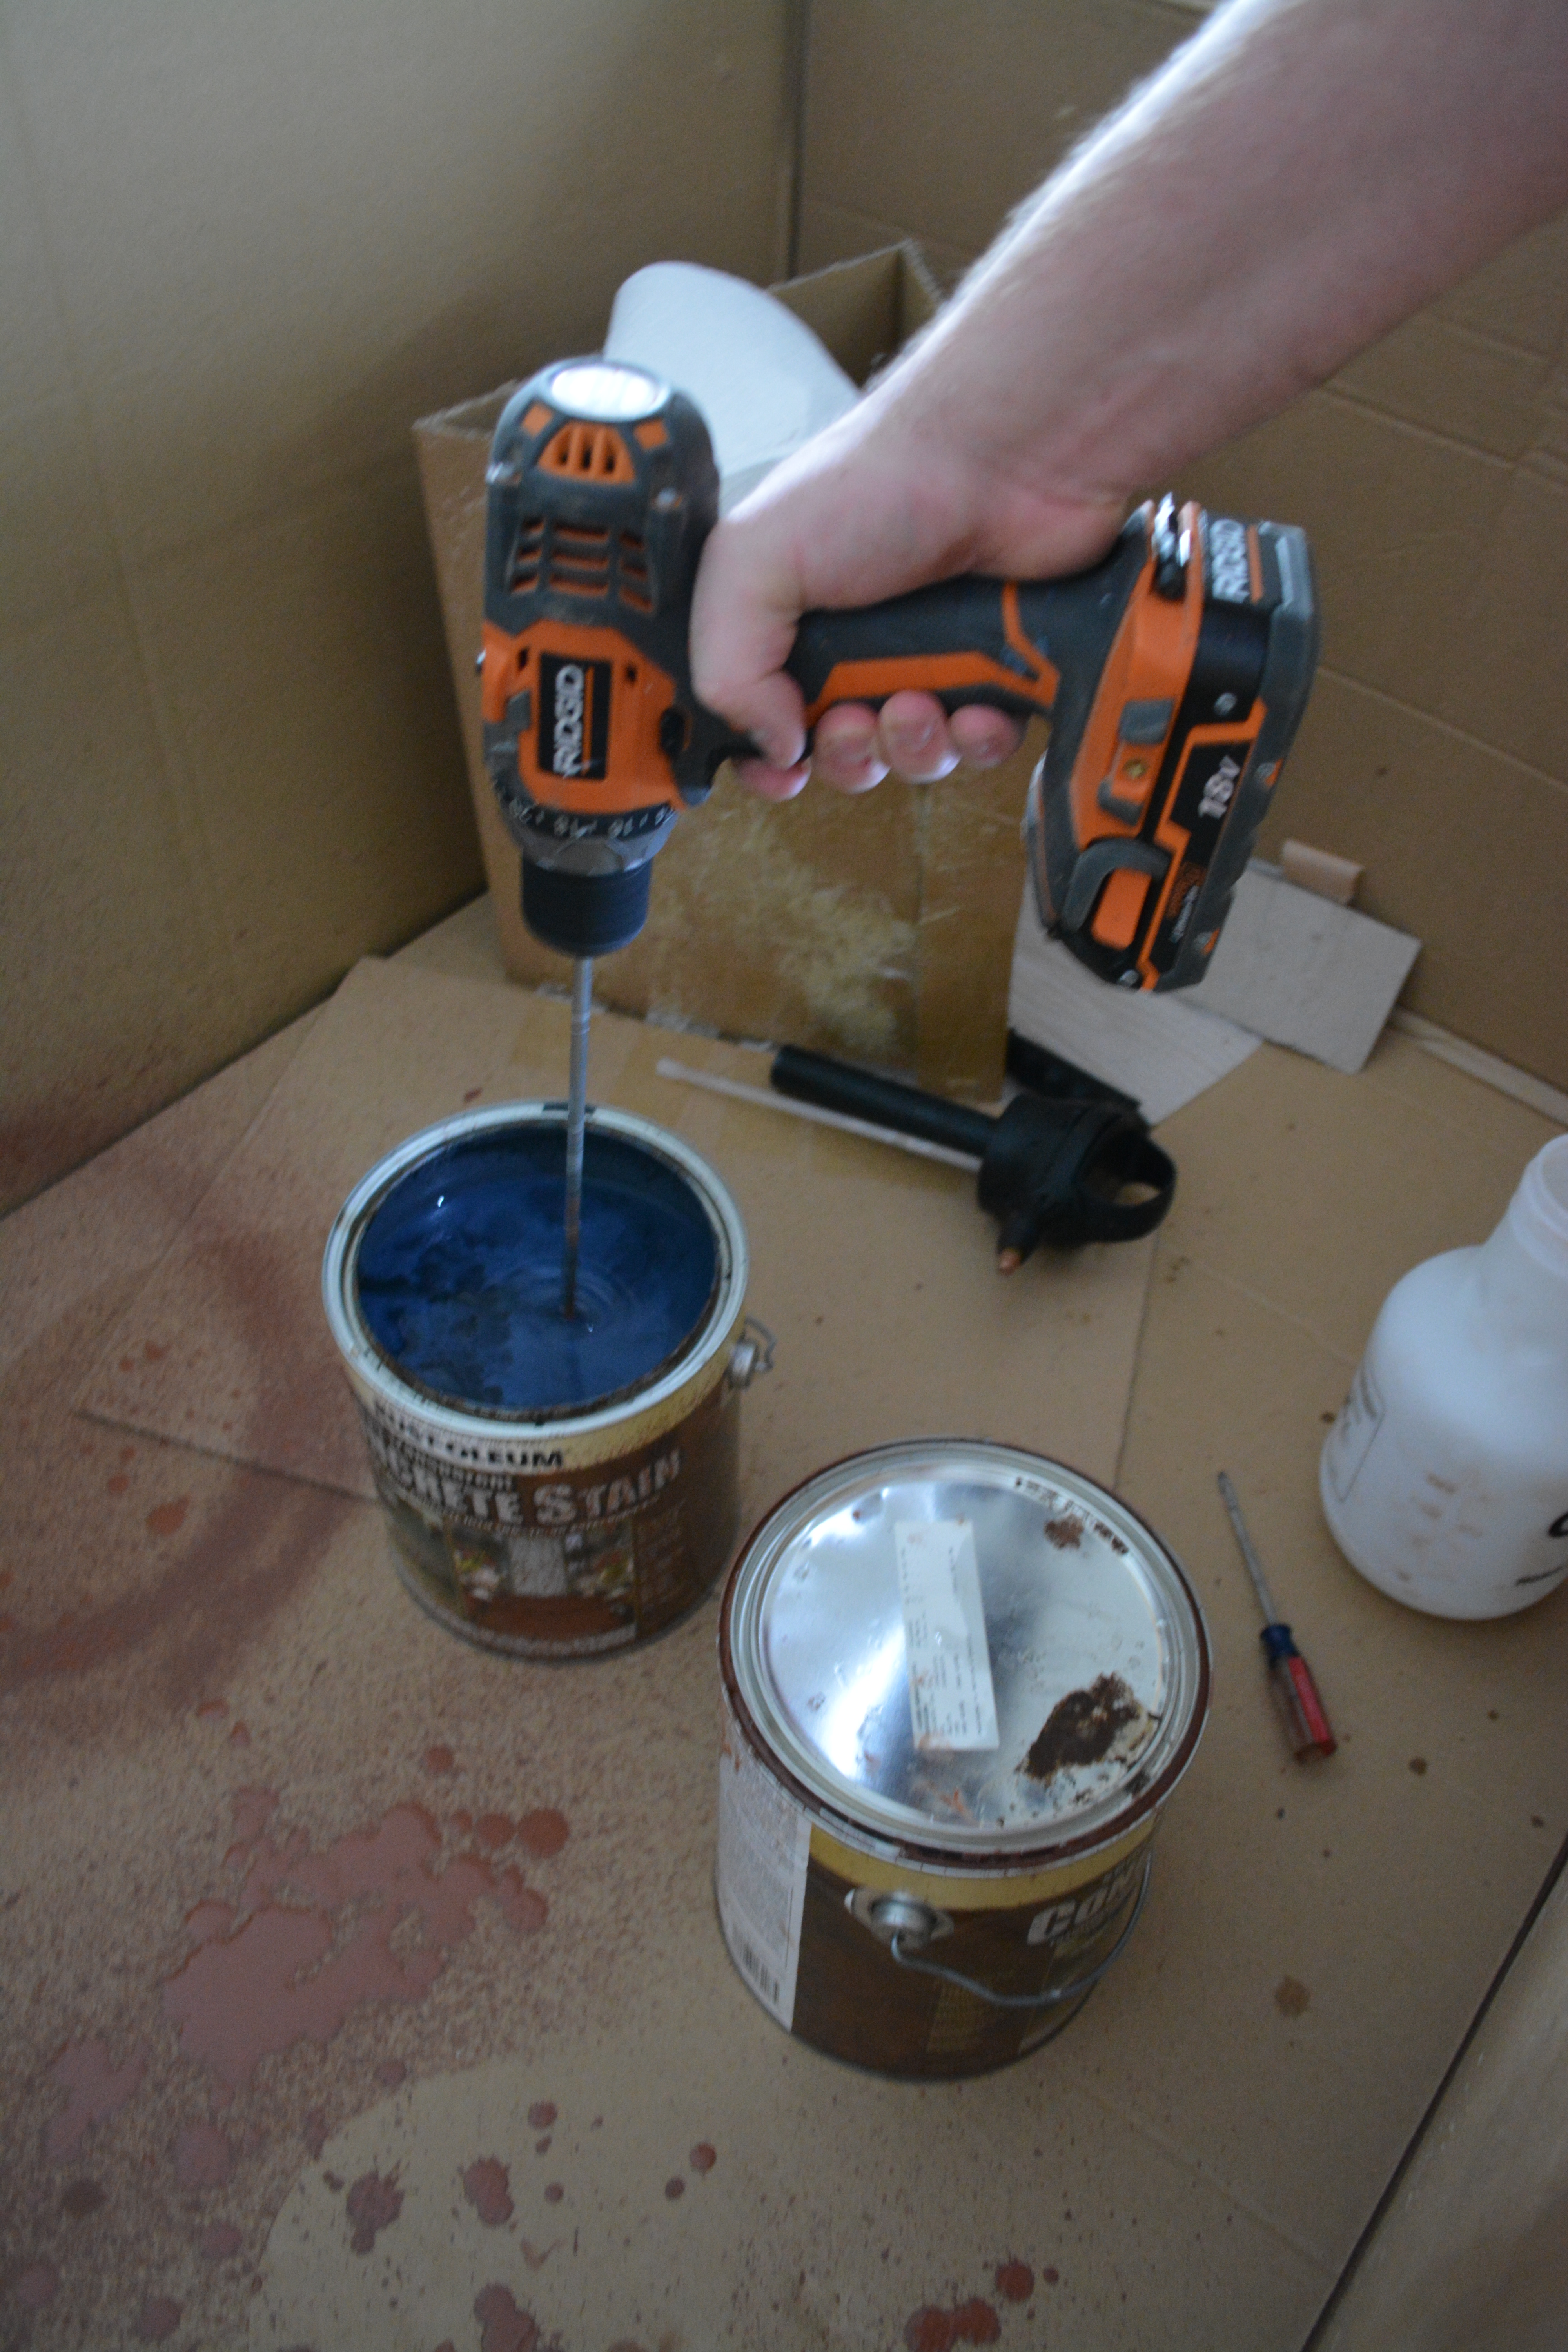
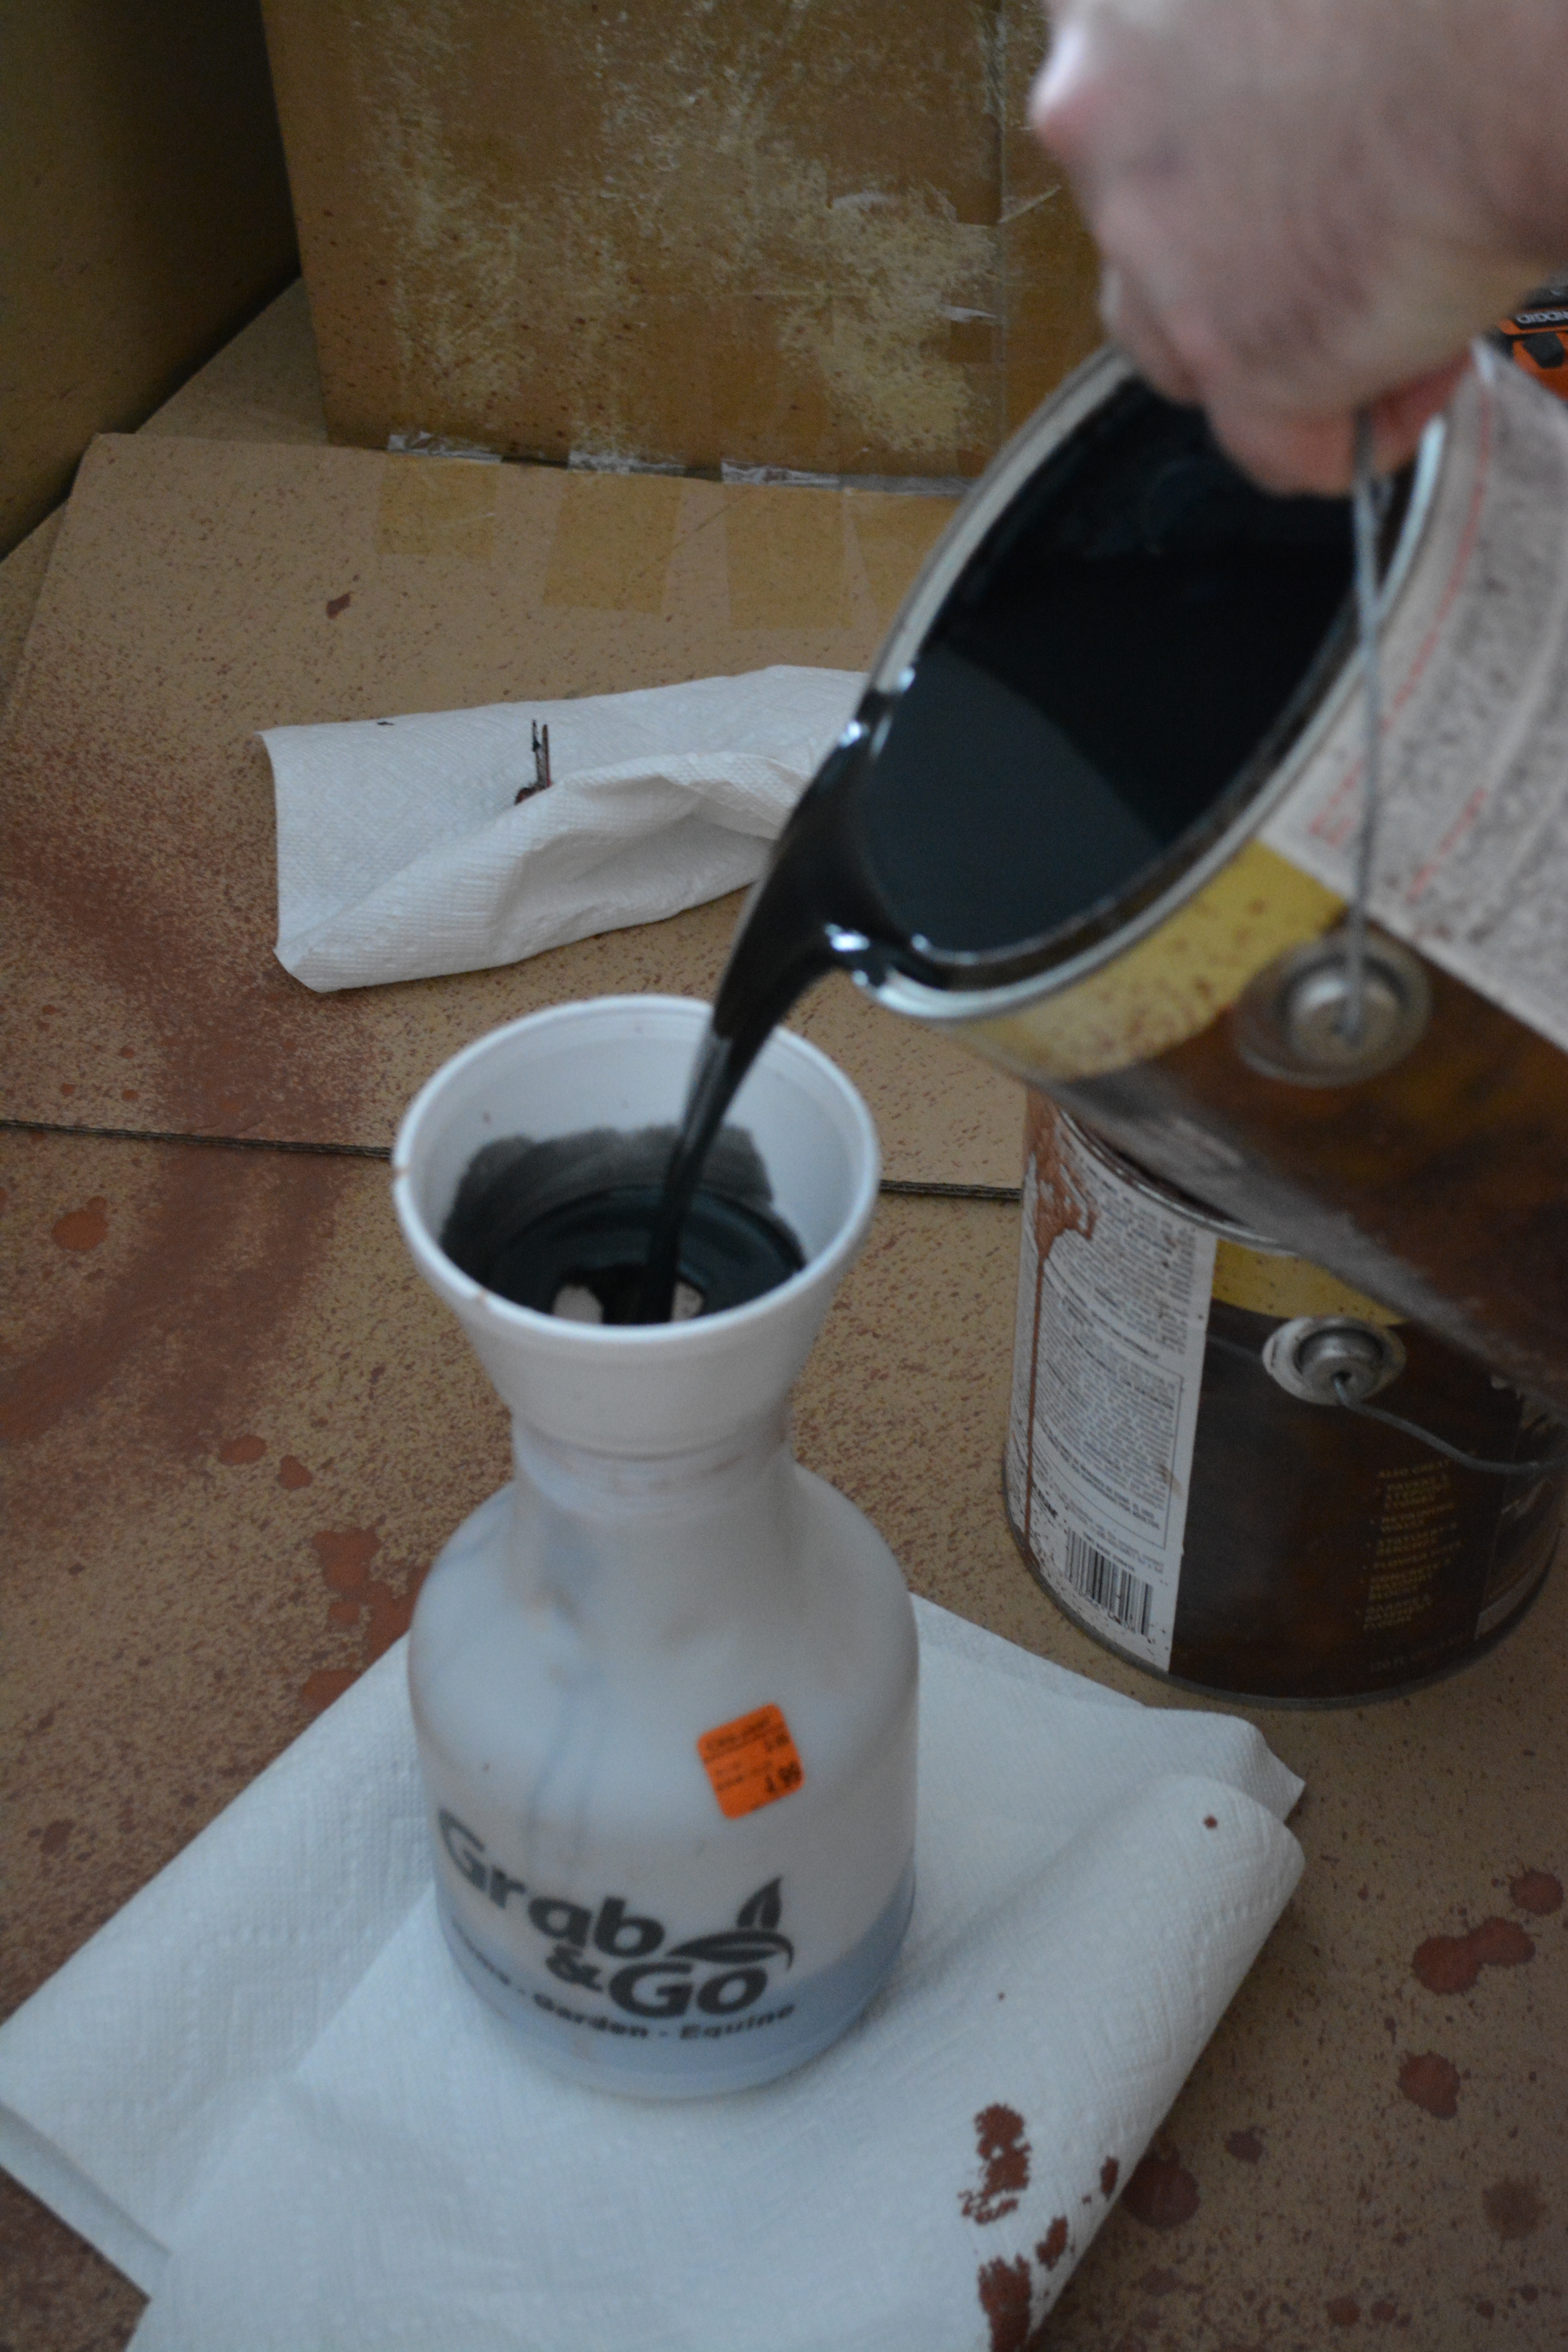
Once all of the water is up and your floor is dry, it’s time to begin applying the color. We used two custom colors (we picked a picture from online that we liked, and had our local hardware store that carried the products we needed mix the colors), and began with the lighter color first. Be sure to mix the stain thoroughly for best results.

Rust-Oleum suggests that you spray the color on. We found that a plant sprayer worked best to apply the color evenly, and gave a bit more control than some larger sprayers. I would recommend different sprayers for each color.

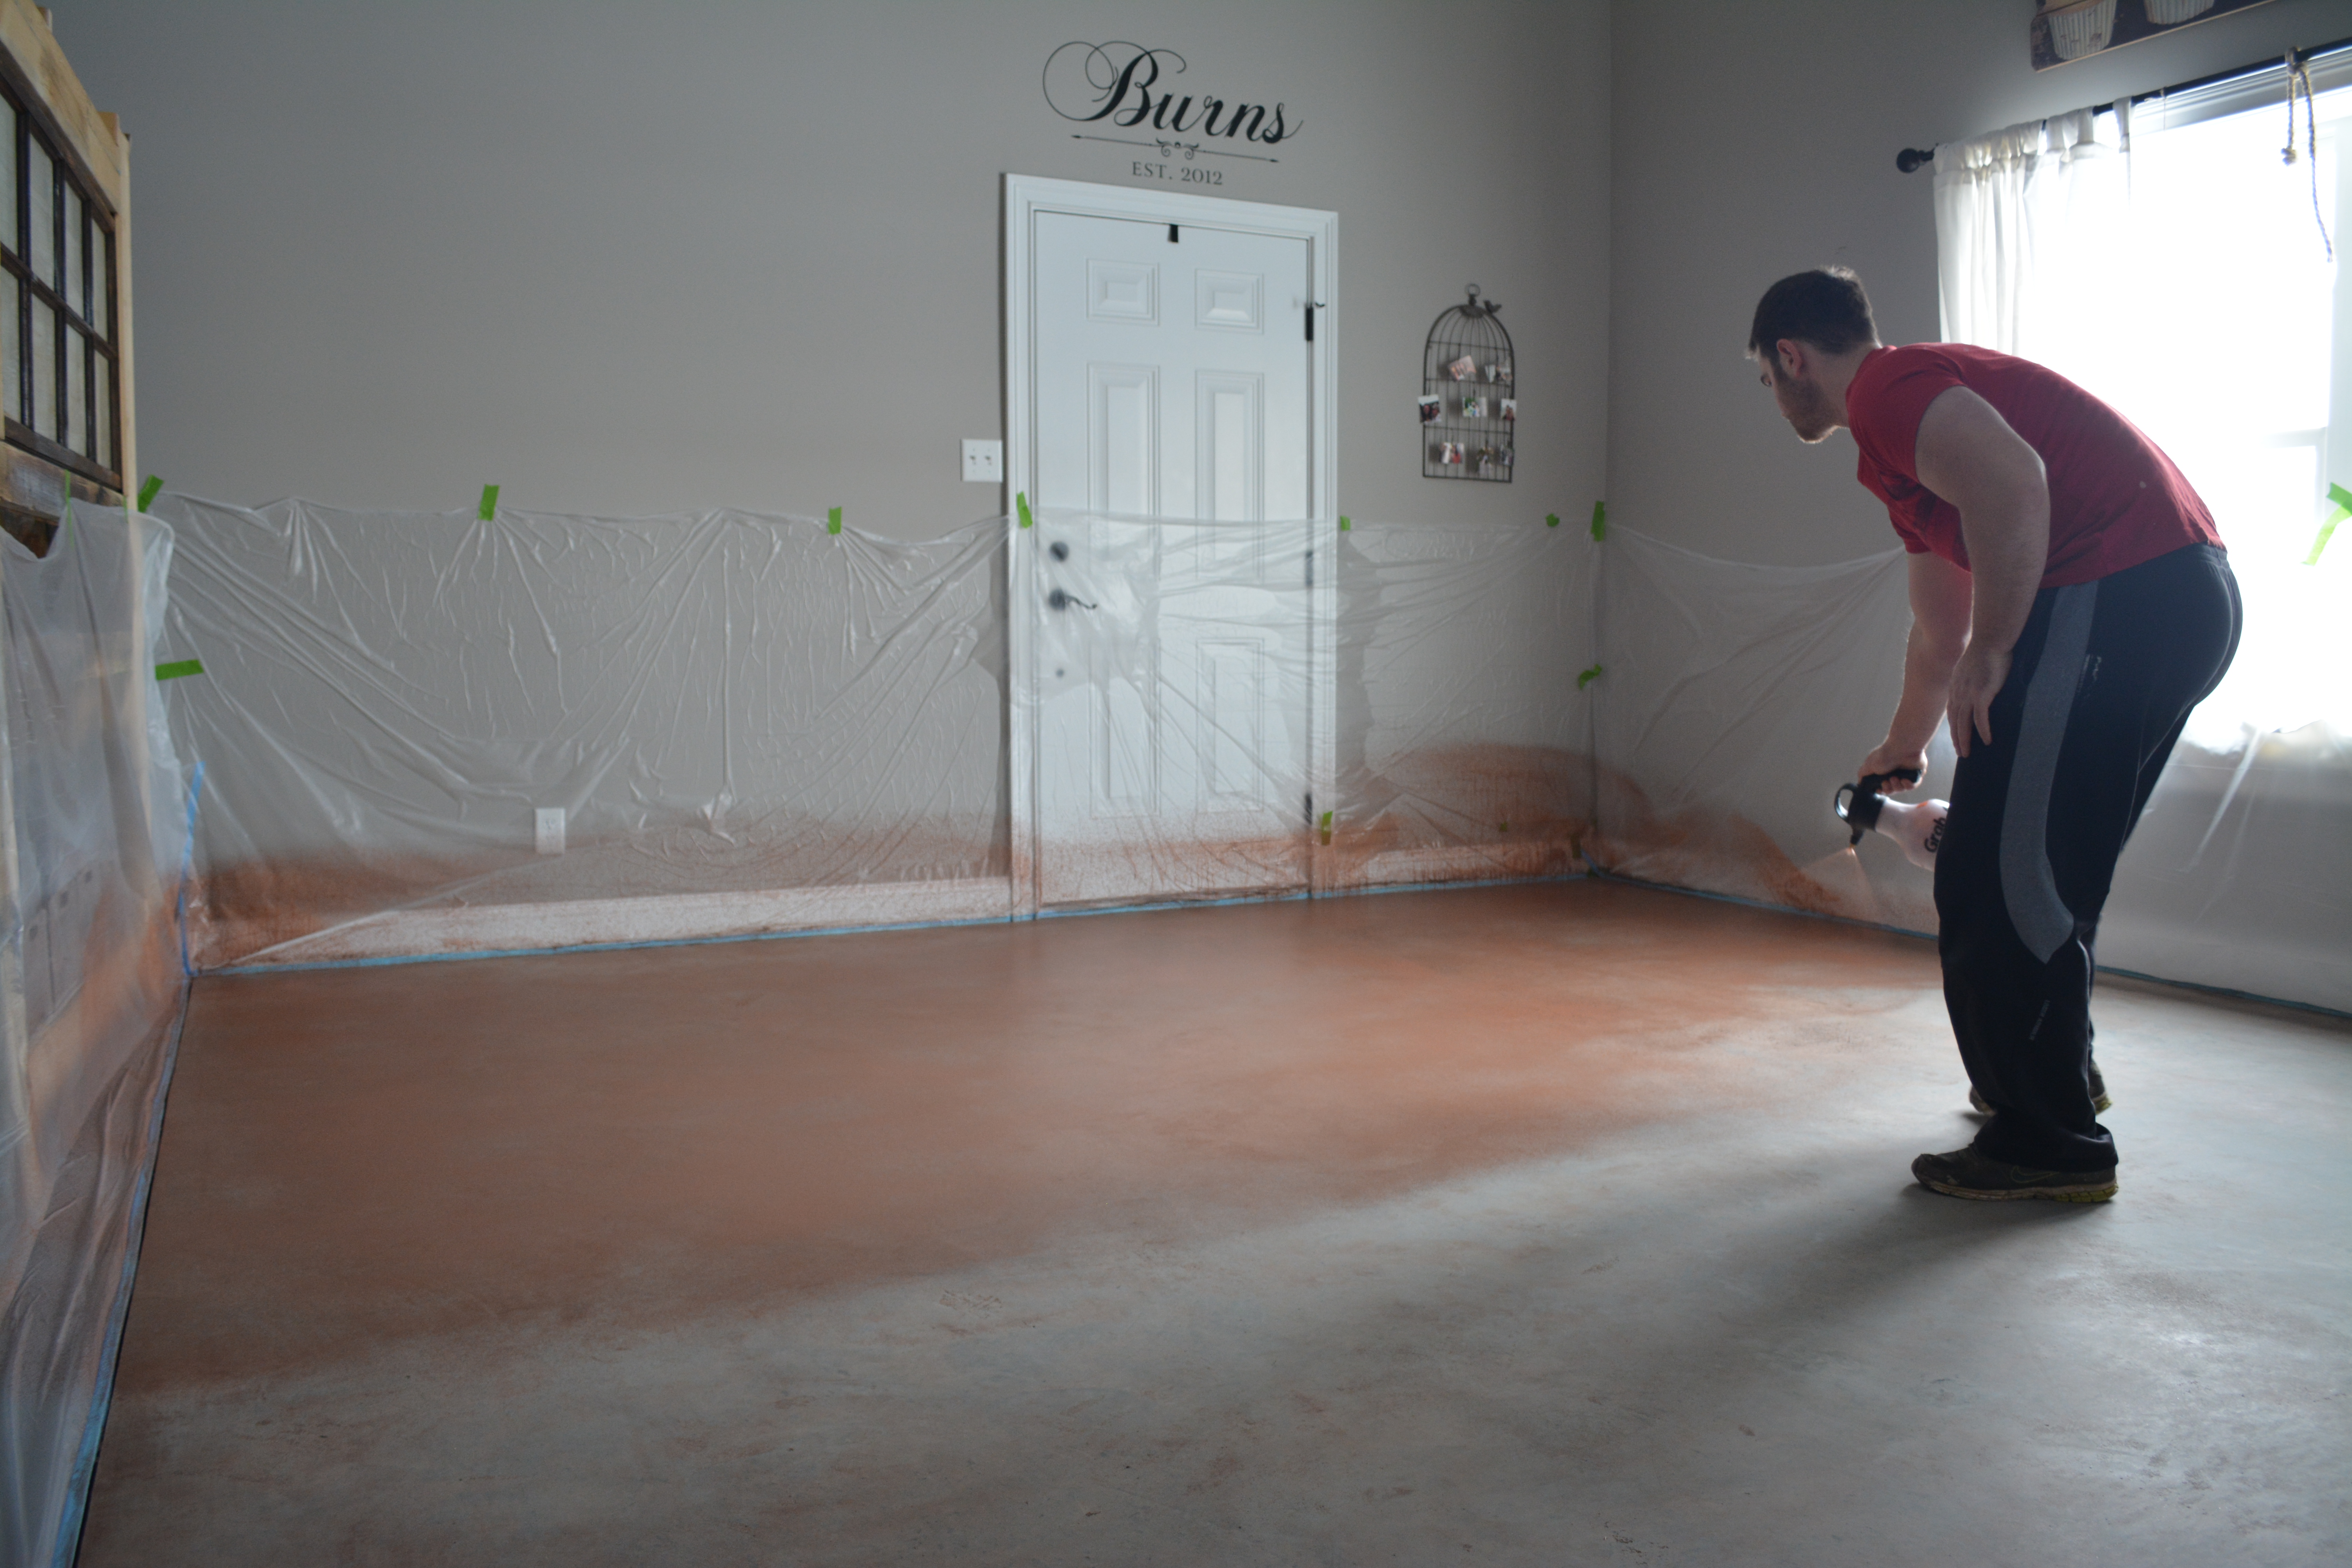
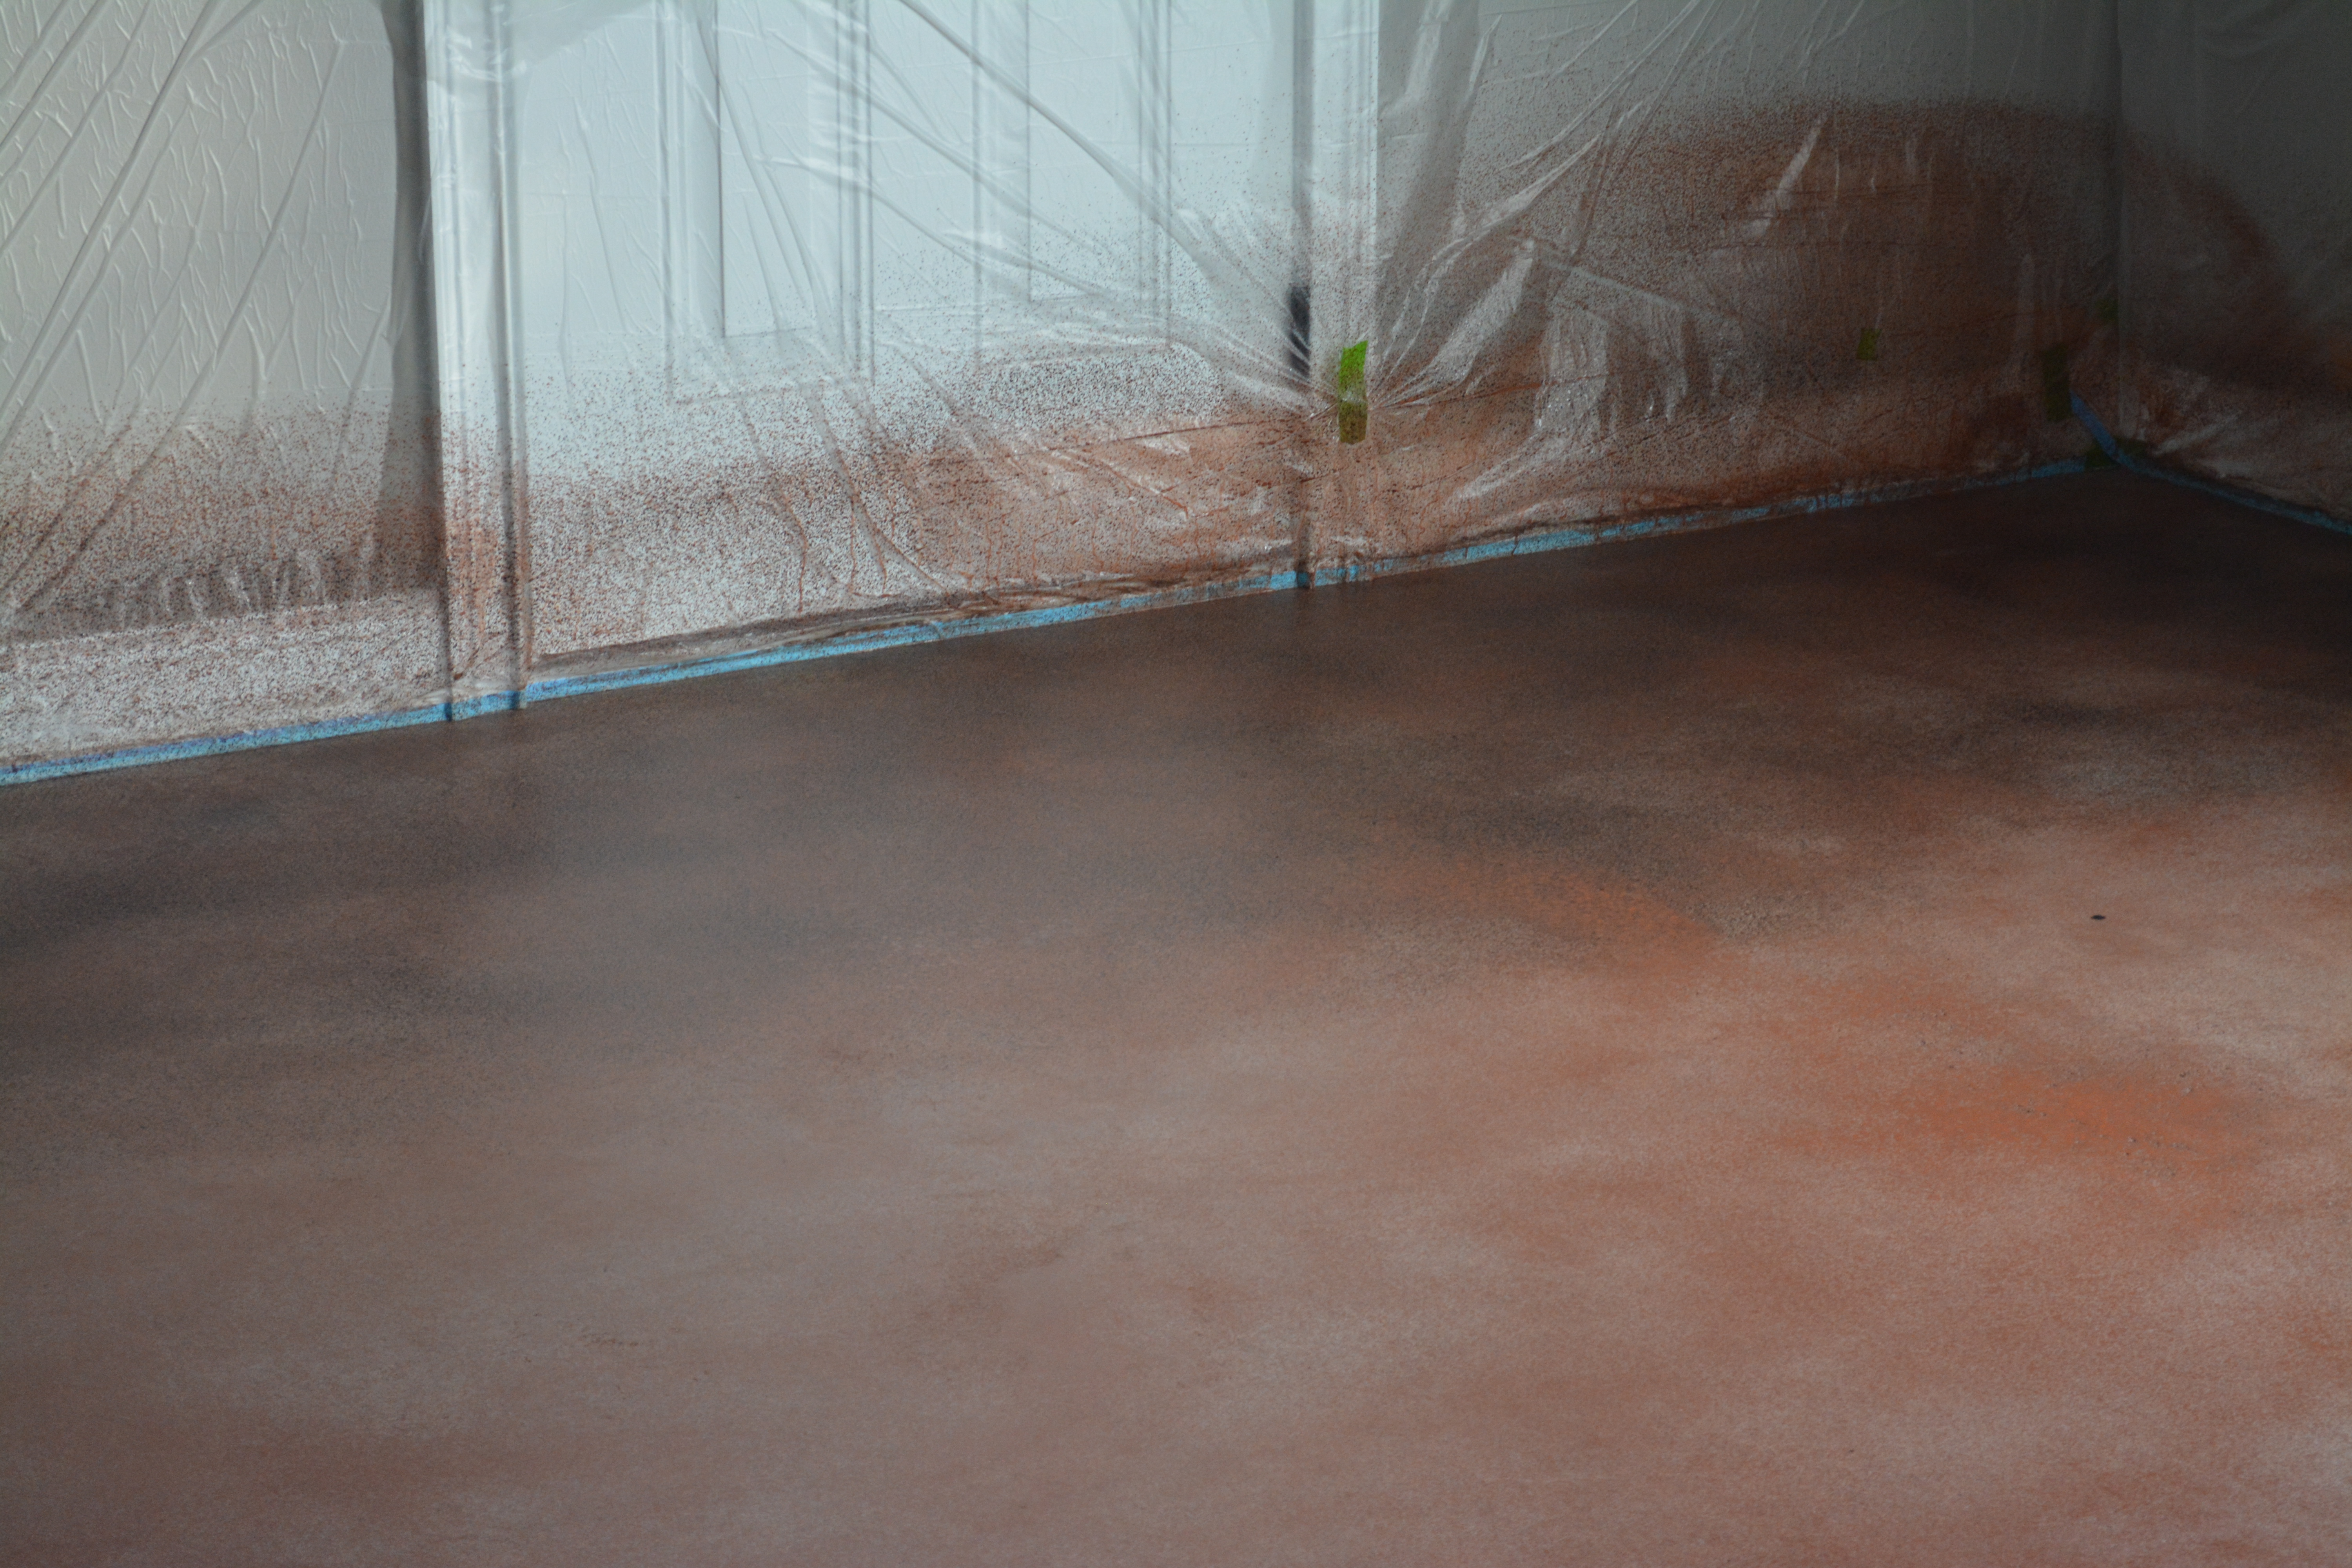
You will want to be sure to not oversaturate the area, but rather spray on a light coat (you should see it bead like in the image below). After the entire area is covered, you will want to let the first coat dry for about an hour. You may have to adjust the time depending on the temperature/humidity. As long as you can walk on the surface without any color lifting, you should be ready to move onto the second color.

Again, be sure you are mixing your colors right before you use them – a lot of the color sits at the bottom of the can, so the stain will be watery if you don’t mix it really well.
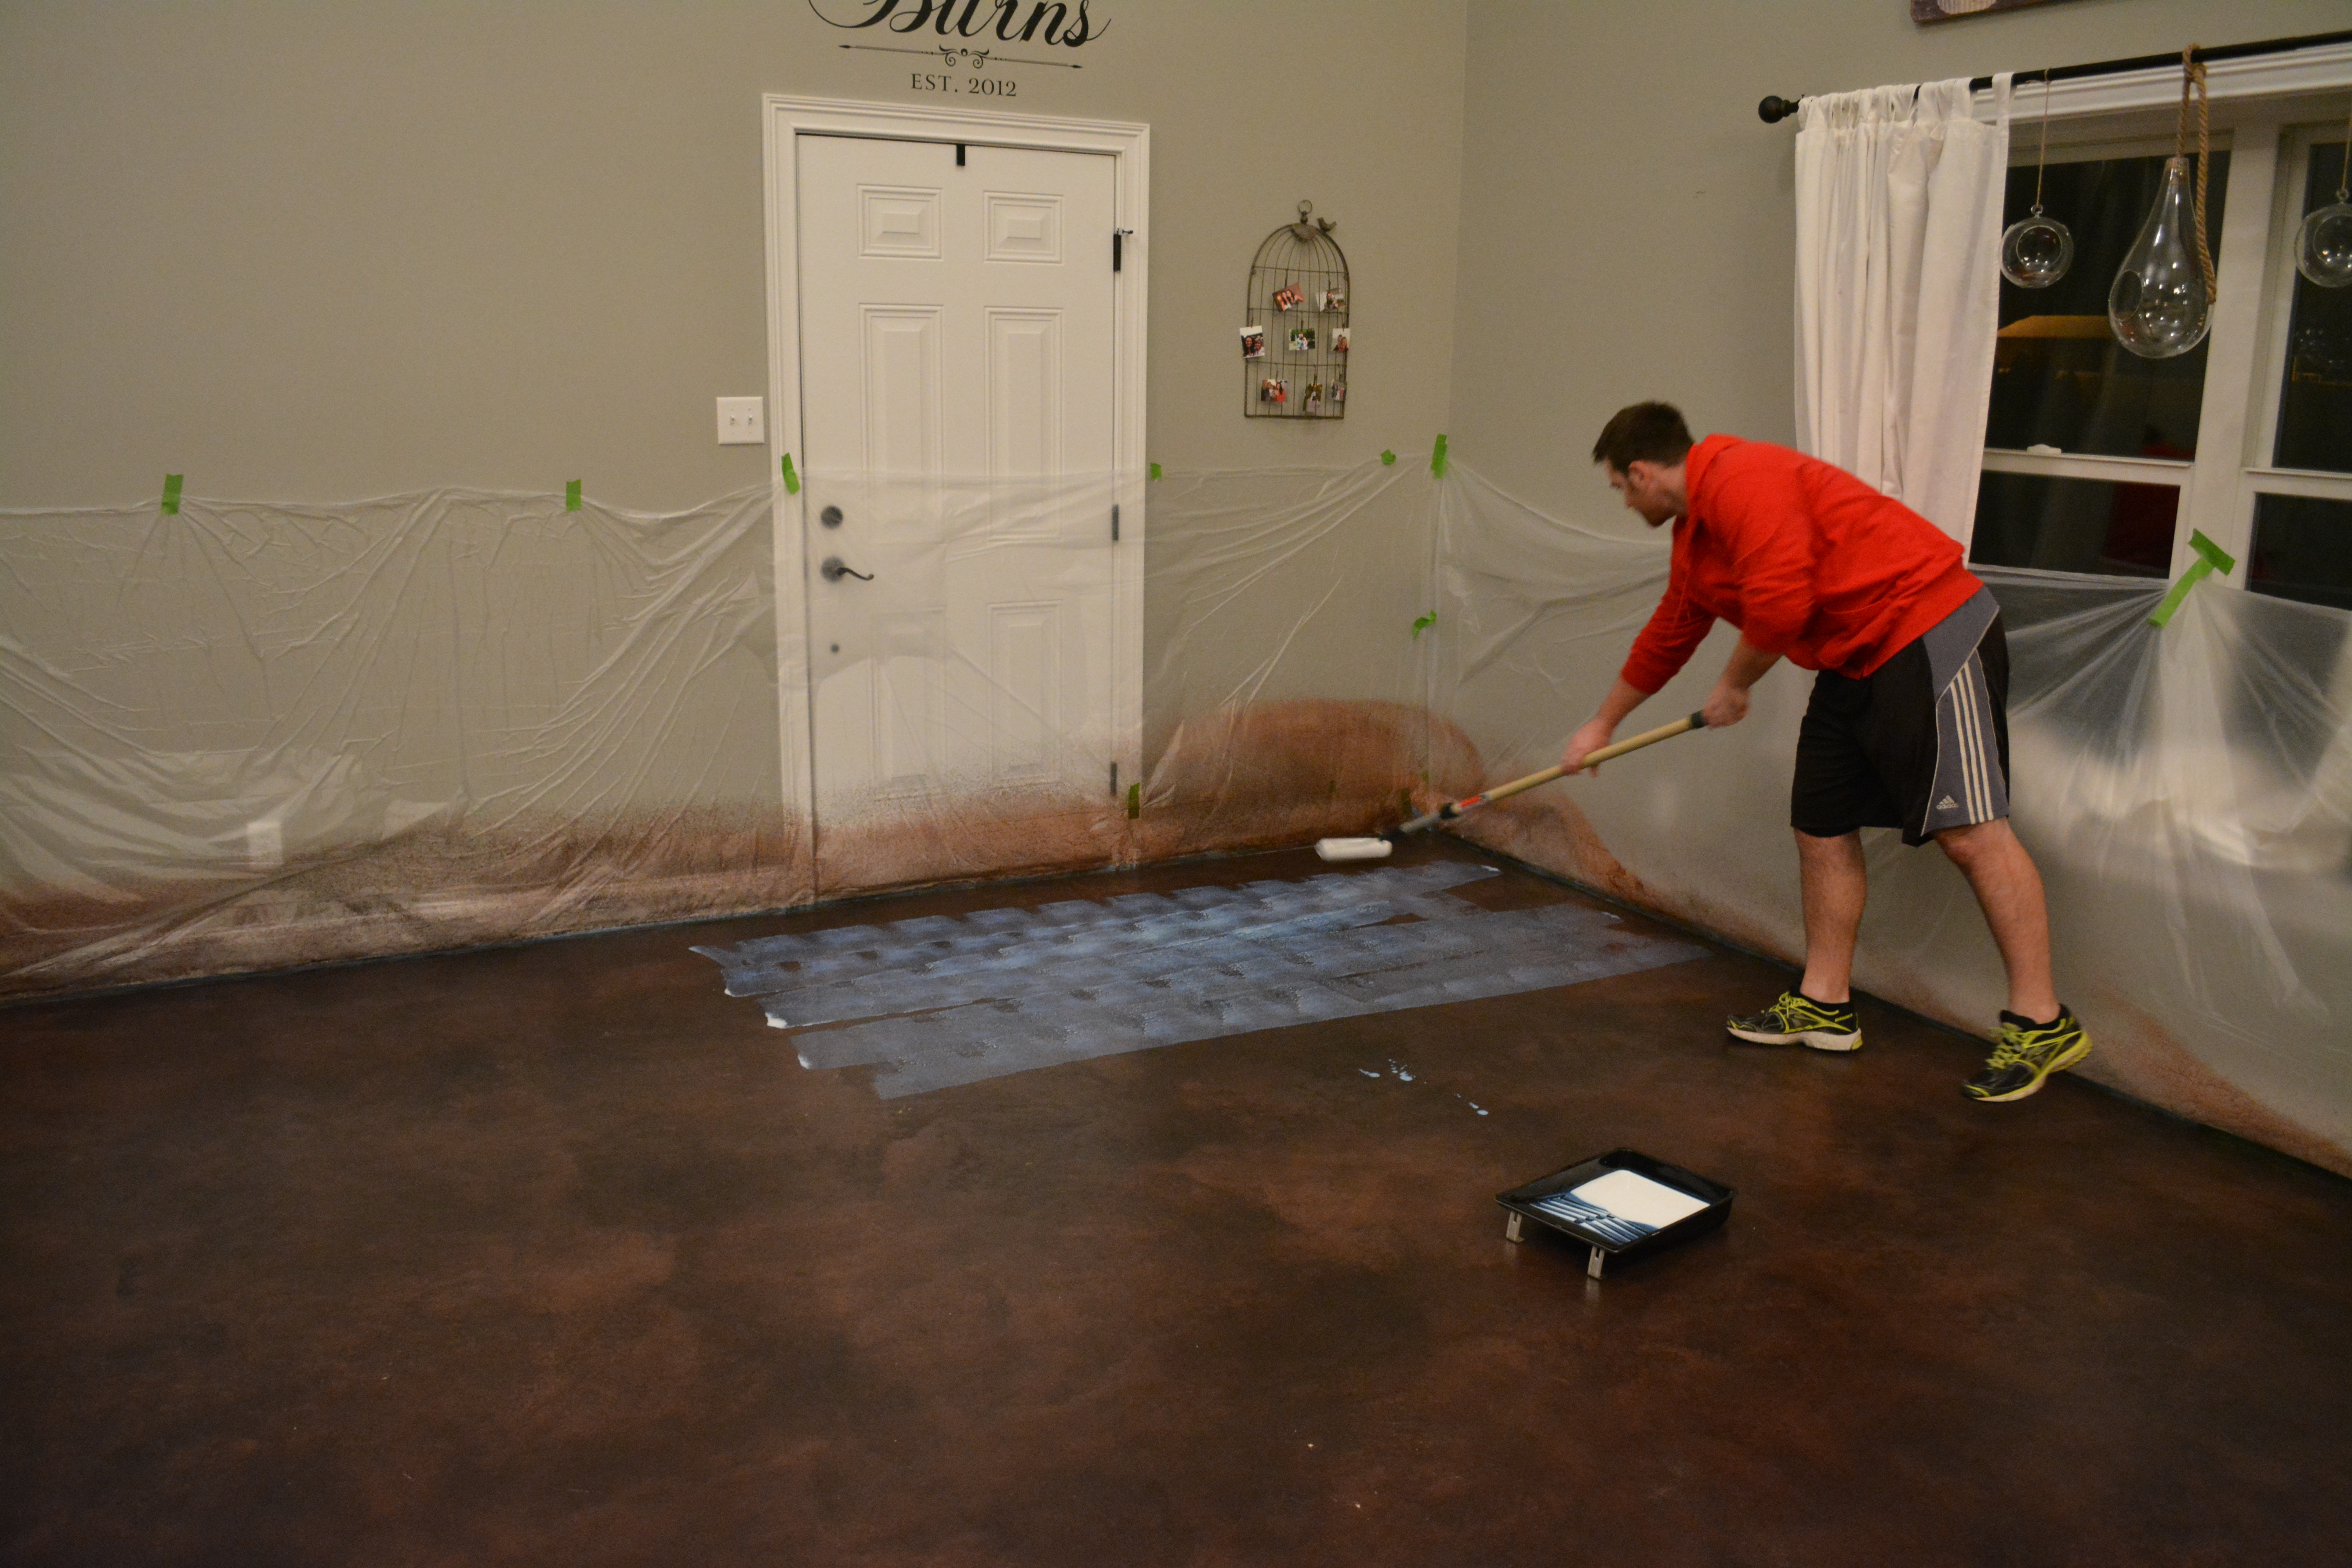
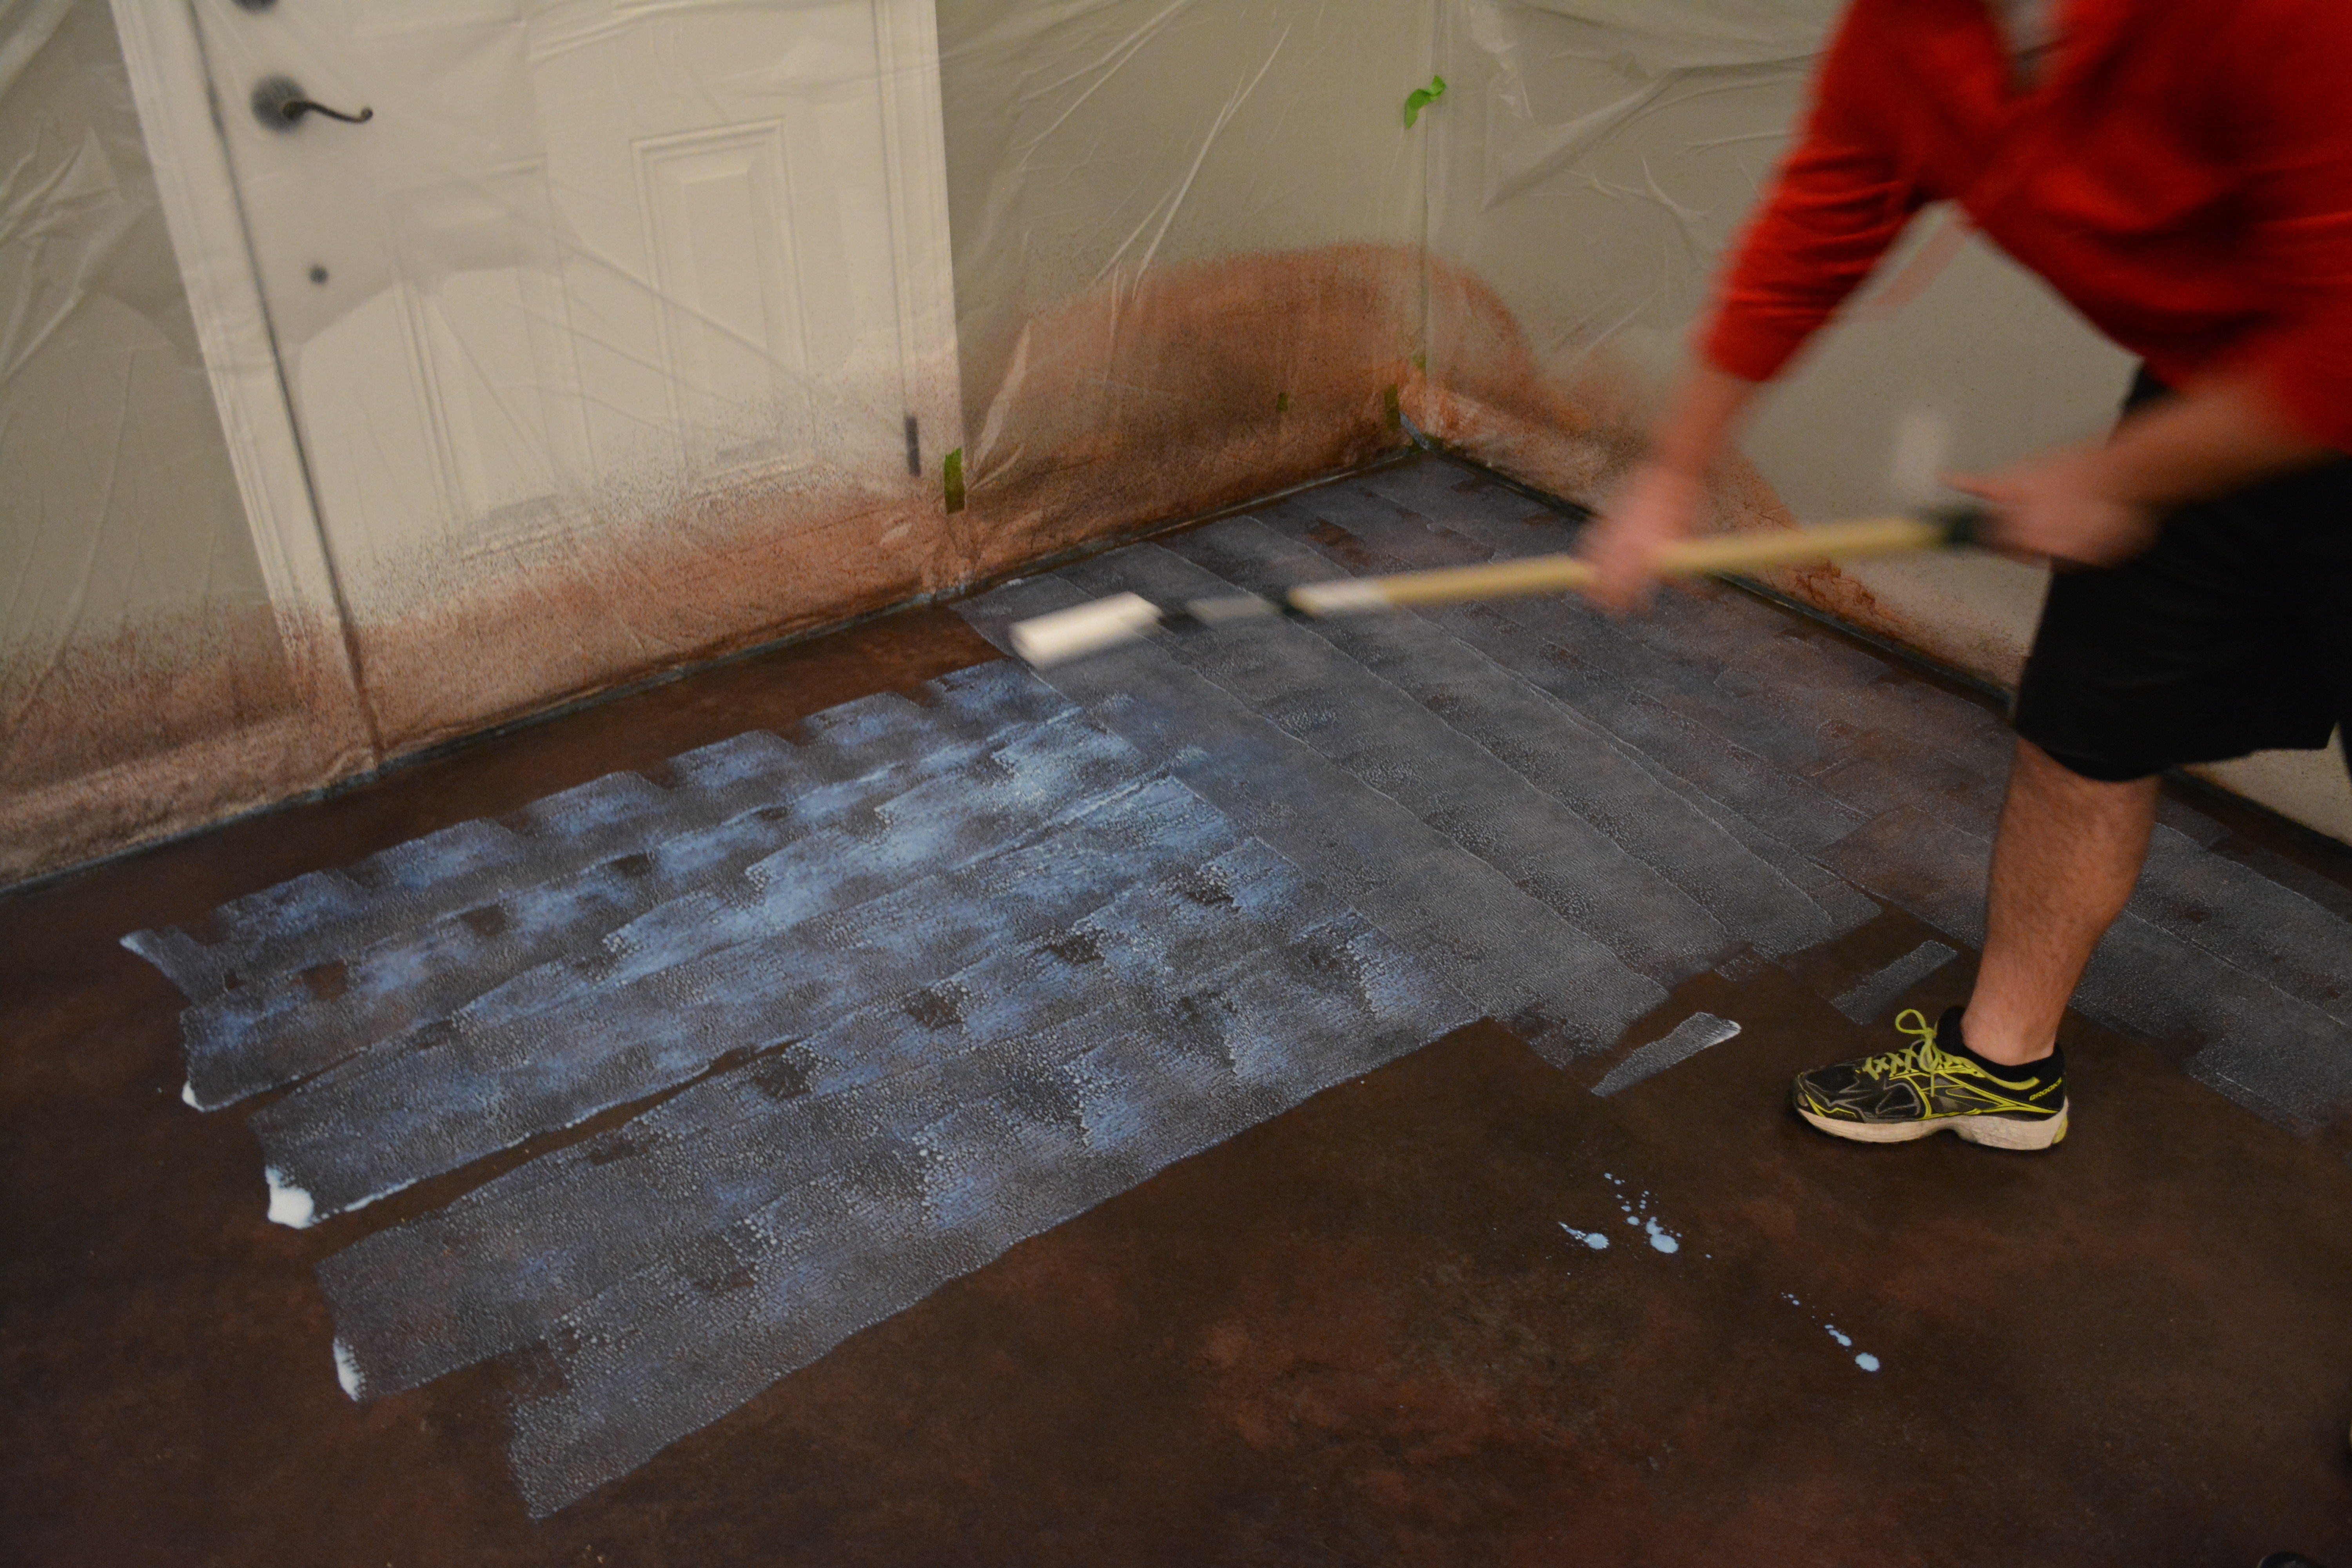
When applying the 2nd (darker) color, you will want to be sure to do small sections at a time. After lightly spraying a 3ft. wide row from end to end, let the color sit for about 3.5-4 minutes – the exact time will depend on how much your concrete is taking in the stain.

After you feel enough time has passed (you will want to be sure all of the color is not coming up, but you still want the color to move around so that you can create the desired pattern), begin to rub the stain in circular motions so that the colors blend.


As you move on to the next section of your floor, be sure that you overlap the stain so that you do not end up with funny lines. Again, let the stain sit for about 3.5-4 minutes (again depending on how your concrete is absorbing the color). After the concrete has had ample time to absorb the color, you will want to once again rub the color in with paper towel. If you are having issues with blending, a small water bottle can be helpful – just be sure not to use too much water!

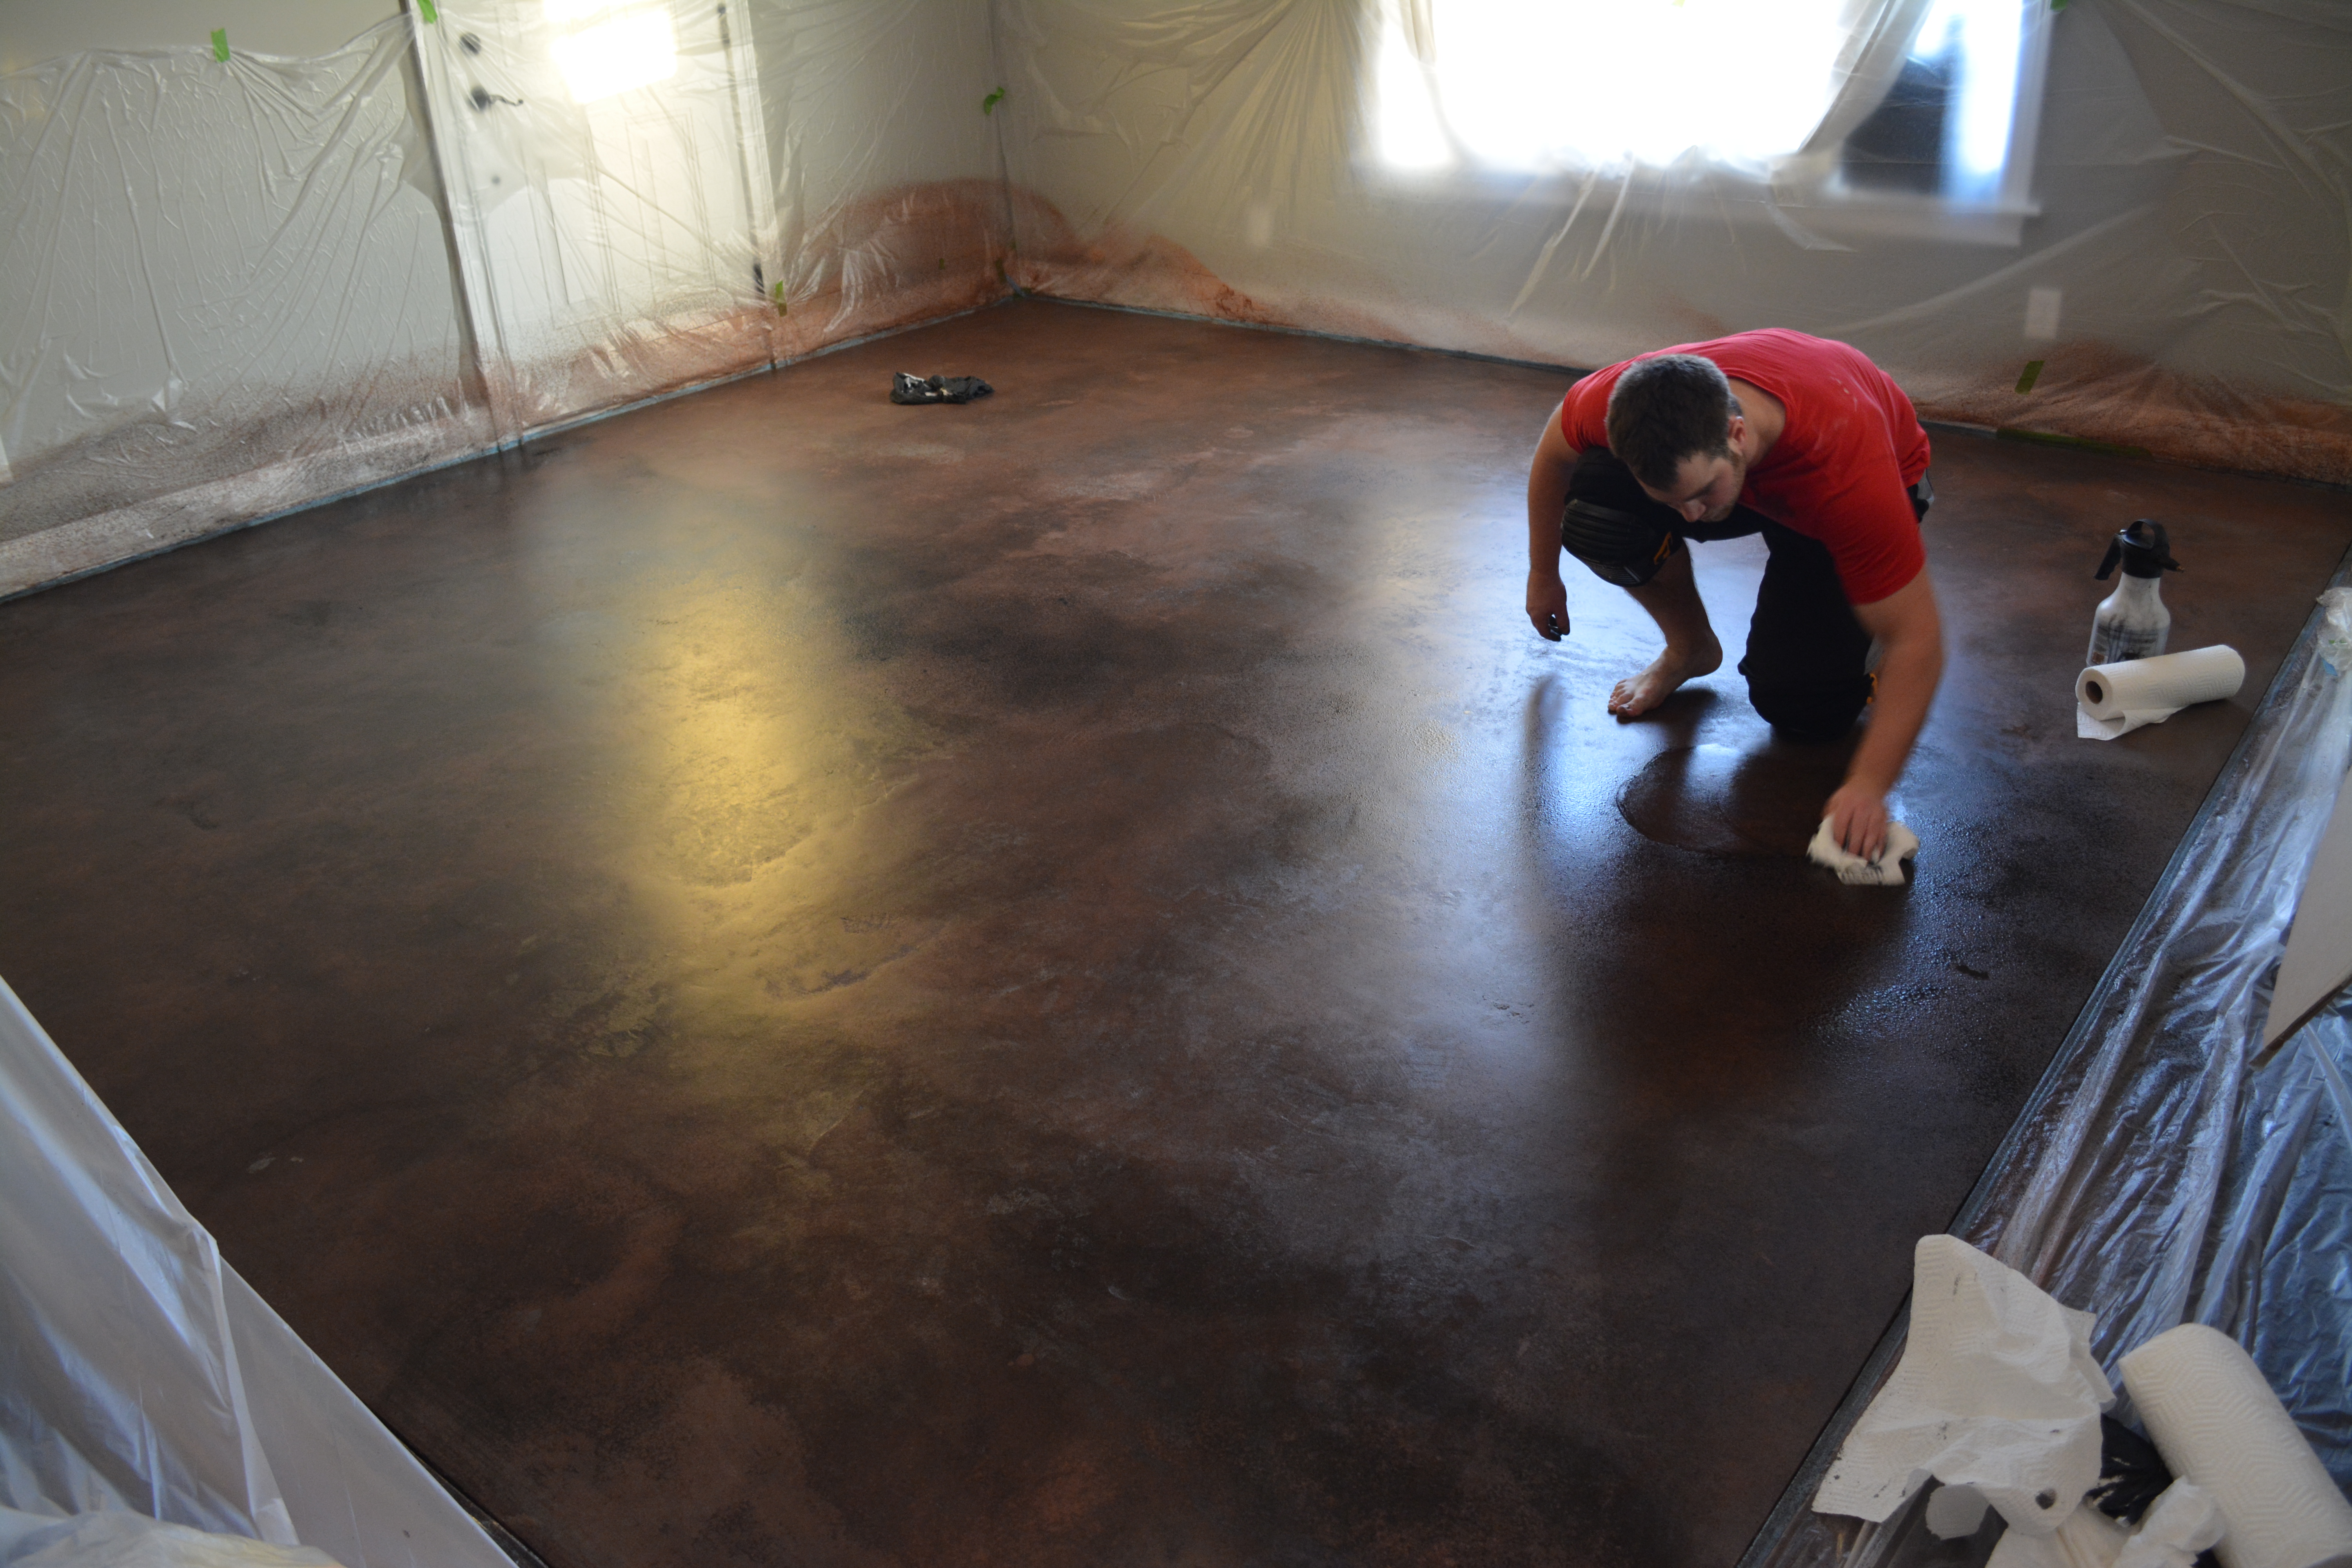

You may end up with some spots that just won’t take the stain. You will want to go back and hit those spots hard with the stain. Let it sit for about 4 minutes again (maybe a bit longer), and then wipe it off like you did before.


After your color is applied as desired, you need to let your floors sit for at least an hour according to the directions. We let ours sit for about two just to be sure. When your floors are completely dry, it is time to put the sealer on. This will protect your floors, and ensure that your color doesn’t come up. It will also protect your concrete from absorbing other things. This part can be tricky because you don’t want bubbling, so be sure to be patient with this step – it will pay off!

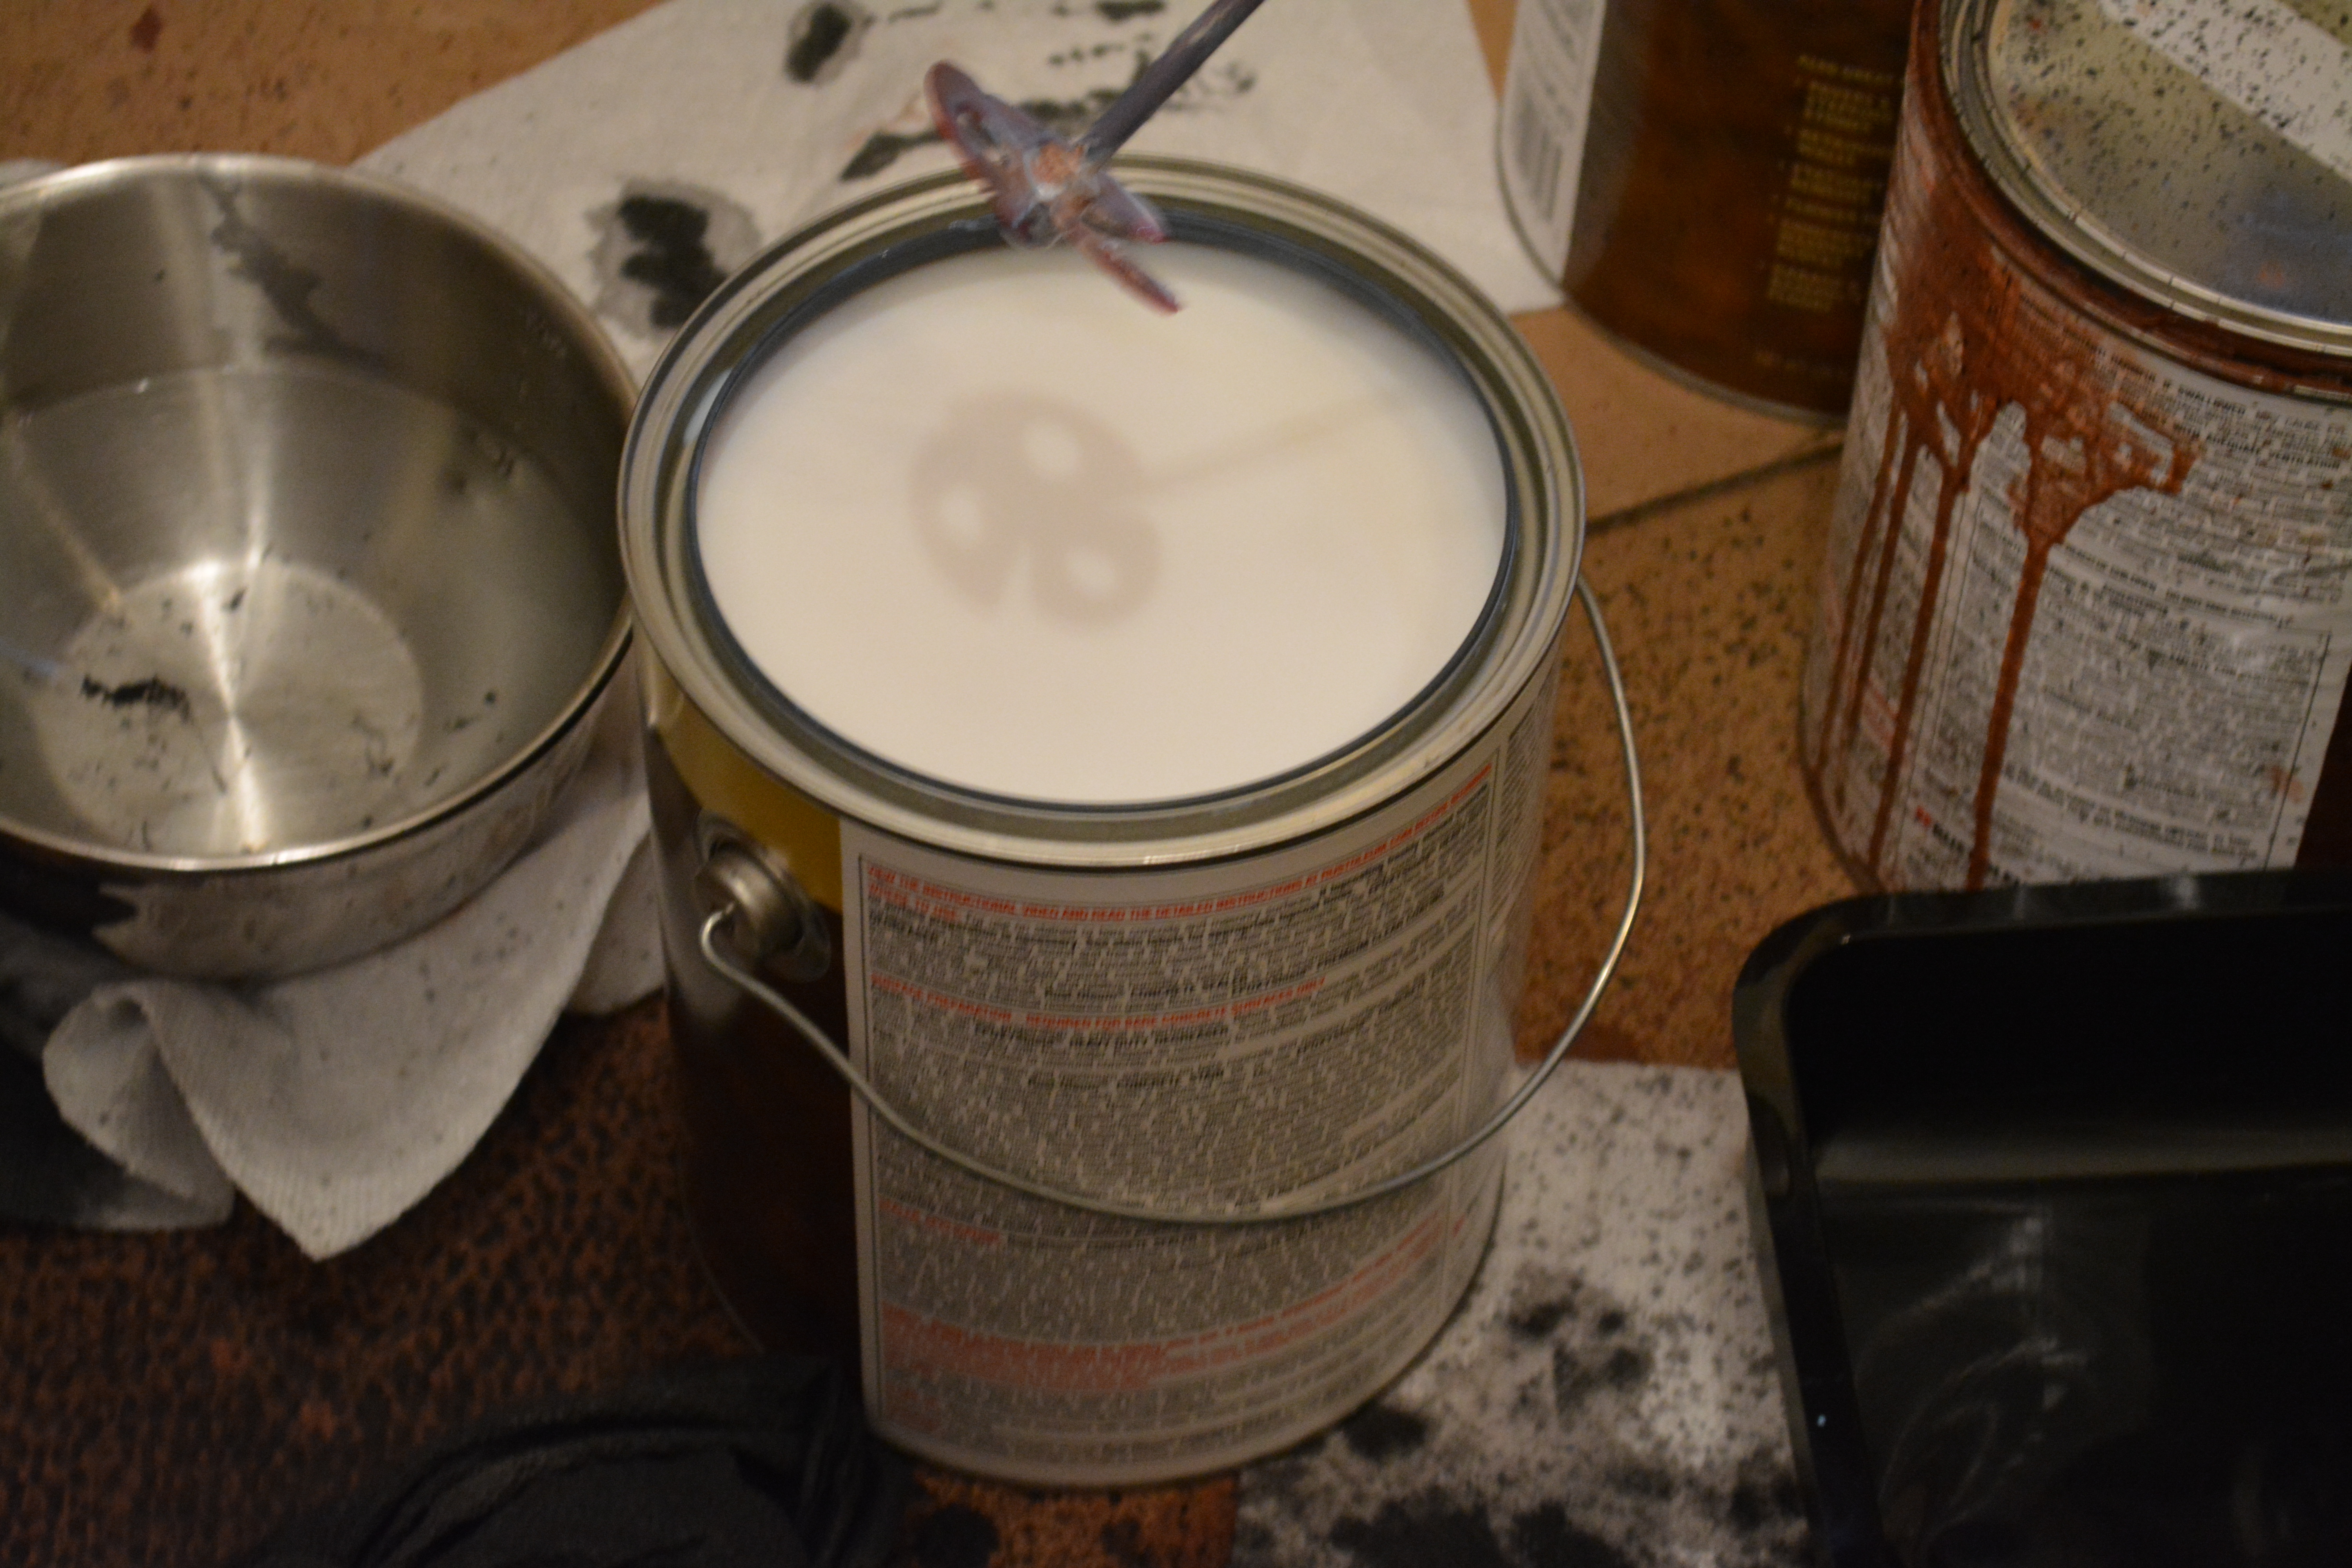
Though the directions say to apply the sealer with a sprayer, we found that a roller is a much better way to do it. Your sealer will come out more even, and you will get a nicer finish. You are going to want to be sure to put two very light coats of sealer on your floor. As you are applying, you will want to roll both directions so that you do not end up with funky lines.

You will notice the sealer drying as you go, so you will want to work fast so that you can see where you have already hit, but not too fast or your sealer will develop bubbles. The trick to this part is keeping the coats very light – the more sealer on your roller, the more you chance having air bubbles.

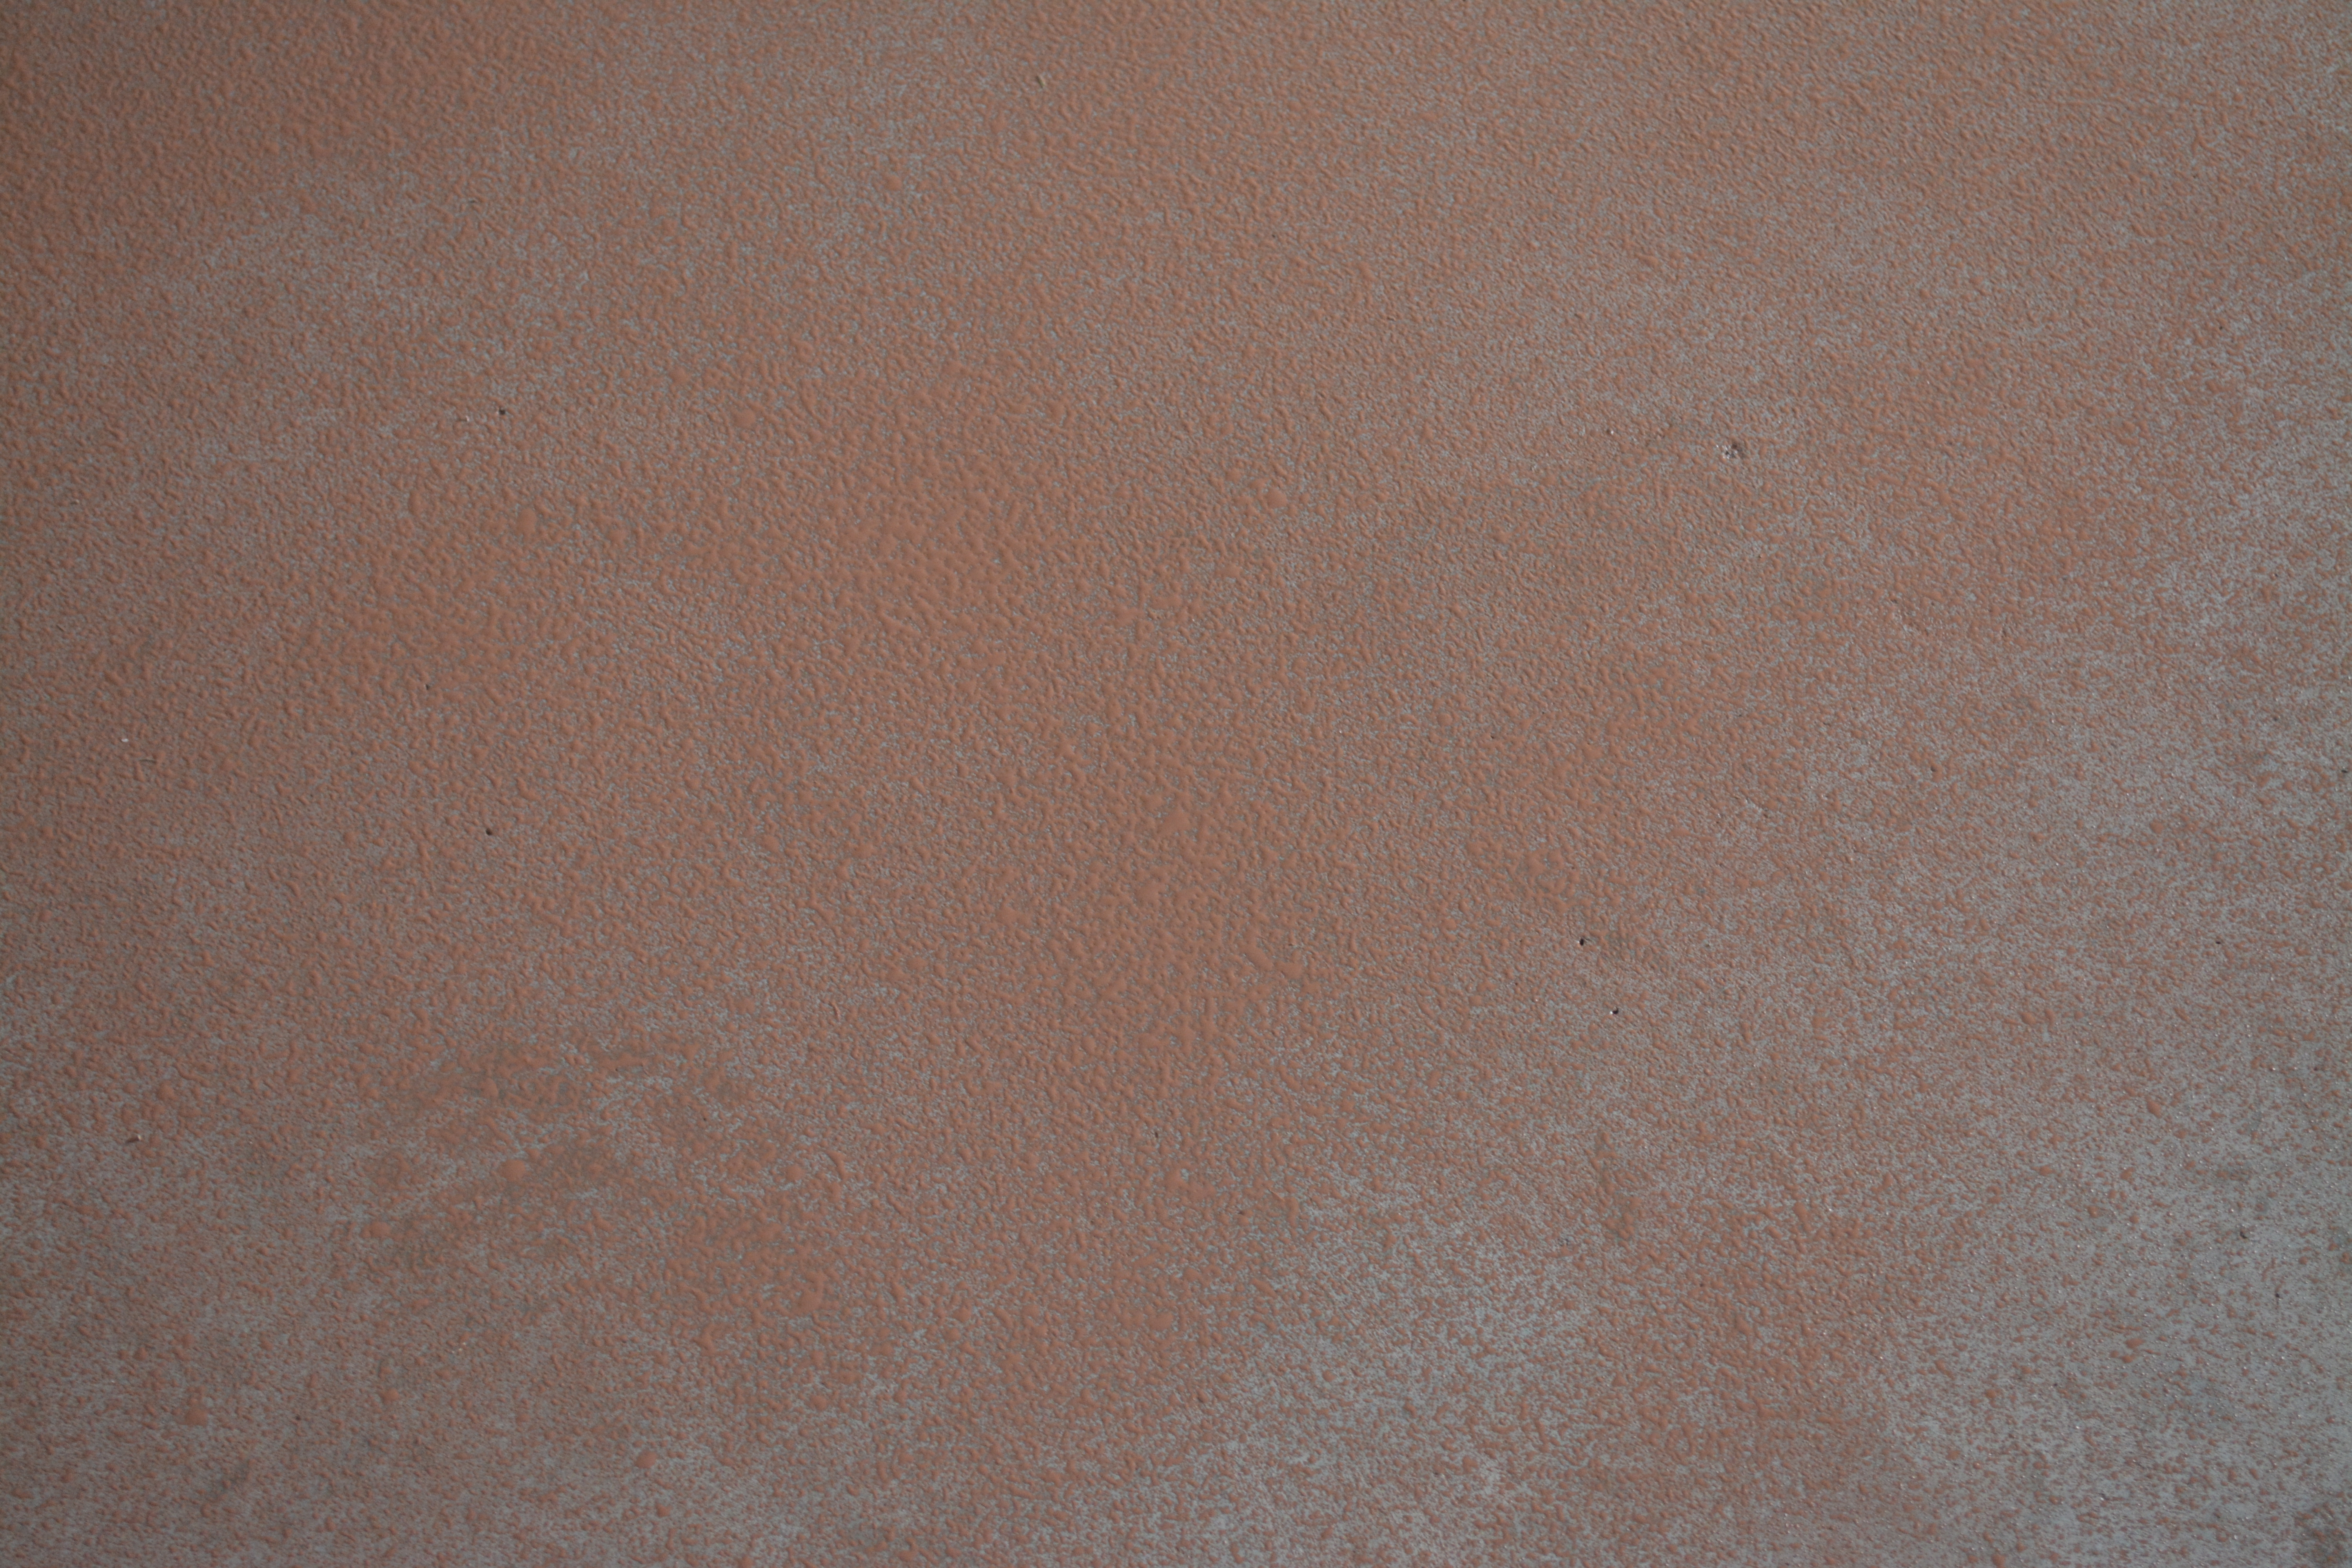
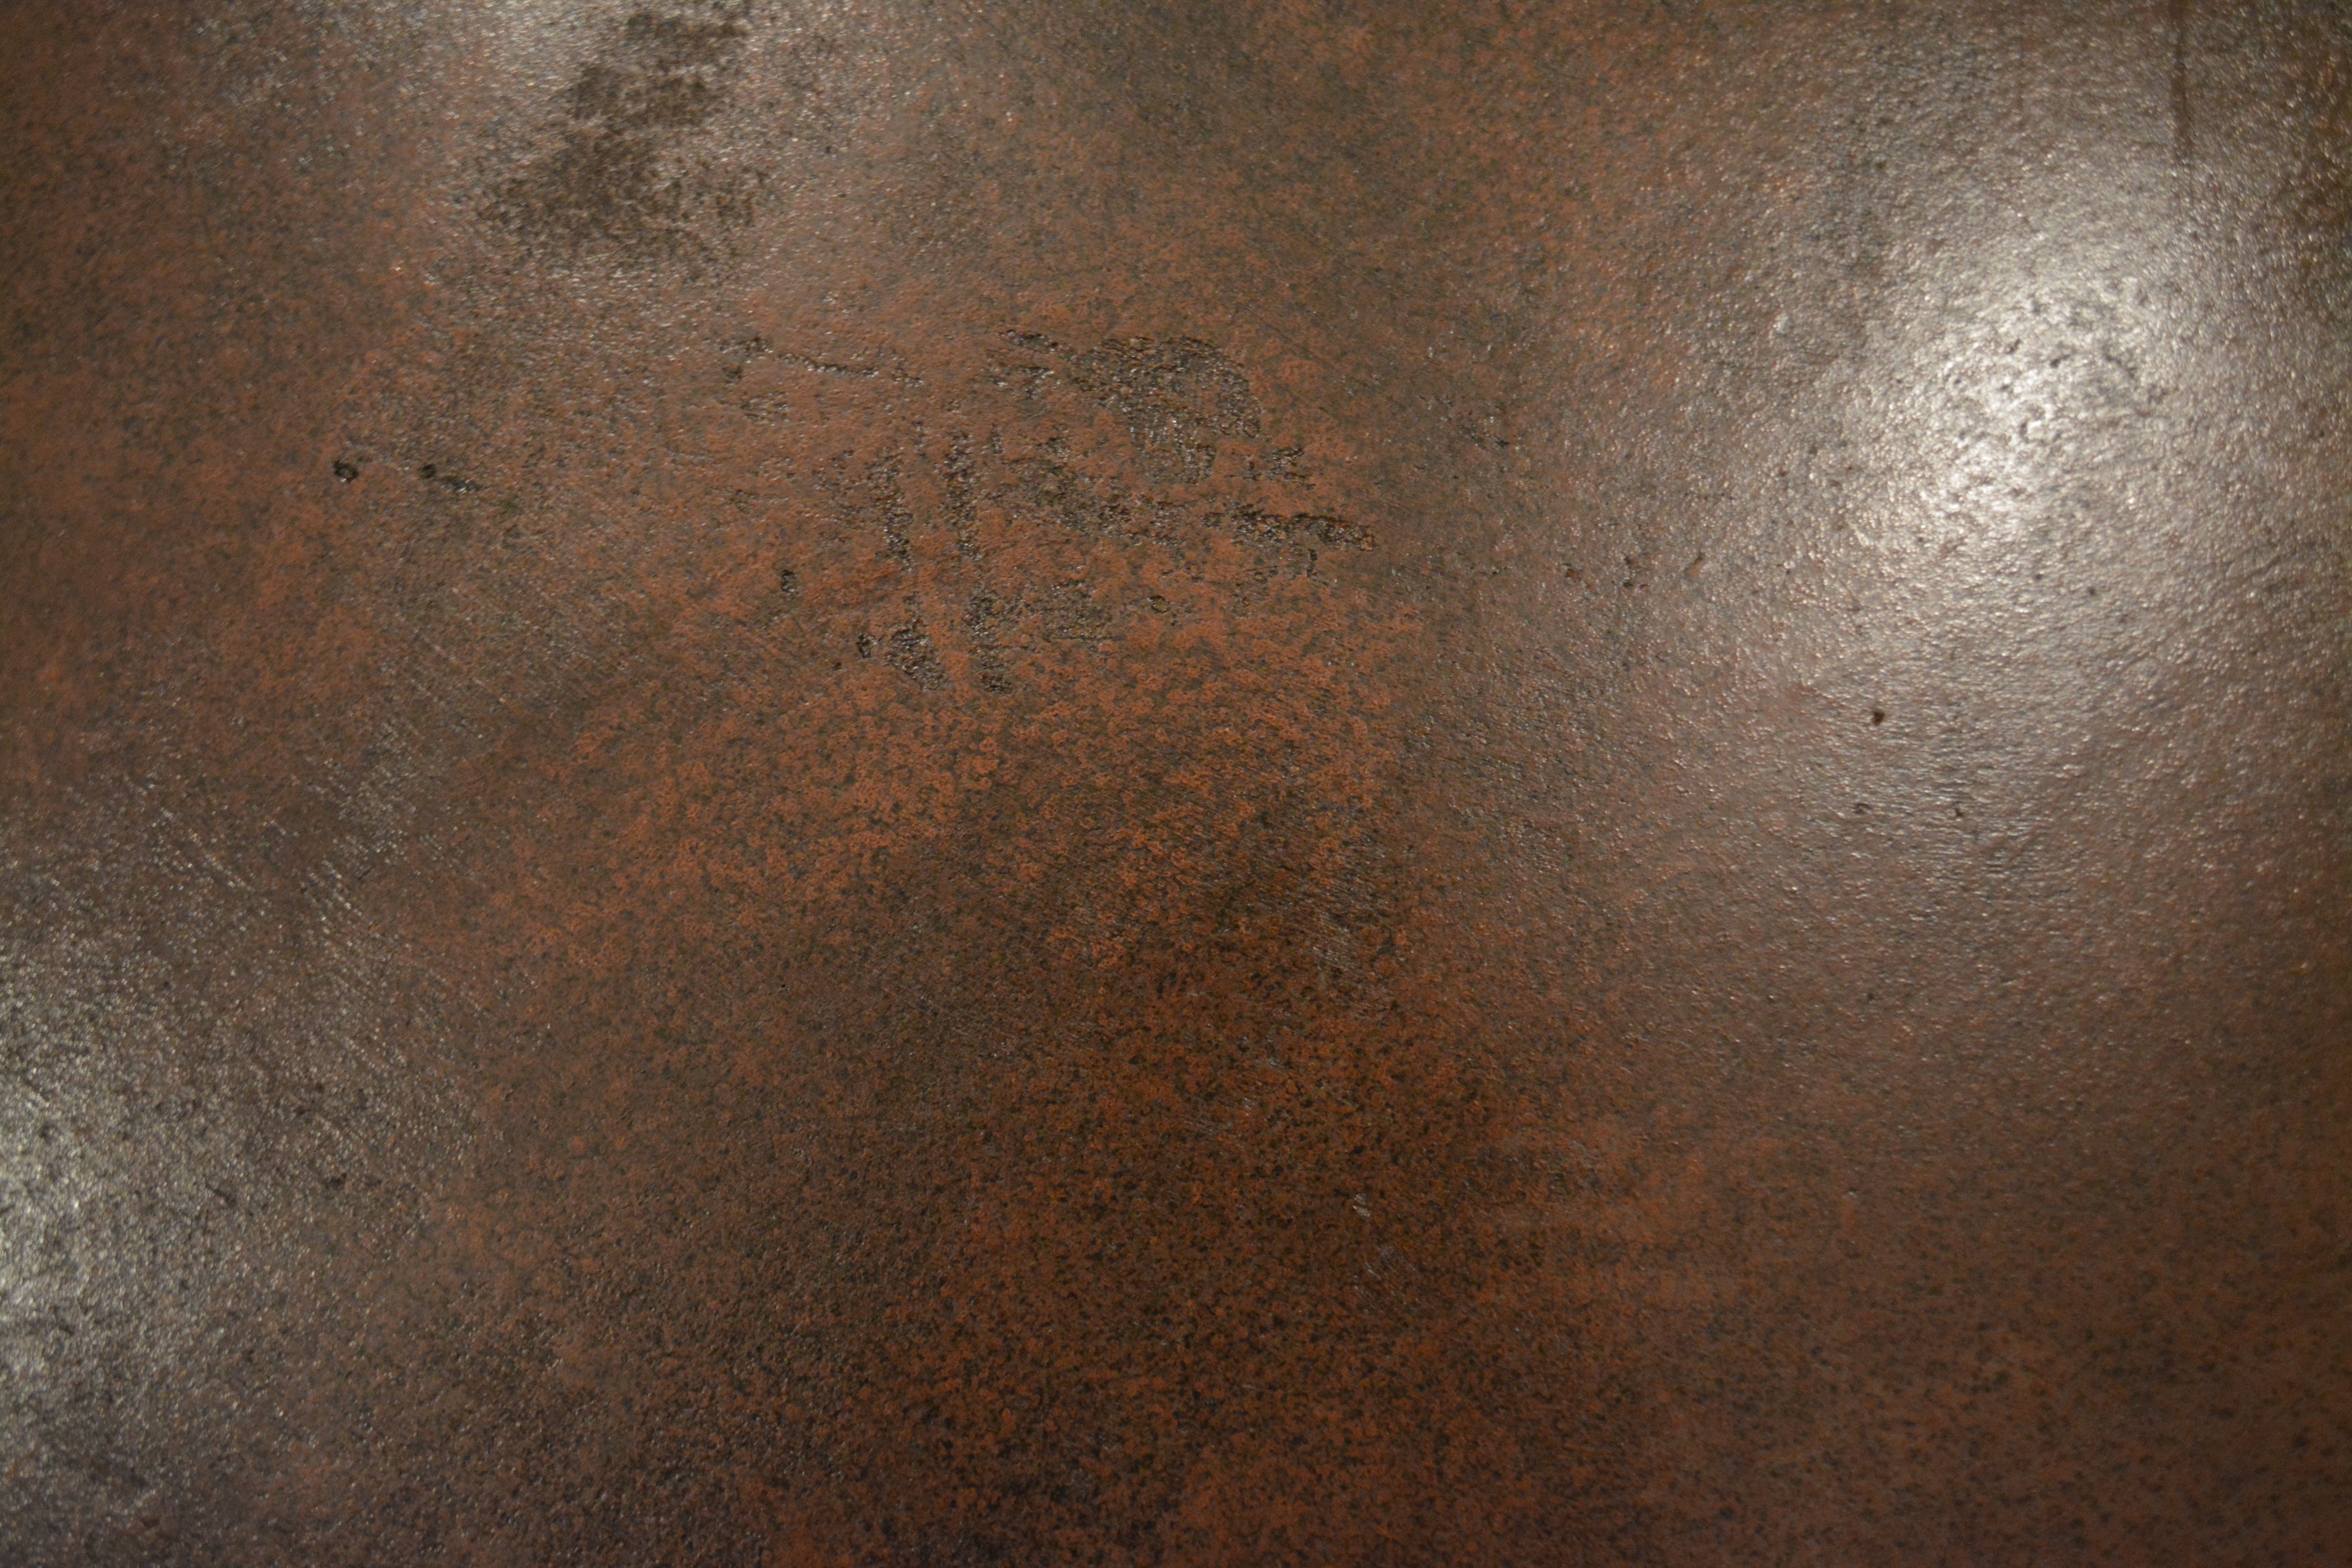
As soon as the first coat is dry, it should look like the picture below. Obviously your color/pattern may vary, but it should be smooth and without any bubbles.

You will then want to apply the second and final coat.

When you are finished, you should end up with something like this! 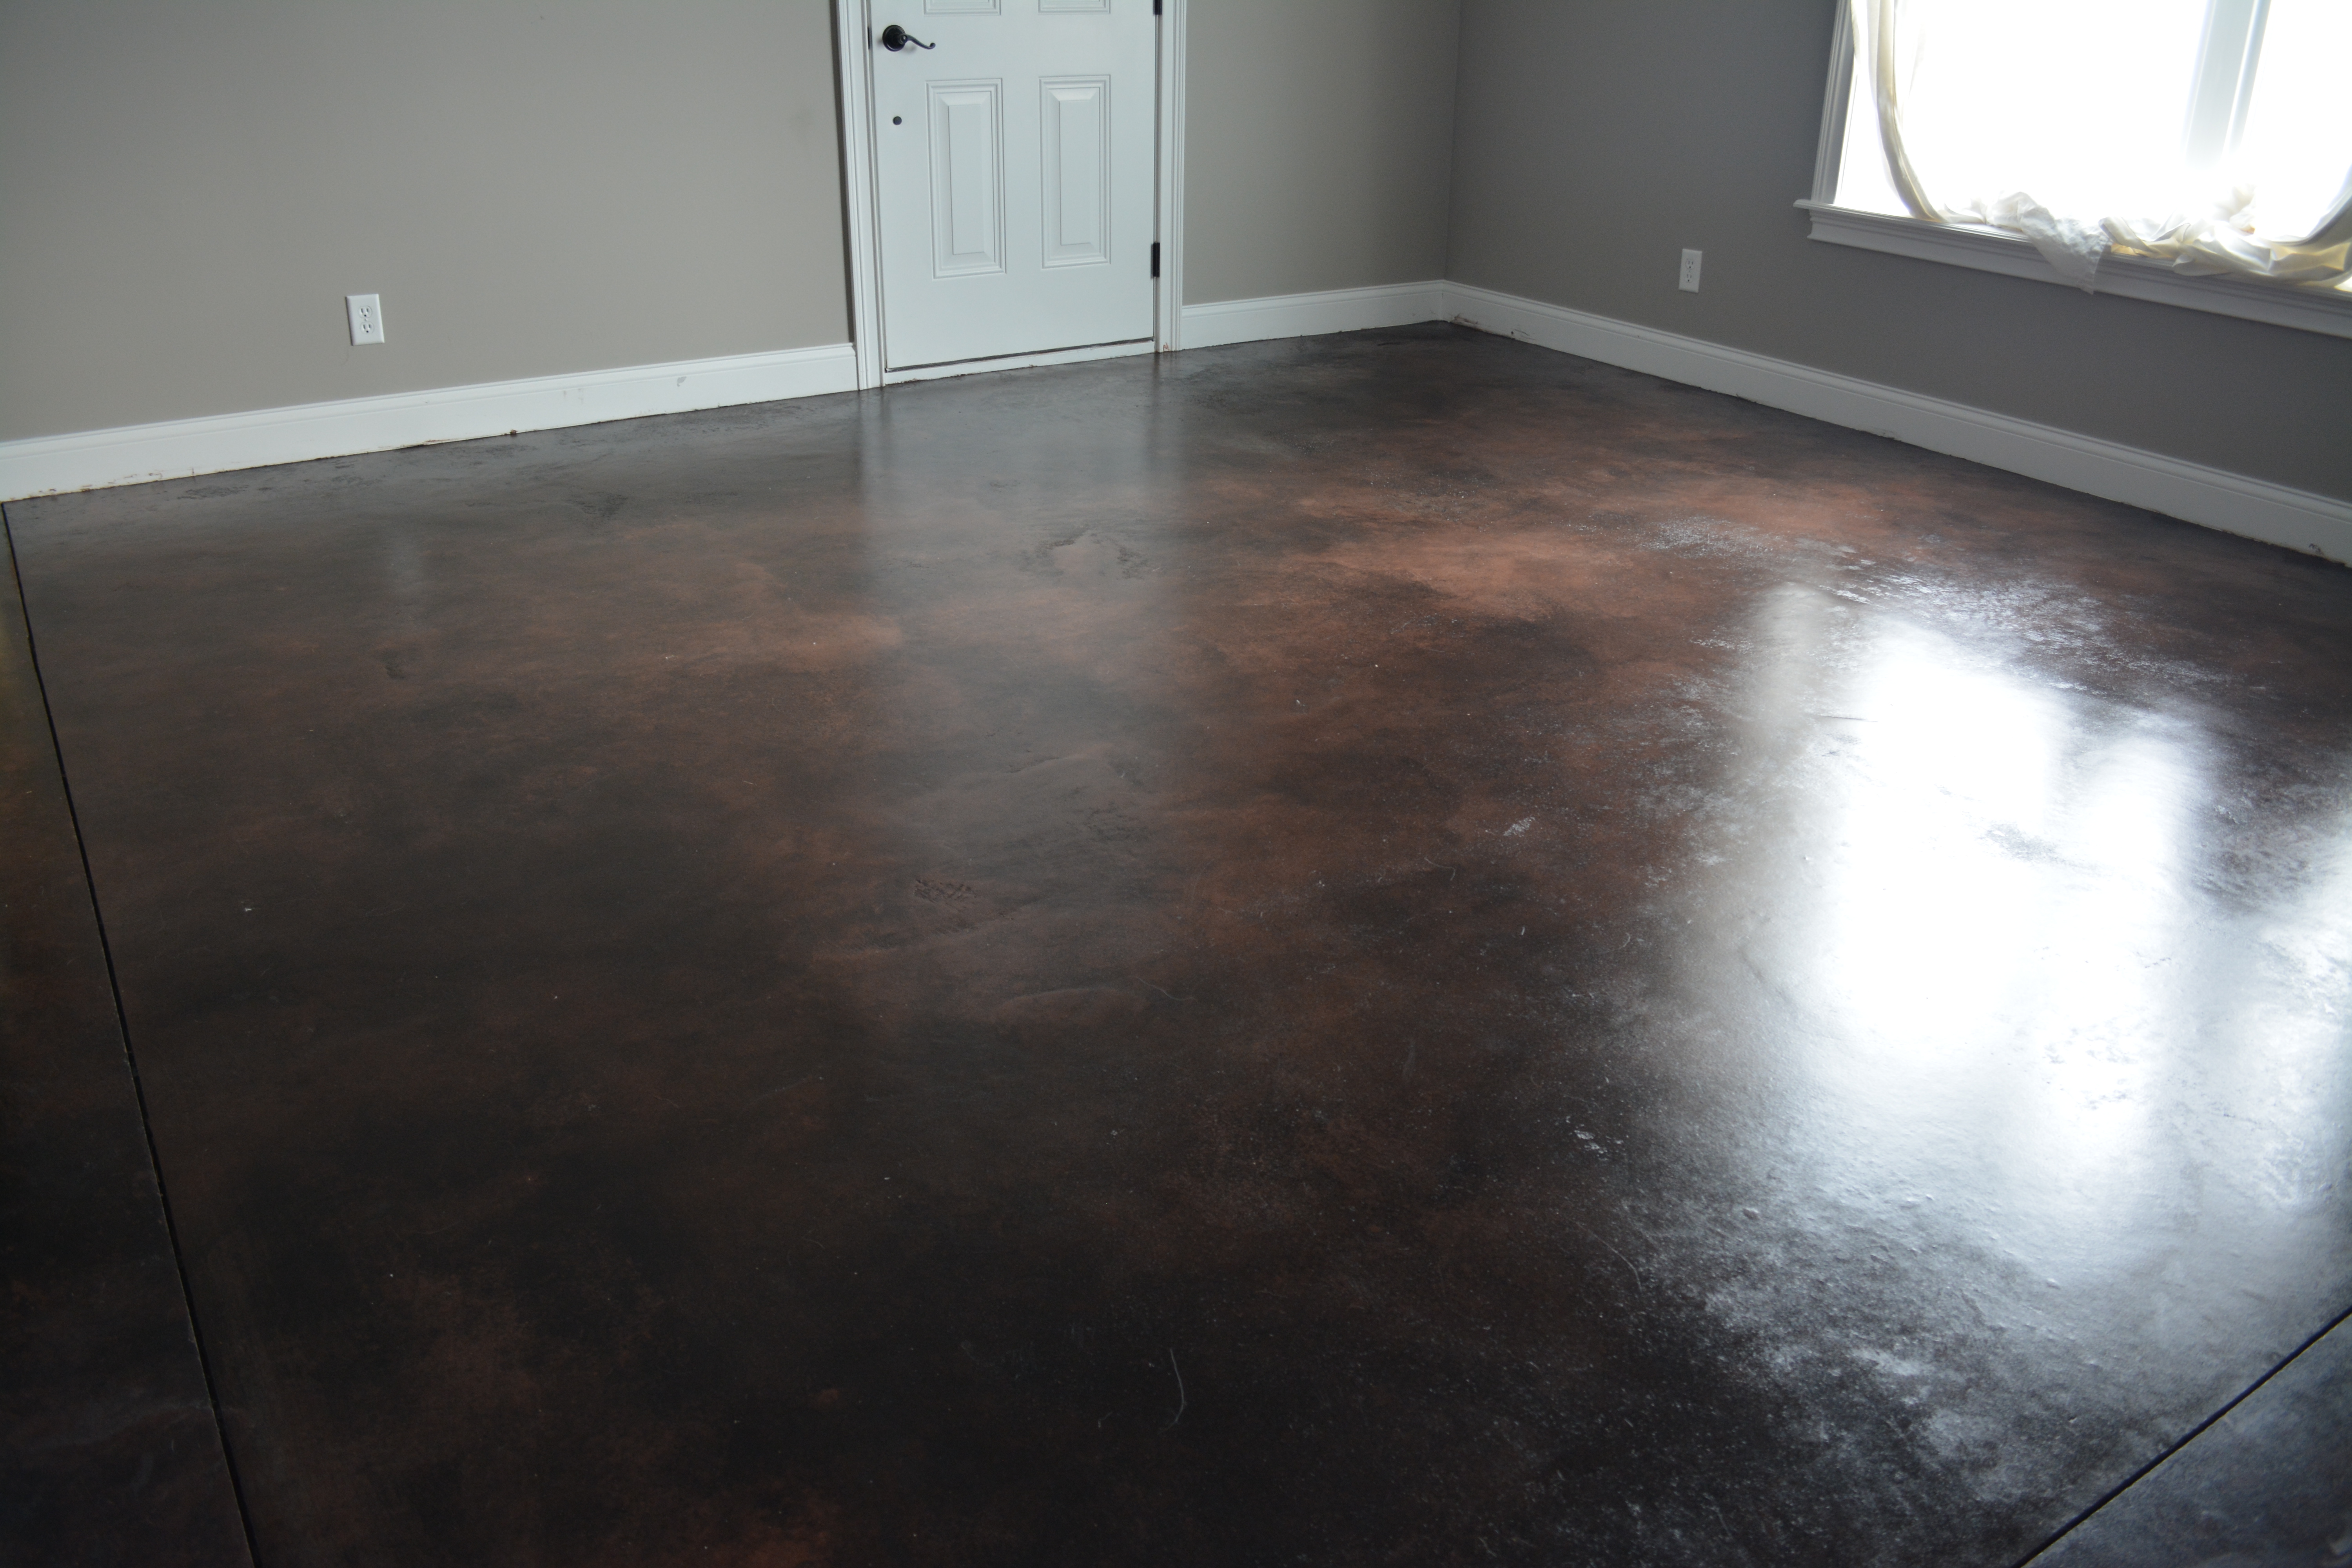
If you have made it to the end, thanks so much for your patience! I know this post was long, but there was a lot of material to cover. Please feel free to contact me with any questions you might have – I’ll do my very best to answer them!
Hi Avery! I love the look of the floors – you are so brave trying something so new and challenging! My dad will be pouring a floor in our barn this summer for my wedding since we are doing part of my reception in the space. I believe he is going to do concrete and I’m grateful for his updates to the barn but I’m not a fan of the plain gray floors…they just appear cold in my opinion. Do you think that this project is something that can be done for a barn and do you have a rough estimate of the cost per square foot of the project?
LikeLike
Hi, Hannah! Thank you so much for your kind words, I really appreciate them! What a fun wedding it sounds like you are going to have – barn weddings are so neat! This project is absolutely something that should be able to be done on barn floors, we live in a barn house, so they should be pretty similar I would think! As for cost, it was about $.50/sq ft. It was a very reasonable flooring option, but we also did it ourselves. I honestly have no idea how much it would cost to have done commercially. I hope that helps! Thanks for reaching out, and I hope your special day is absolutely perfect!
LikeLike
Pingback: Summer Home Tour |