Stained Concrete Floors Tutorial – Part 1- Stripping
My husband and I have received so many questions about our stained concrete floors, and it just so happens that we had to strip and re-finish a large square in our living room. I thought I would take this chance to show you all how we did our floors, along with a few tips for those of you interested in staining your own. When we first started this process about a year and a half ago, there was very little information available. Since stained concrete is becoming more popular, I have seen more information out there – but it’s still very limited! We learned as we went, and we love our floors, but it was a bit of a stressful process the first time around (Sam and a friend did most of the hard stuff the first time, so I learned quite a bit this time around!). Staining our floors was really trial and error for us, and luckily, they turned out awesome! Most of you will probably not have stain on your current floors, so you can skip the stripping part. I just thought I would share the whole process so that you can see what we have been working on. 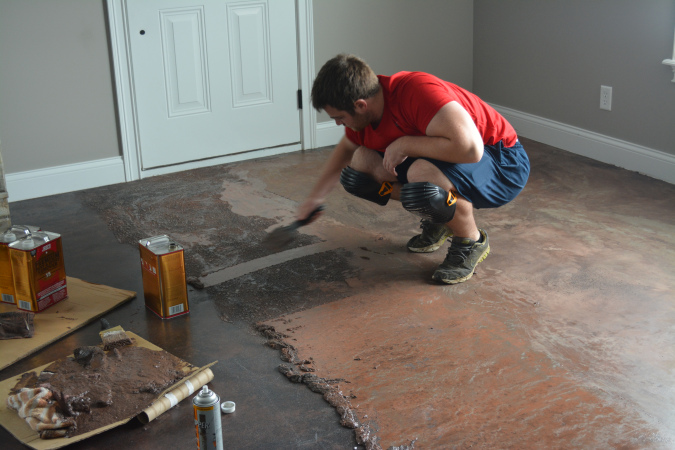 We first applied Premium Paint & Epoxy remover by Jasco with a paint brush, and let it sit until the surface started blistering. Once it begins to bubble, you have to scrape the remover/stain mixture off with a spatula.
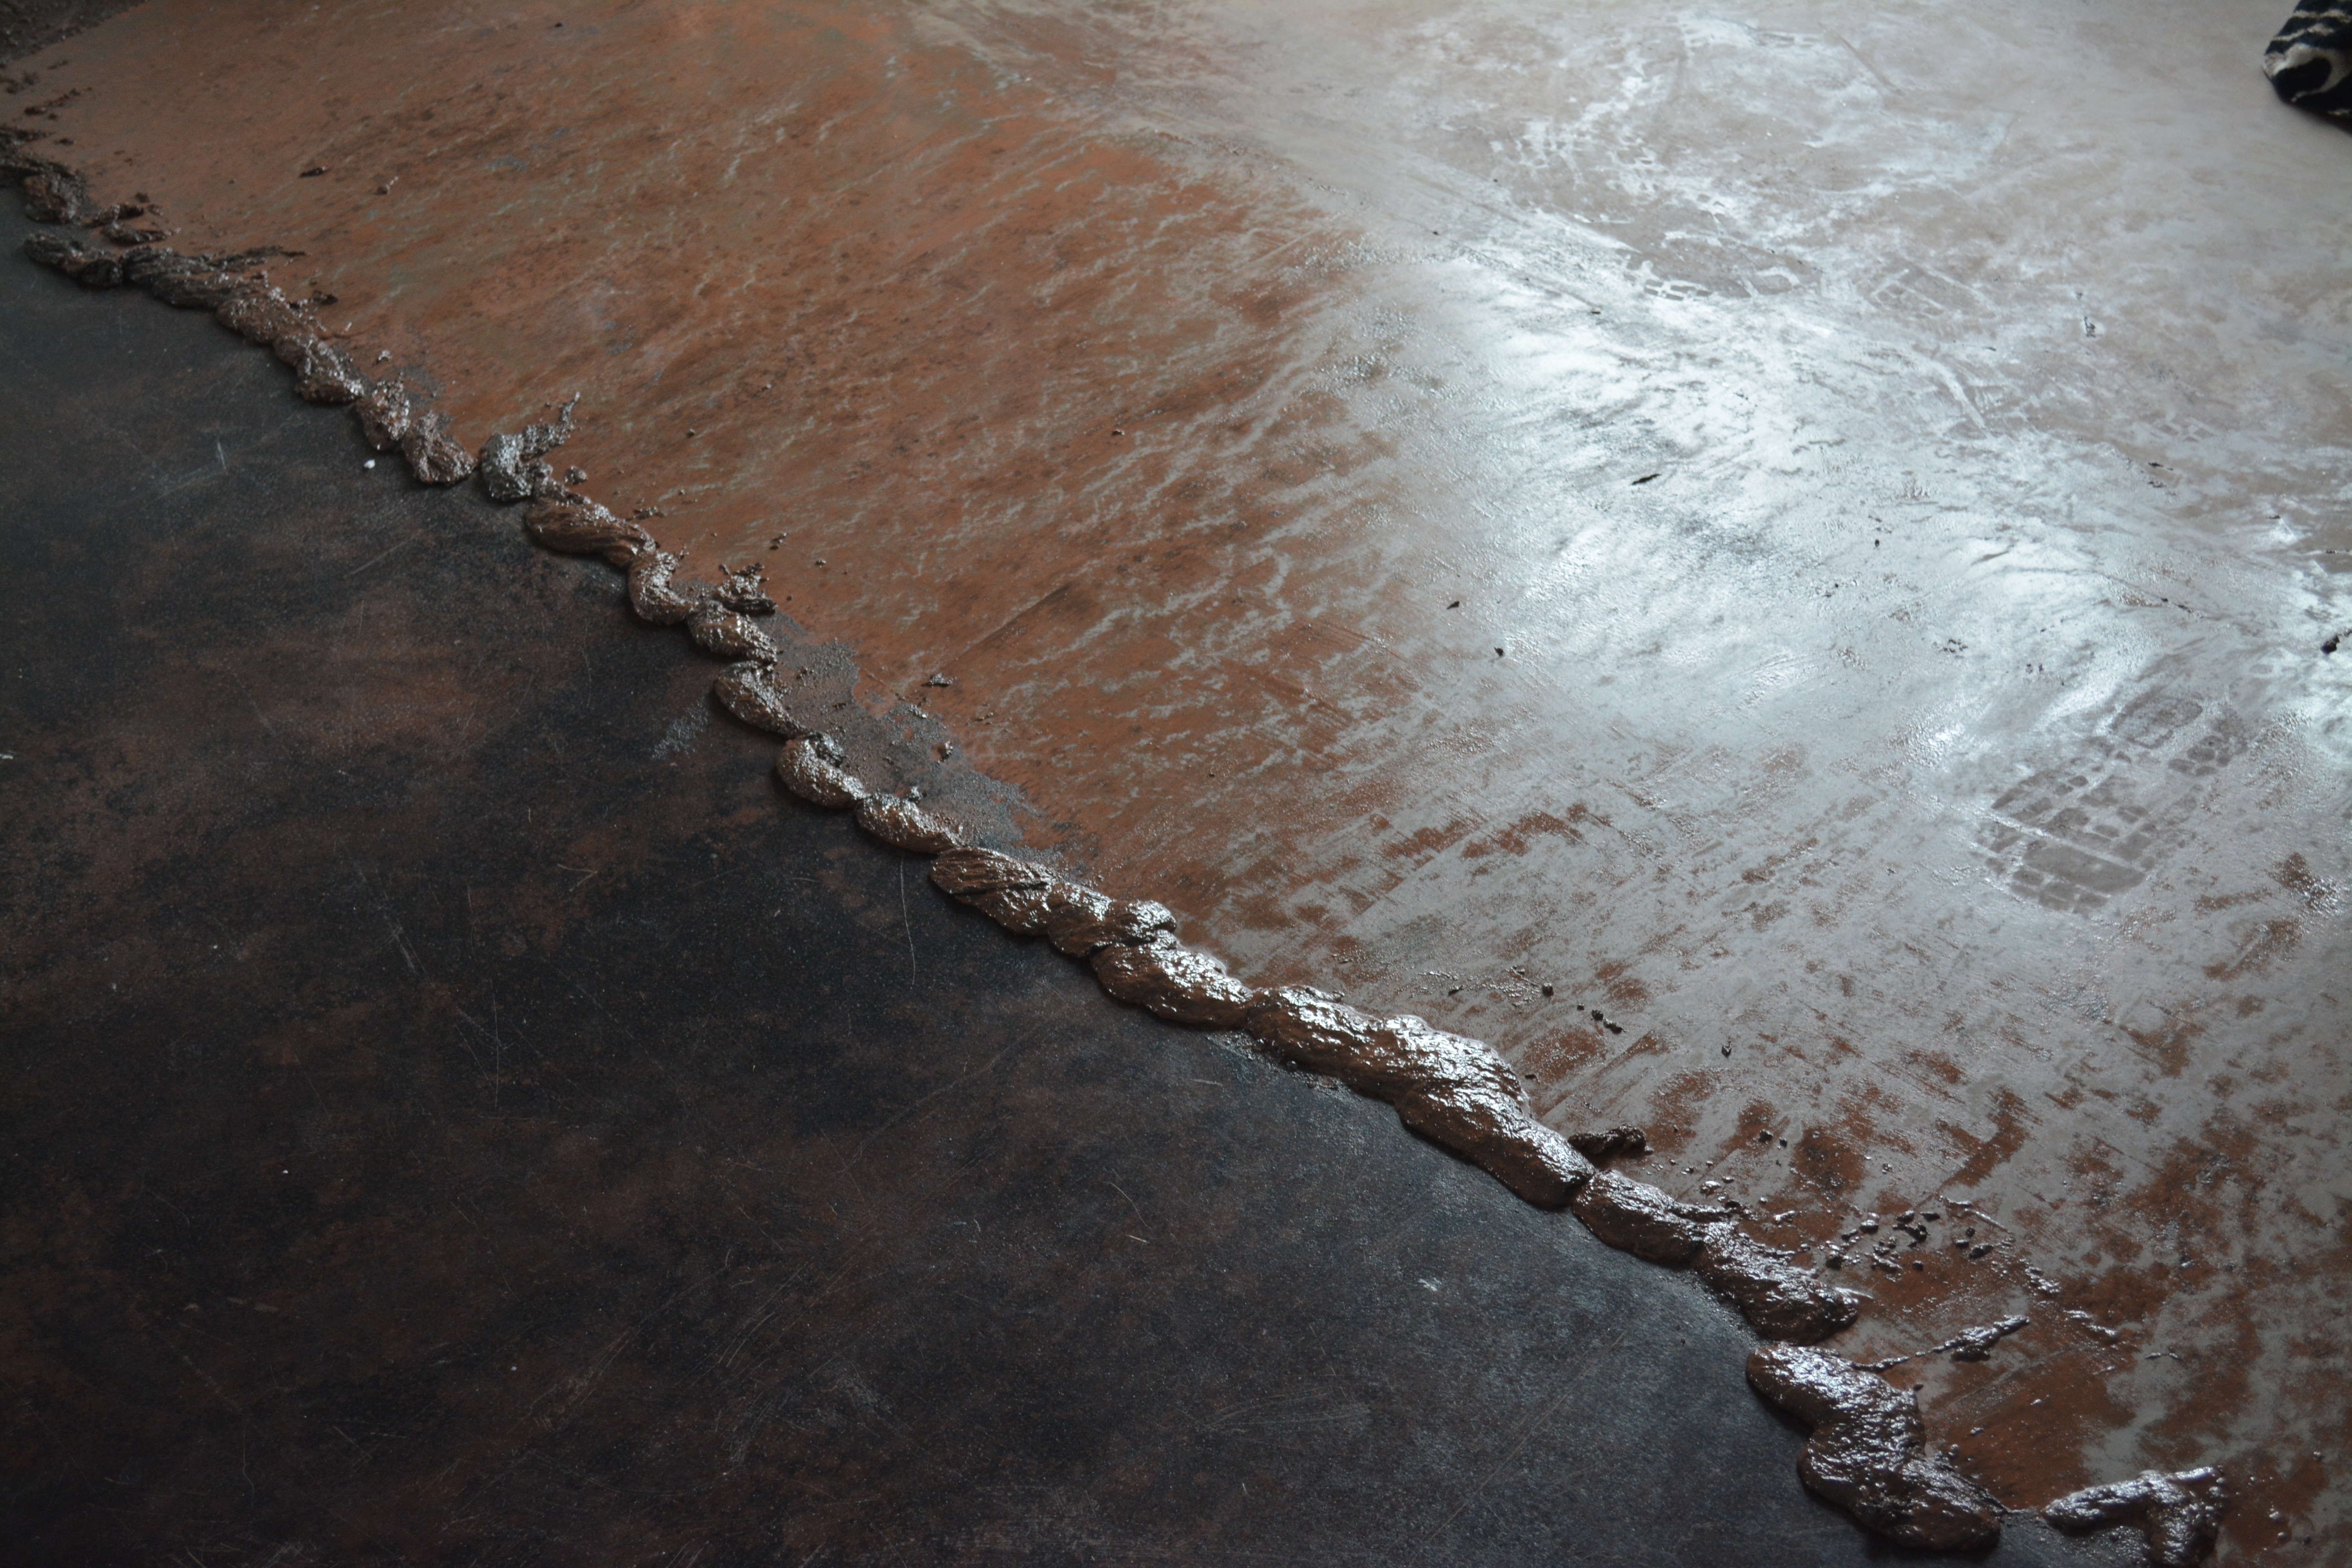
 Once everything is scraped off, you must rub the surface clean (we found that normal paper towels worked better than the blue bulk industrial towels – they absorbed much more!). After everything was stripped, we were still left with quite a bit of color.
 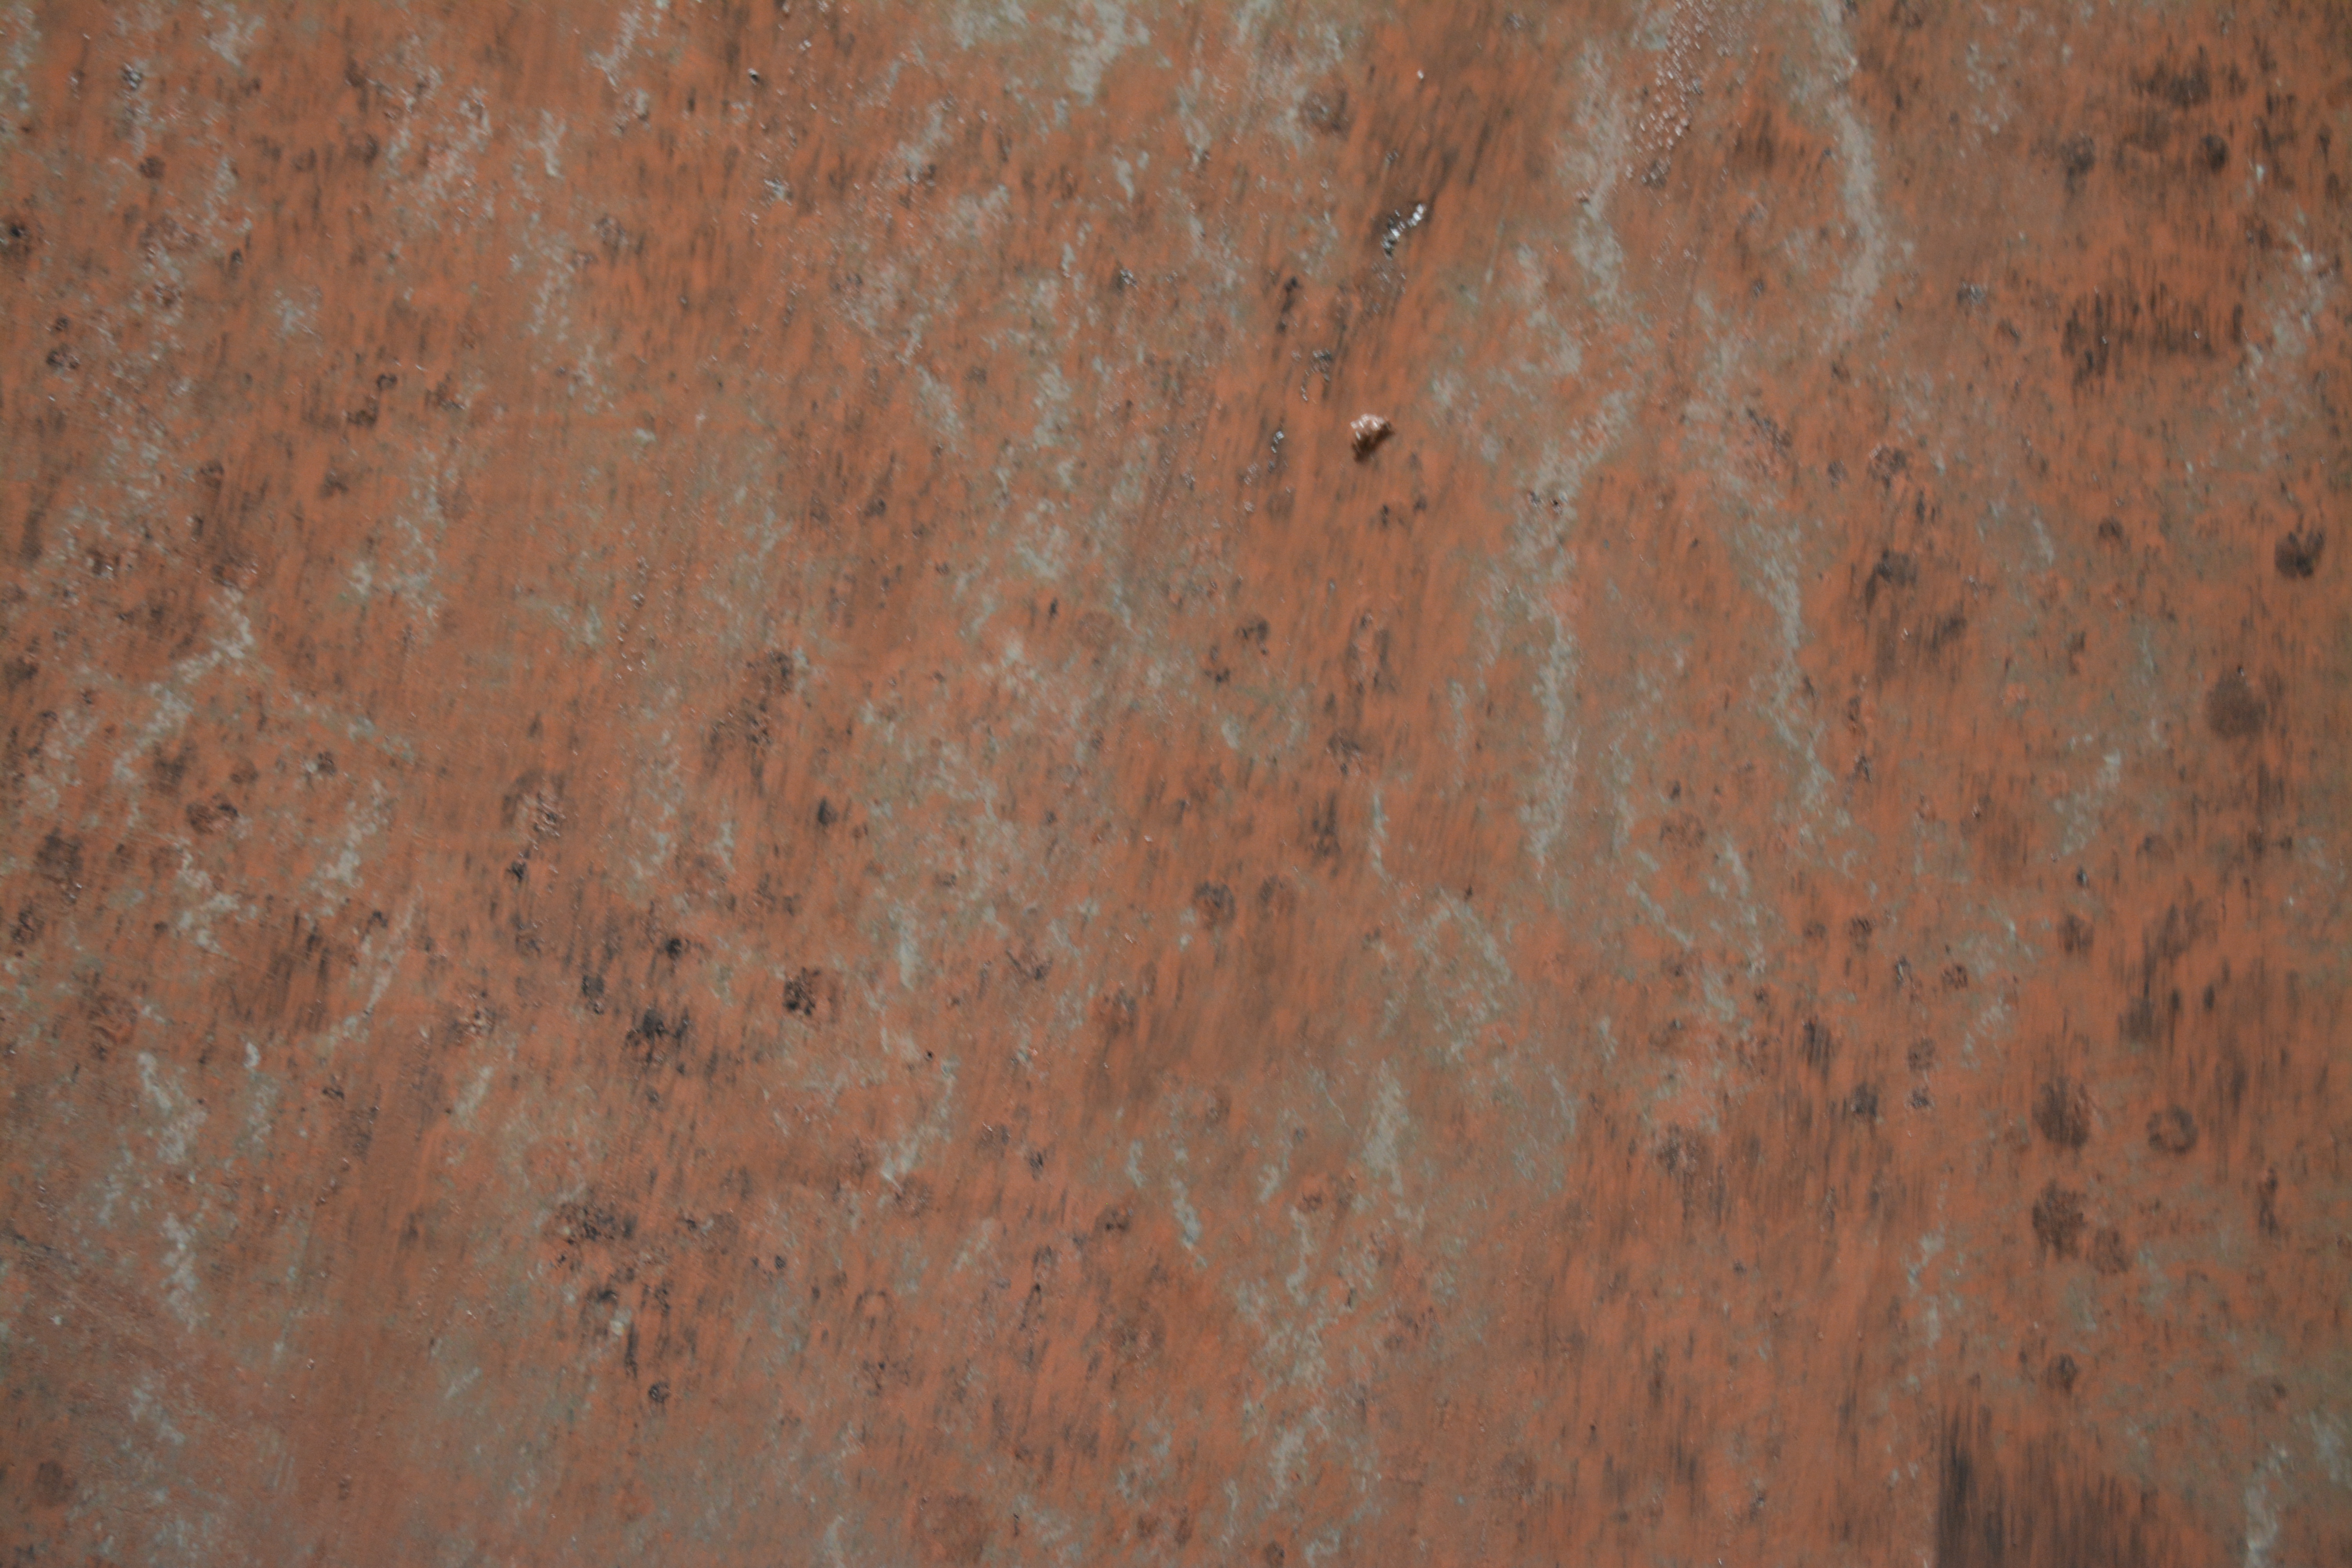 We then sprayed on premium paint and epoxy remover (this comes in spray cans) also made by Jasco. This really ensured that we got all of the color up so that the cement would soak in the new color.
 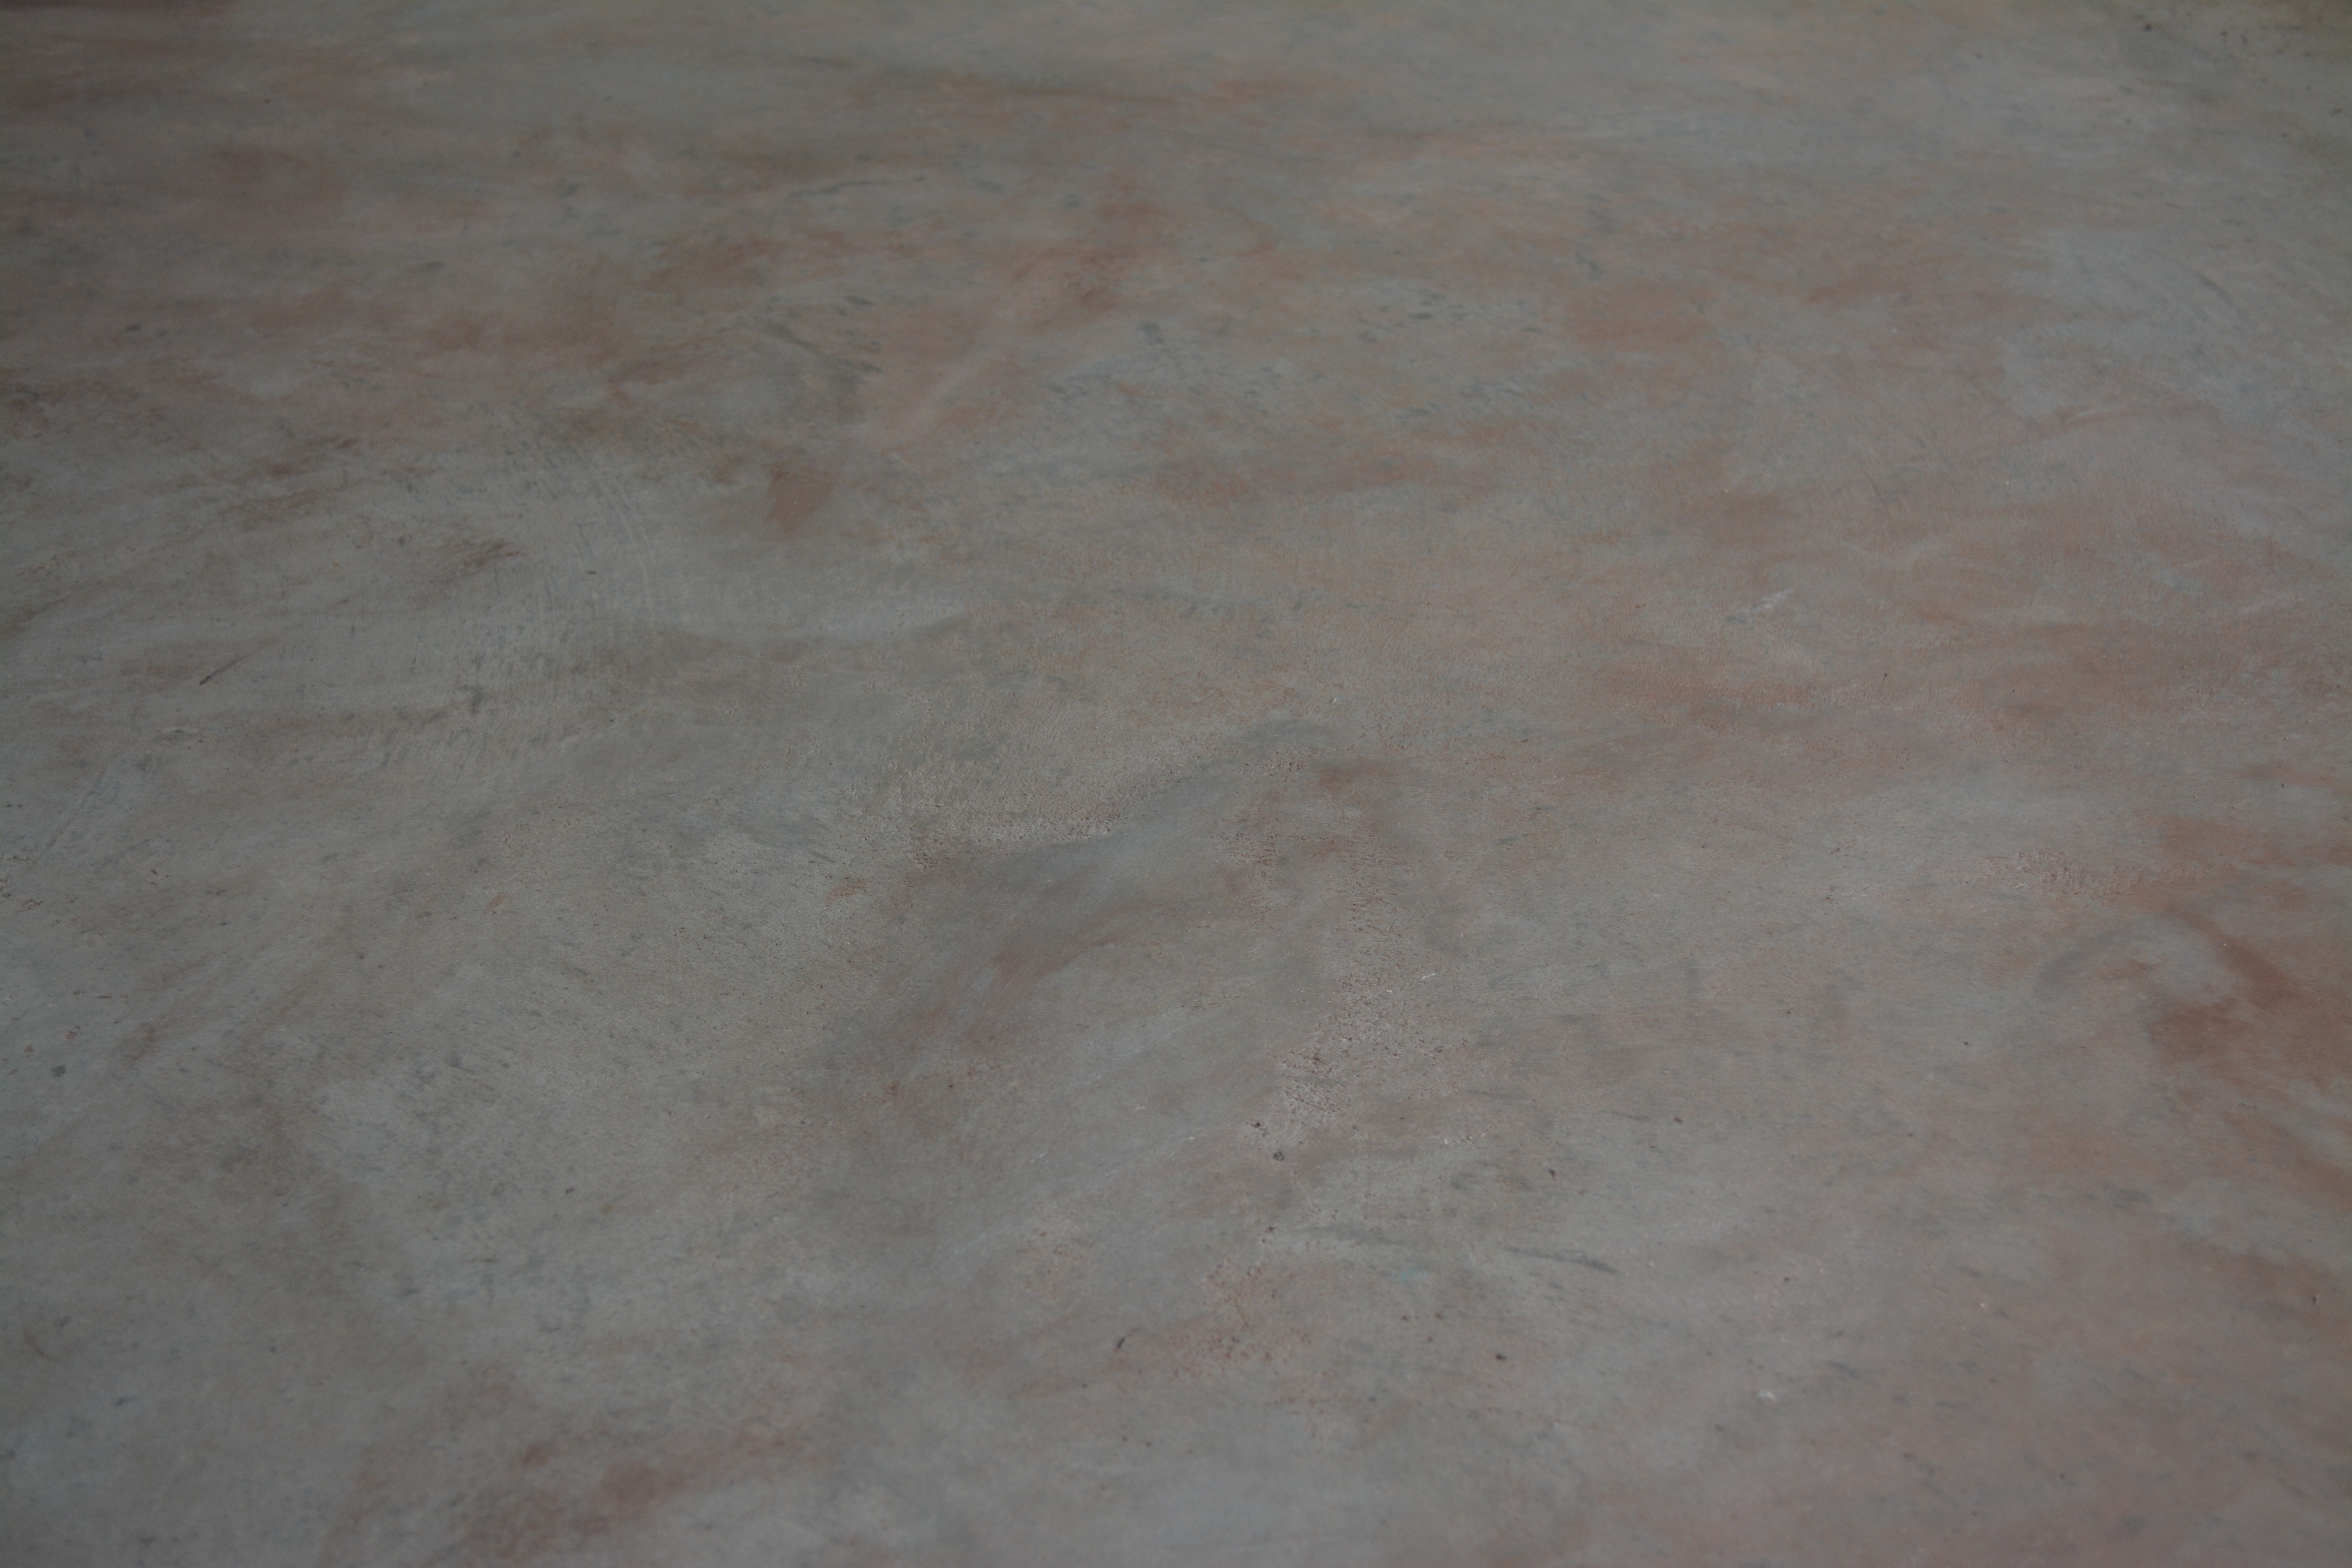 Please continue to part 2 of this post in order to learn how to apply the color and sealer to your floors. Thanks for reading, and if you are following along on your own floors – the rest is much fun from here on out – promise! 😉