Laundry Room Sign
 Supplies you will need:
* 1 standard board (1×6 – 10″) – I happened to find boards that were naturally discolored, and I loved the colors so much that I chose not to stain them. If you would like to stain your wood, Minwax is wonderful (I love Weathered Oak for a Restoration Hardware feel).
*A saw, unless you have the store you purchase your wood from cut it for you. Some places such as Lowe’s are willing to do this if you ask them!
*Screws (1 1/4″ – #8)
*Nail gun
*A standard printer to print the graphics (here is the link to the Word Doc. – LAUNDRY Sign Printable).
**Here is the additional link for the faith sign – FAITH Sign Printable
*Tape
*Sharpie
*A cup of water
* Paint brush
Due to the fact that I had everything except for wood lying around the house, this project cost me a grand total of $4.59 to make. I Love how inexpensive and easy this project was – and I think it turned out really cute if I do say so myself! For those of you who read/used my glitter heart sign tutorial, this project will start out the exact same way. Both signs are actually the same size, I just flipped this sign and used it horizontally. I started by having my husband cut my board (I am banned from the saw – nothing good can come of it!) into four 16 1/4″ long pieces (you will have a bit left, which will be used later on in the project).  Next, we used a drill to make holes where each of the screws needed to go in order to connect the pieces of wood. You could opt to use wood glue rather than screws to secure the boards together if you don’t have access to these tools.
  My husband then used the remaining wood that we had, and cut two pieces to place over the exposed holes. Each of these pieces were cut to 1 3/4″ wide, by 16″ long. We then used a nail gun to tack them down. If you used wood glue rather than screws, you will definitely need to still use support beams on the back to ensure your sign stays together. Printing everything was the trickiest part of this project because you will have to figure out how to print mirror images from your computer. I use a Mac, and in order to print them correctly, I clicked file >print >click on the last drop down menu labeled “copies and pages pages” and choose layout> check the box that says “flip horizontally”>print.
Once the letters and picture were printed, I cut everything out, lined them up as straight as possible, and taped them down. 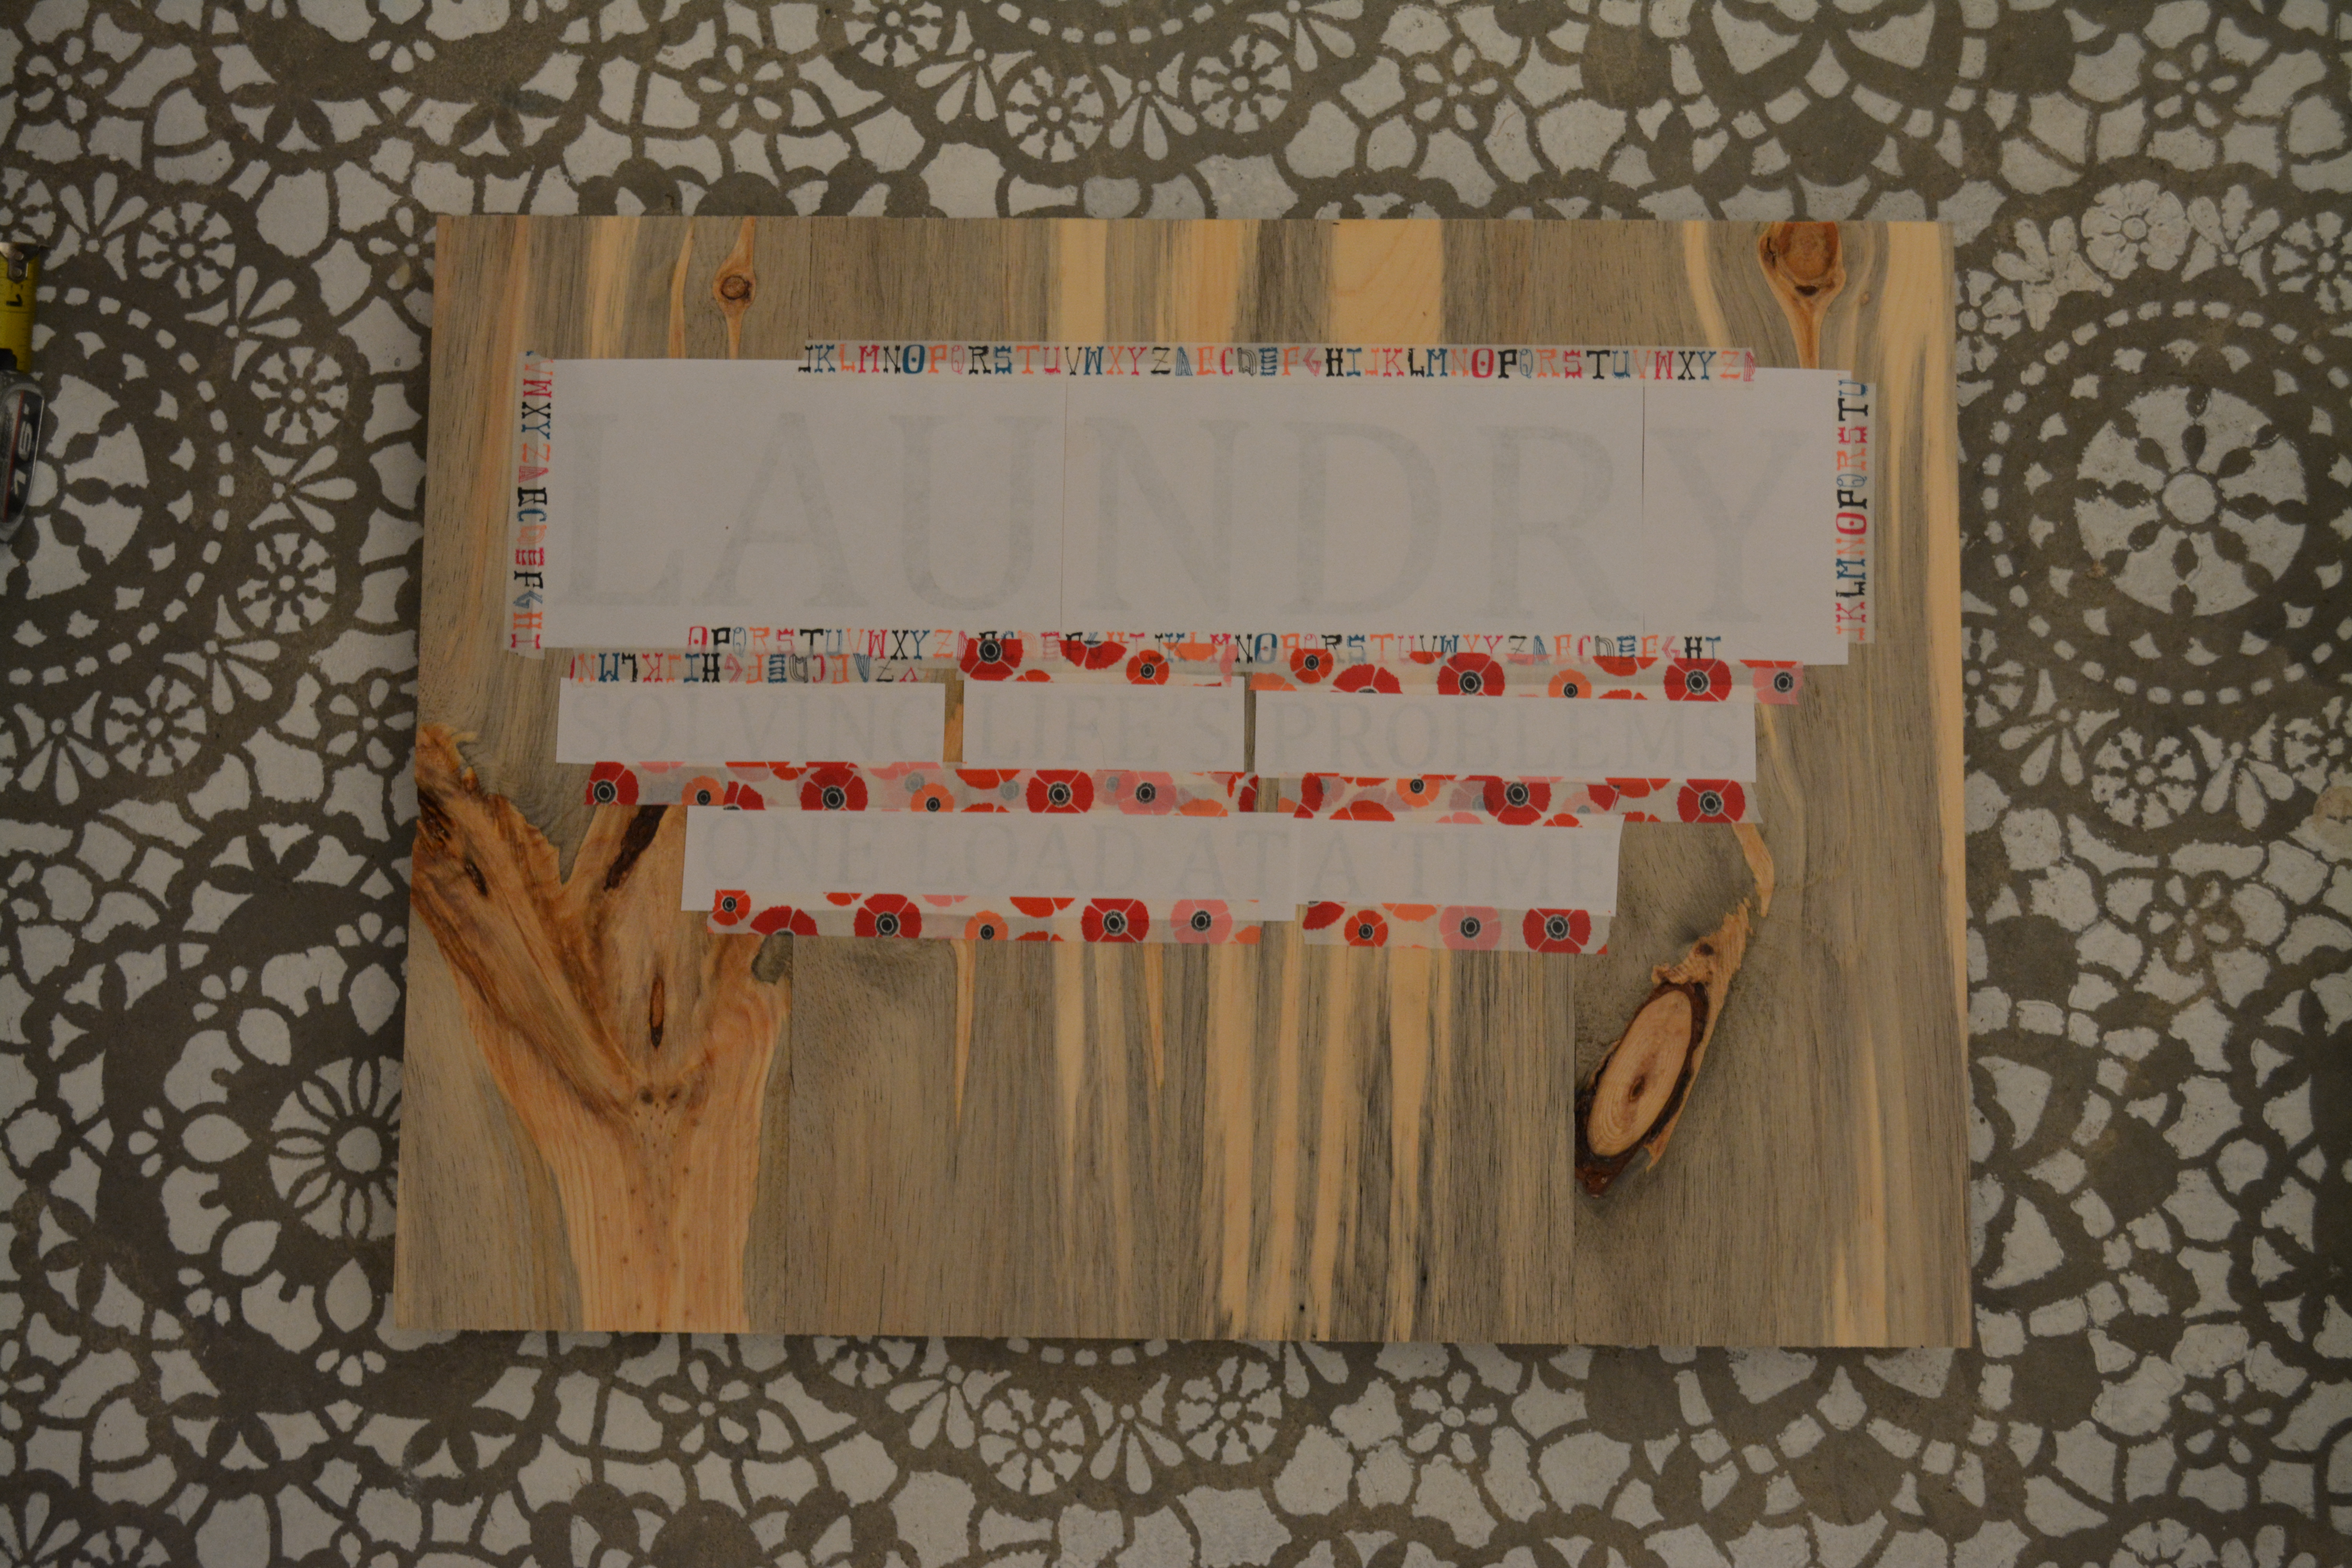 Now it is time to have your small paint brush and cup of water ready!
 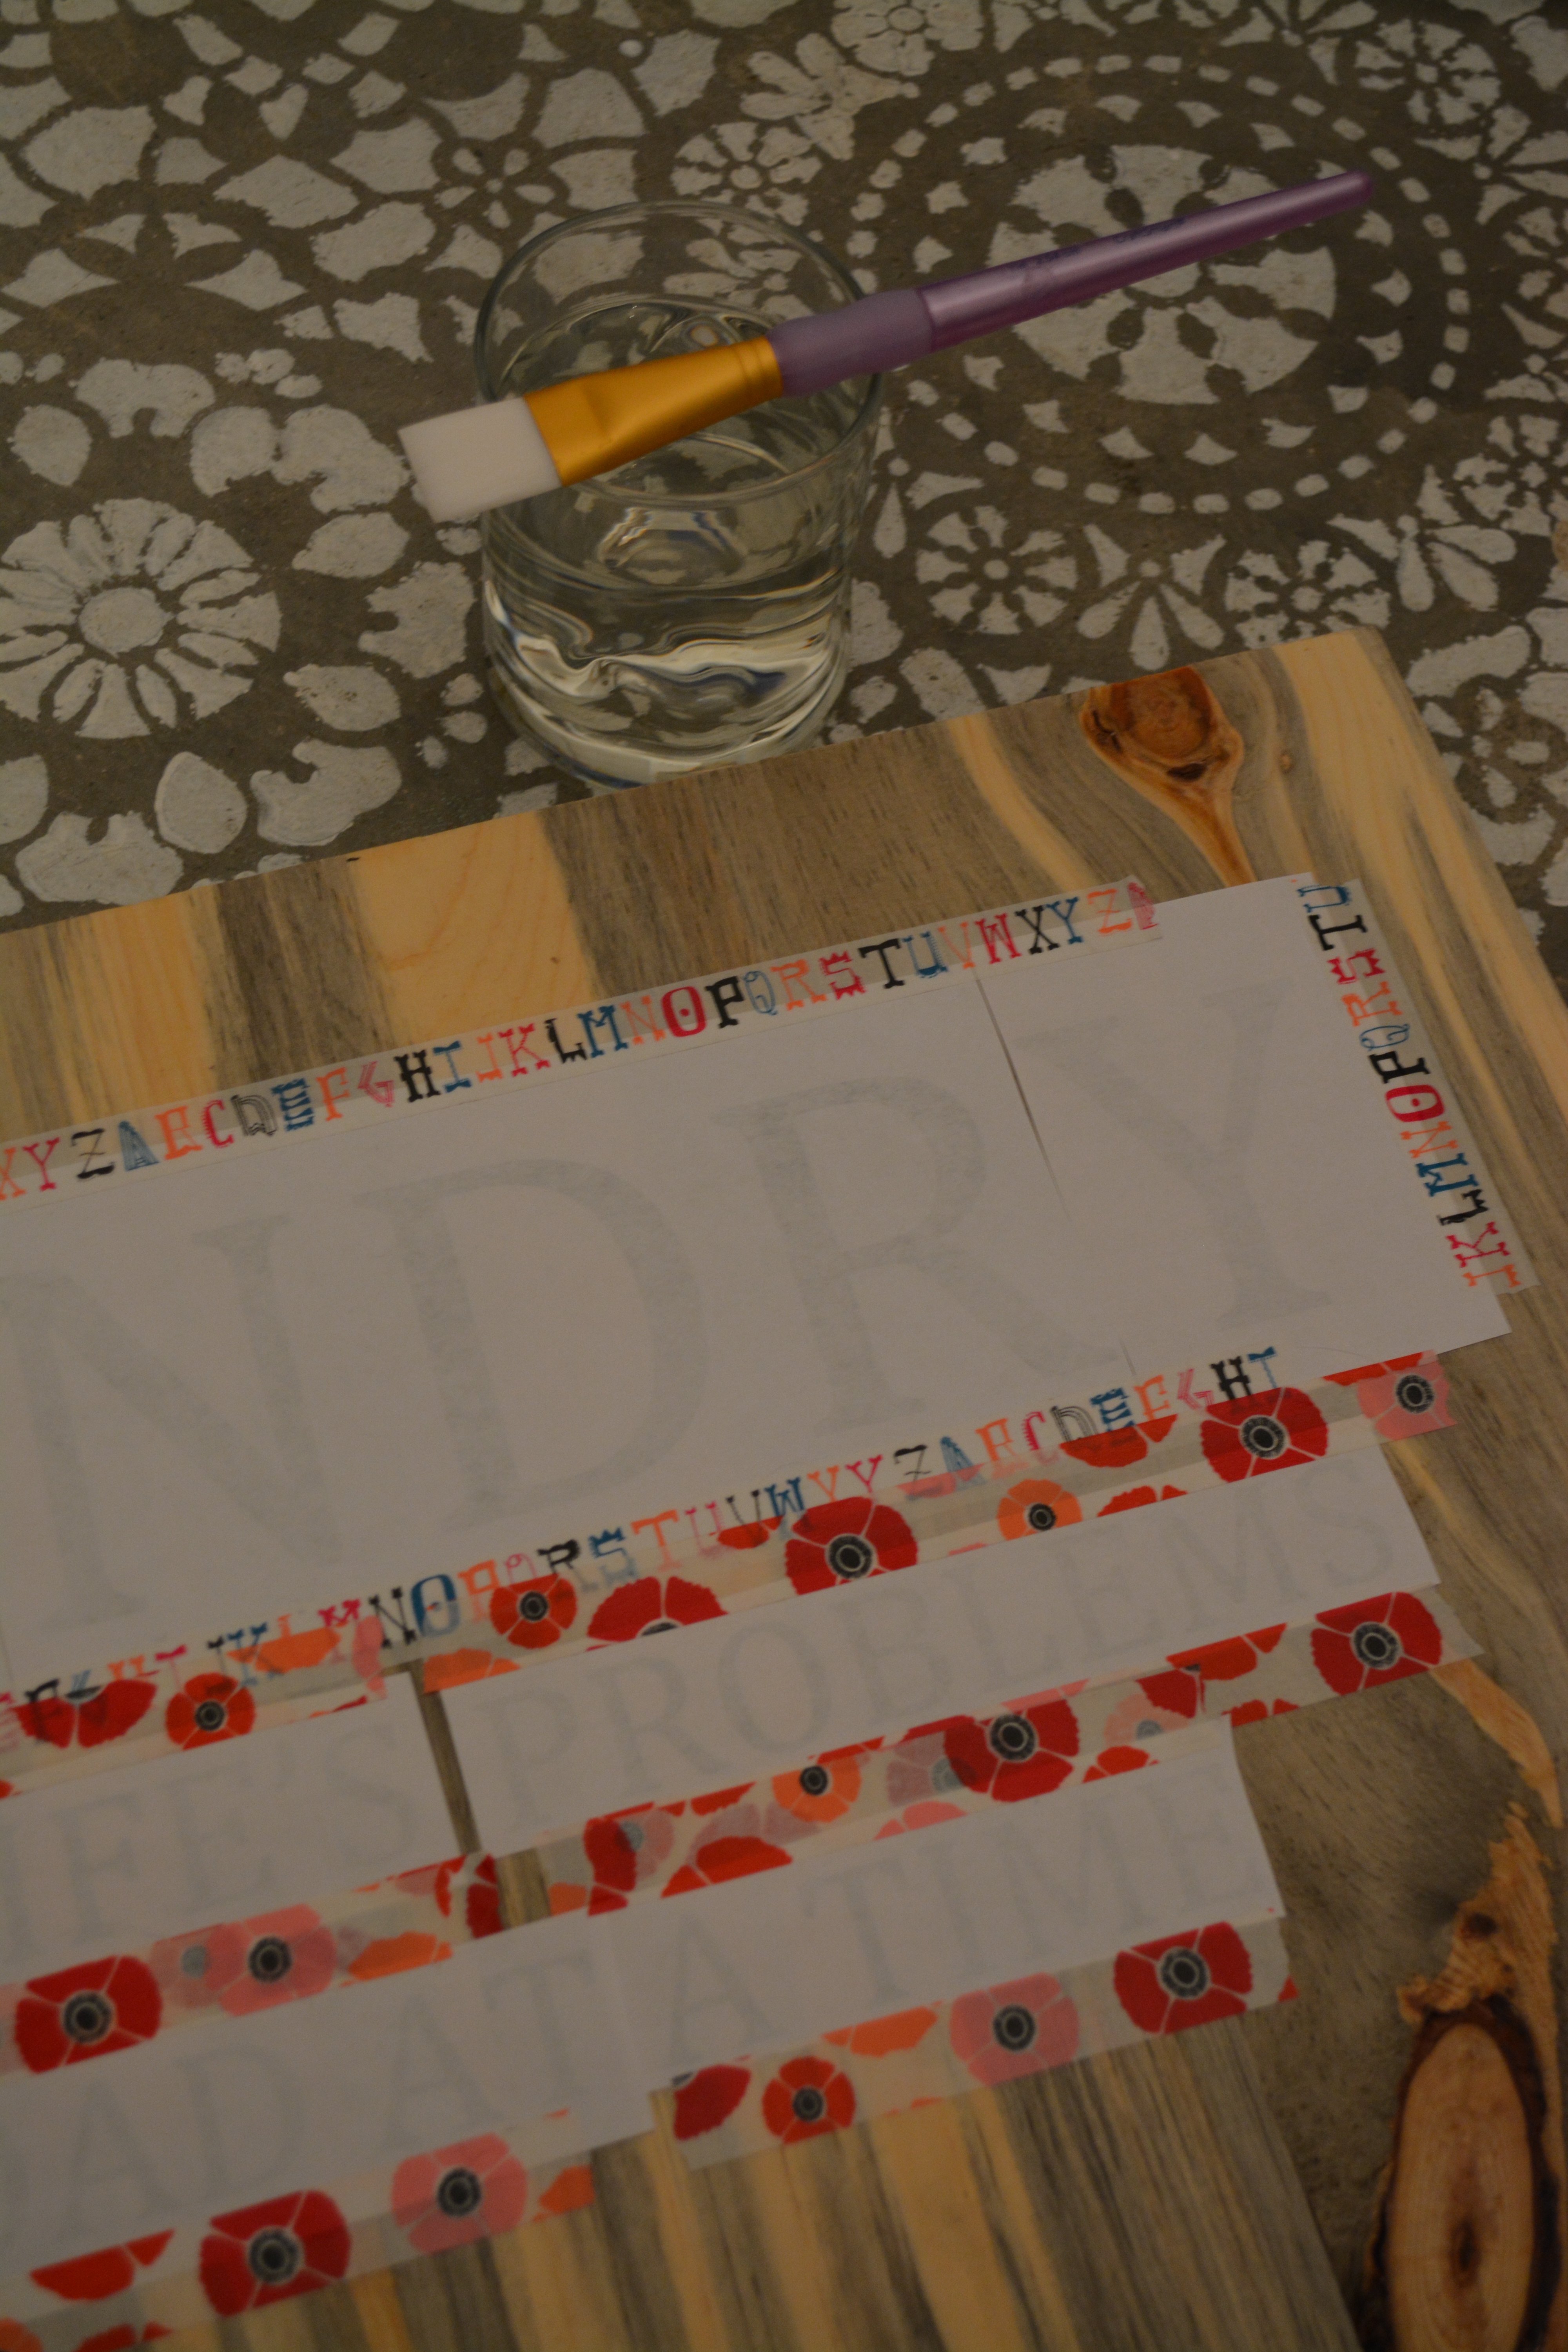 Carefully run a wet brush over the lettering. Be very careful not to apply too much water, as this will cause bleeding issues. This is a delicate balance, and you still want to be sure to fully saturate the paper so that the ink transfers. You will kind of have to feel it out as you go. Every now and then I carefully lifted a corner just to make sure that the ink was in fact transferring.
 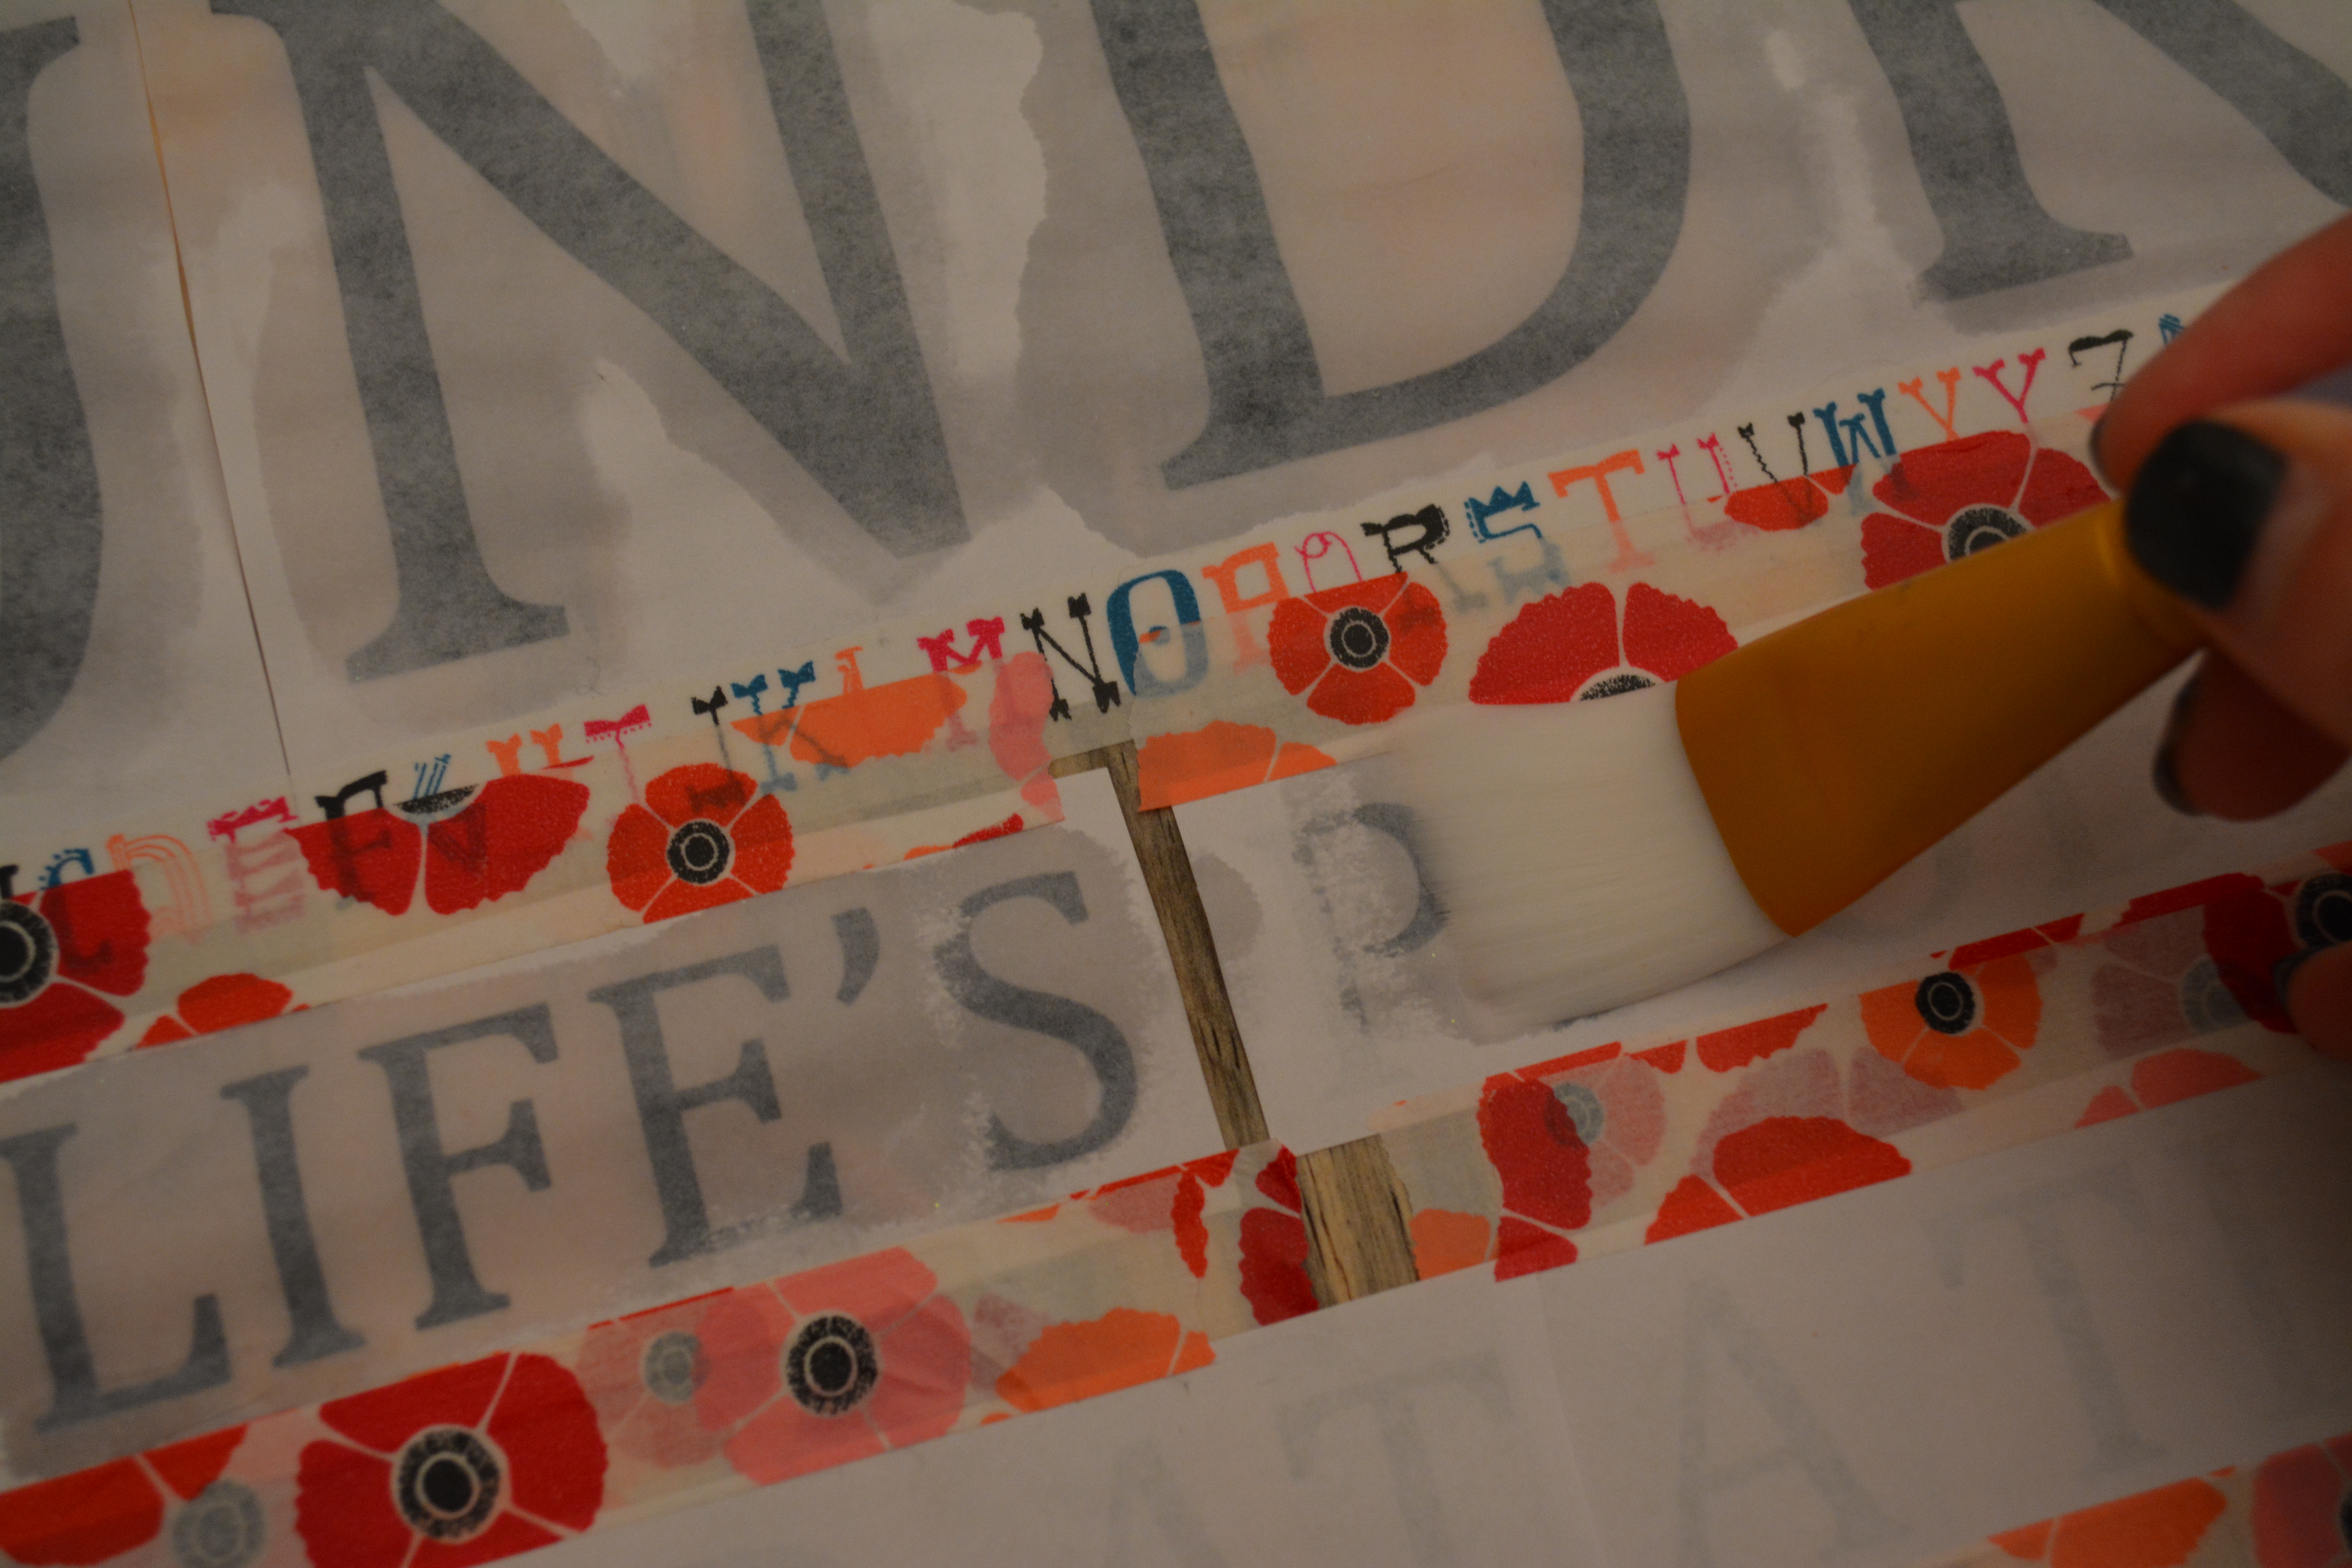 As soon as your paper is wet (it should become transparent enough that you can see the letters clearly), take the end of your Sharpie and thoroughly rub each letter with the end of it. Be careful not to be too aggressive or else you will put a hole in the paper, but firm enough that the image is transferring.
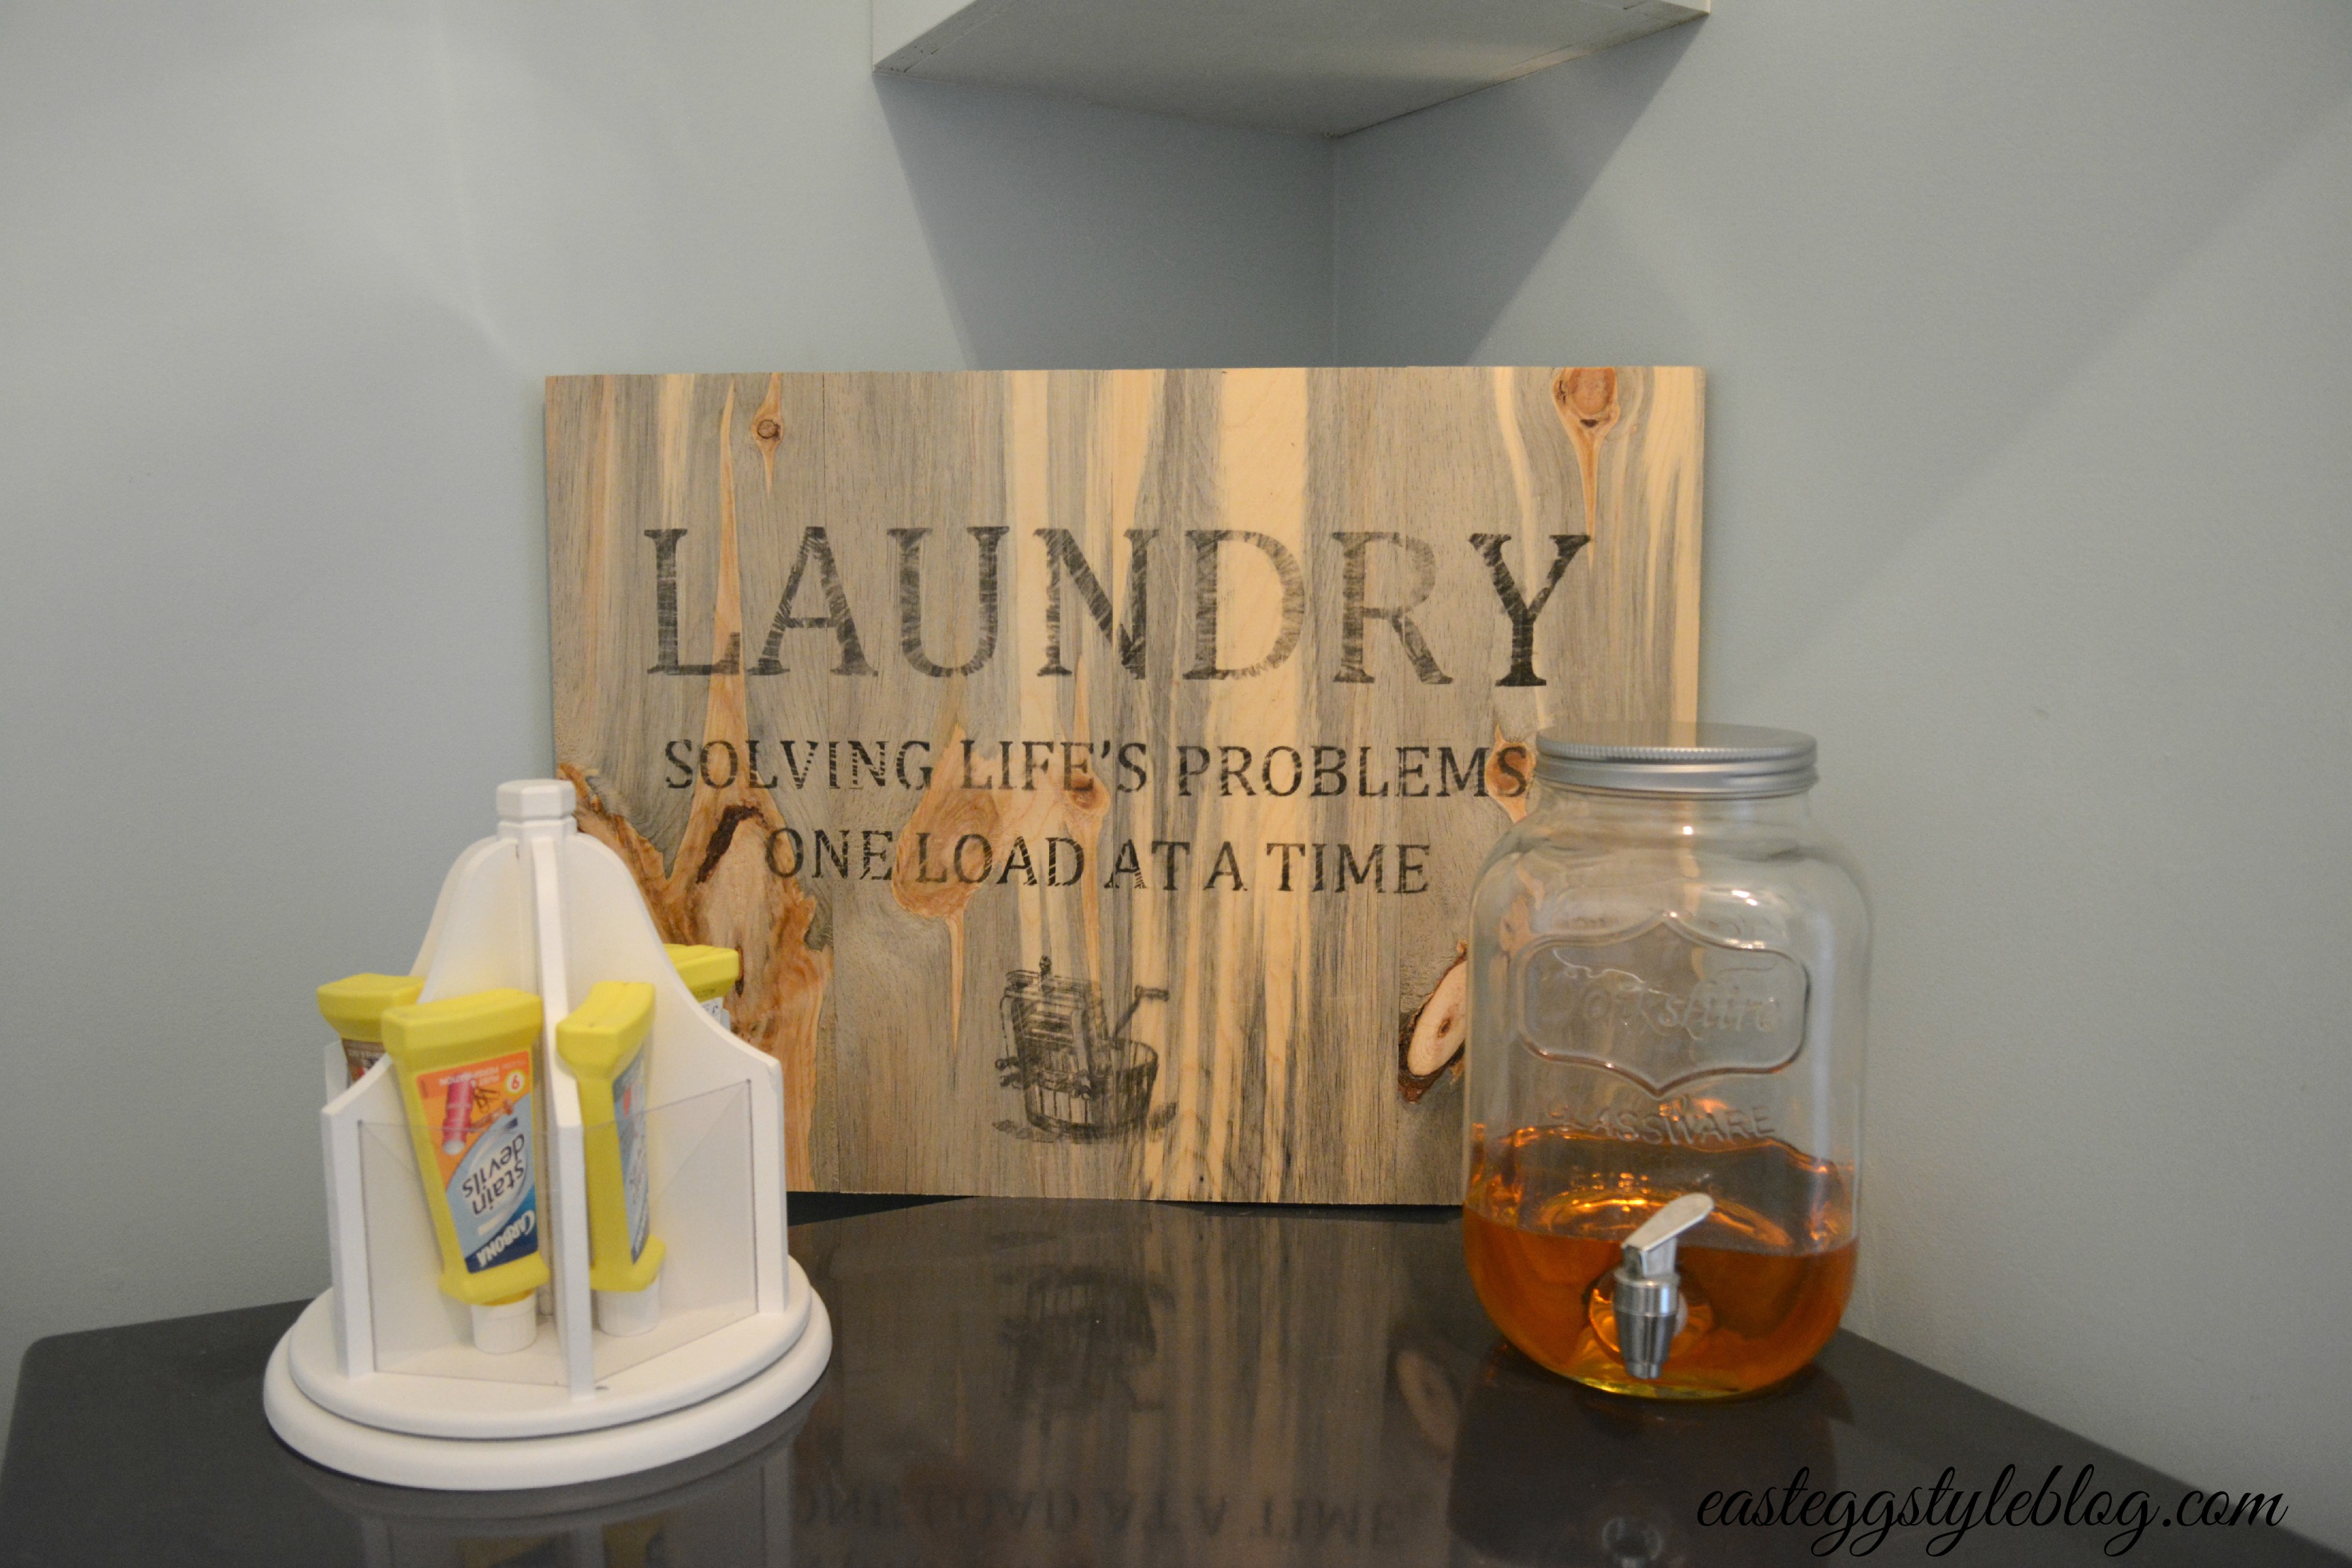
 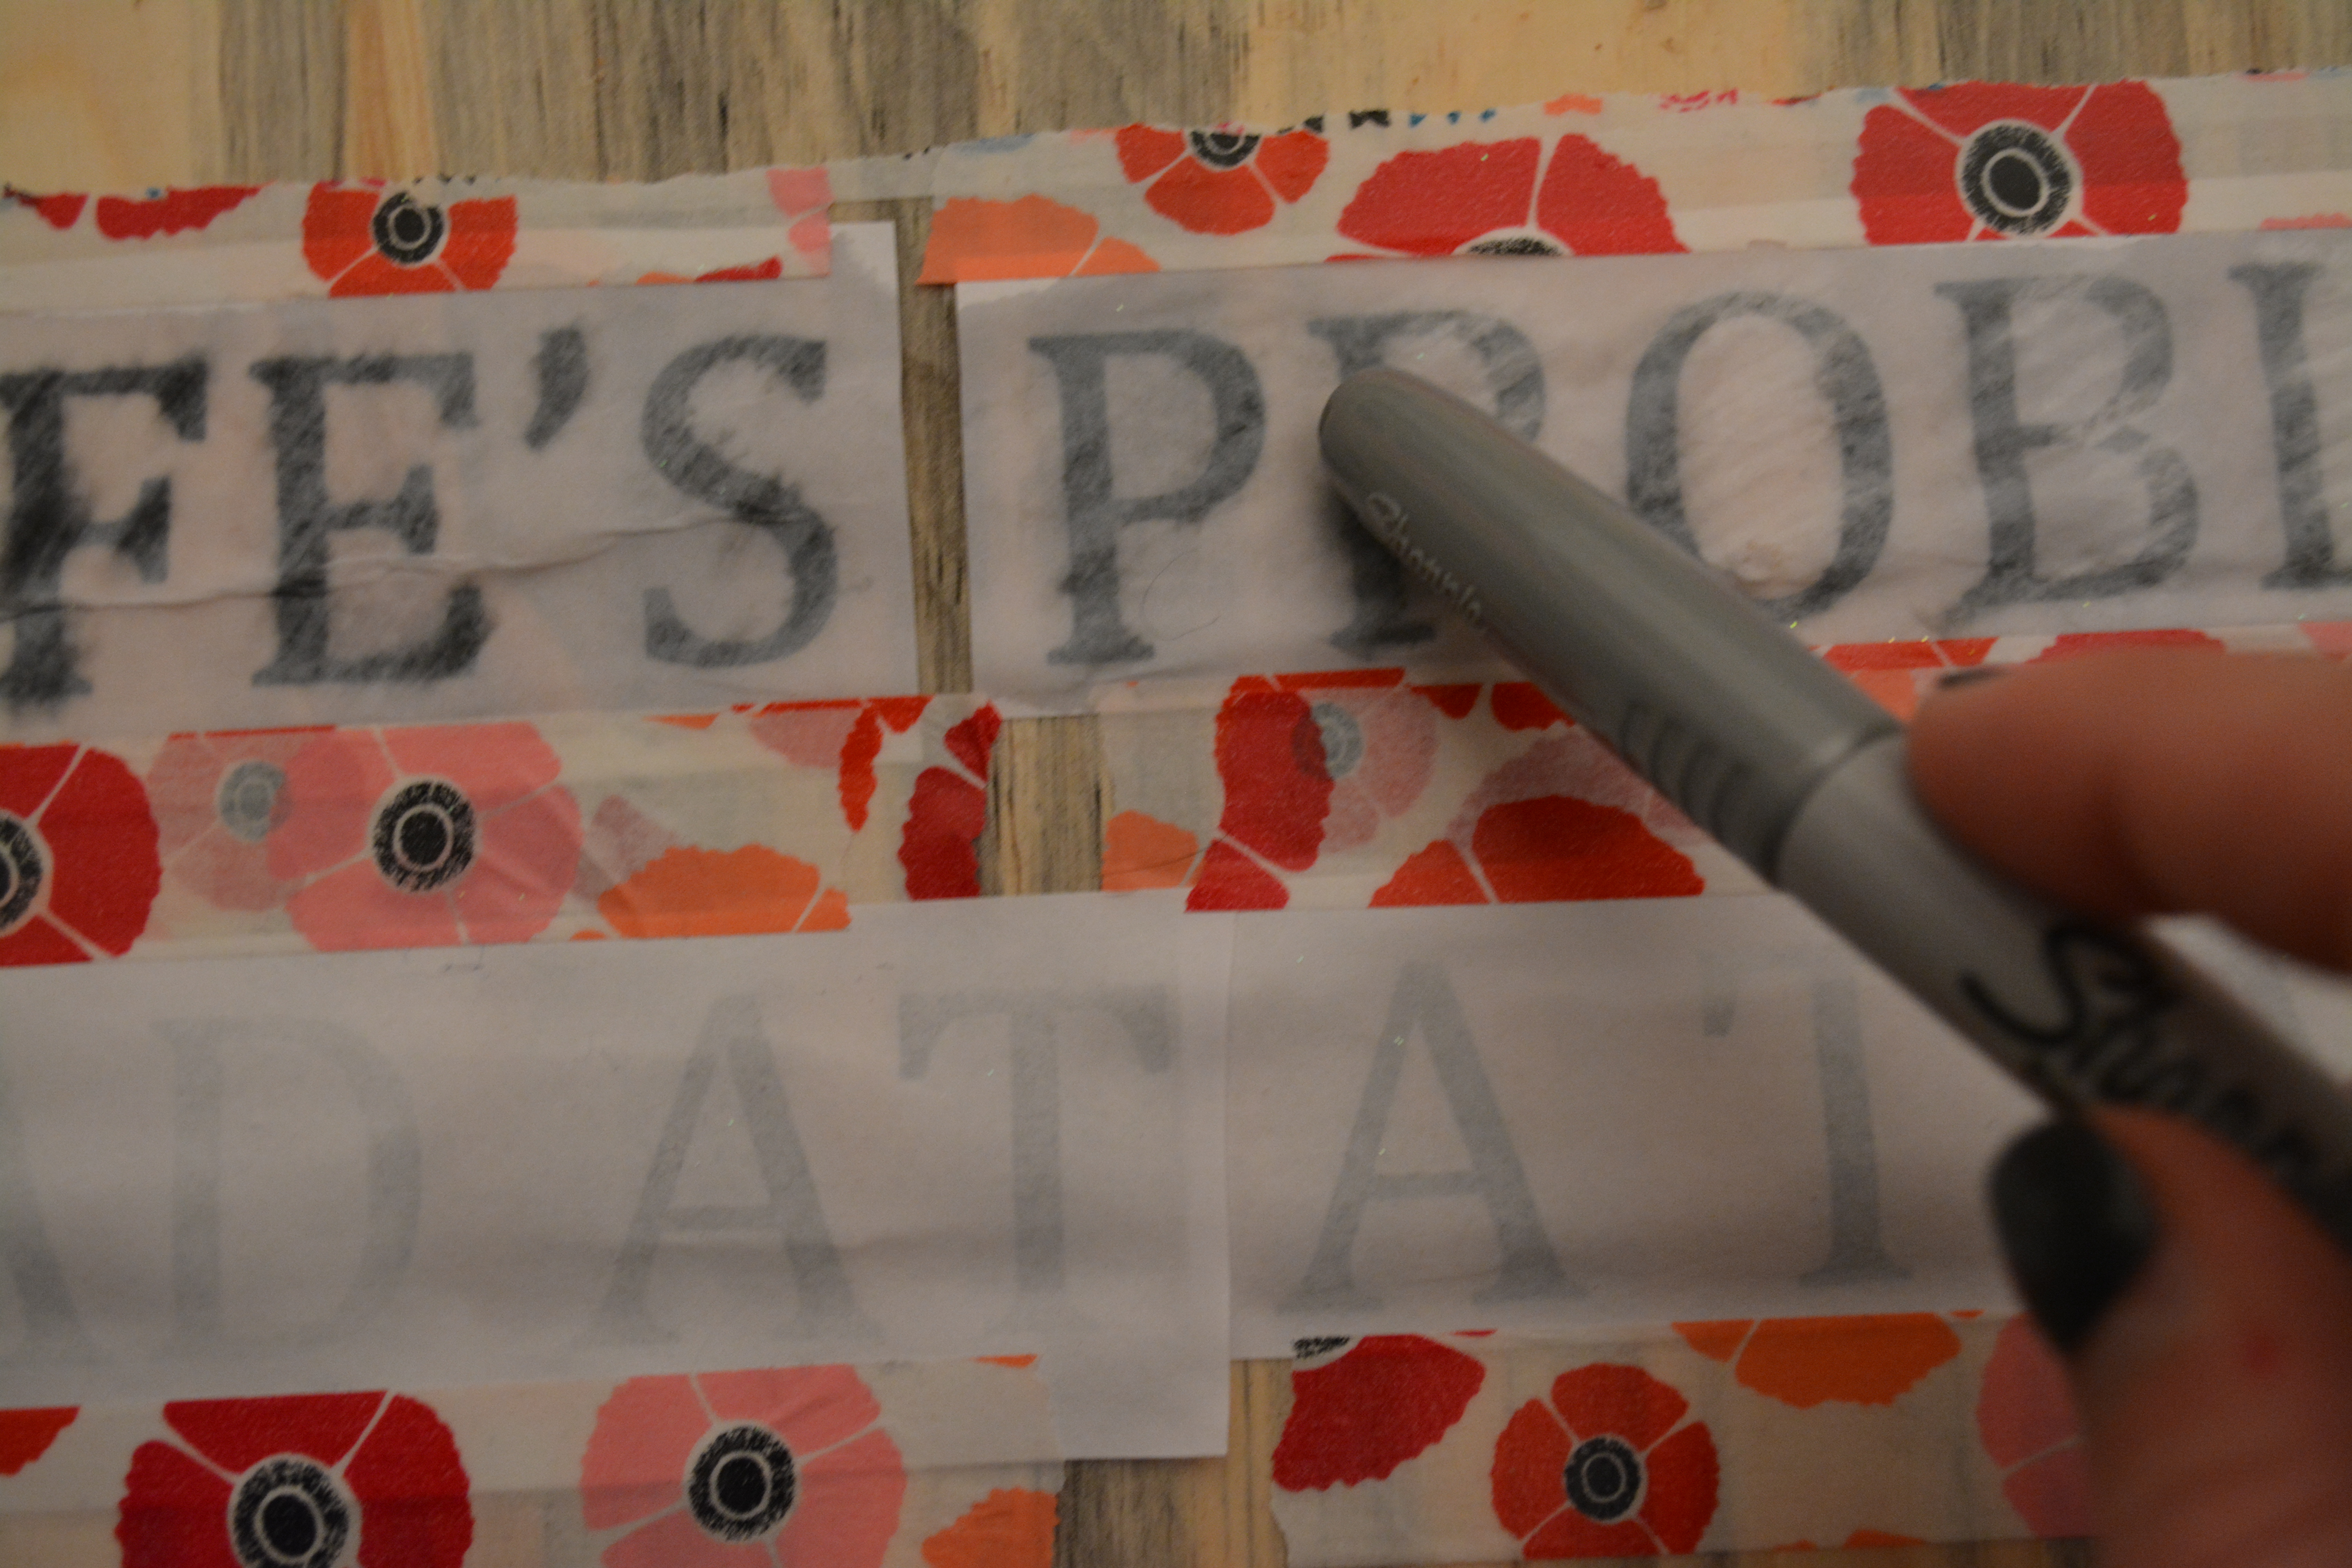 After a few minutes I pulled the paper off, and thankfully the letters turned out great! I was very nervous with this project because I really wasn’t sure how it would turn out. After transferring the lettering, I realized that there was still enough room at the bottom of my sign for an image. I found a picture of an old wringer, (it was difficult to find an all black image that I liked, but black ink seems to transfer much better than colored) and I added it – I think it was the perfect touch!
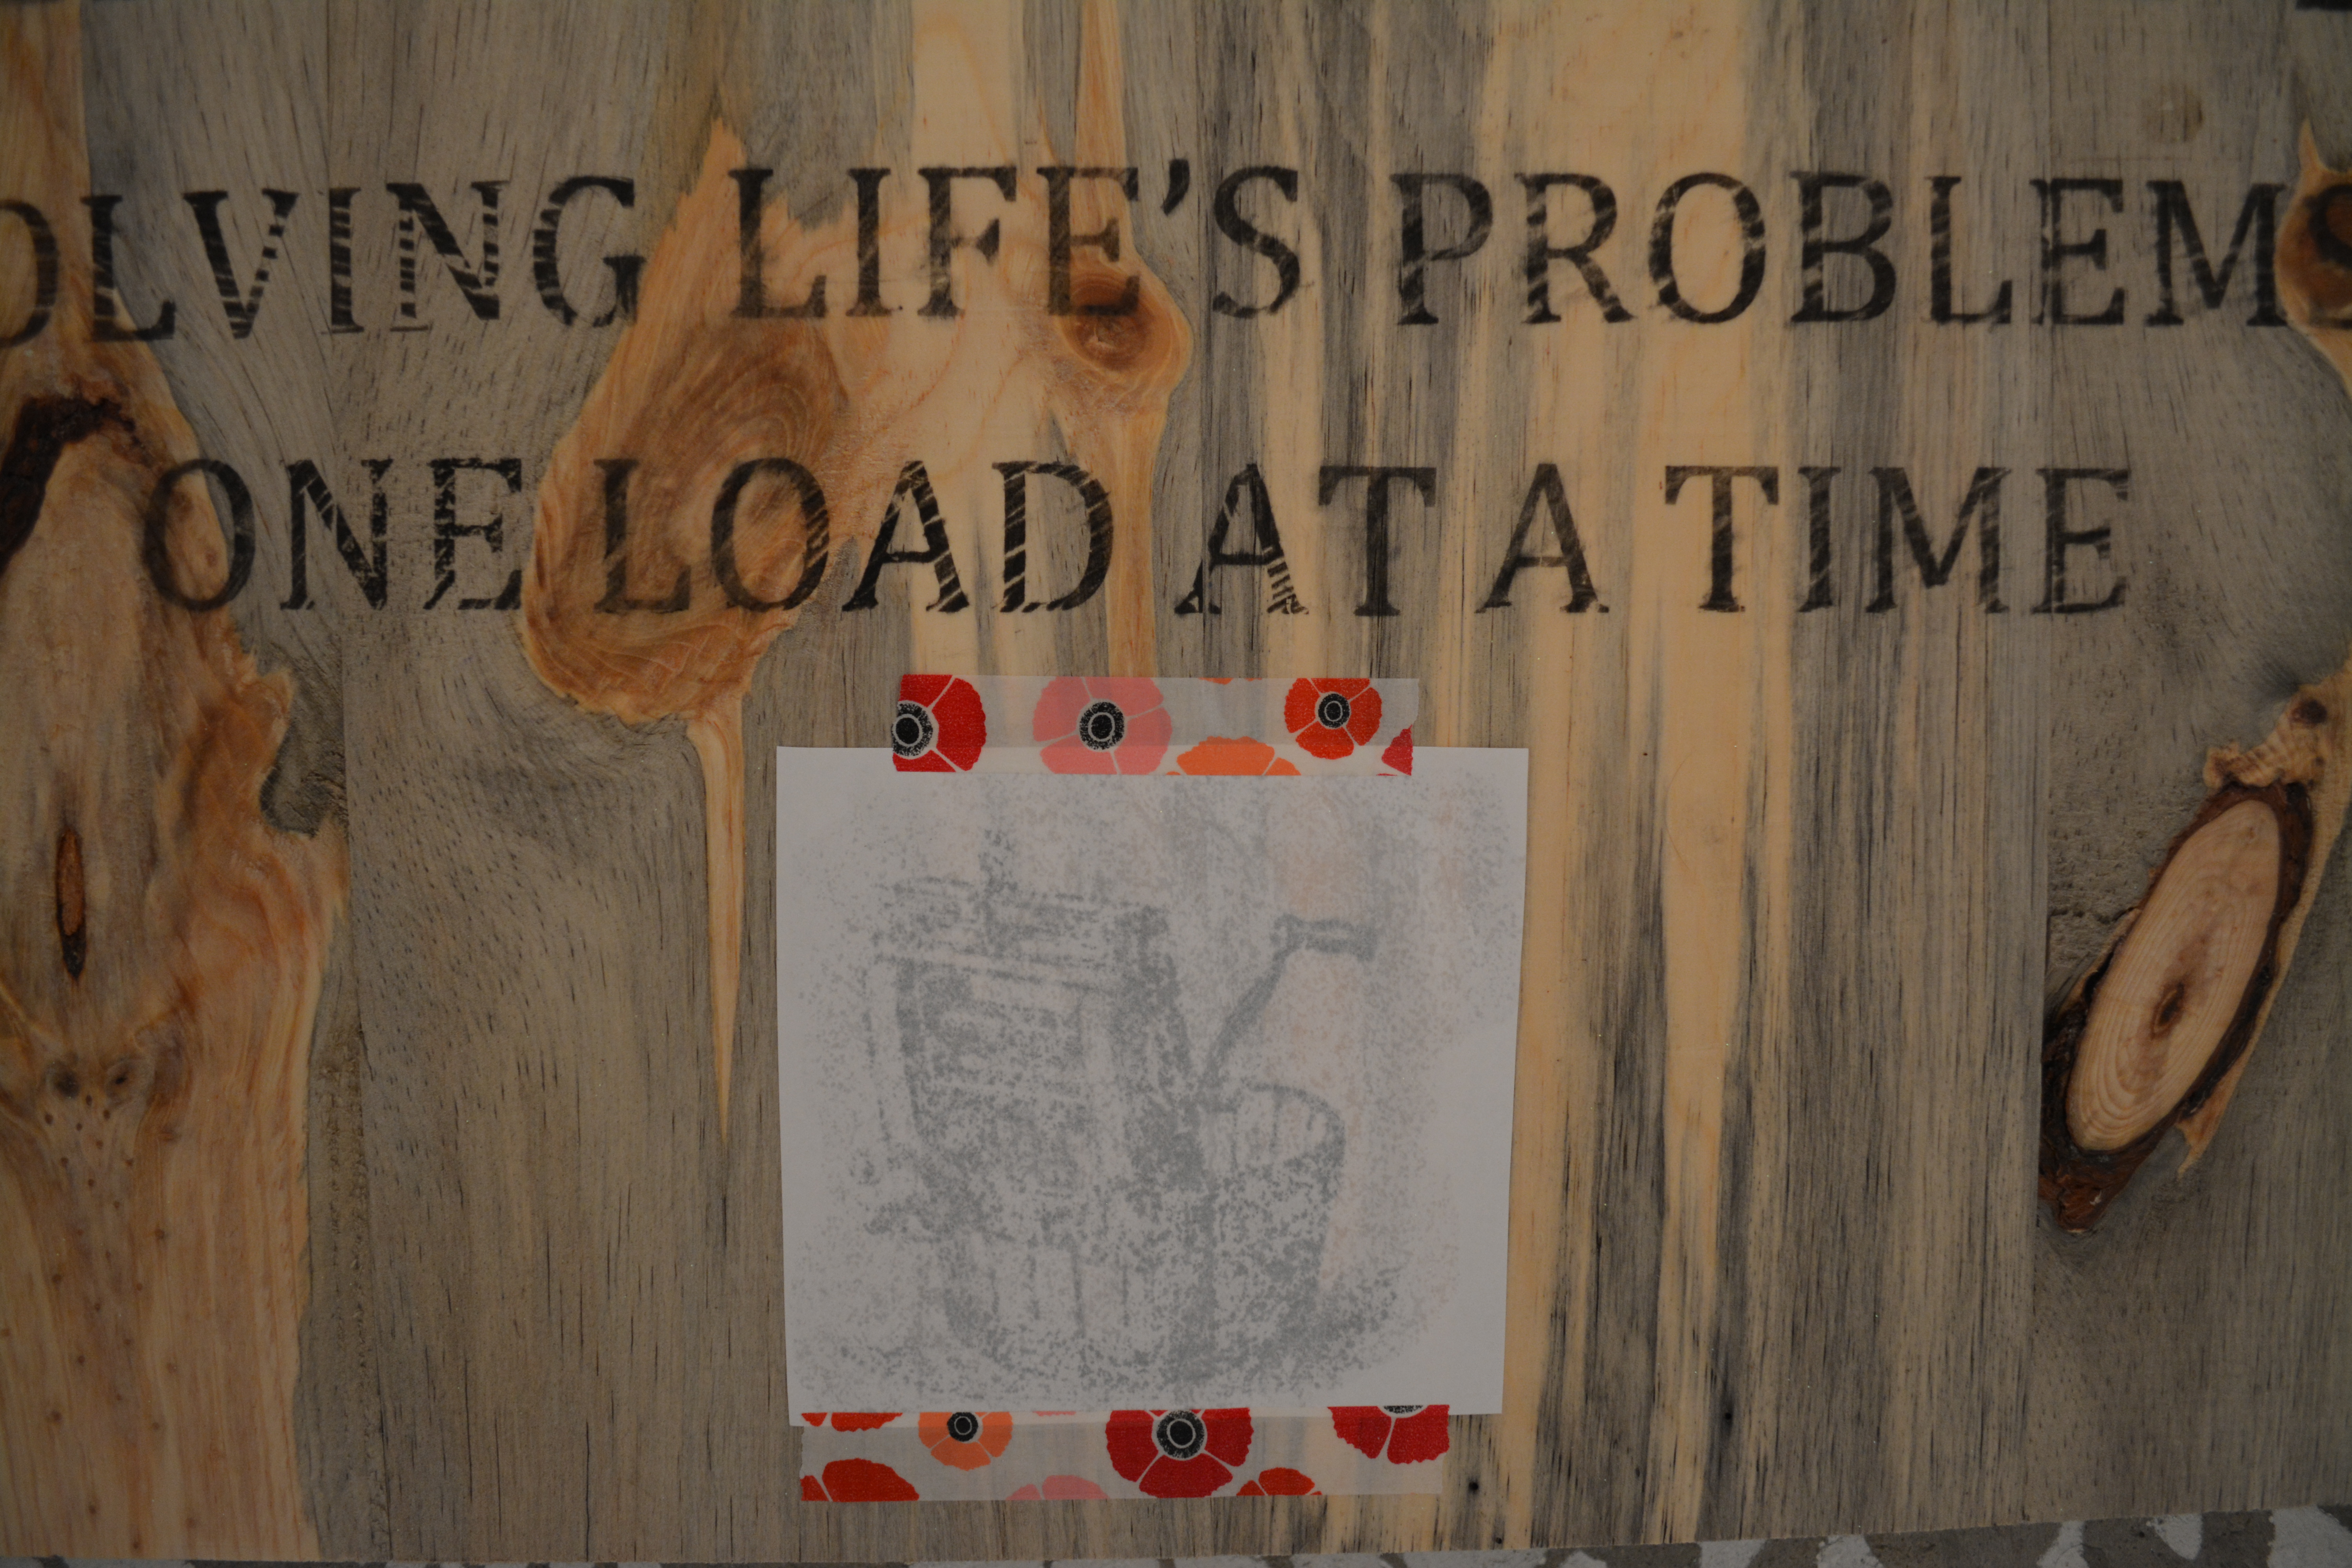 This project was really easy, and it only took me about 20-30 minutes to complete once I had the sign made, and everything printed and cut out.
 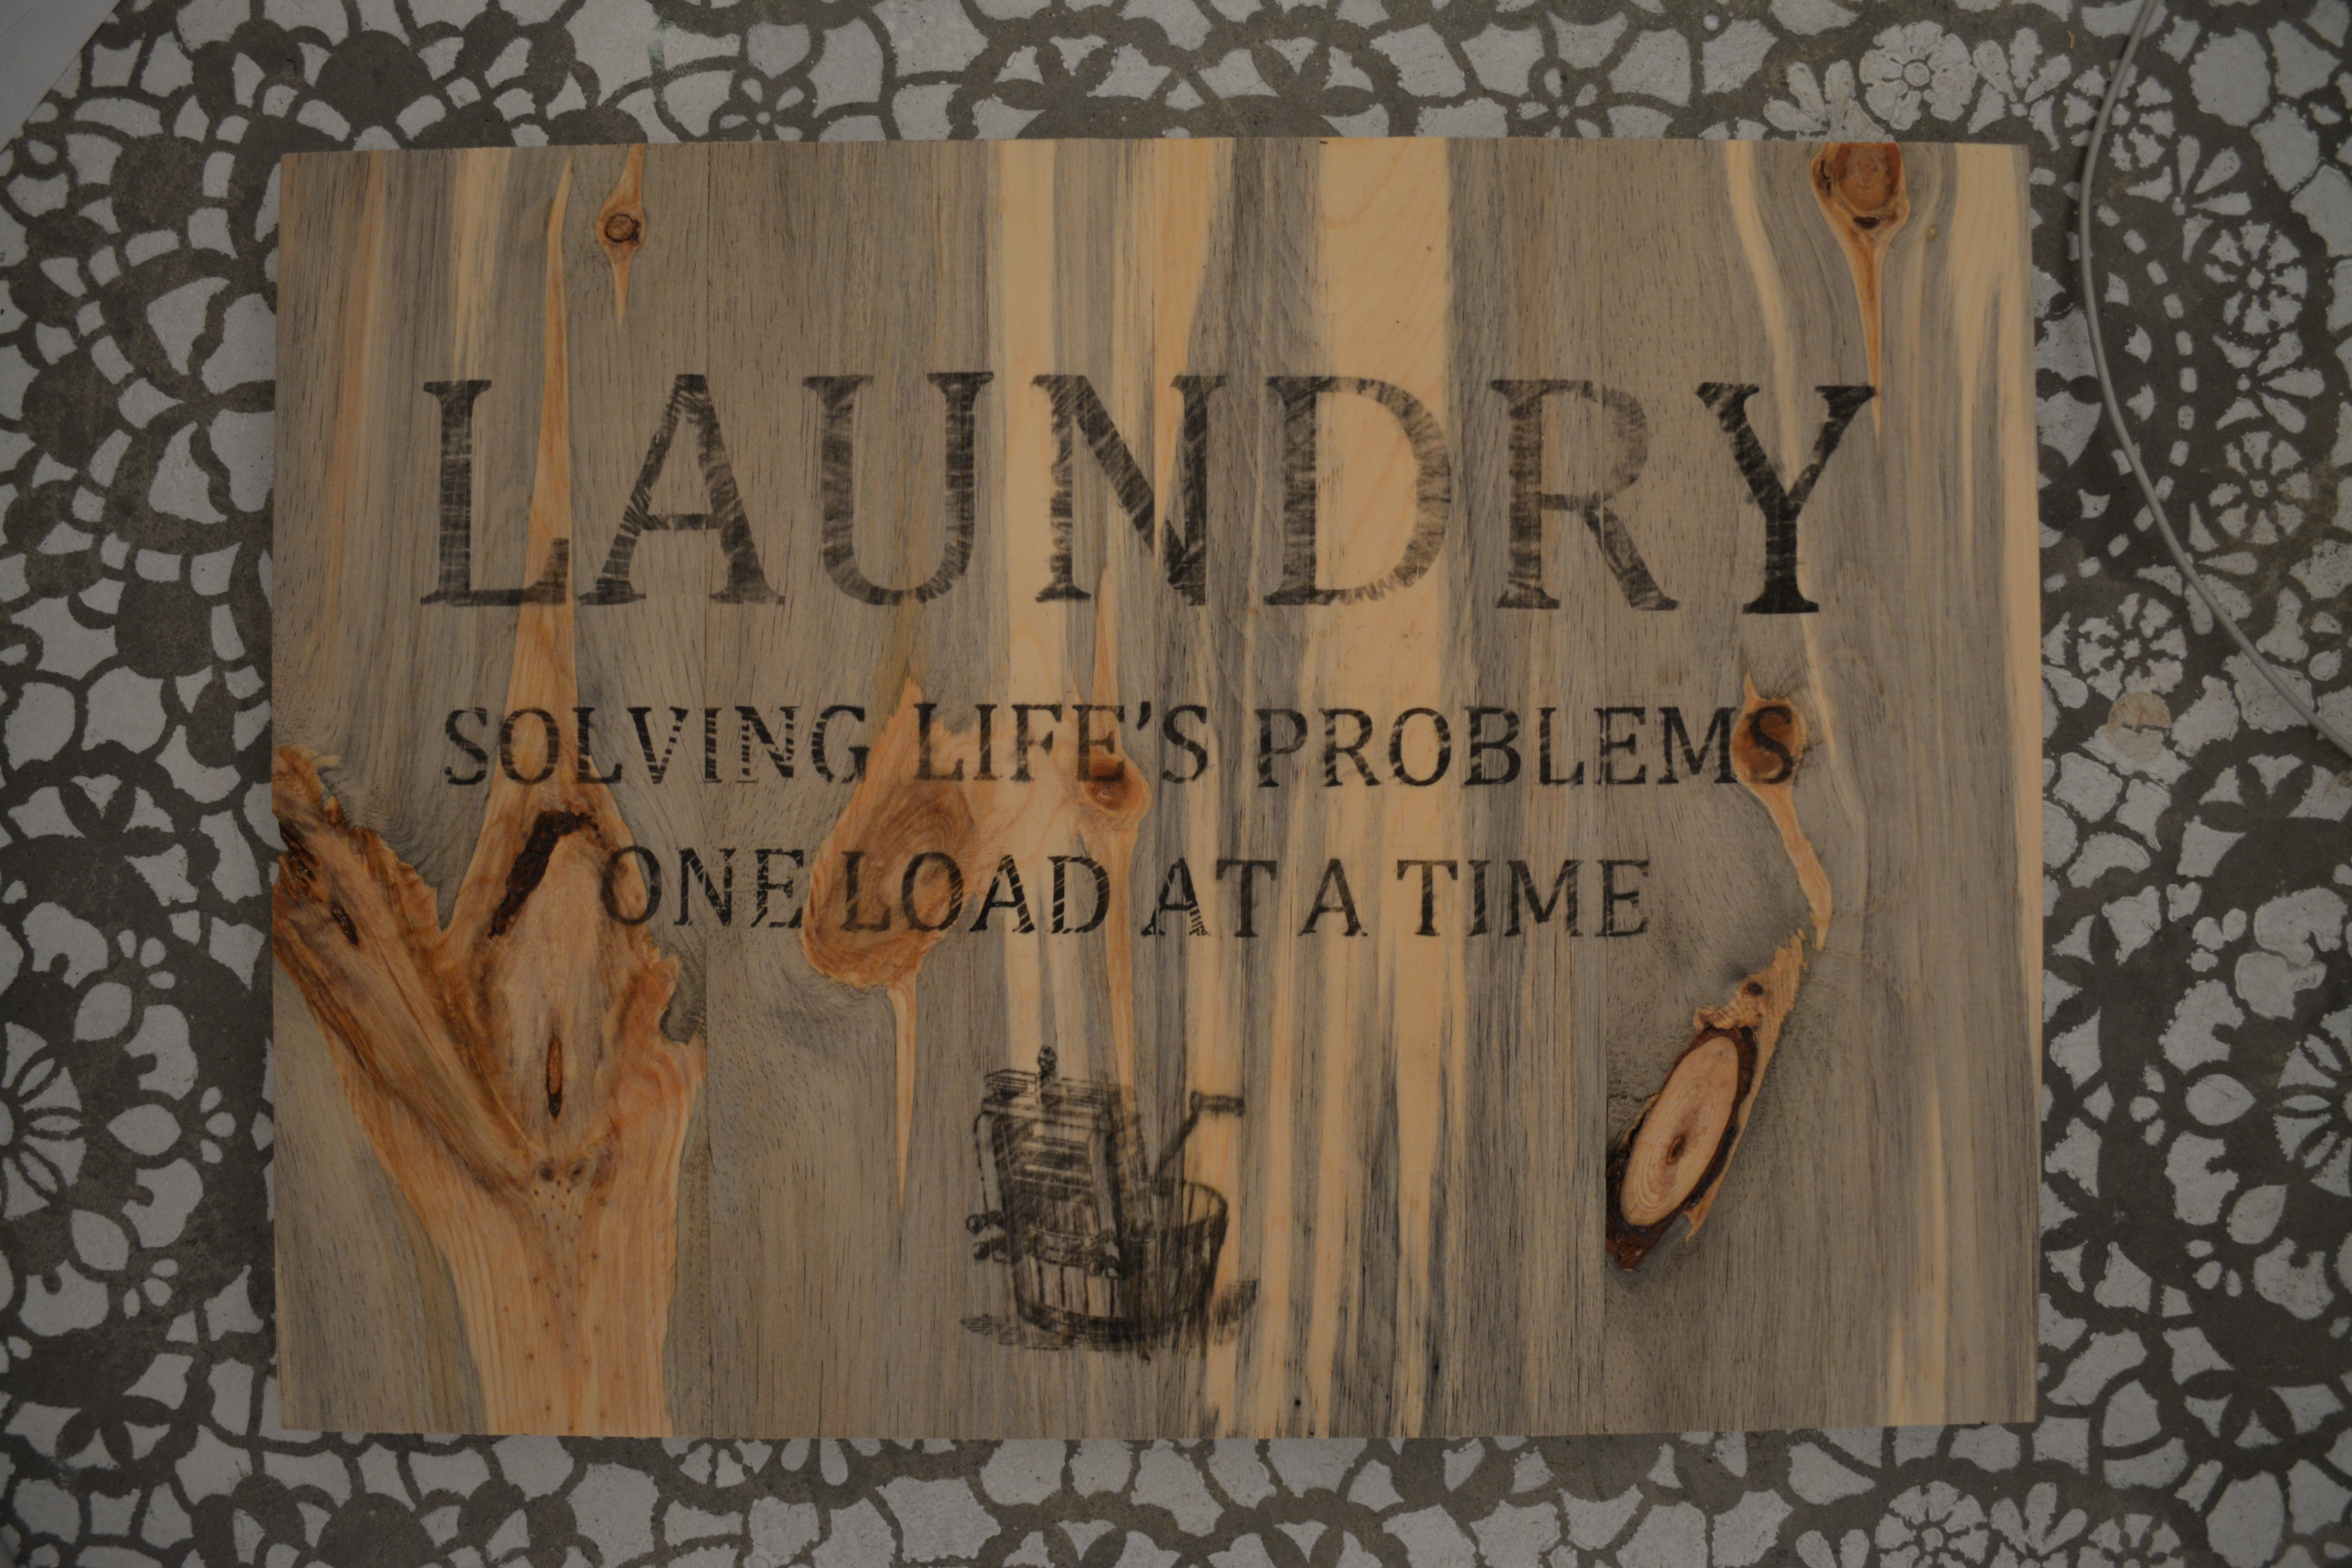 I also made the sign below using this same technique. I have attached the files above for this sign as well.
 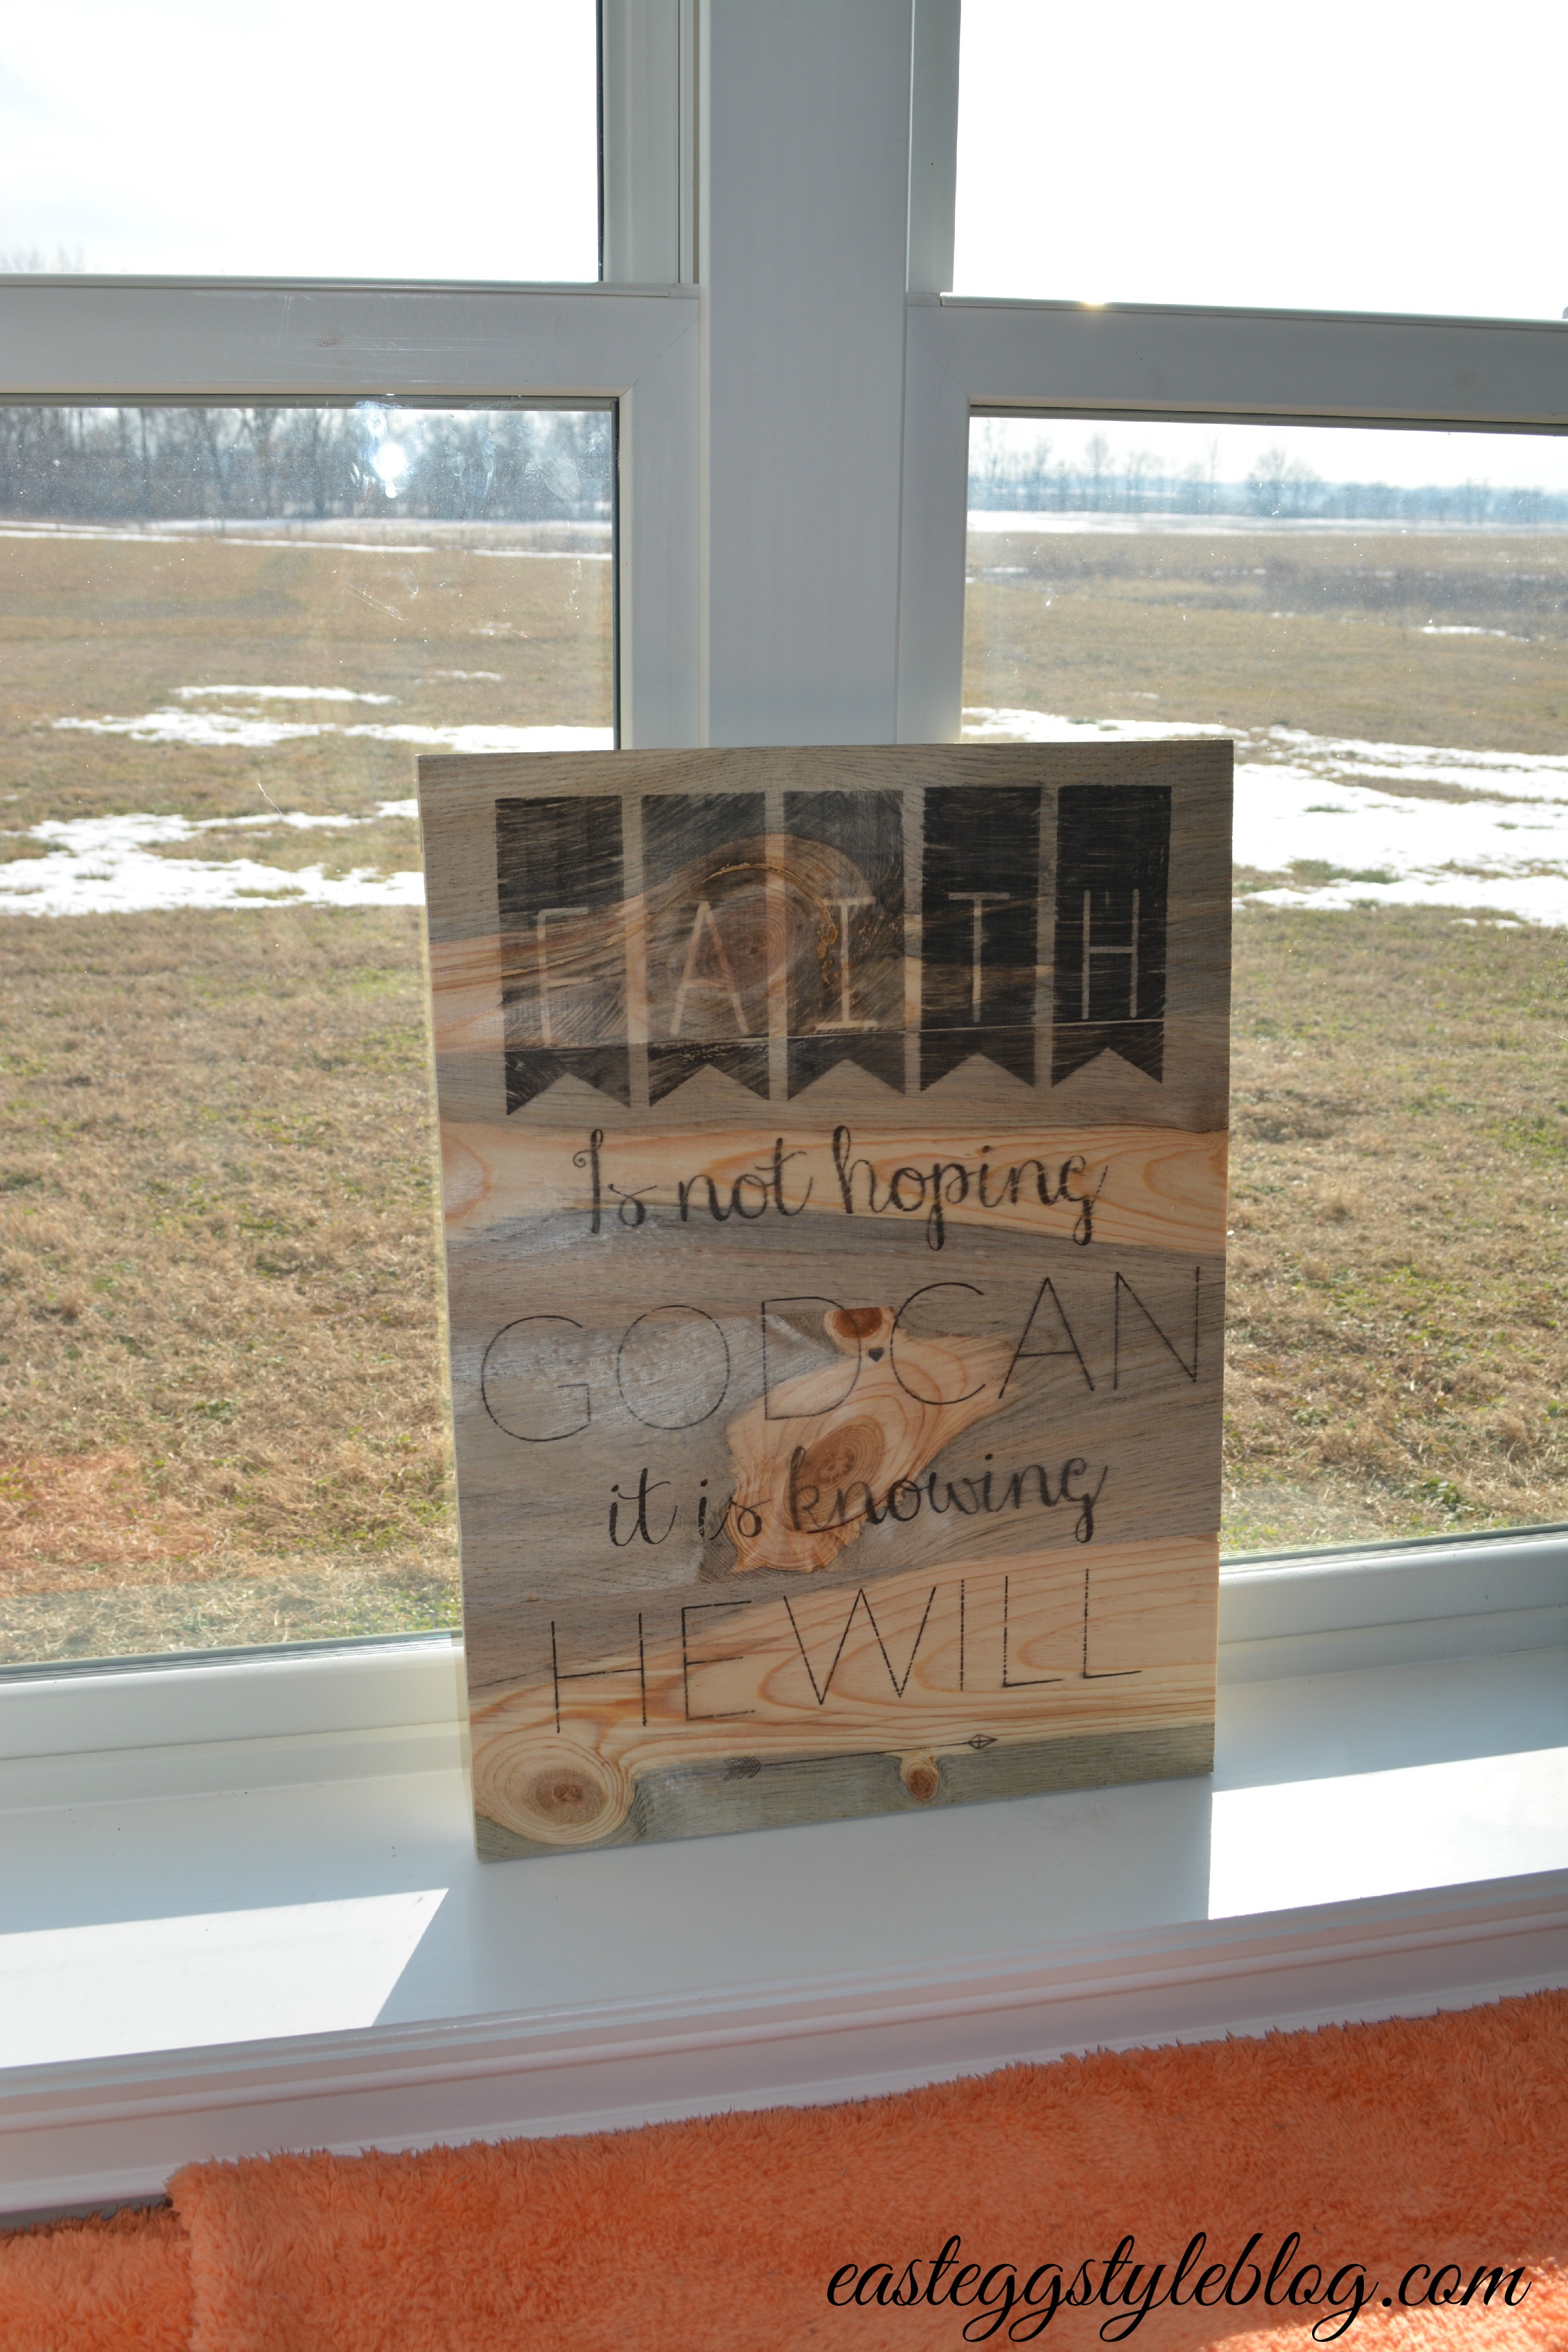 Thanks so much for checking out my tutorial! I hope you have as much fun making your sign(s) as I did! As always, feel free to contact me with any questions you might have. I am always happy to help!
Soooo ADORABLE!!! Thanks for the GREAT STEP BY STEP INSTRUCTIONS!! 😊
LikeLike