DIY Plank Wall
 On our long list of things to finish up around the house, our master bathroom has been at the bottom of the list simply because nobody ever sees it! I know everyone has a place in their home that has been neglected, and our bathroom has definitely fallen into that category. I will be sharing a post of our mini makeover when it is complete, but I thought I would share all about our DIY plank wall today.
When I first began researching installing a plank wall, I quickly realized that this project could get expensive – and fast!! I also ran into a problem with our newly installed crown molding. I really didn’t want to have to rip it out, but I also didn’t want a weird gap between traditional wood planks and the molding.
I began looking into it a bit further, and I figured out a way to make this project look great without ripping out all of our molding, while still sticking to a strict budget. I really wanted to keep this project under $50, and I managed to do just that. Since I had paint and stain already on hand, all I had to do was buy the wood – I spent a grand total of $34!
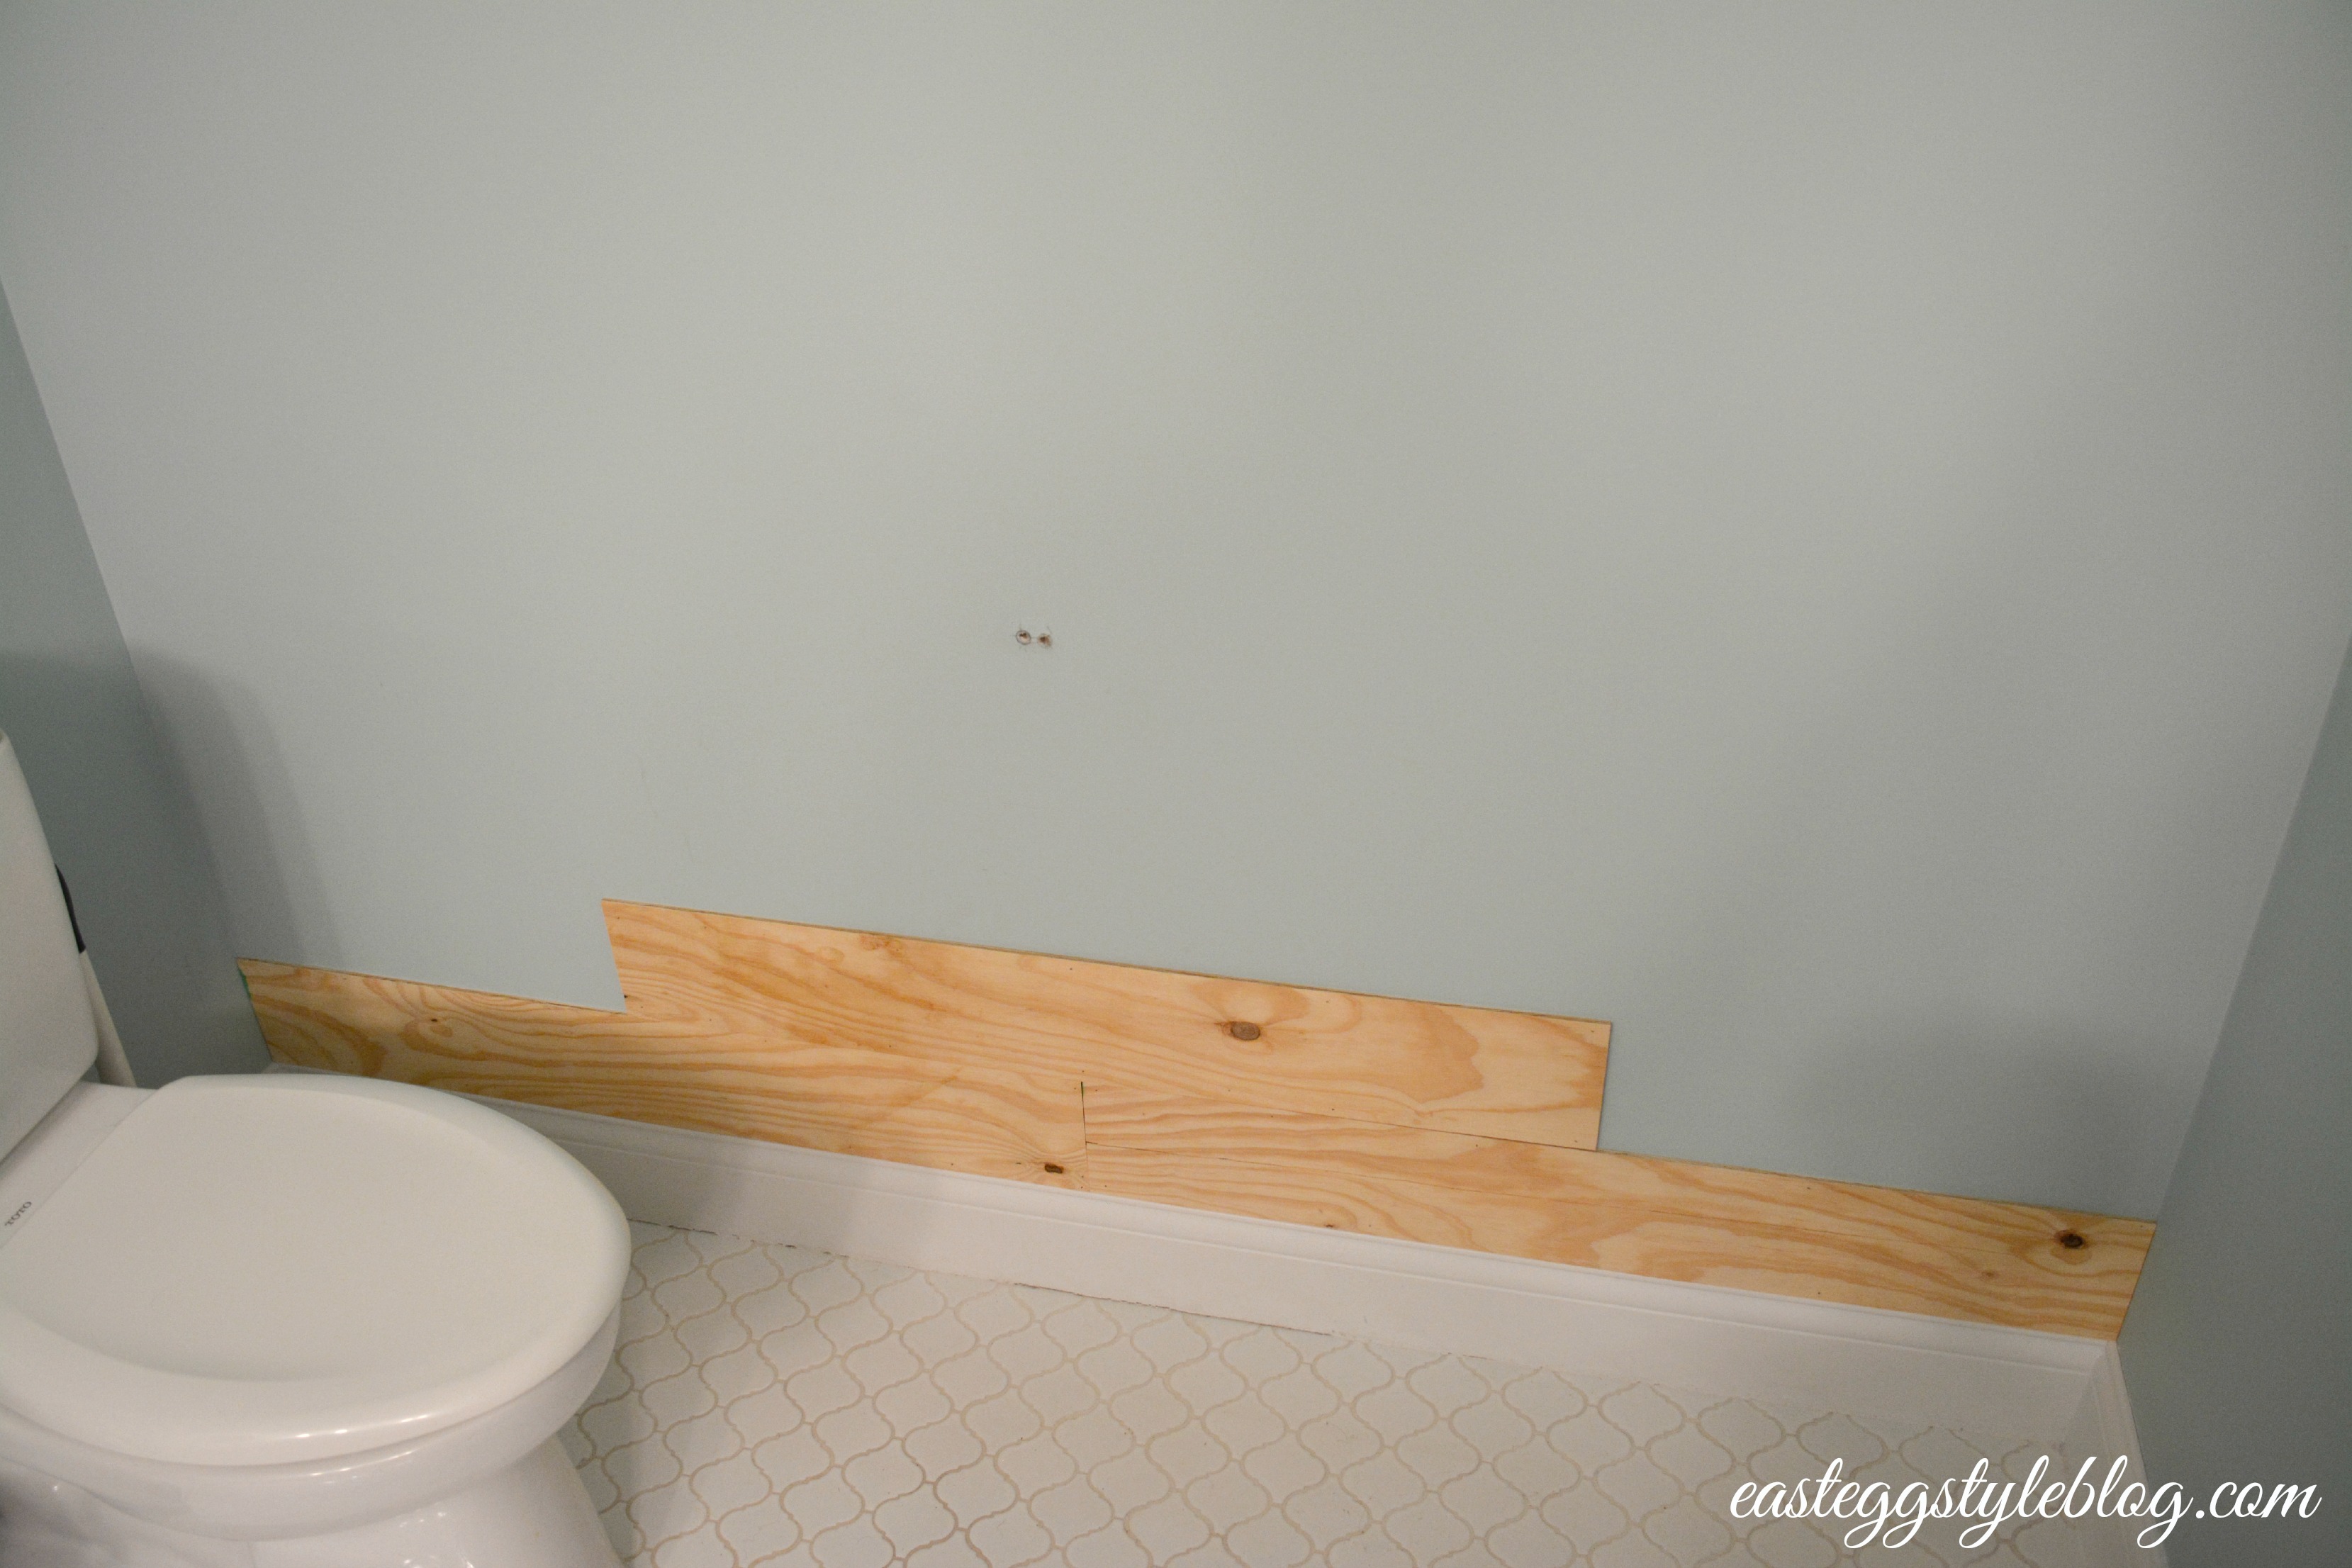
Below is a picture of our plain wall with the lonely toilet paper holder on it before we completed this project.

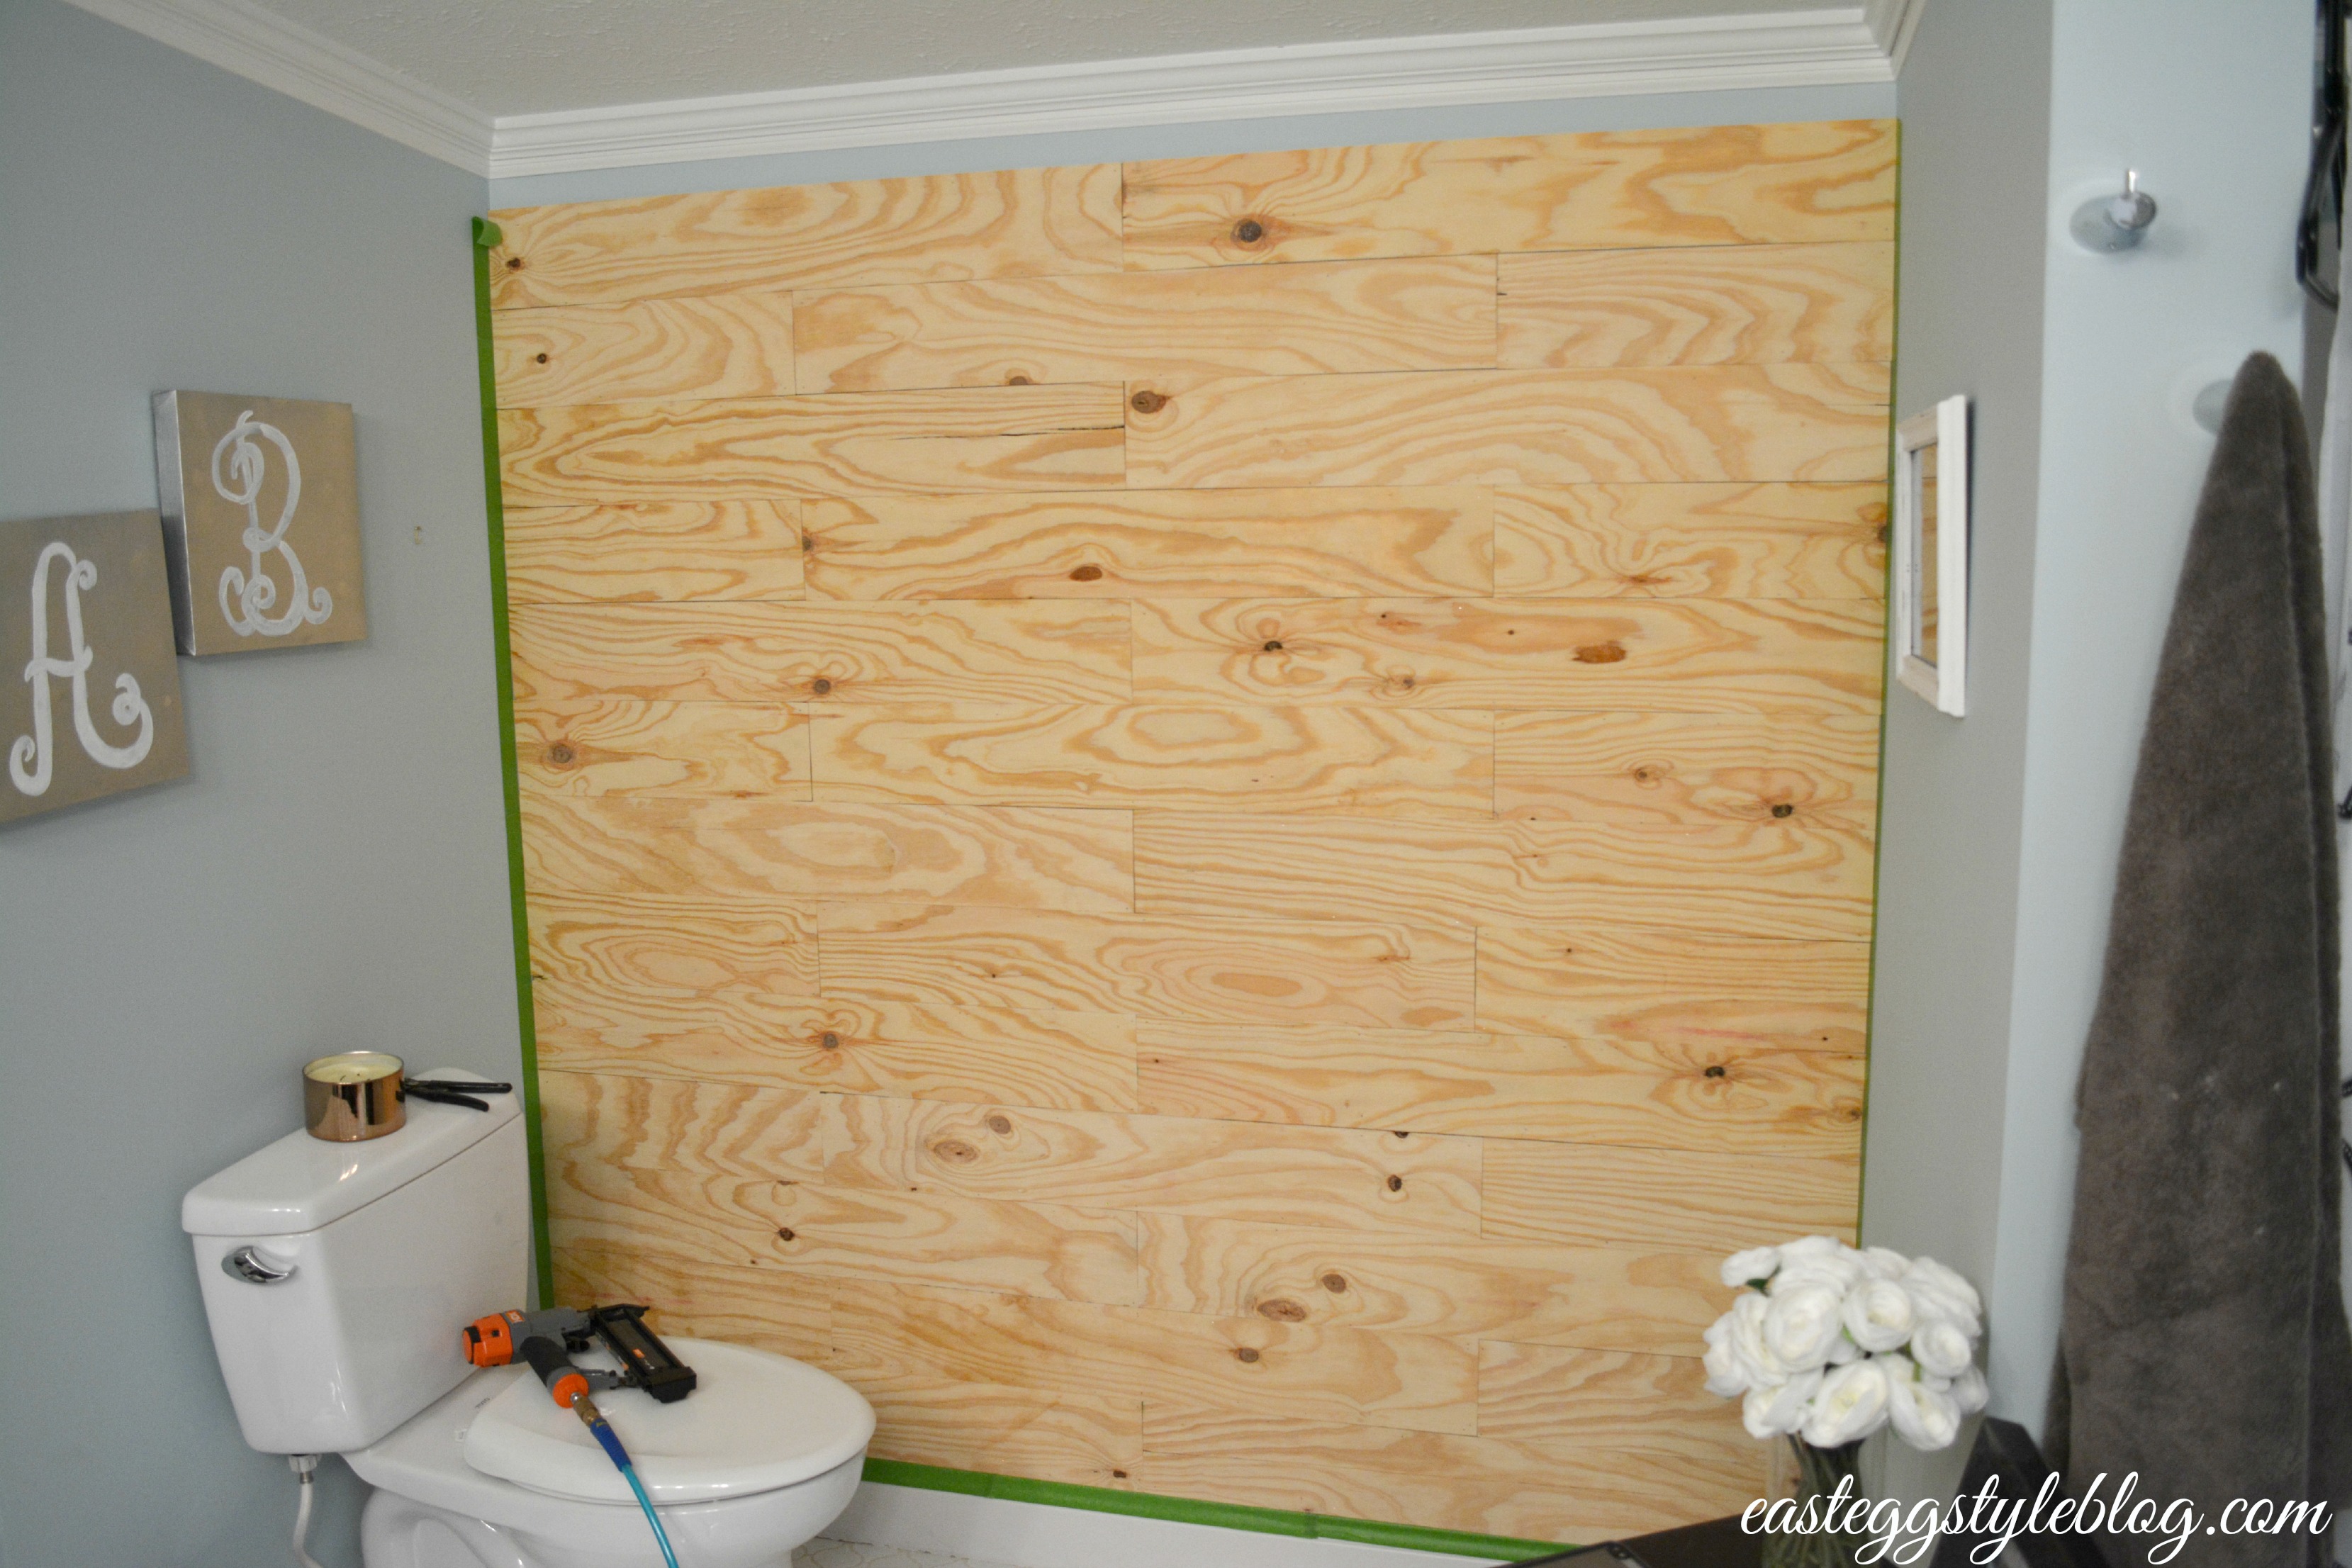
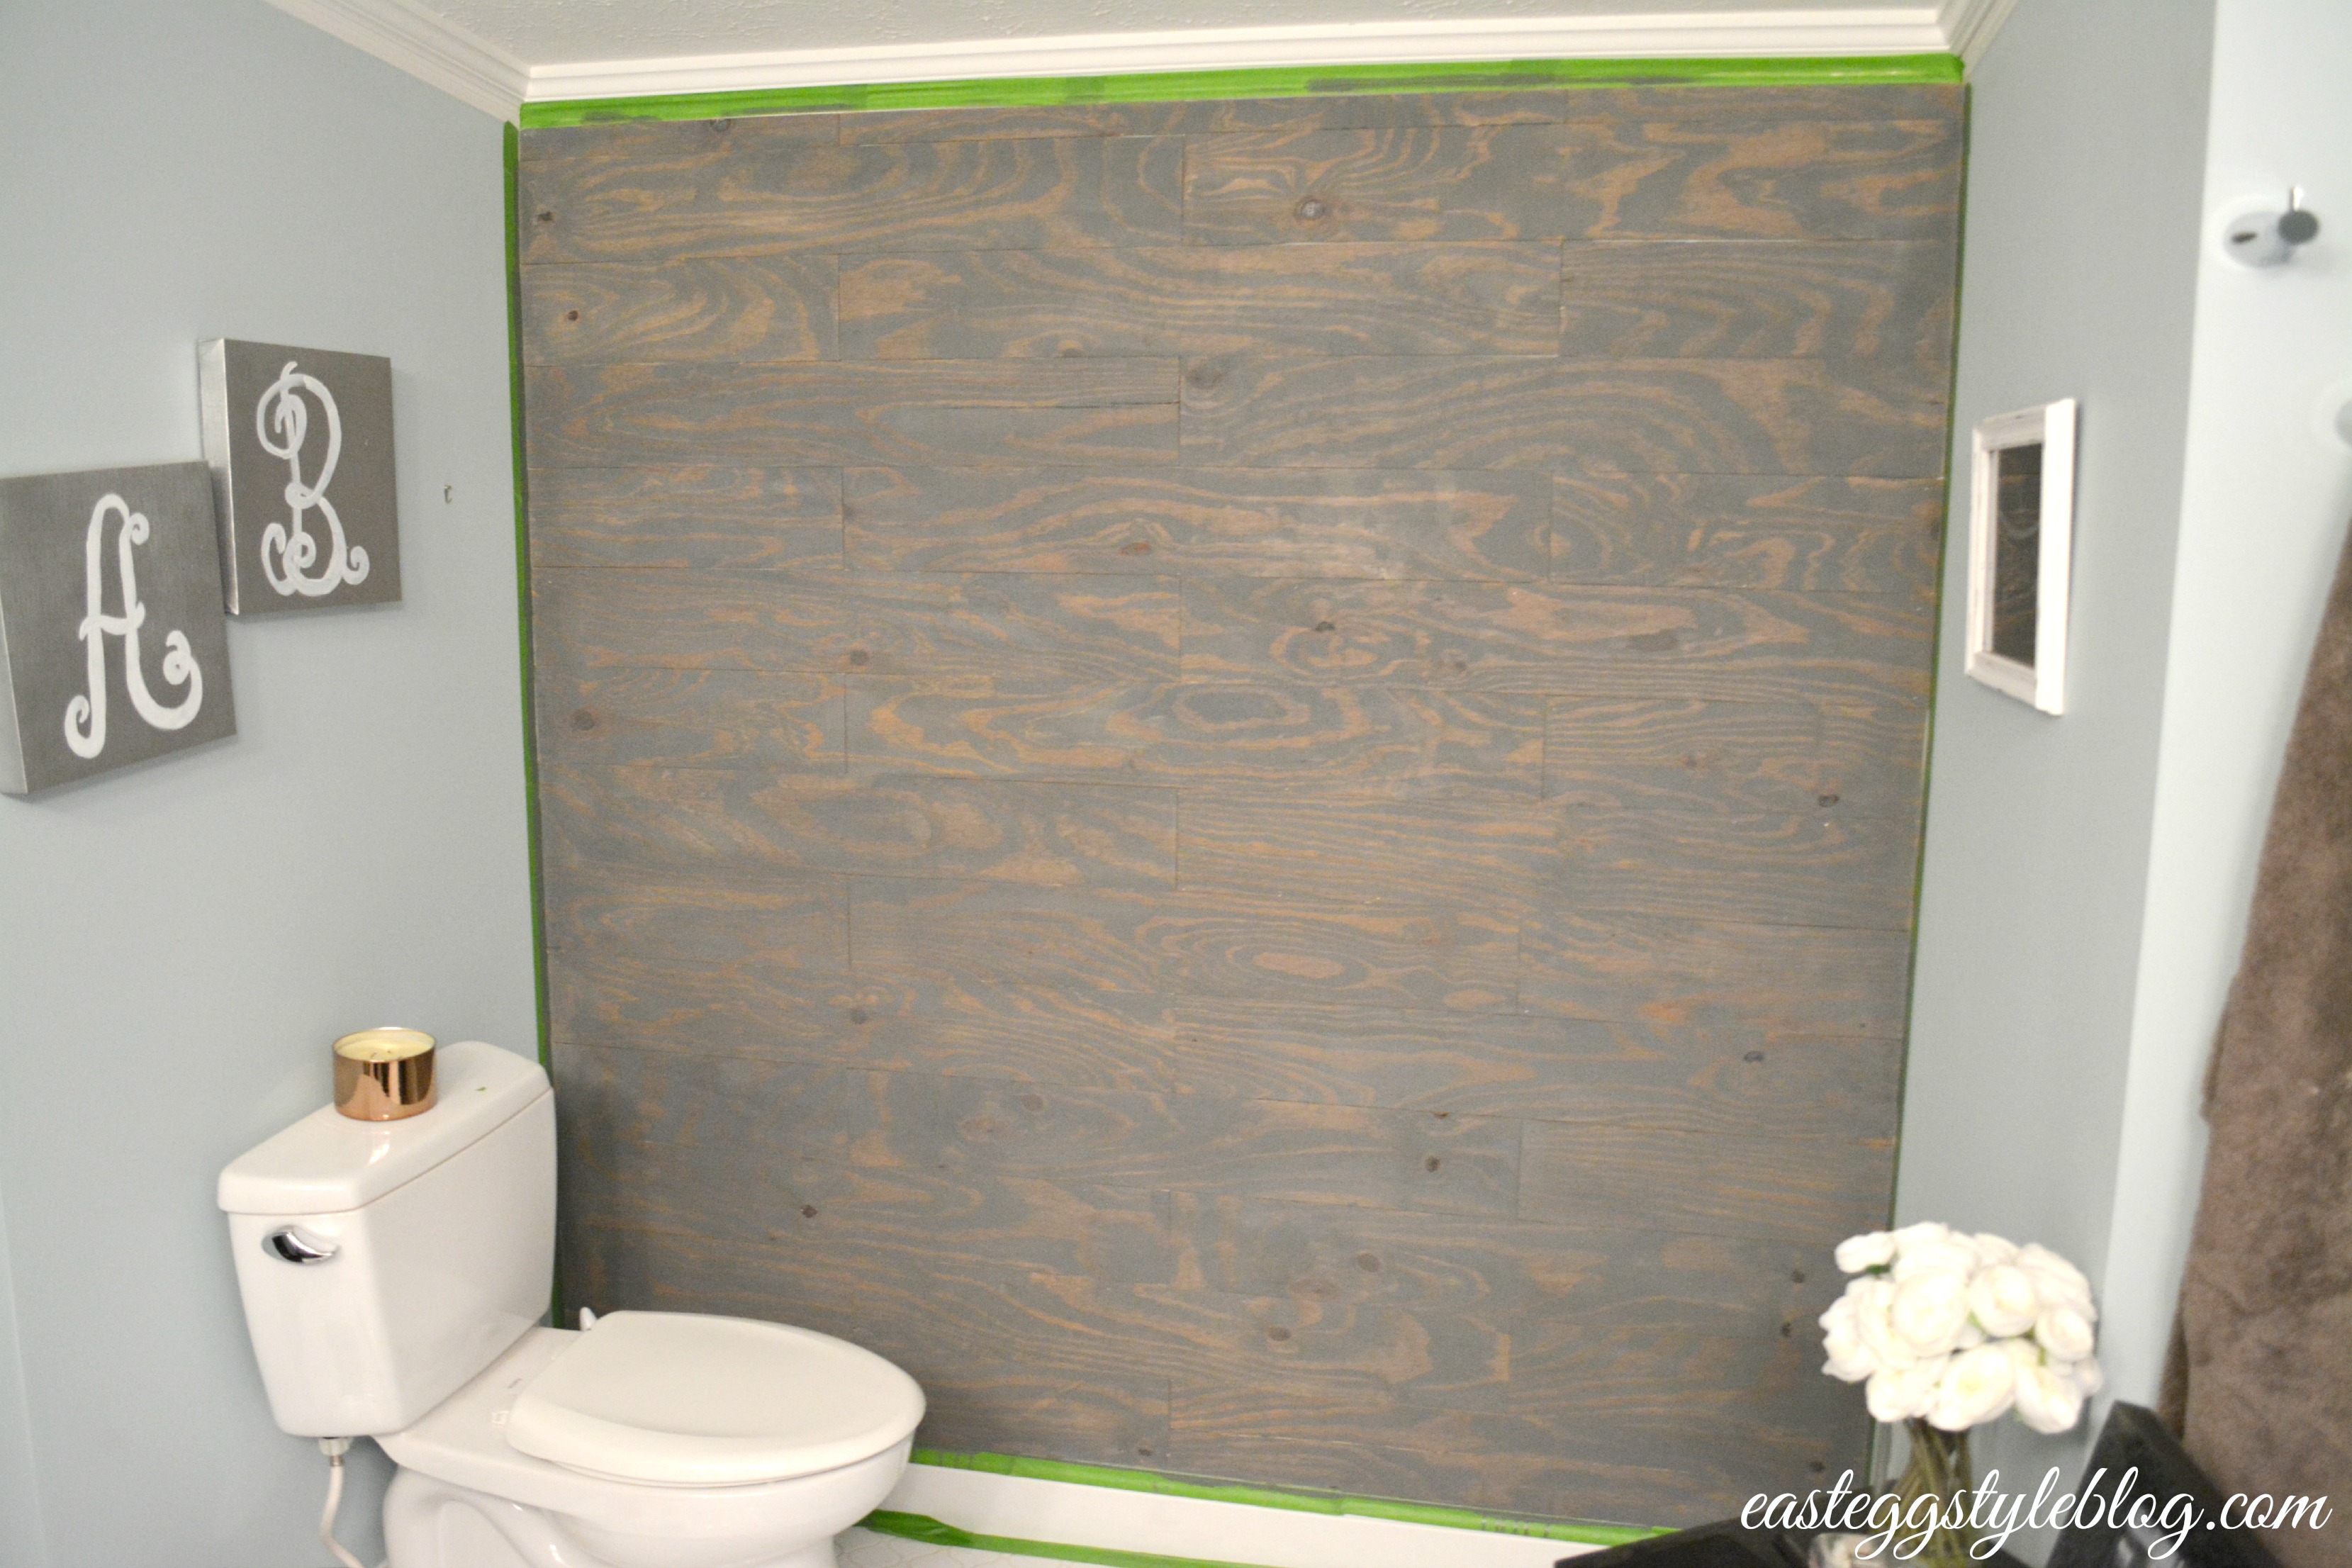
In order to keep from having a large gap between the molding and the planking (this would have happened with standard 3/4″ boards), my husband and I bought two sheets of 1/4″ plywood, and cut the plywood into 5 1/2″ wide strips. We then cut these strips into shorter pieces (these measurements will really vary depending on the size of the wall) and fit them together a bit like a puzzle. Once we were happy with the spacing, we used a nail gun to tack each piece in place.

I really tried hard not to worry about small gaps, because this is actually what gave the wall some character. These imperfections also keep it from looking like you are just tacking plywood up on your wall. Every little bit of character helps! We even left the nail holes to really give it a true rustic look.
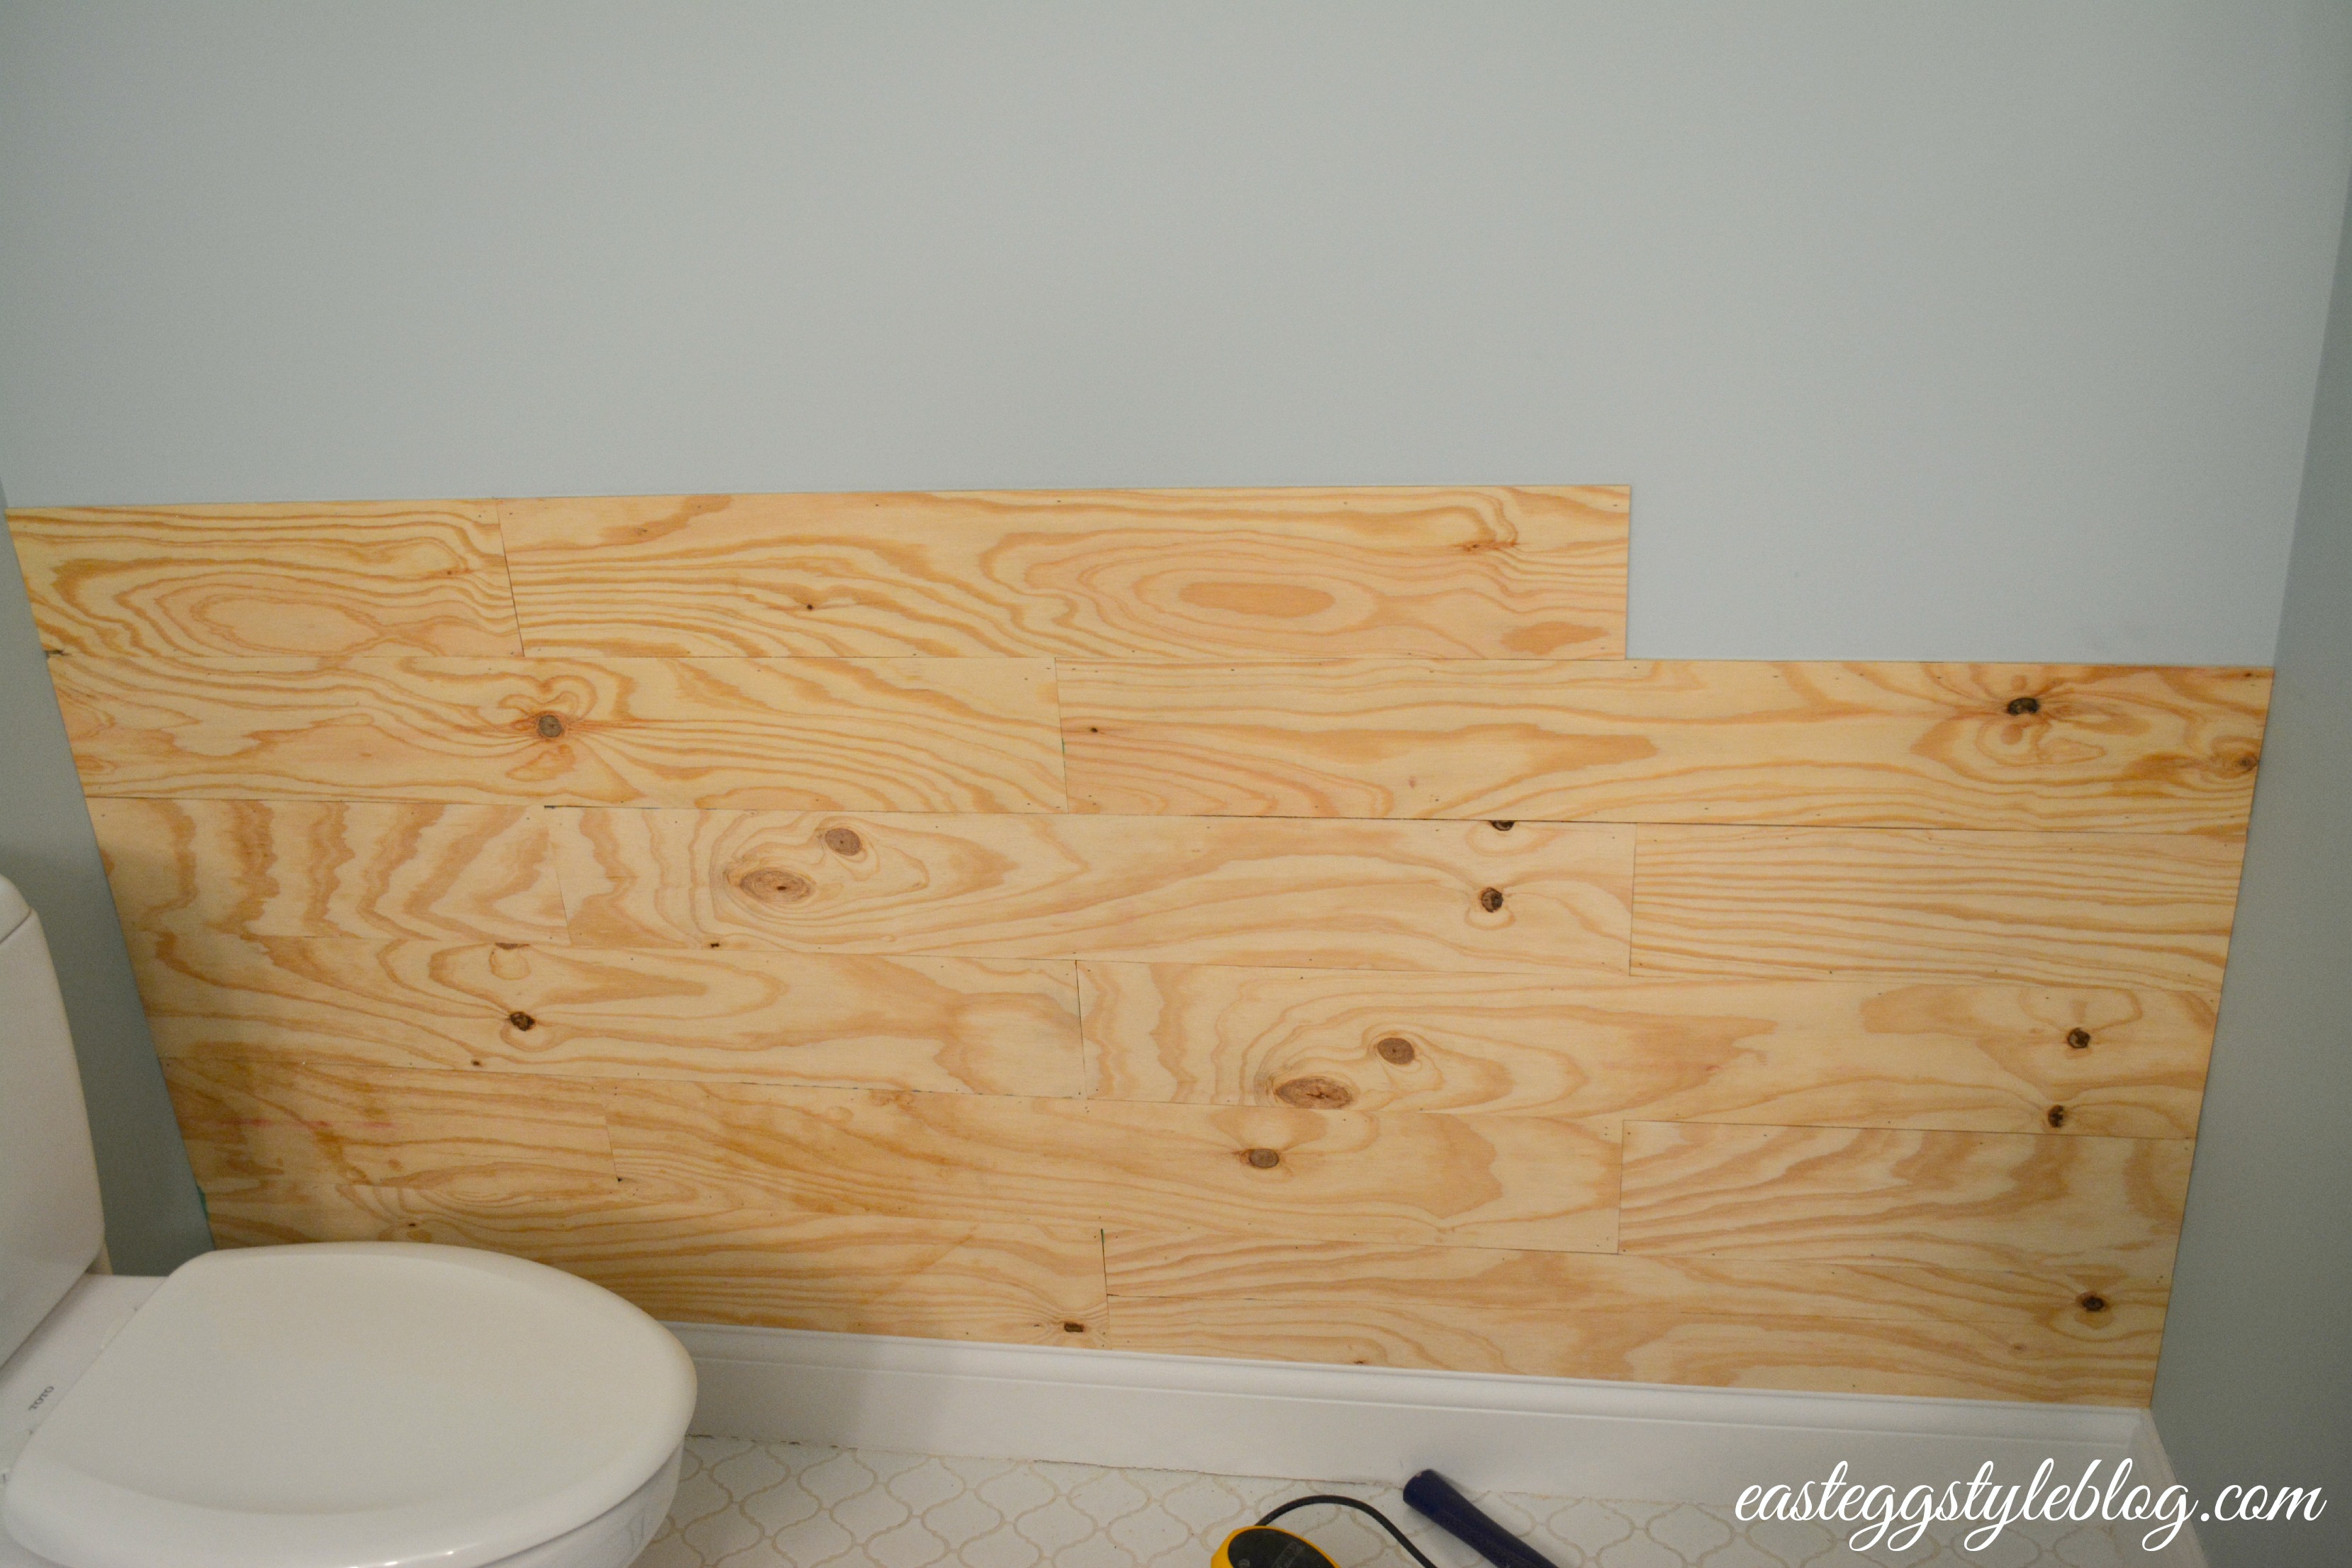

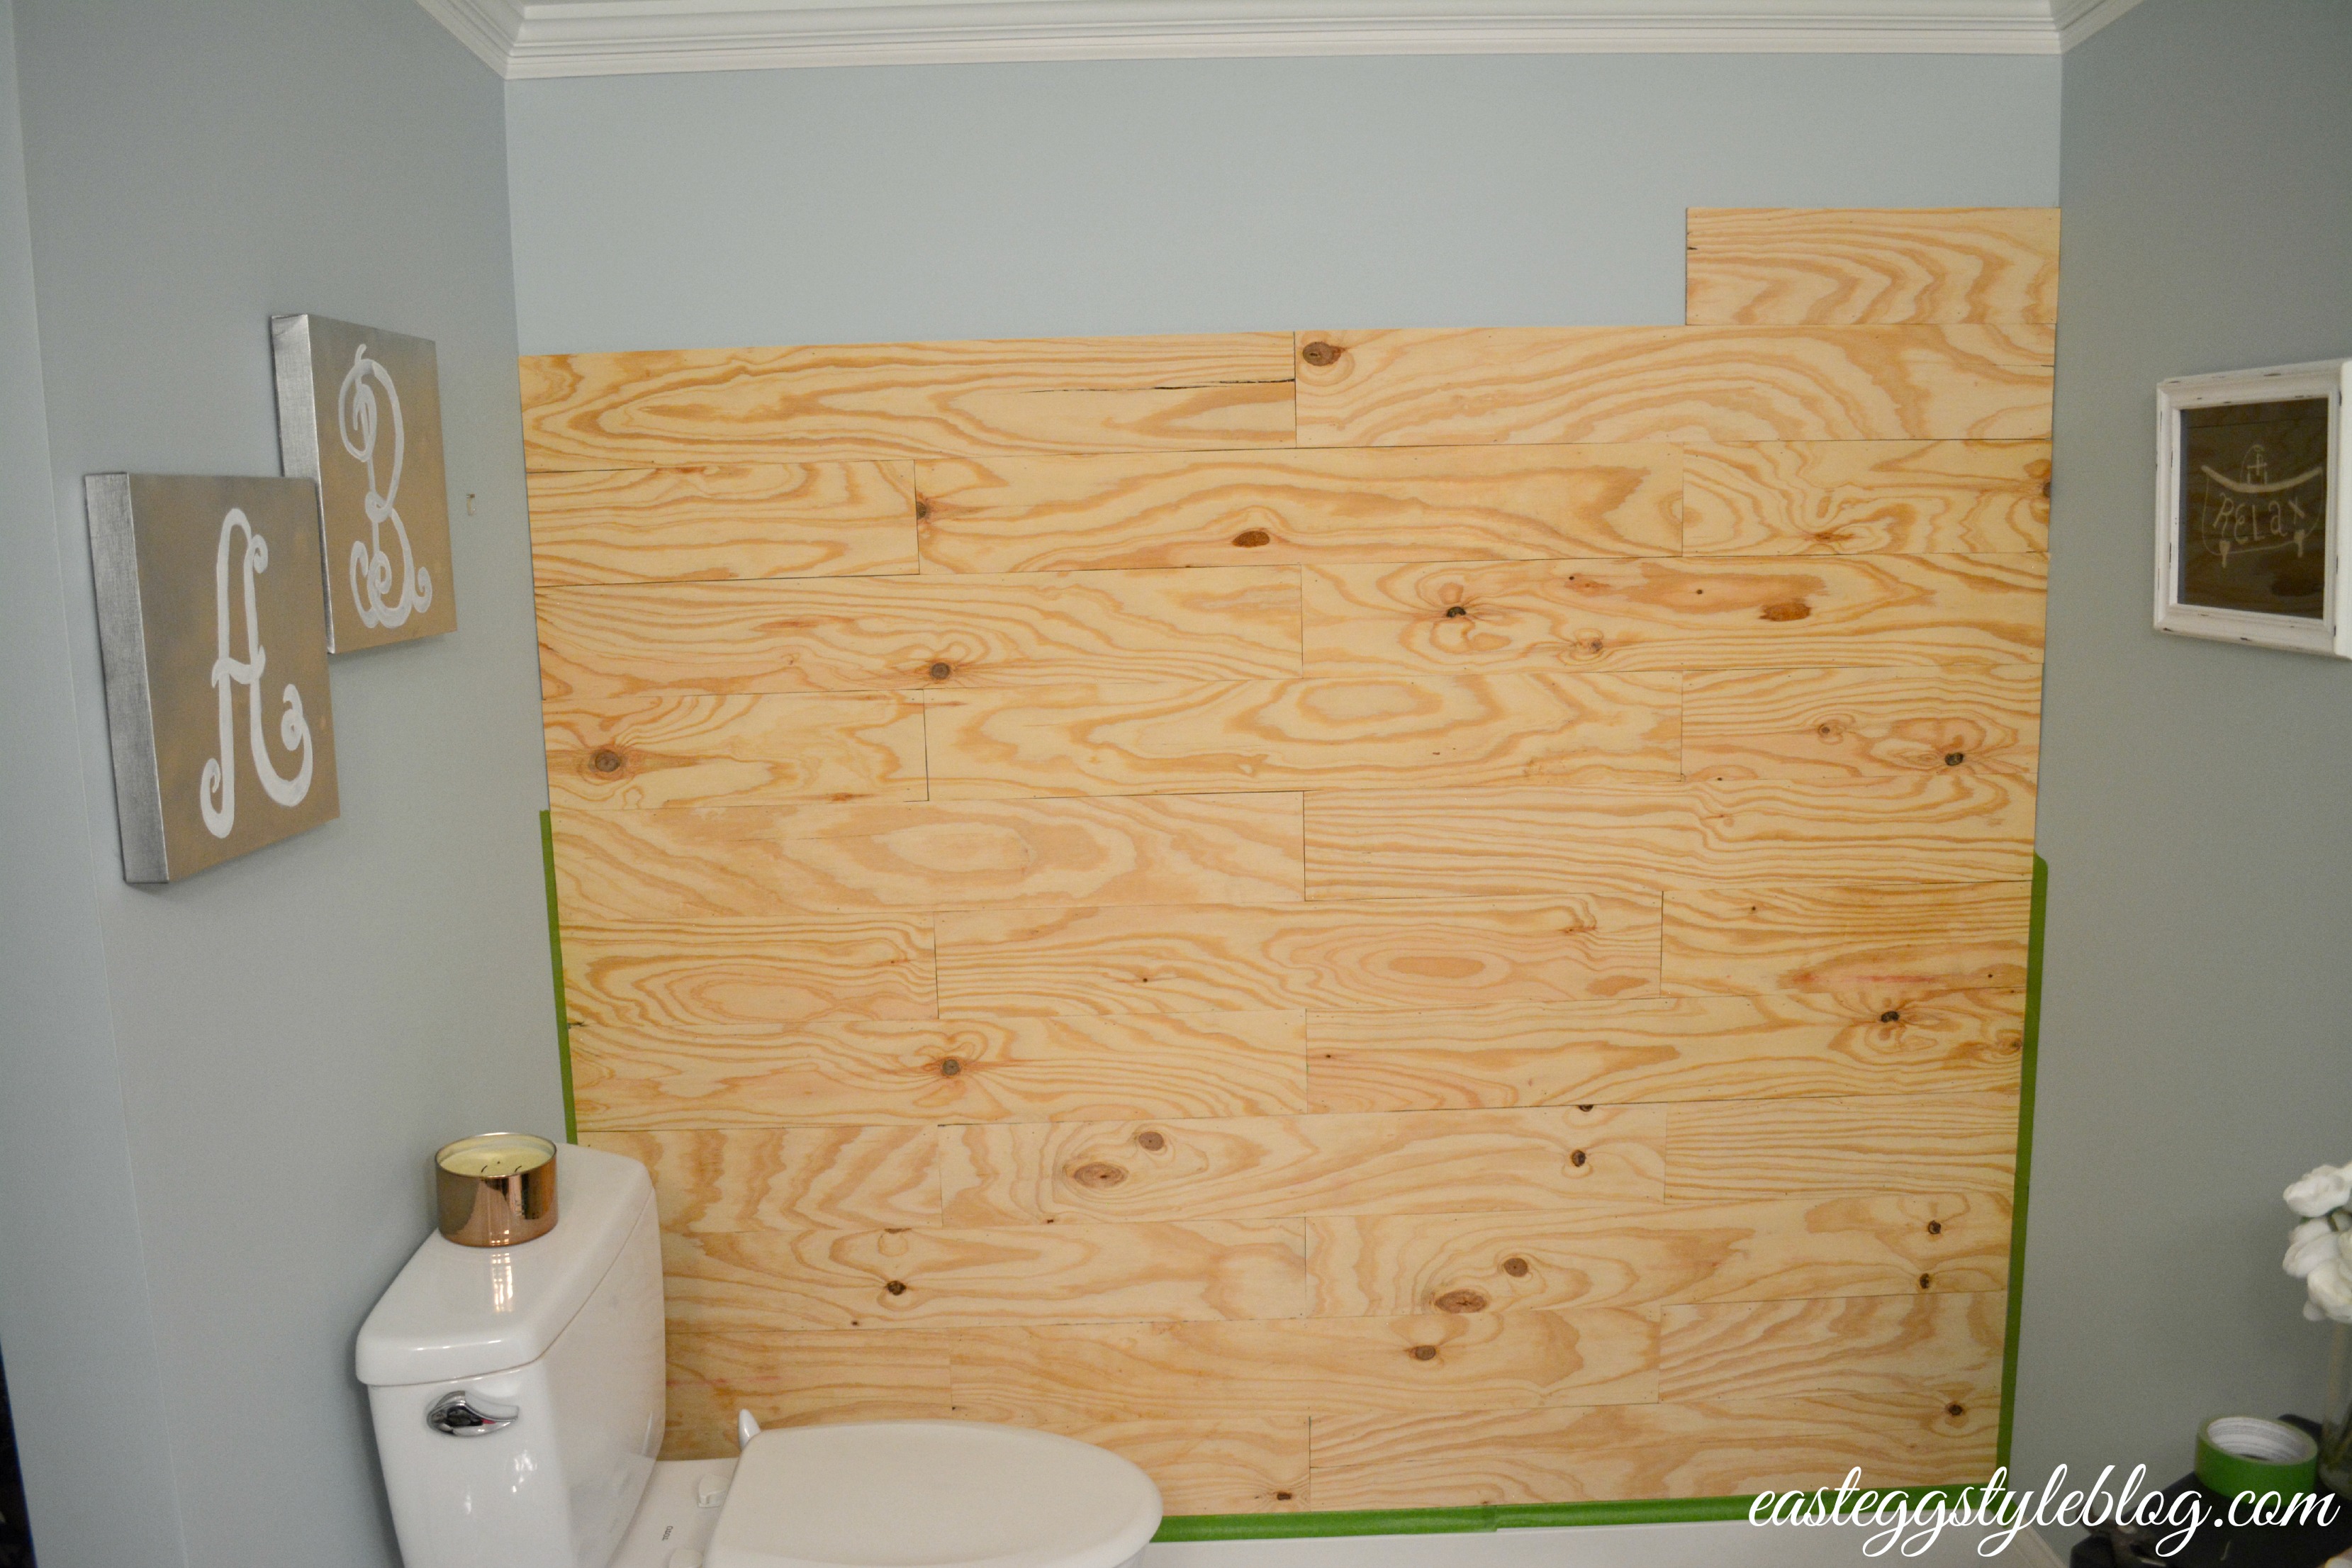
When we were done nailing up all of the boards, my husband gave the wall a light sanding just to remove any splinters, and to ensure a nicer finish. 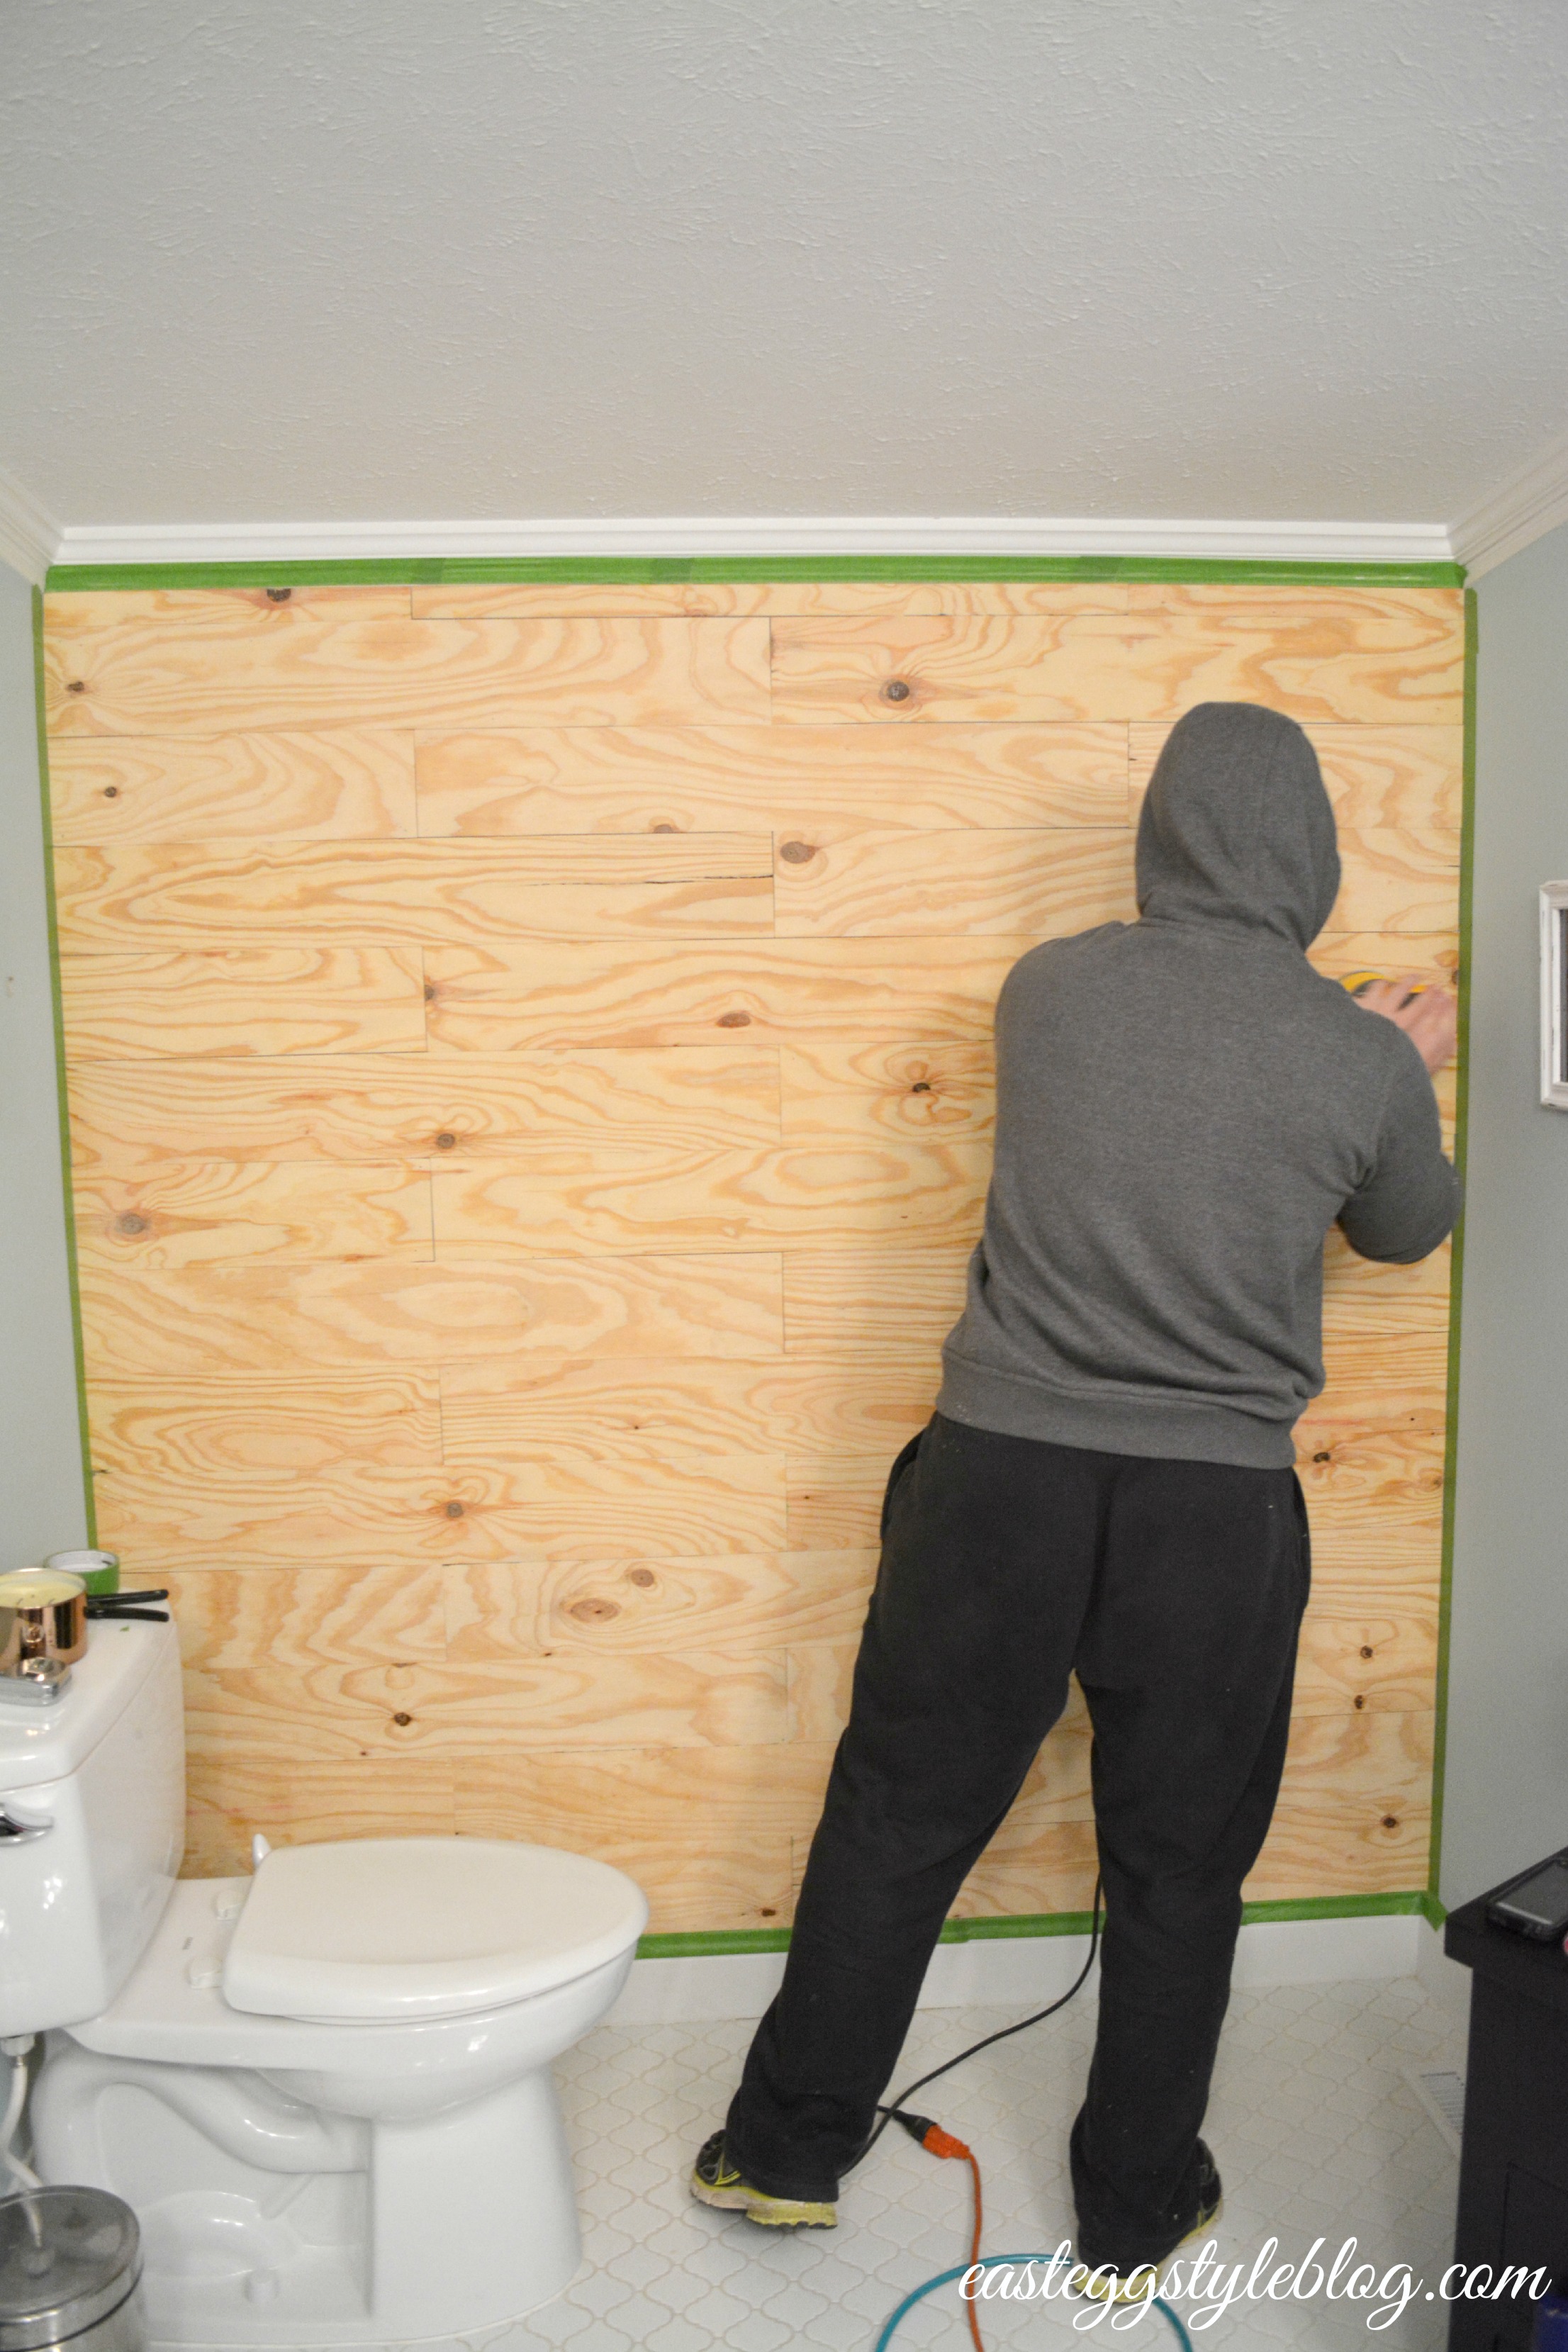 We also went back through and used a nail set to get any nails that were sticking out.
 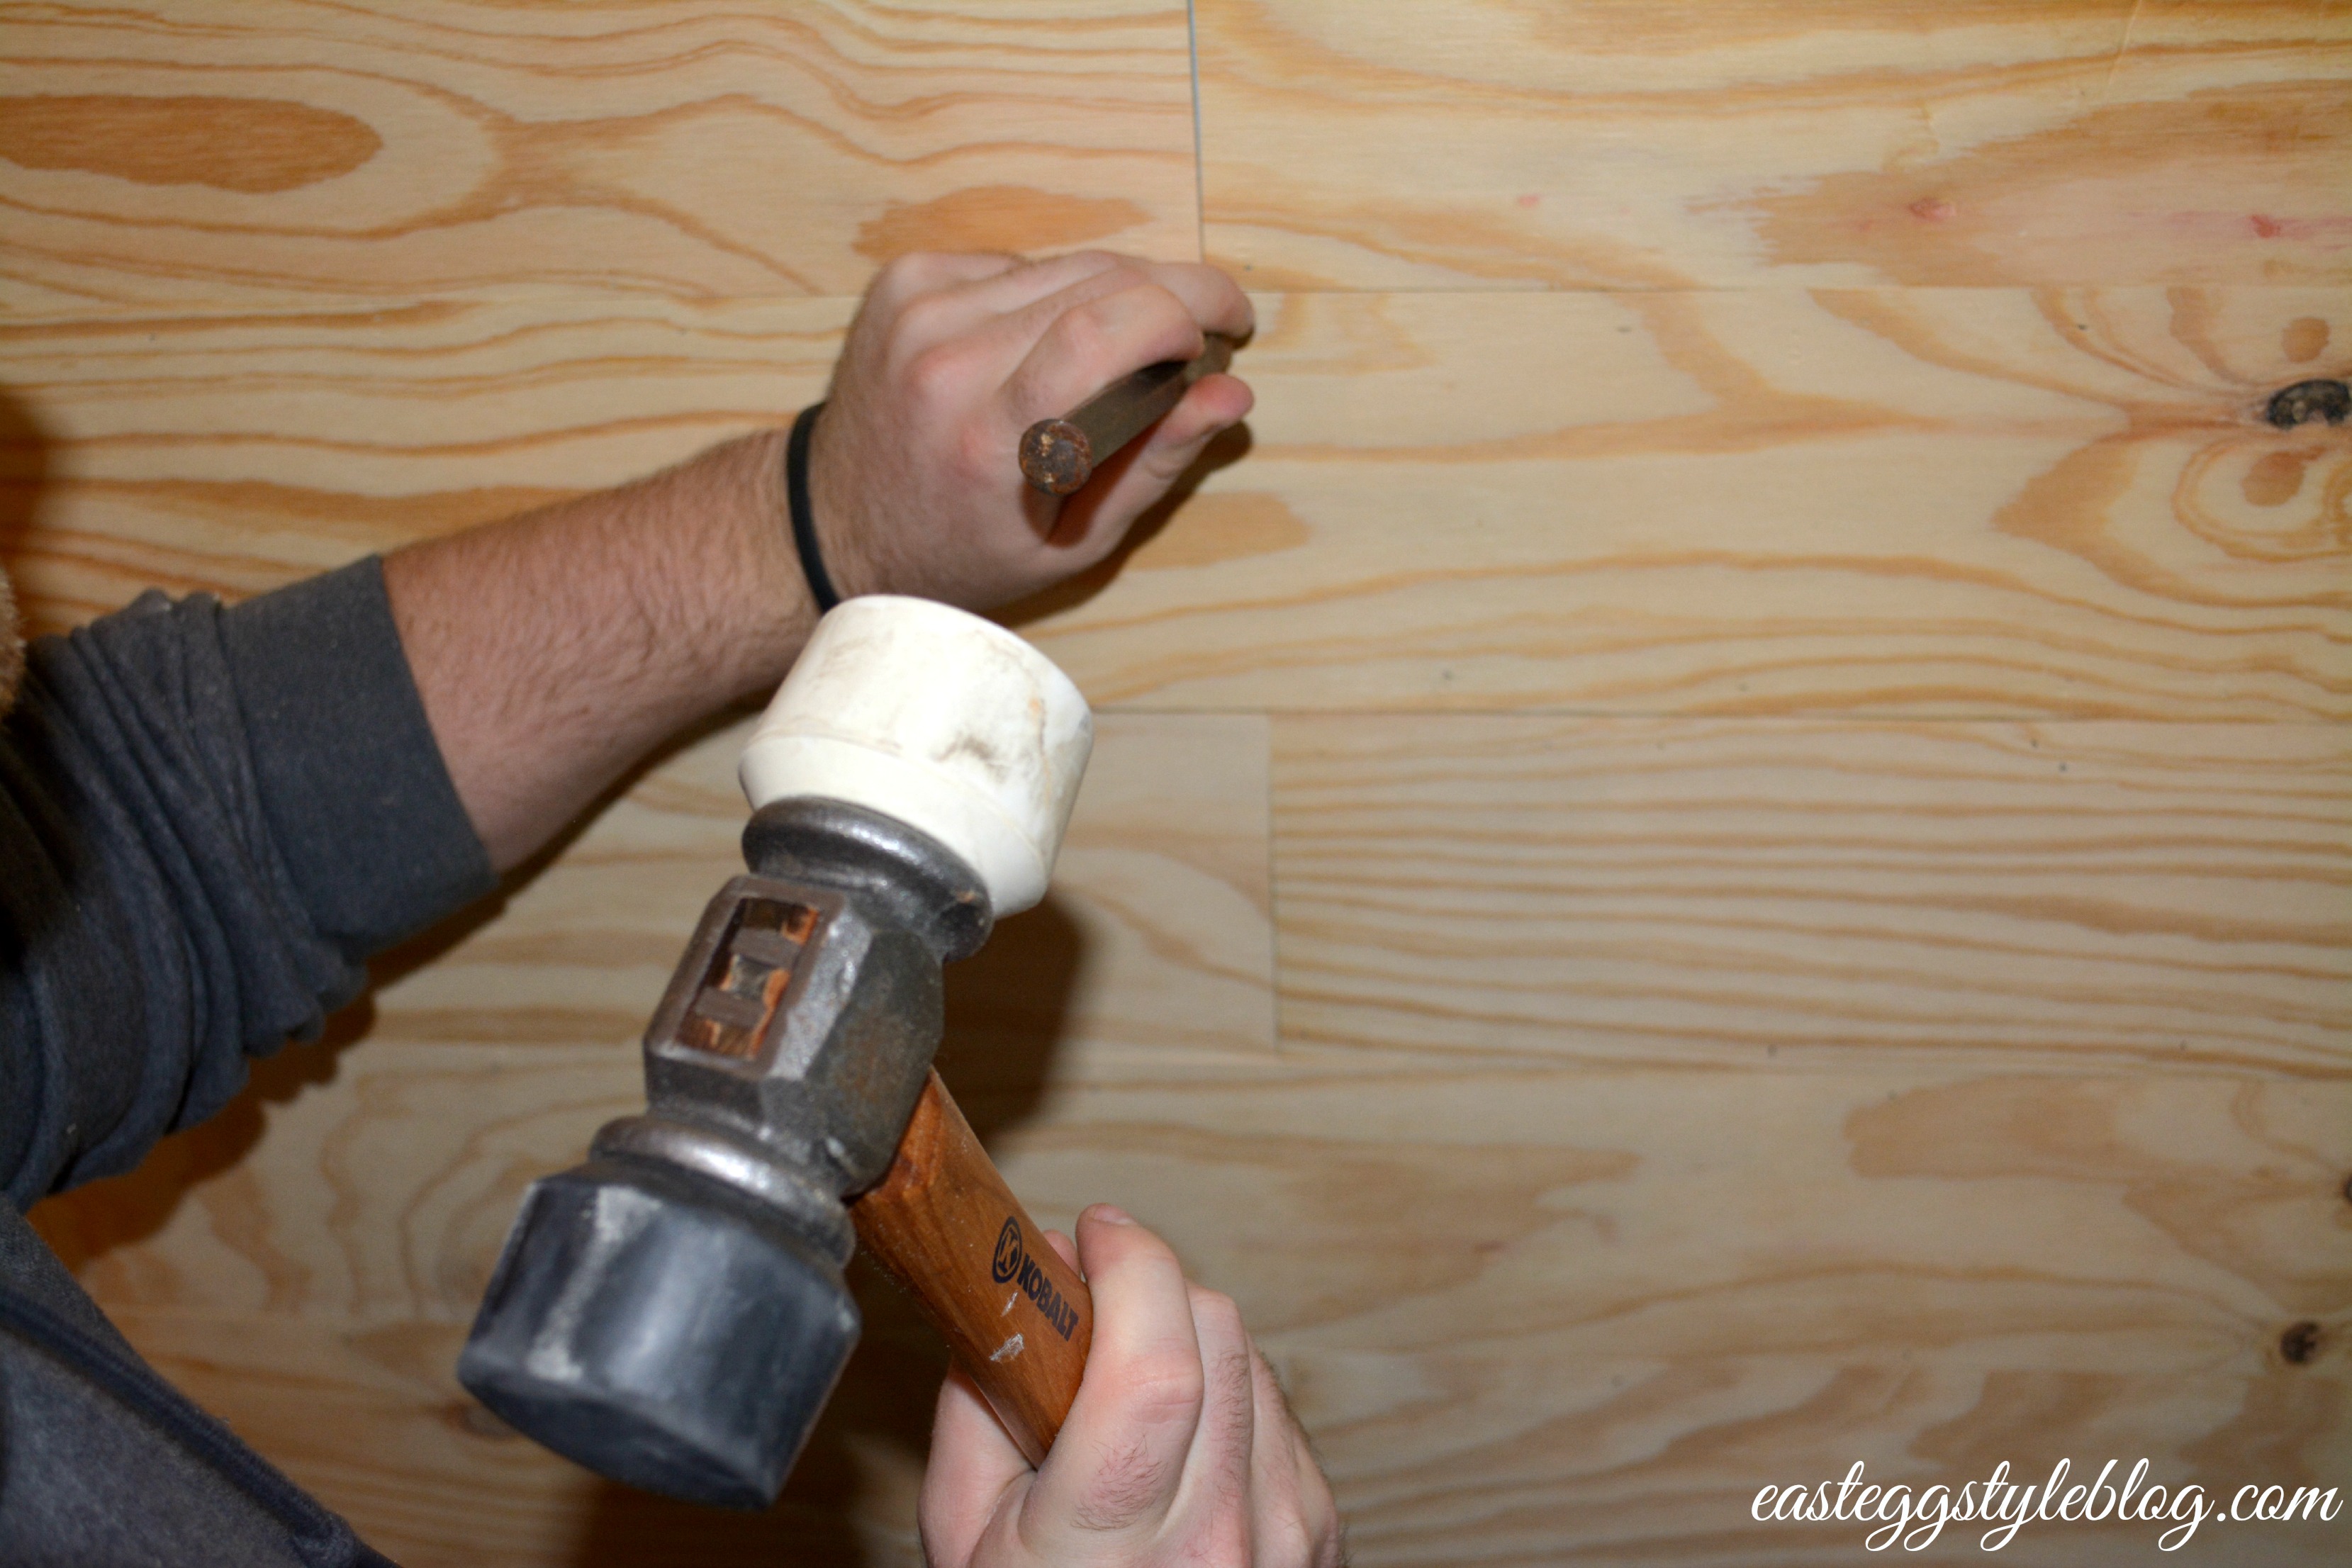 I then used grey Minwax as a base coat. I like to use staining pads rather than rags because it seems to give a nicer finish, and they are so much easier to work with!
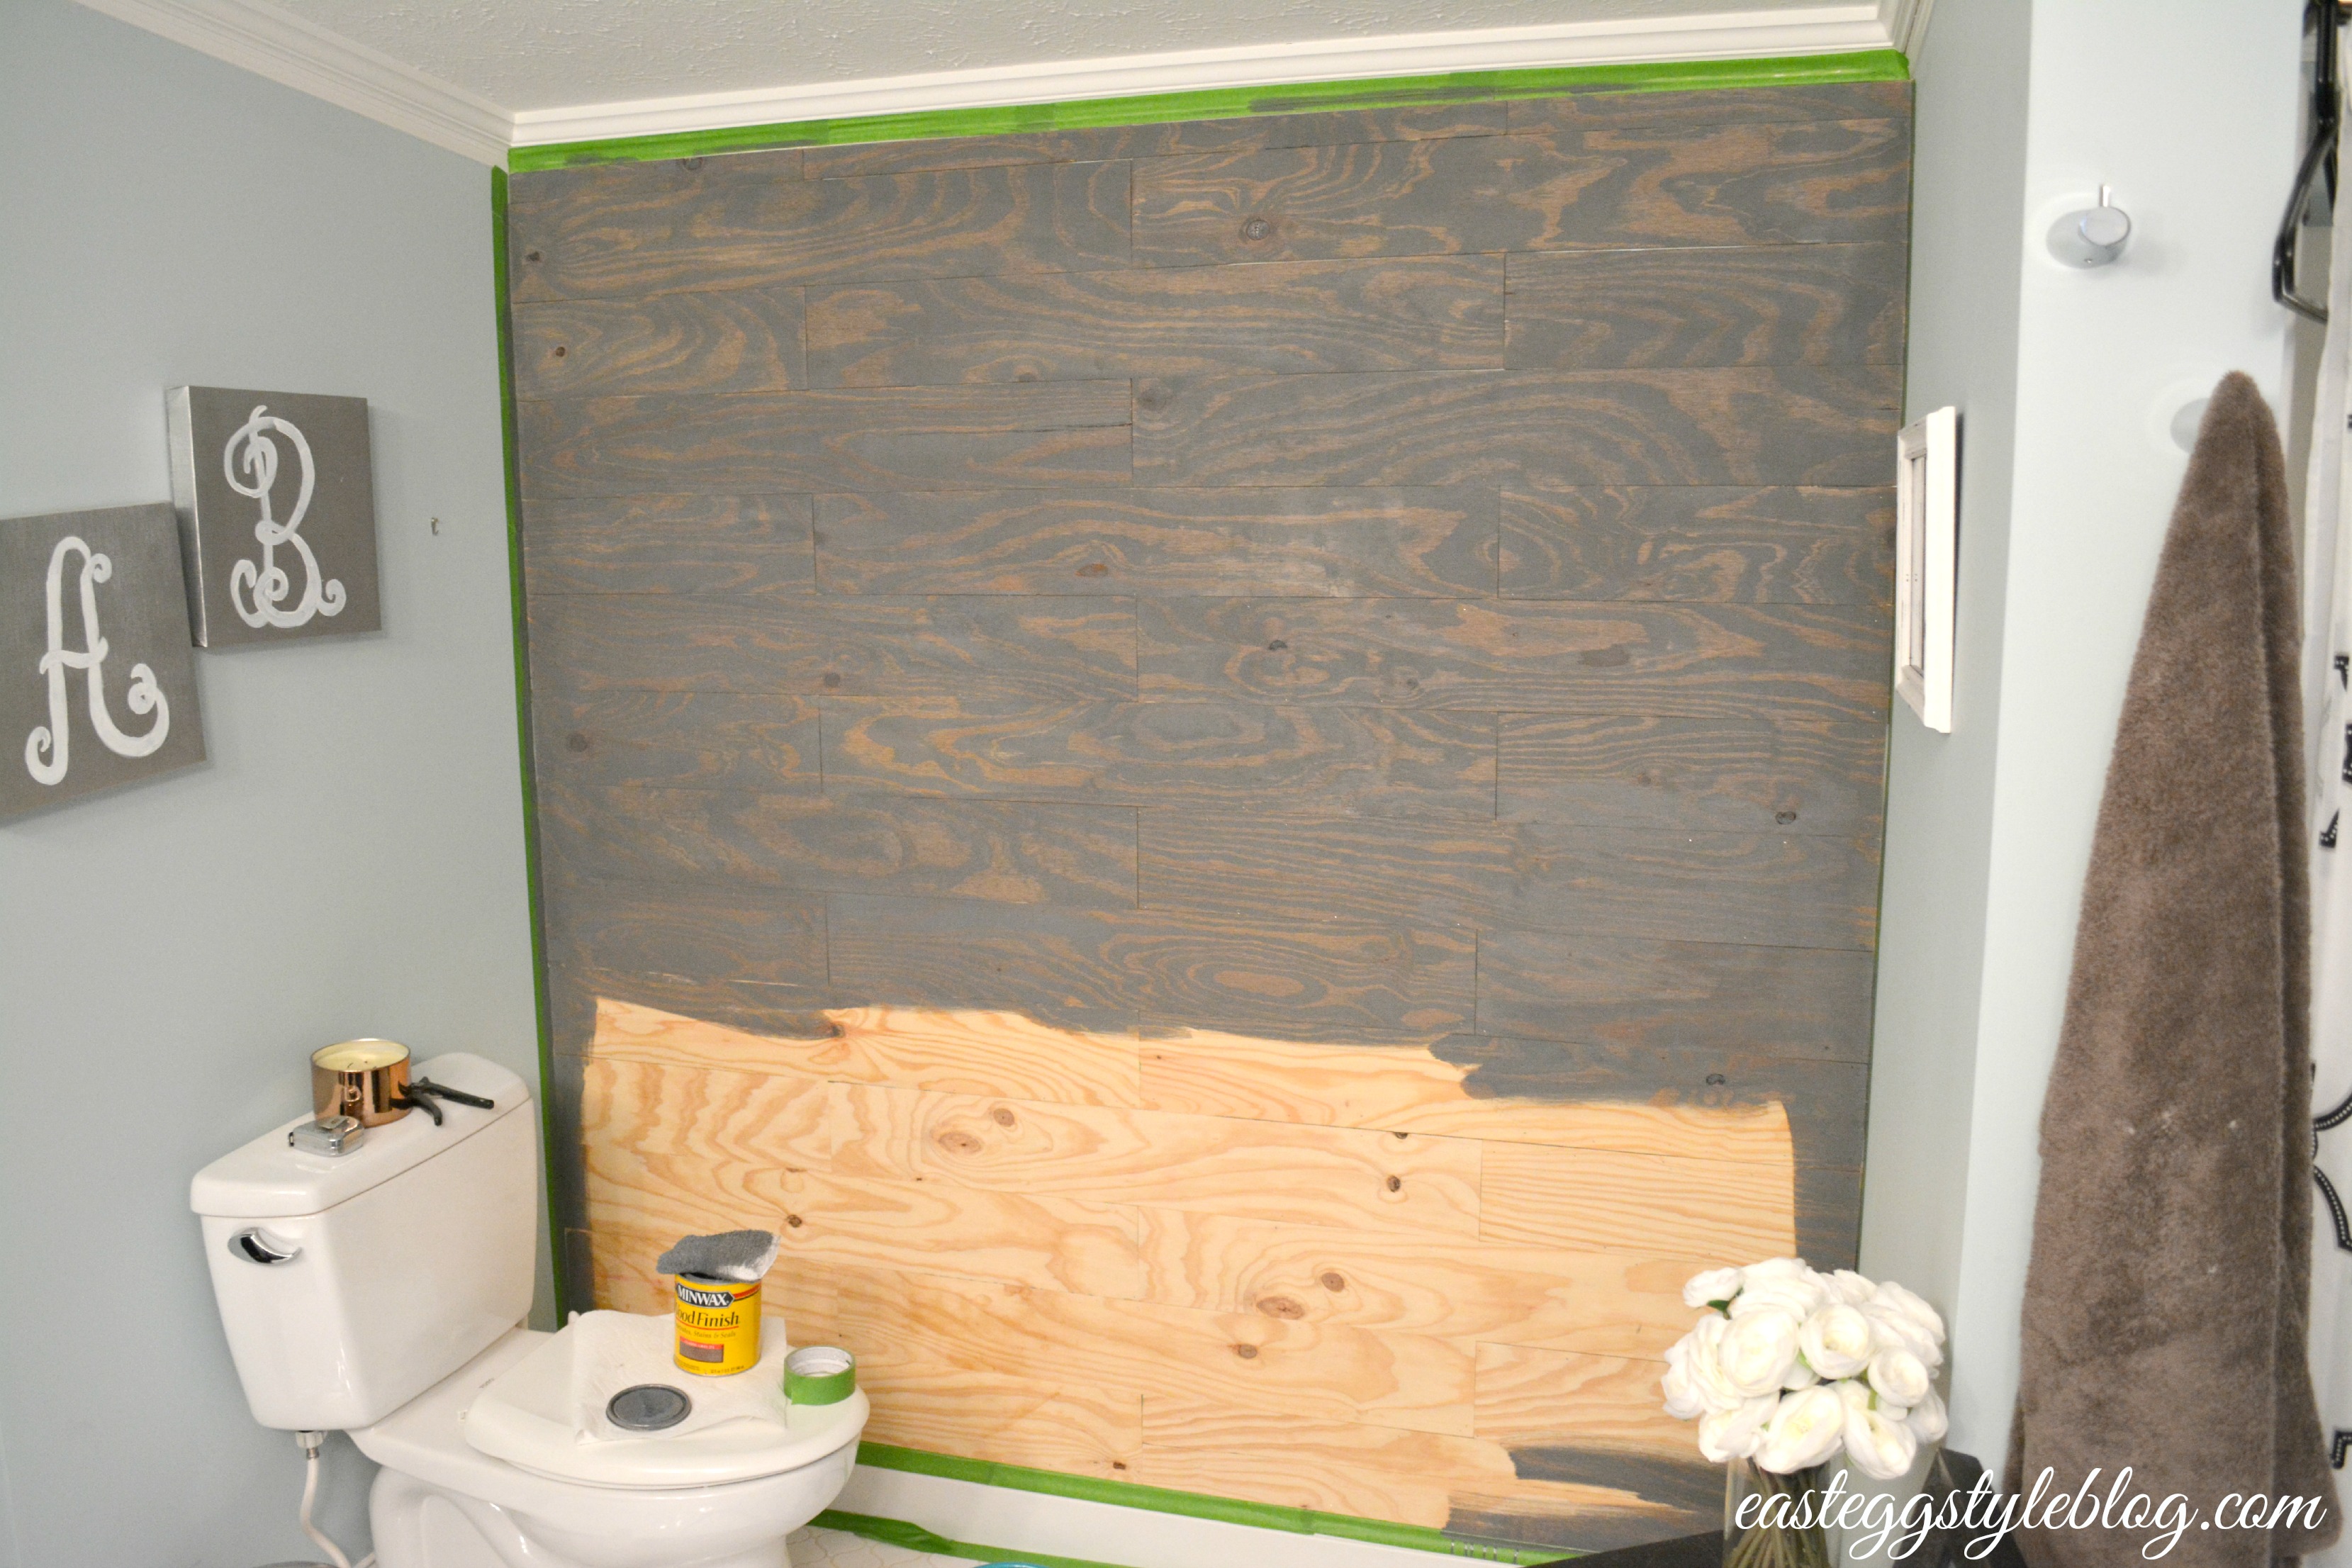
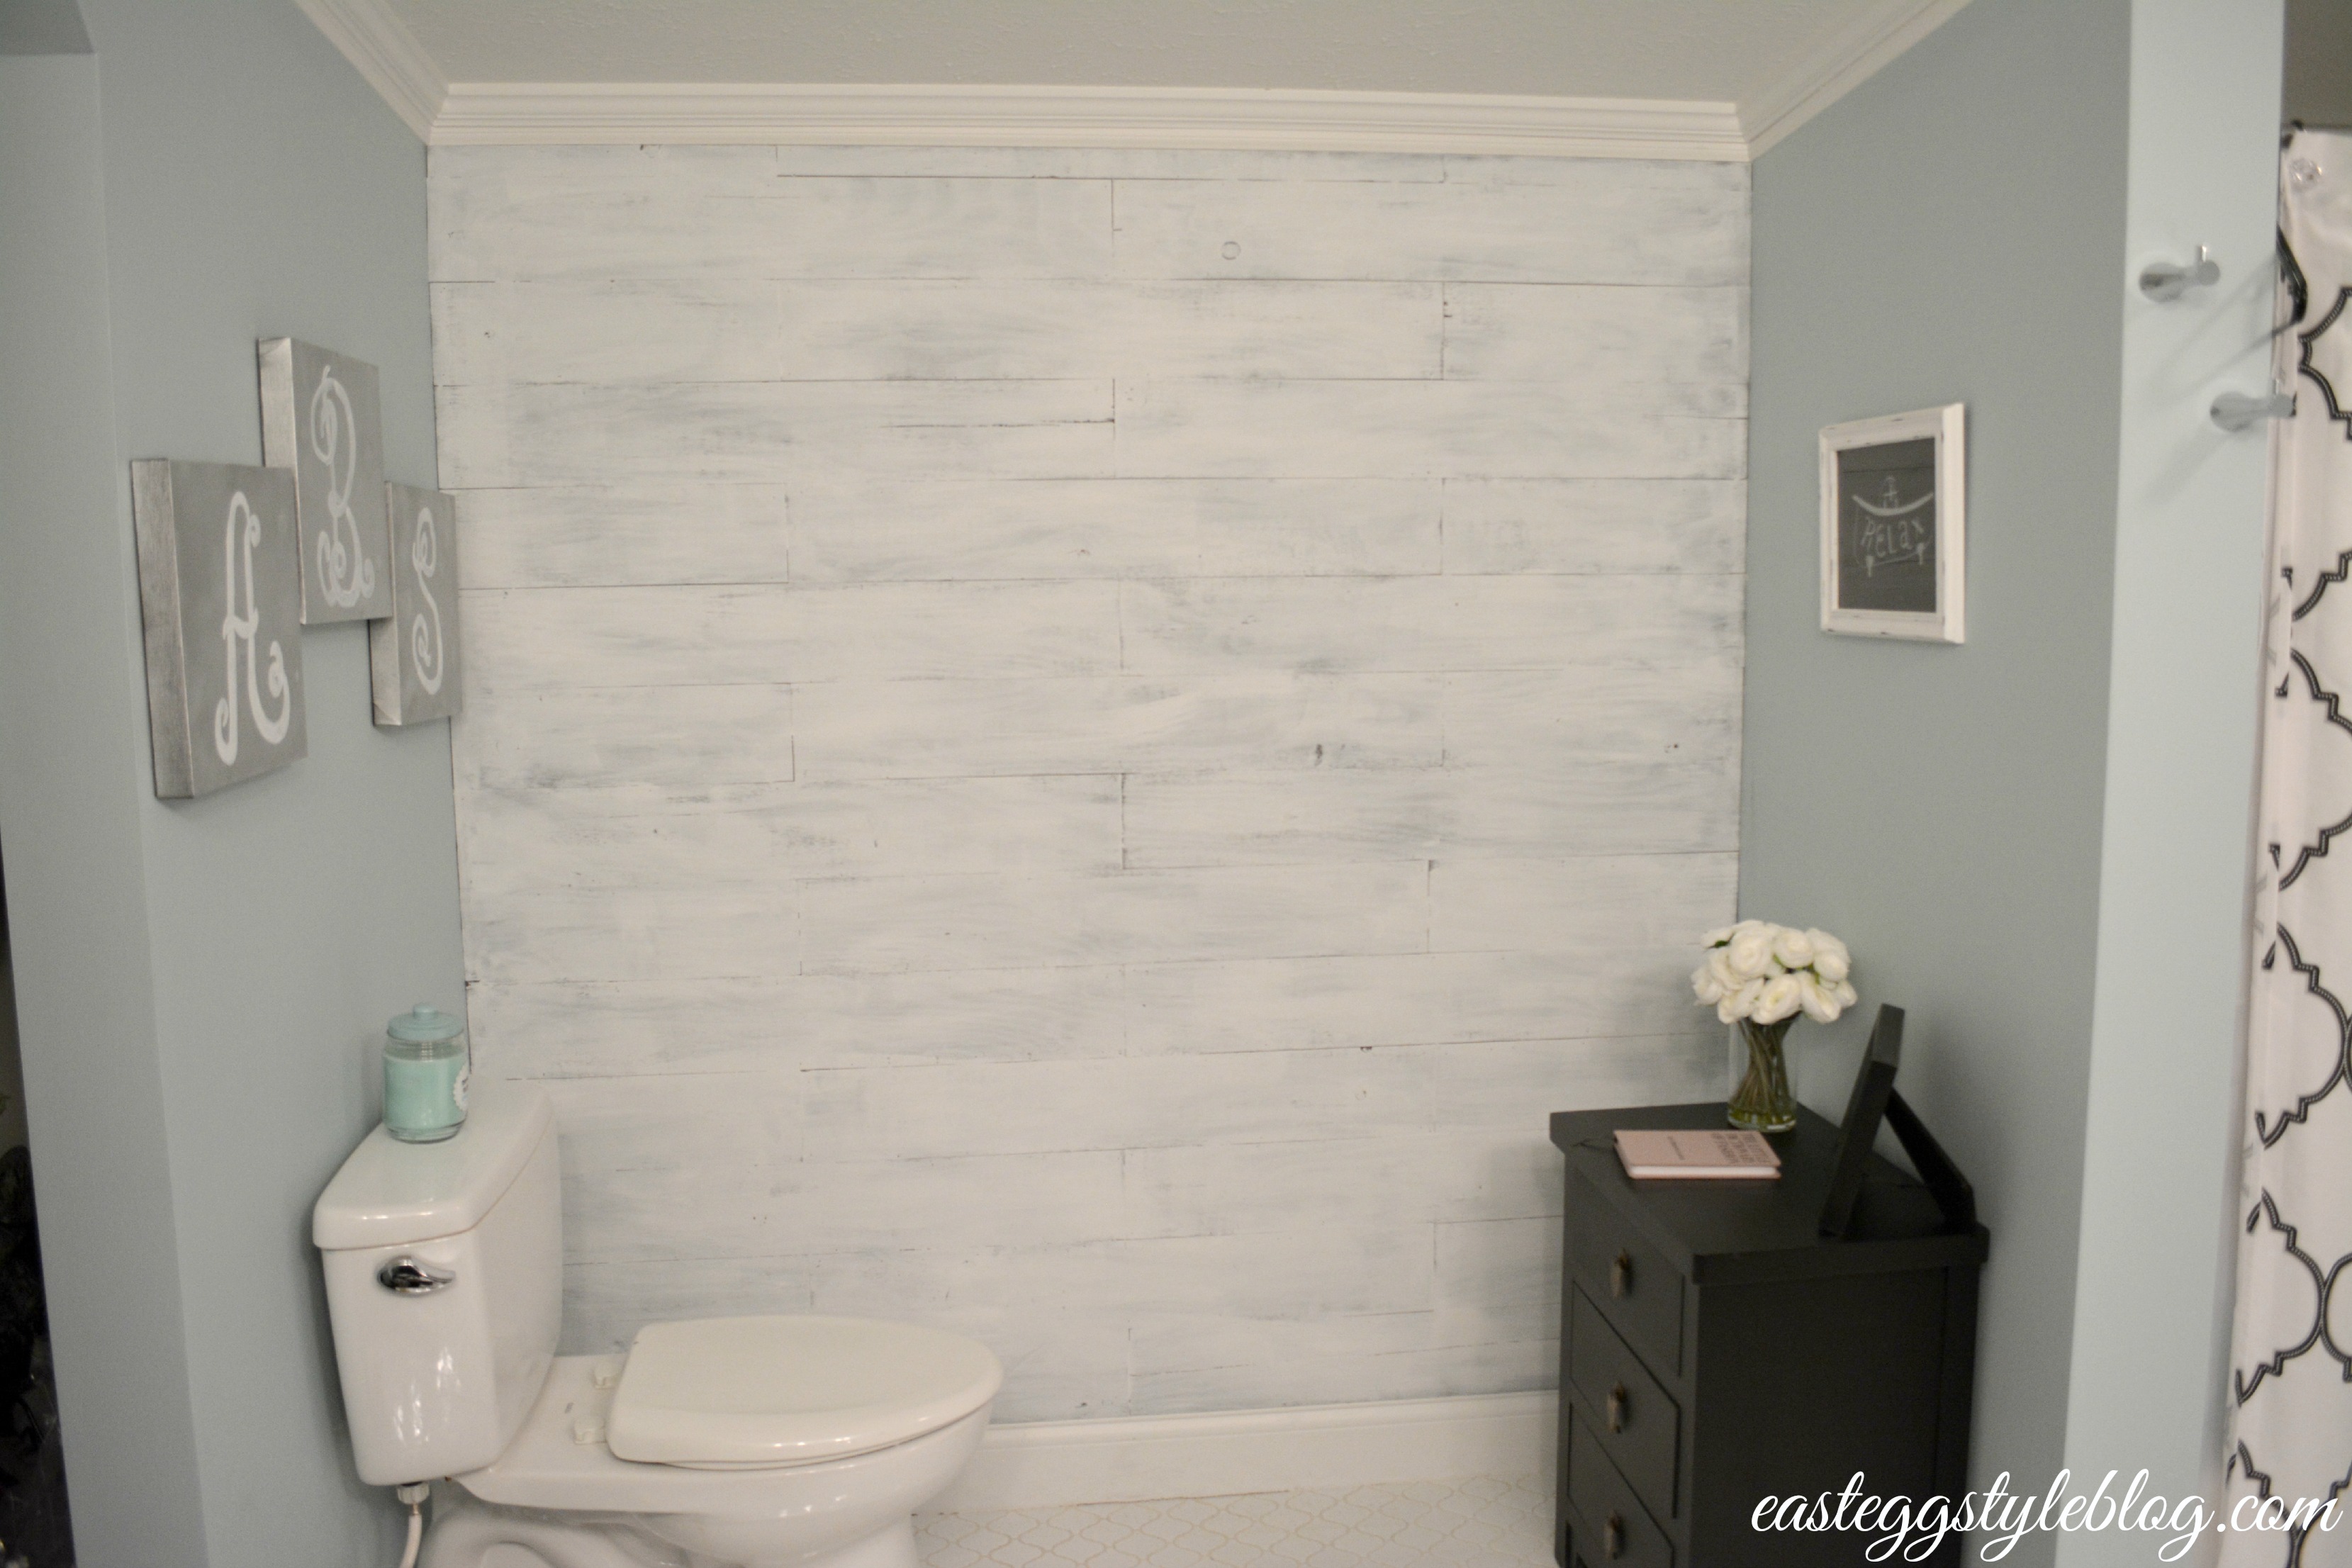
As soon as the Minwax was completely dry, I began applying my white paint very carefully. I was careful not to load the brush with too much paint so that I didn’t end up with a totally white wall. I could have gone back and sanded different areas if I applied too much paint (it’s not the end of the world), but I tried to avoid needing to do this extra step since it wasn’t necessary. 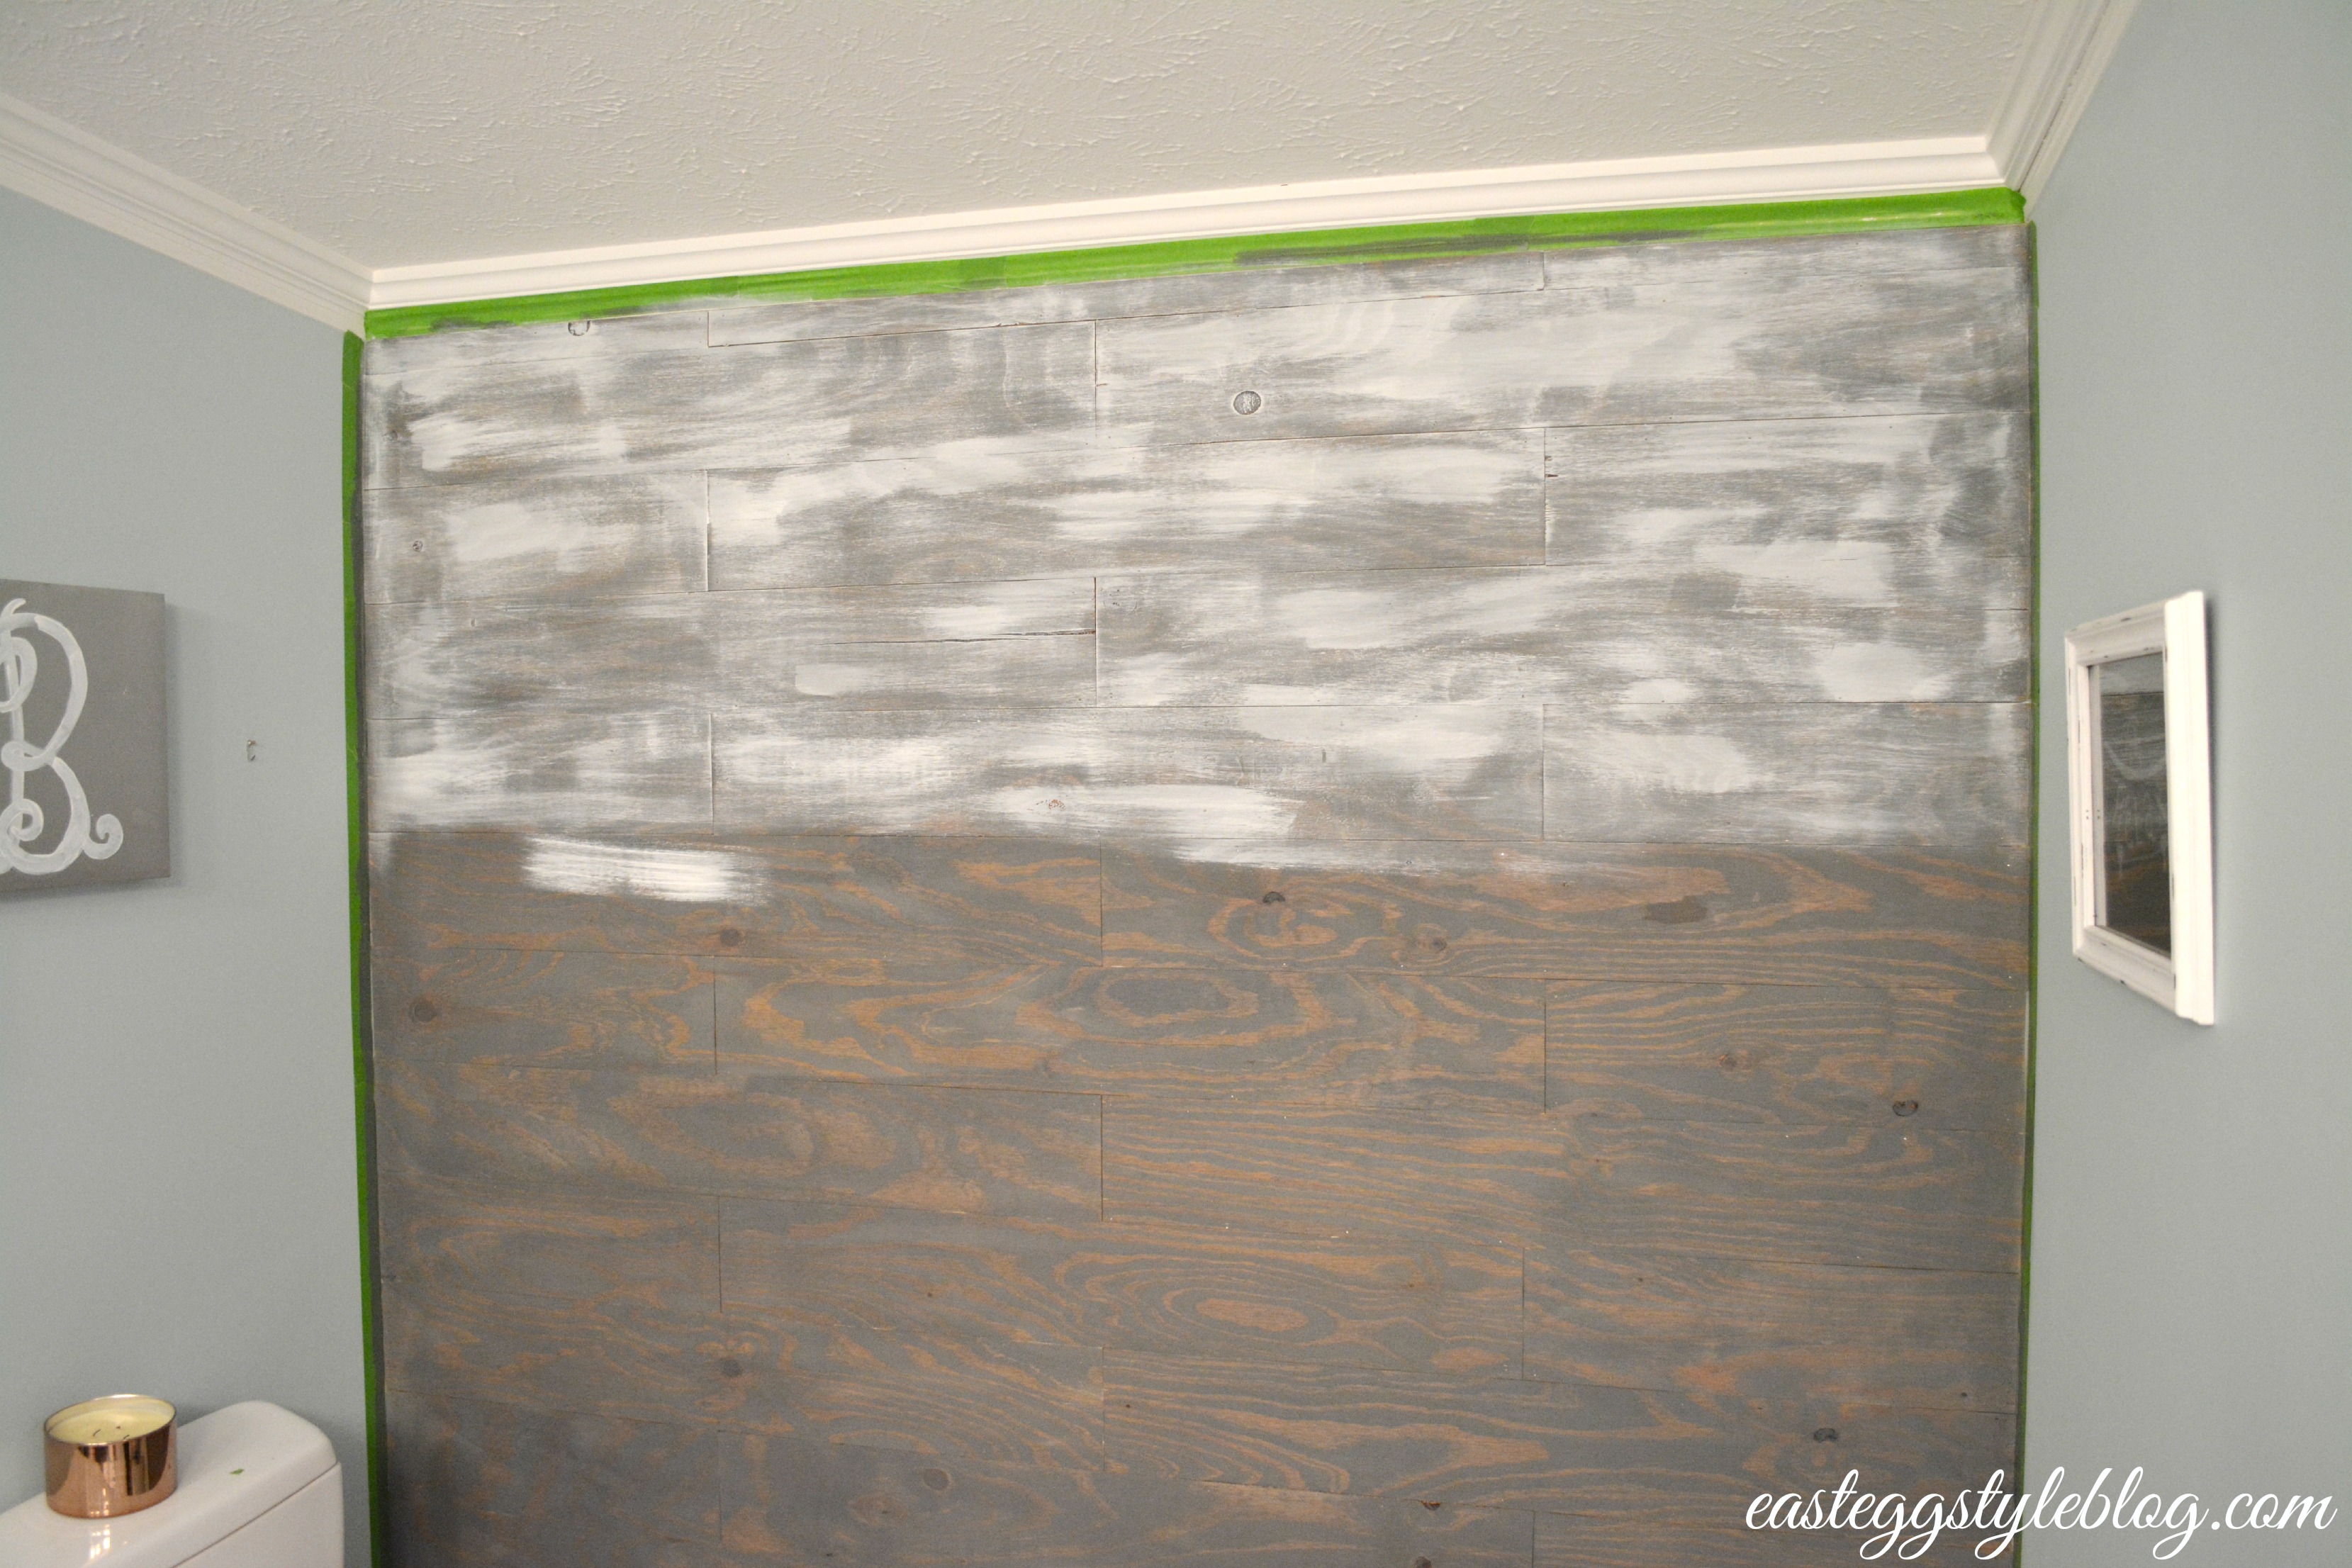
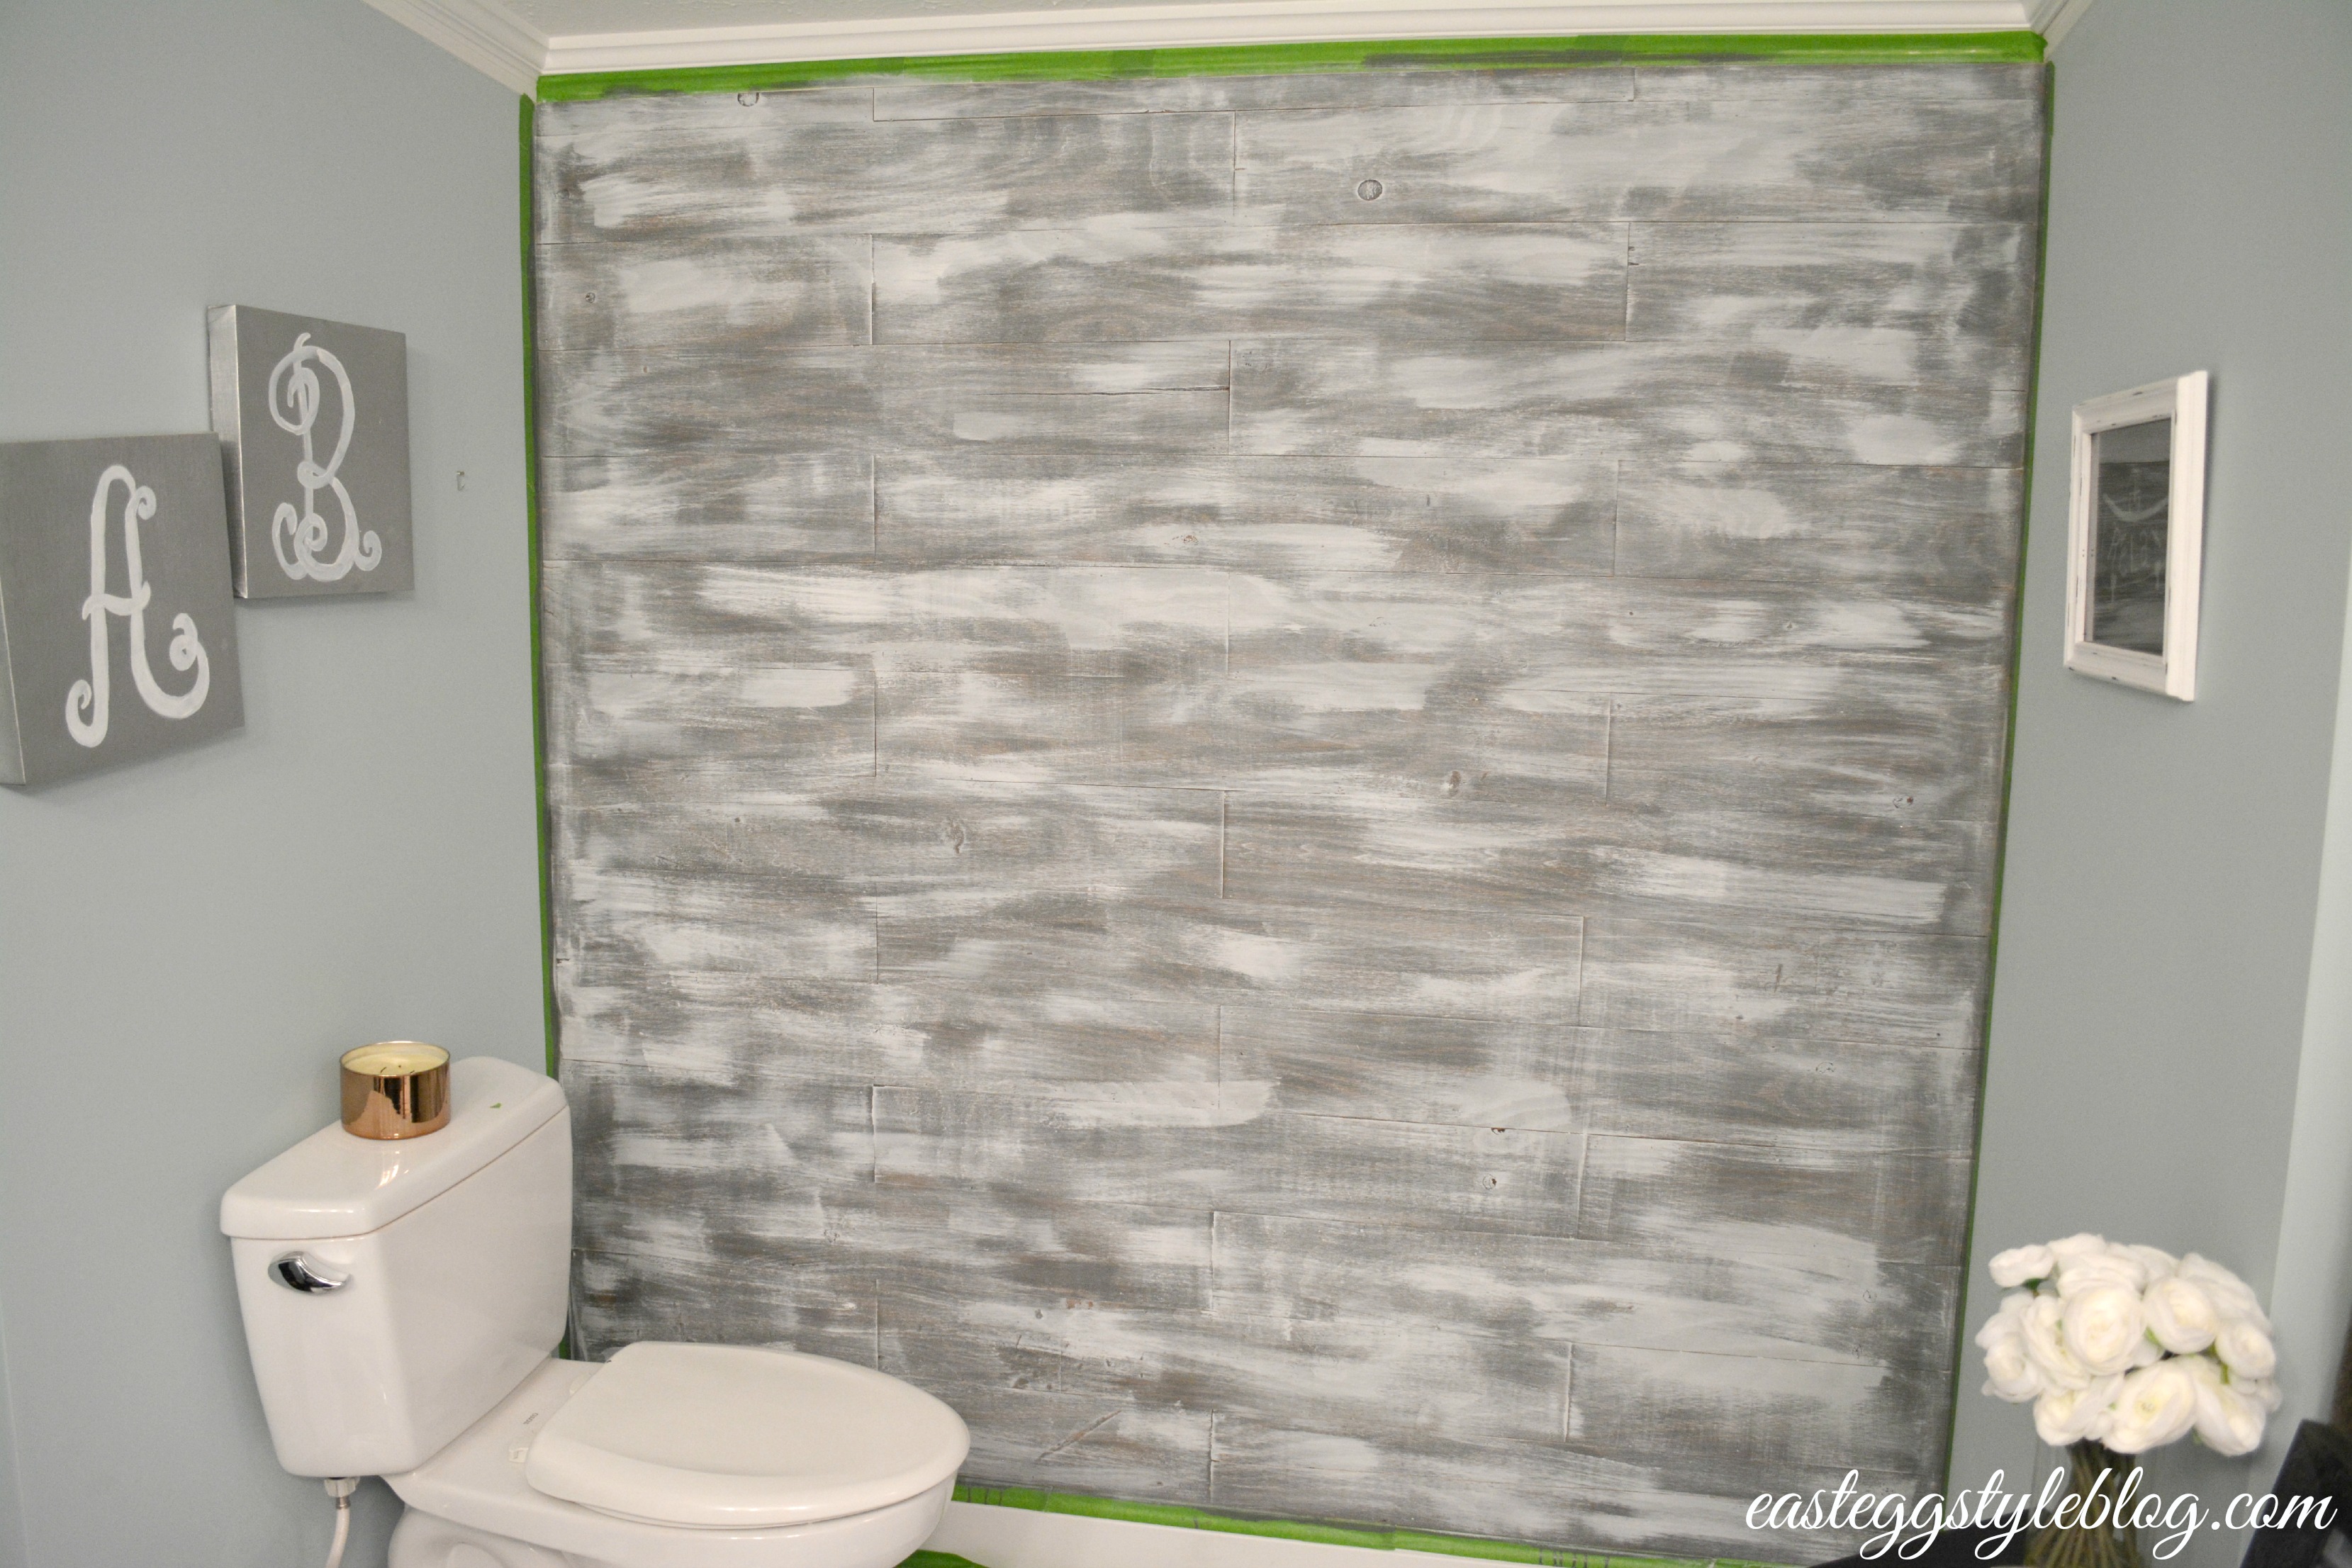
After the first coat dried, I went back through with a second coat of paint to get the desired look I was going for.
This project may have been my favorite DIY ever. I love how much character this wall adds to our bathroom, and I LOVE how inexpensive this project was. My husband and I completed this project in one afternoon, which was also awesome – I hate projects that take forever!
I can’t wait to finish this room up! I will be sharing pictures when we are all done with it, and I am SO excited to finally be getting this area put together – it is long overdue!
It turned out so awesome!! Love it! You and your husband did a great job!!
LikeLike
Thank you so much! I really appreciate it!!
LikeLike
Beautiful Job, Avery & Sam!! You gave this wall tons of character!!
LikeLike
That looks great Ave! I love the aged look!
LikeLike
Thanks, Michelle! I was a bit nervous painting it, but luckily everything turned out ok! 😉
LikeLike
Really lovely. You are one talented lady!
LikeLike