Railroad Tie Coffee Table
A couple of years ago I saw a table at Z Galerie that I fell in love with! What I wasn’t in love with was the $899 price tag, or the resin material it was made from. Maybe it’s just me, but I like real wood furniture. What I love even more is real wood at a great price! This table came it at right around $30 to make. I think this was my all time favorite DIY to date. It turned out even better than I could have imagined!
SUPPLIES:
– 1 railroad tie – most stores such as Lowe’s or Home Depot carry them for around $12 (we cut 3, 27″ long pieces for the top).
– 1 4×4 (we cut 1 piece into 4, 4x4x18 pieces for the base)
– 1 can of silver spray paint
-1 can of black spray paint
– 1 box of #10 3-3/4″ screws
– wood glue
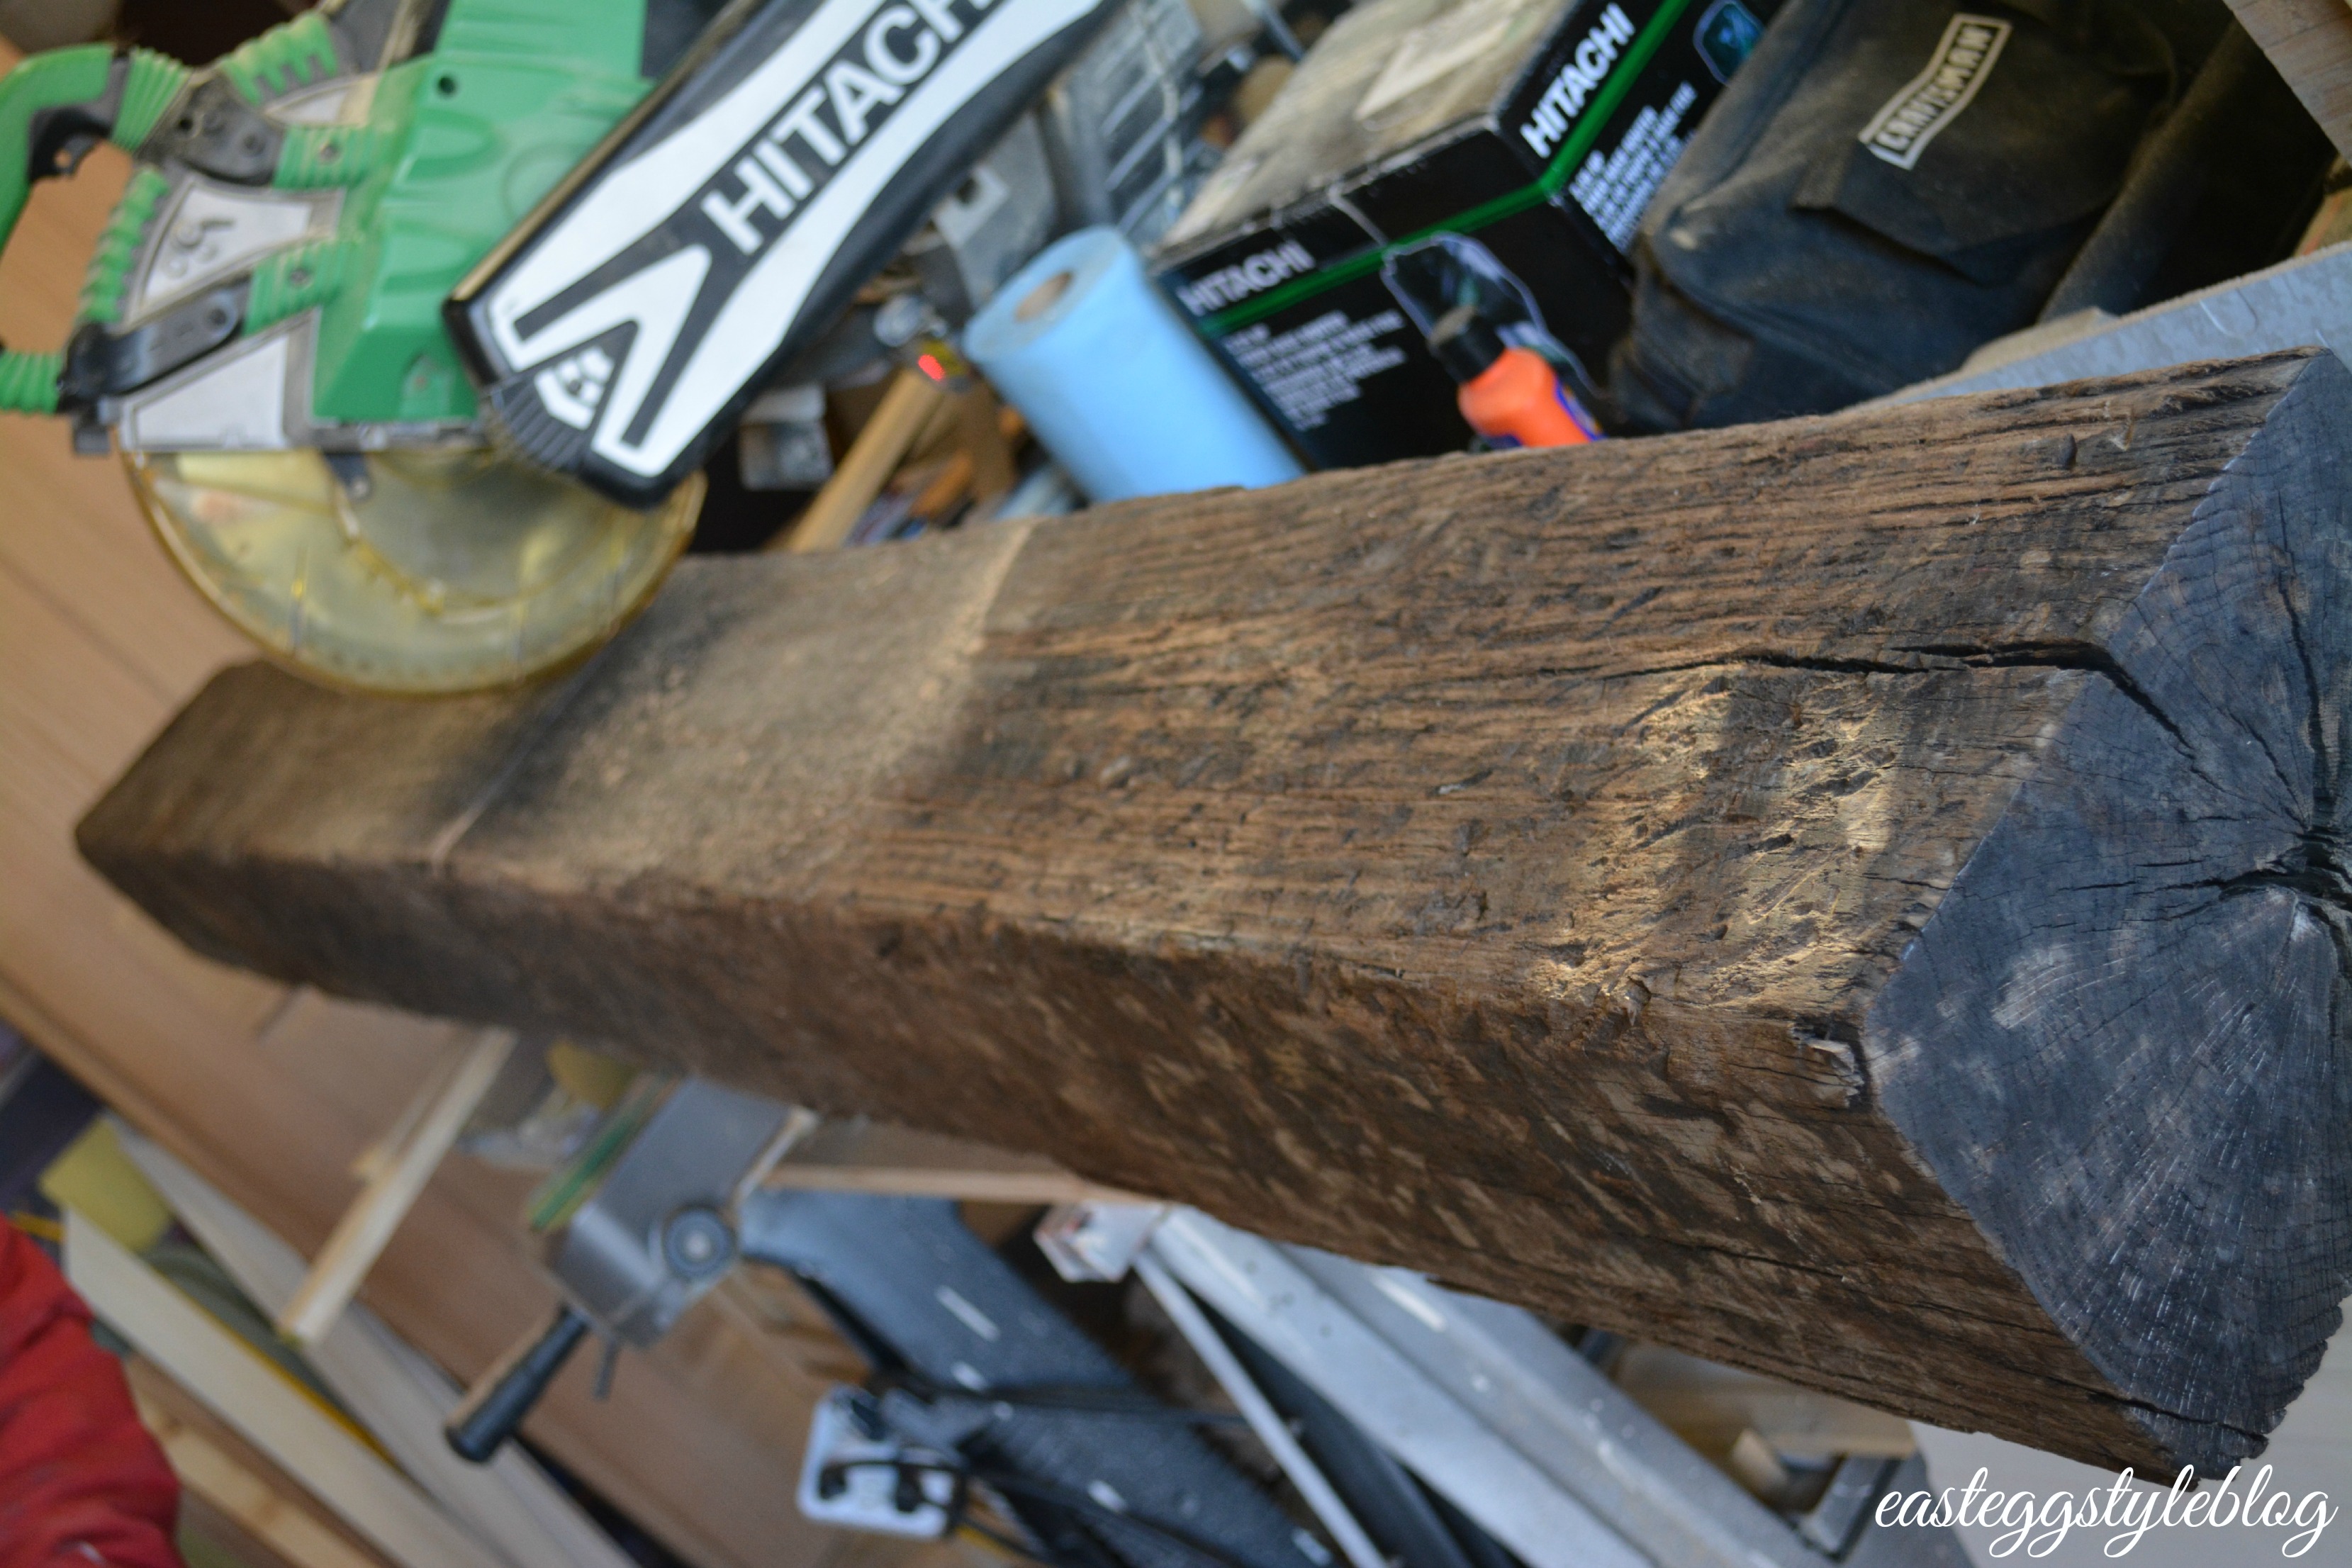
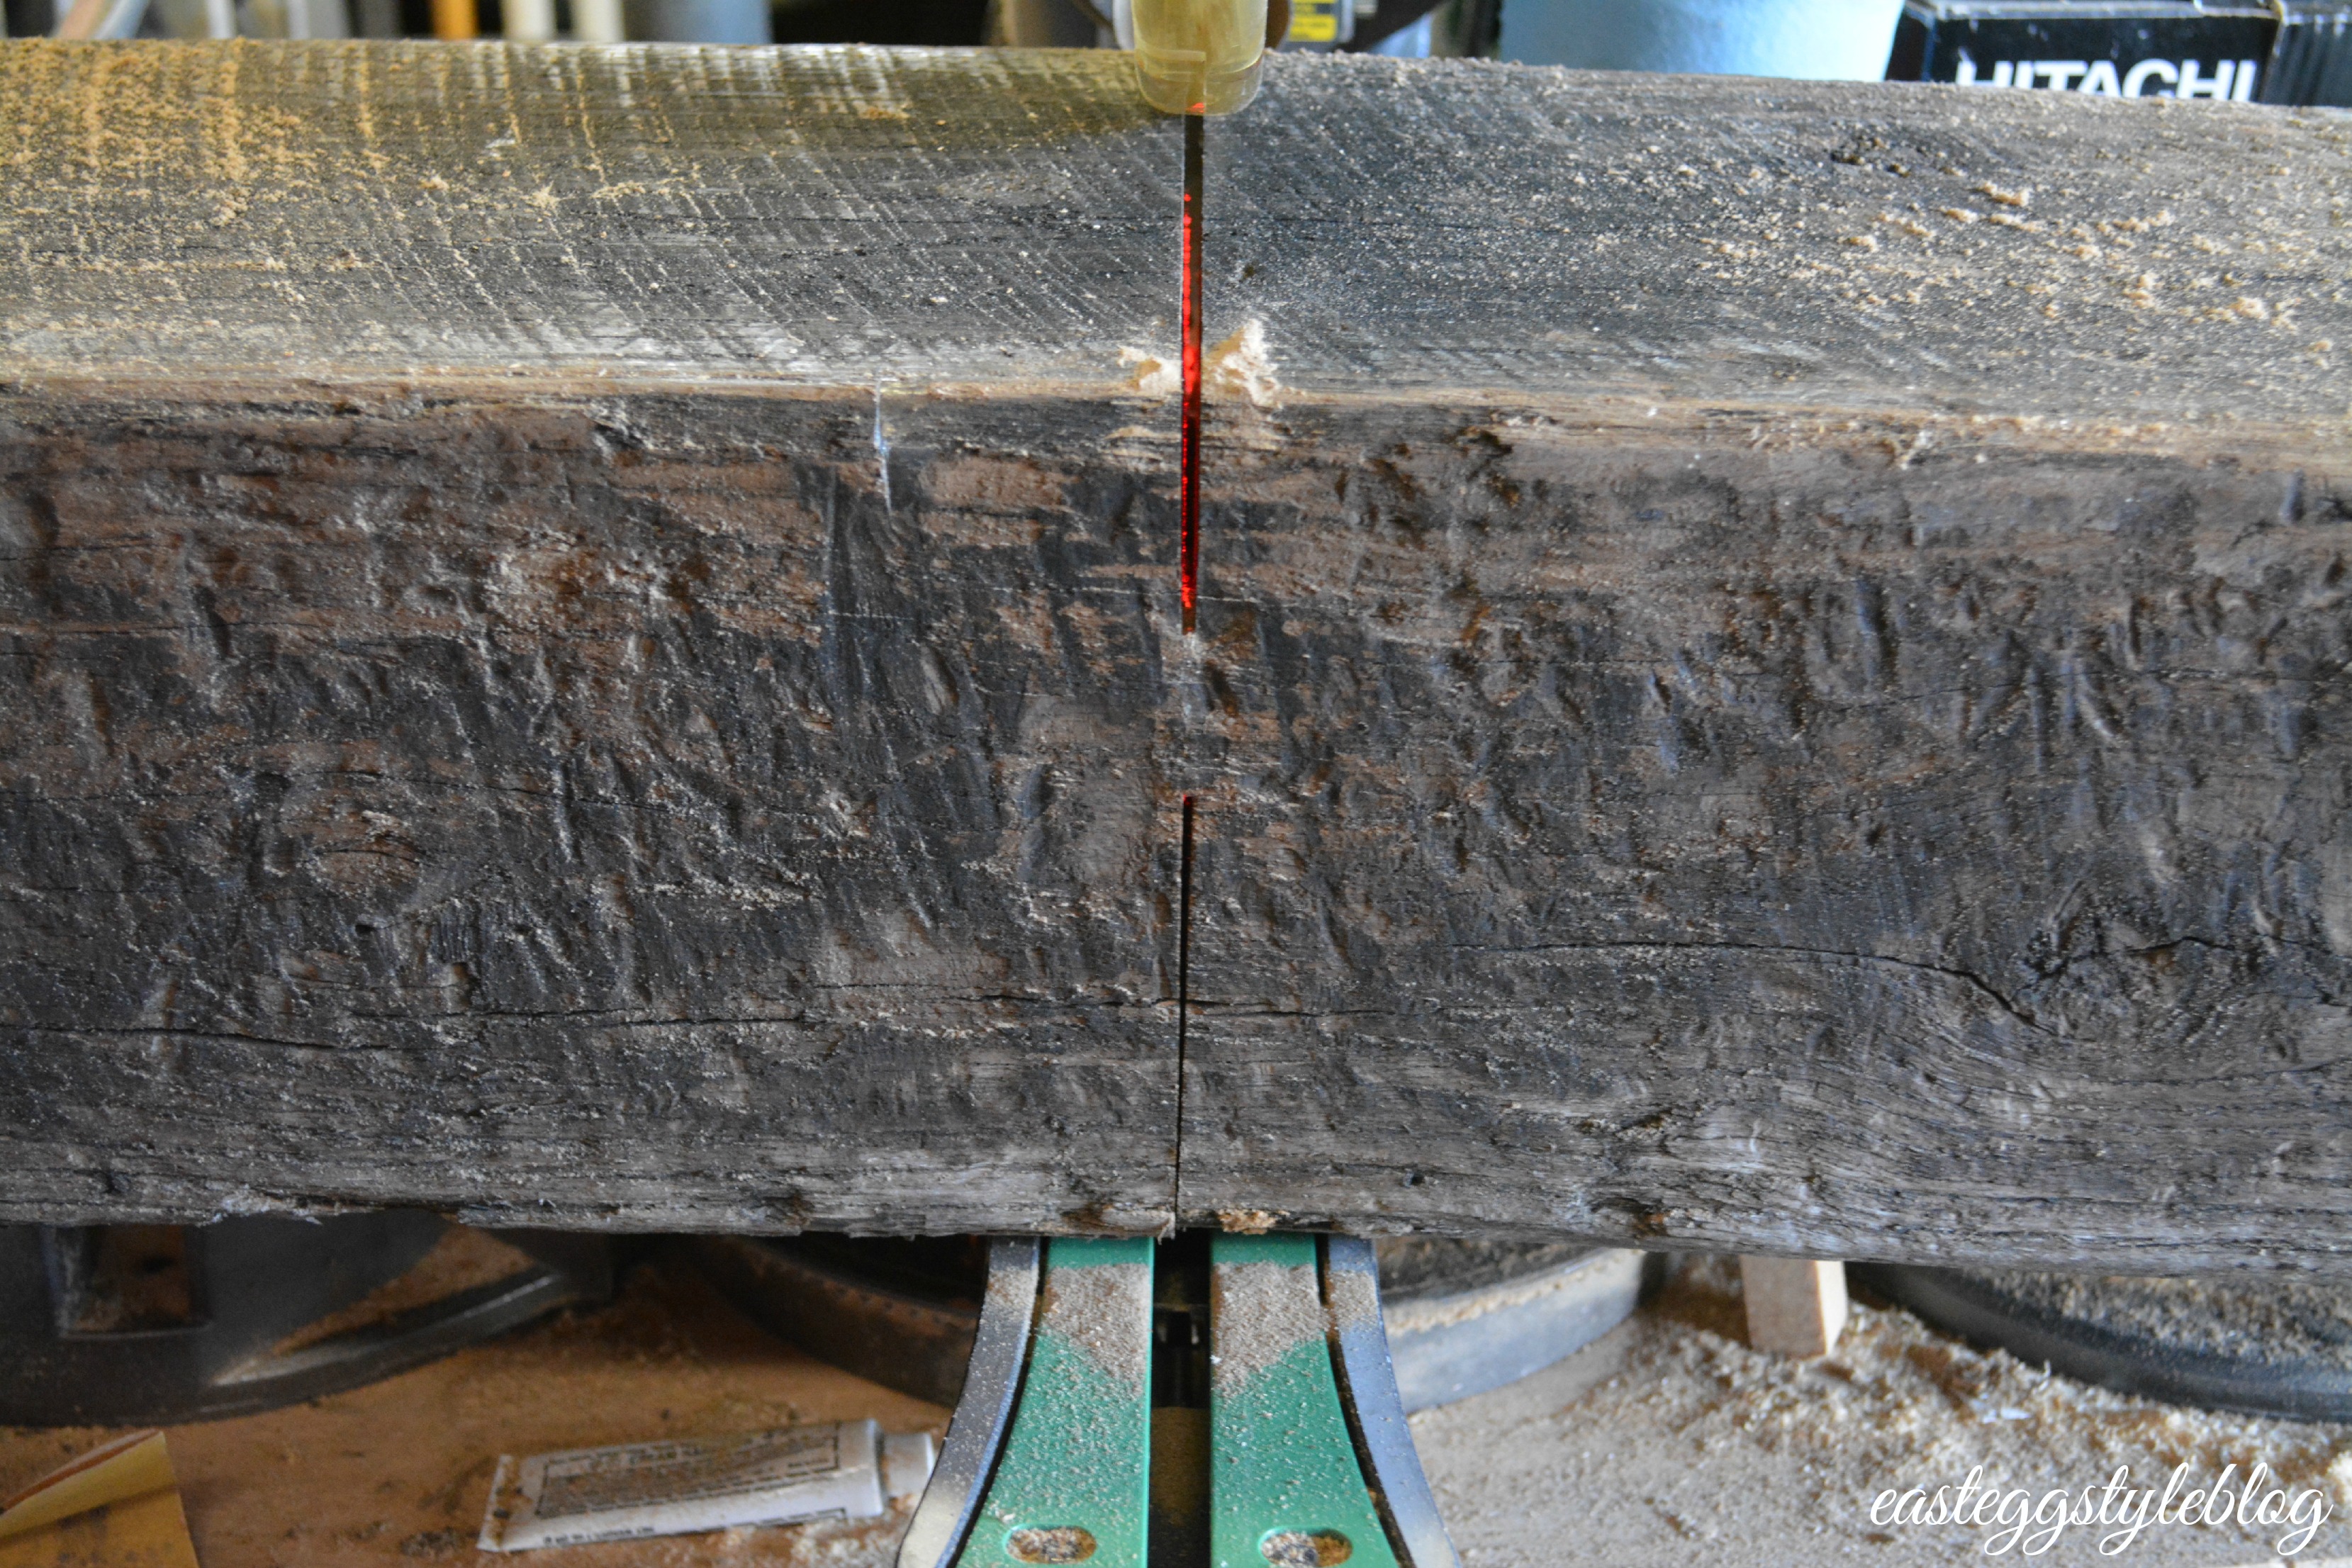
We started this project by cutting all of our wood down to the correct sizes. The railroad ties were the hardest pieces to cut. Our chop saw was not able to cut all the way through, so we did have to hand saw the middle. My husband and step dad were extremely helpful, as I still have my arm in a sling from surgery….and even if it wasn’t, the wood was so heavy that it definitely took two burley men to get the job done!!
After the wood was cut, we noticed quite a bit of moisture in the middle of the railroad ties. My husband used a little electric fireplace that actually gets pretty darn warm, and placed it by the wood. He then covered everything with a tarp to make sure that the wood dried out thoroughly. We let the wood stay that way for about 48 hours. I won’t lie…I was so scared something was going to catch on fire. We watched everything extremely closely though, and thankfully no fires were started. 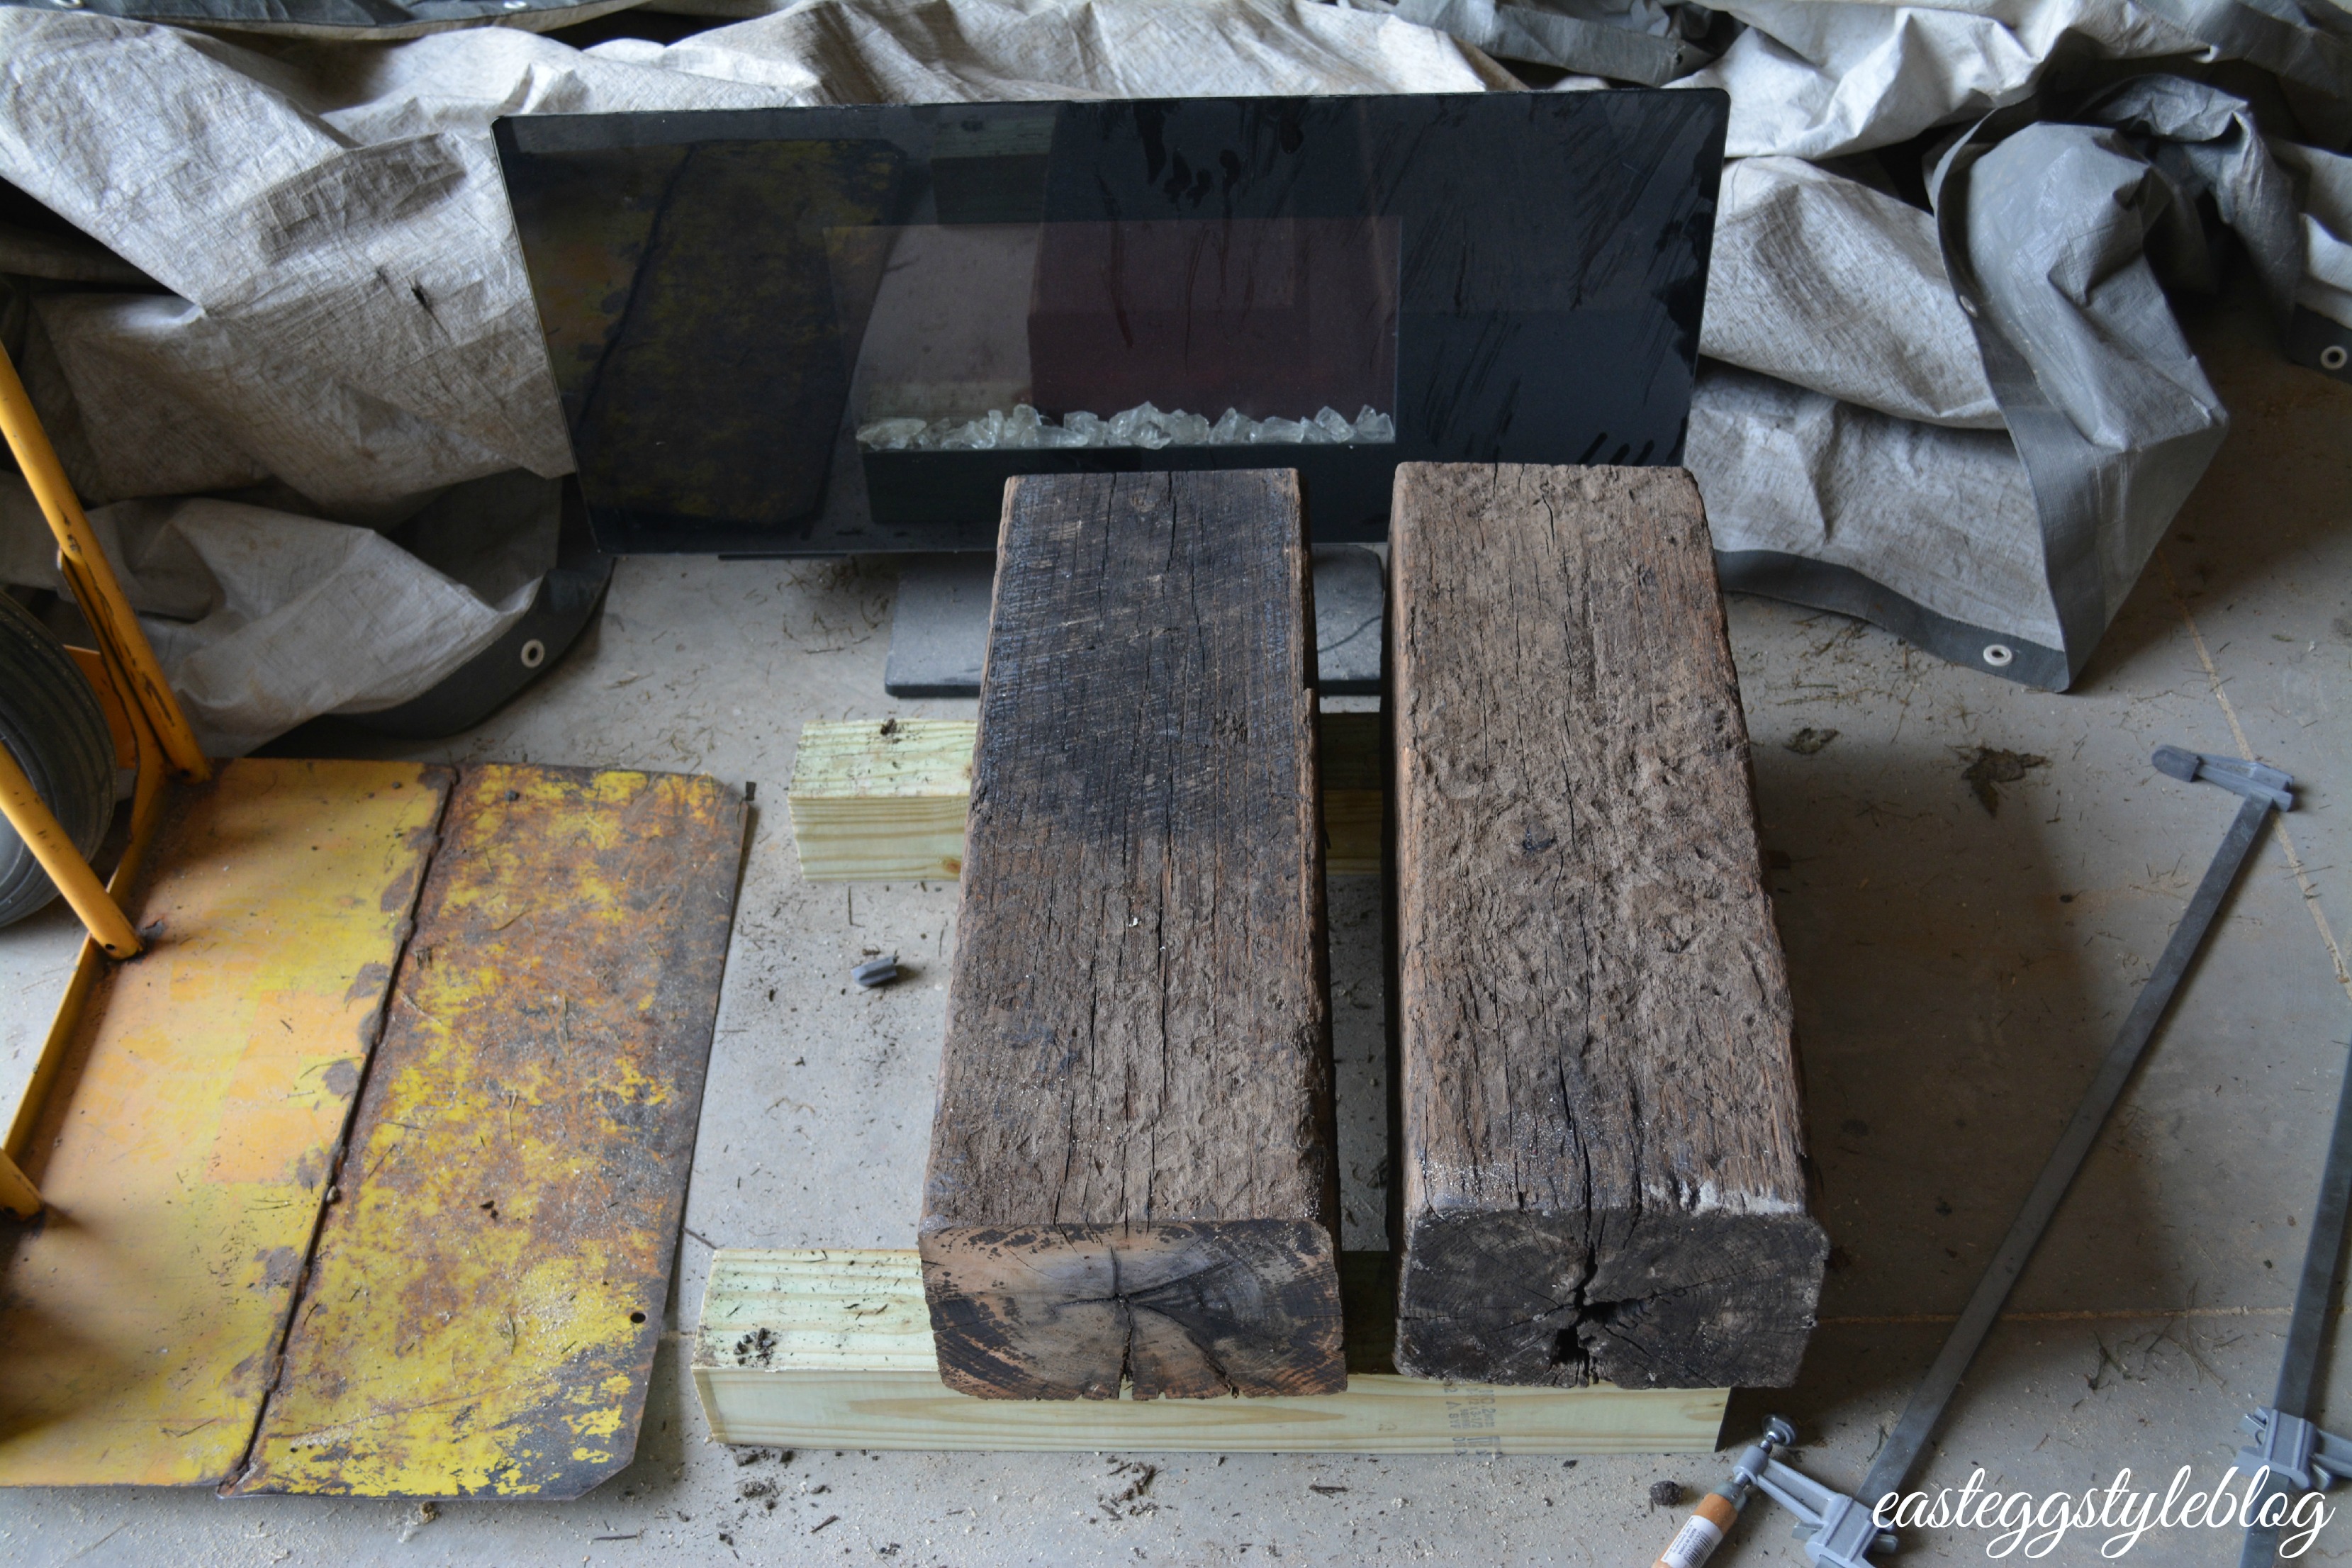
After all of the moisture was removed from the wood, we used an air compressor to clean off all of the dirt and flaking off pieces of wood. this just ensured a clean surface to paint on.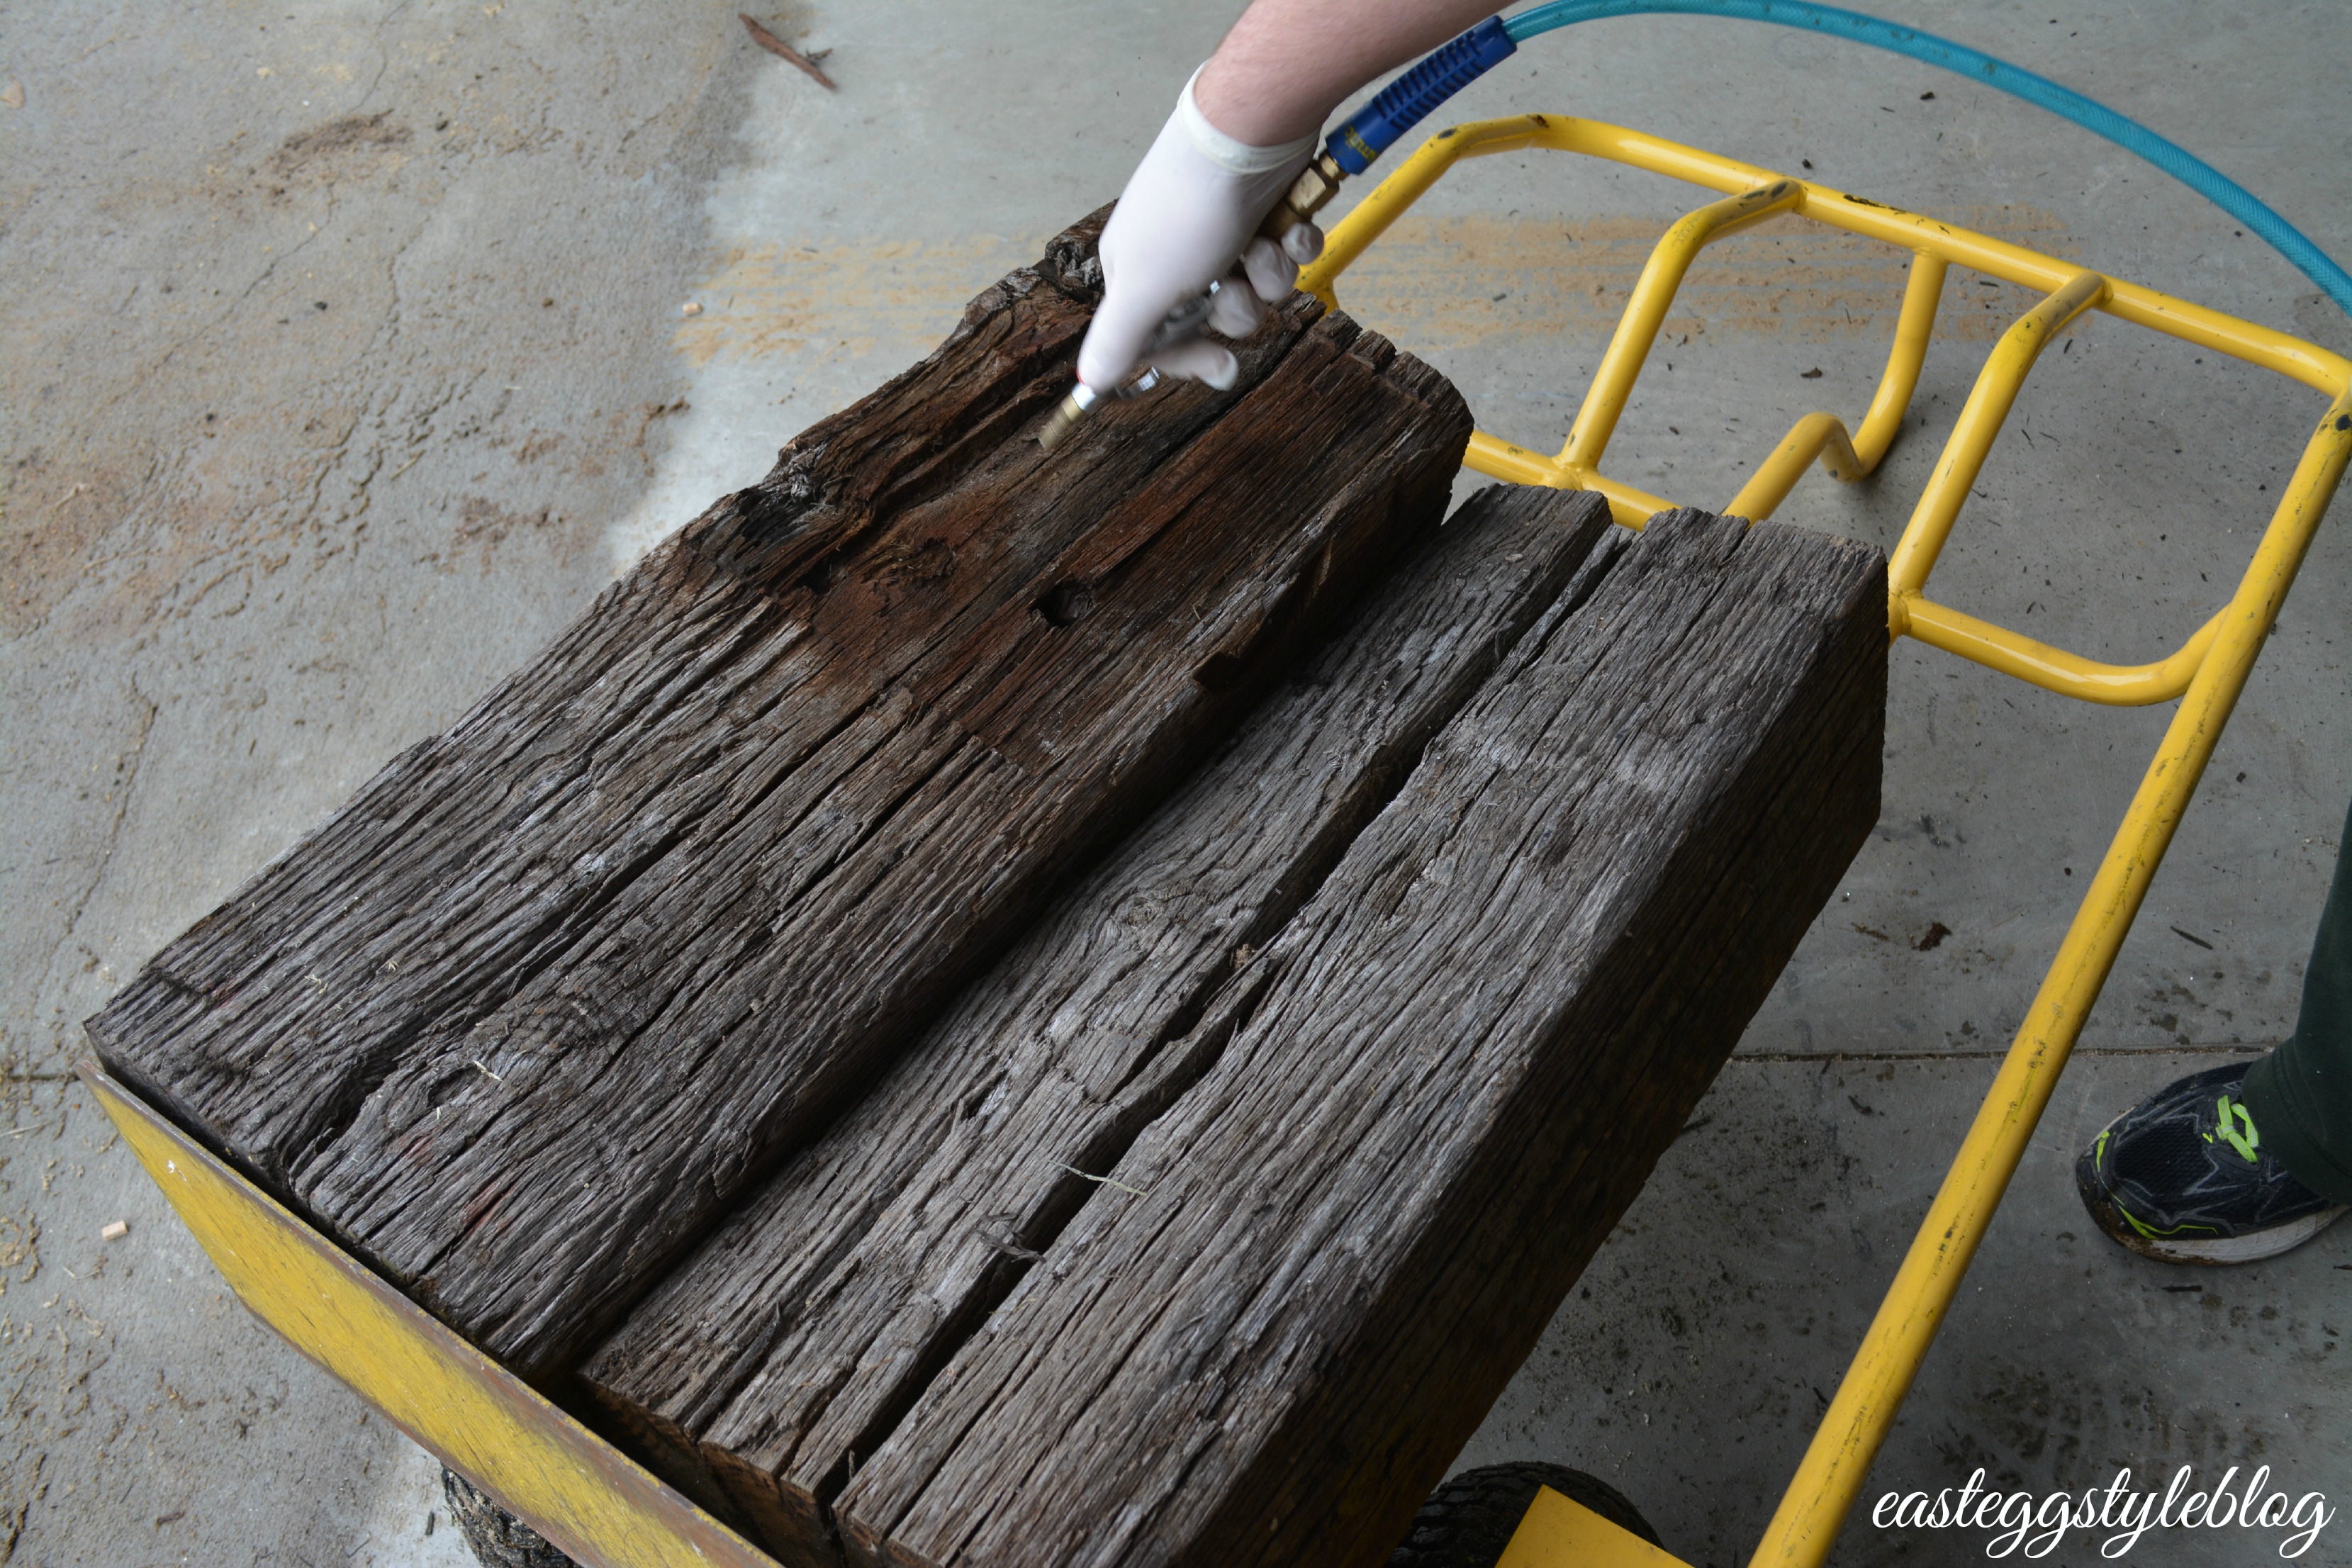
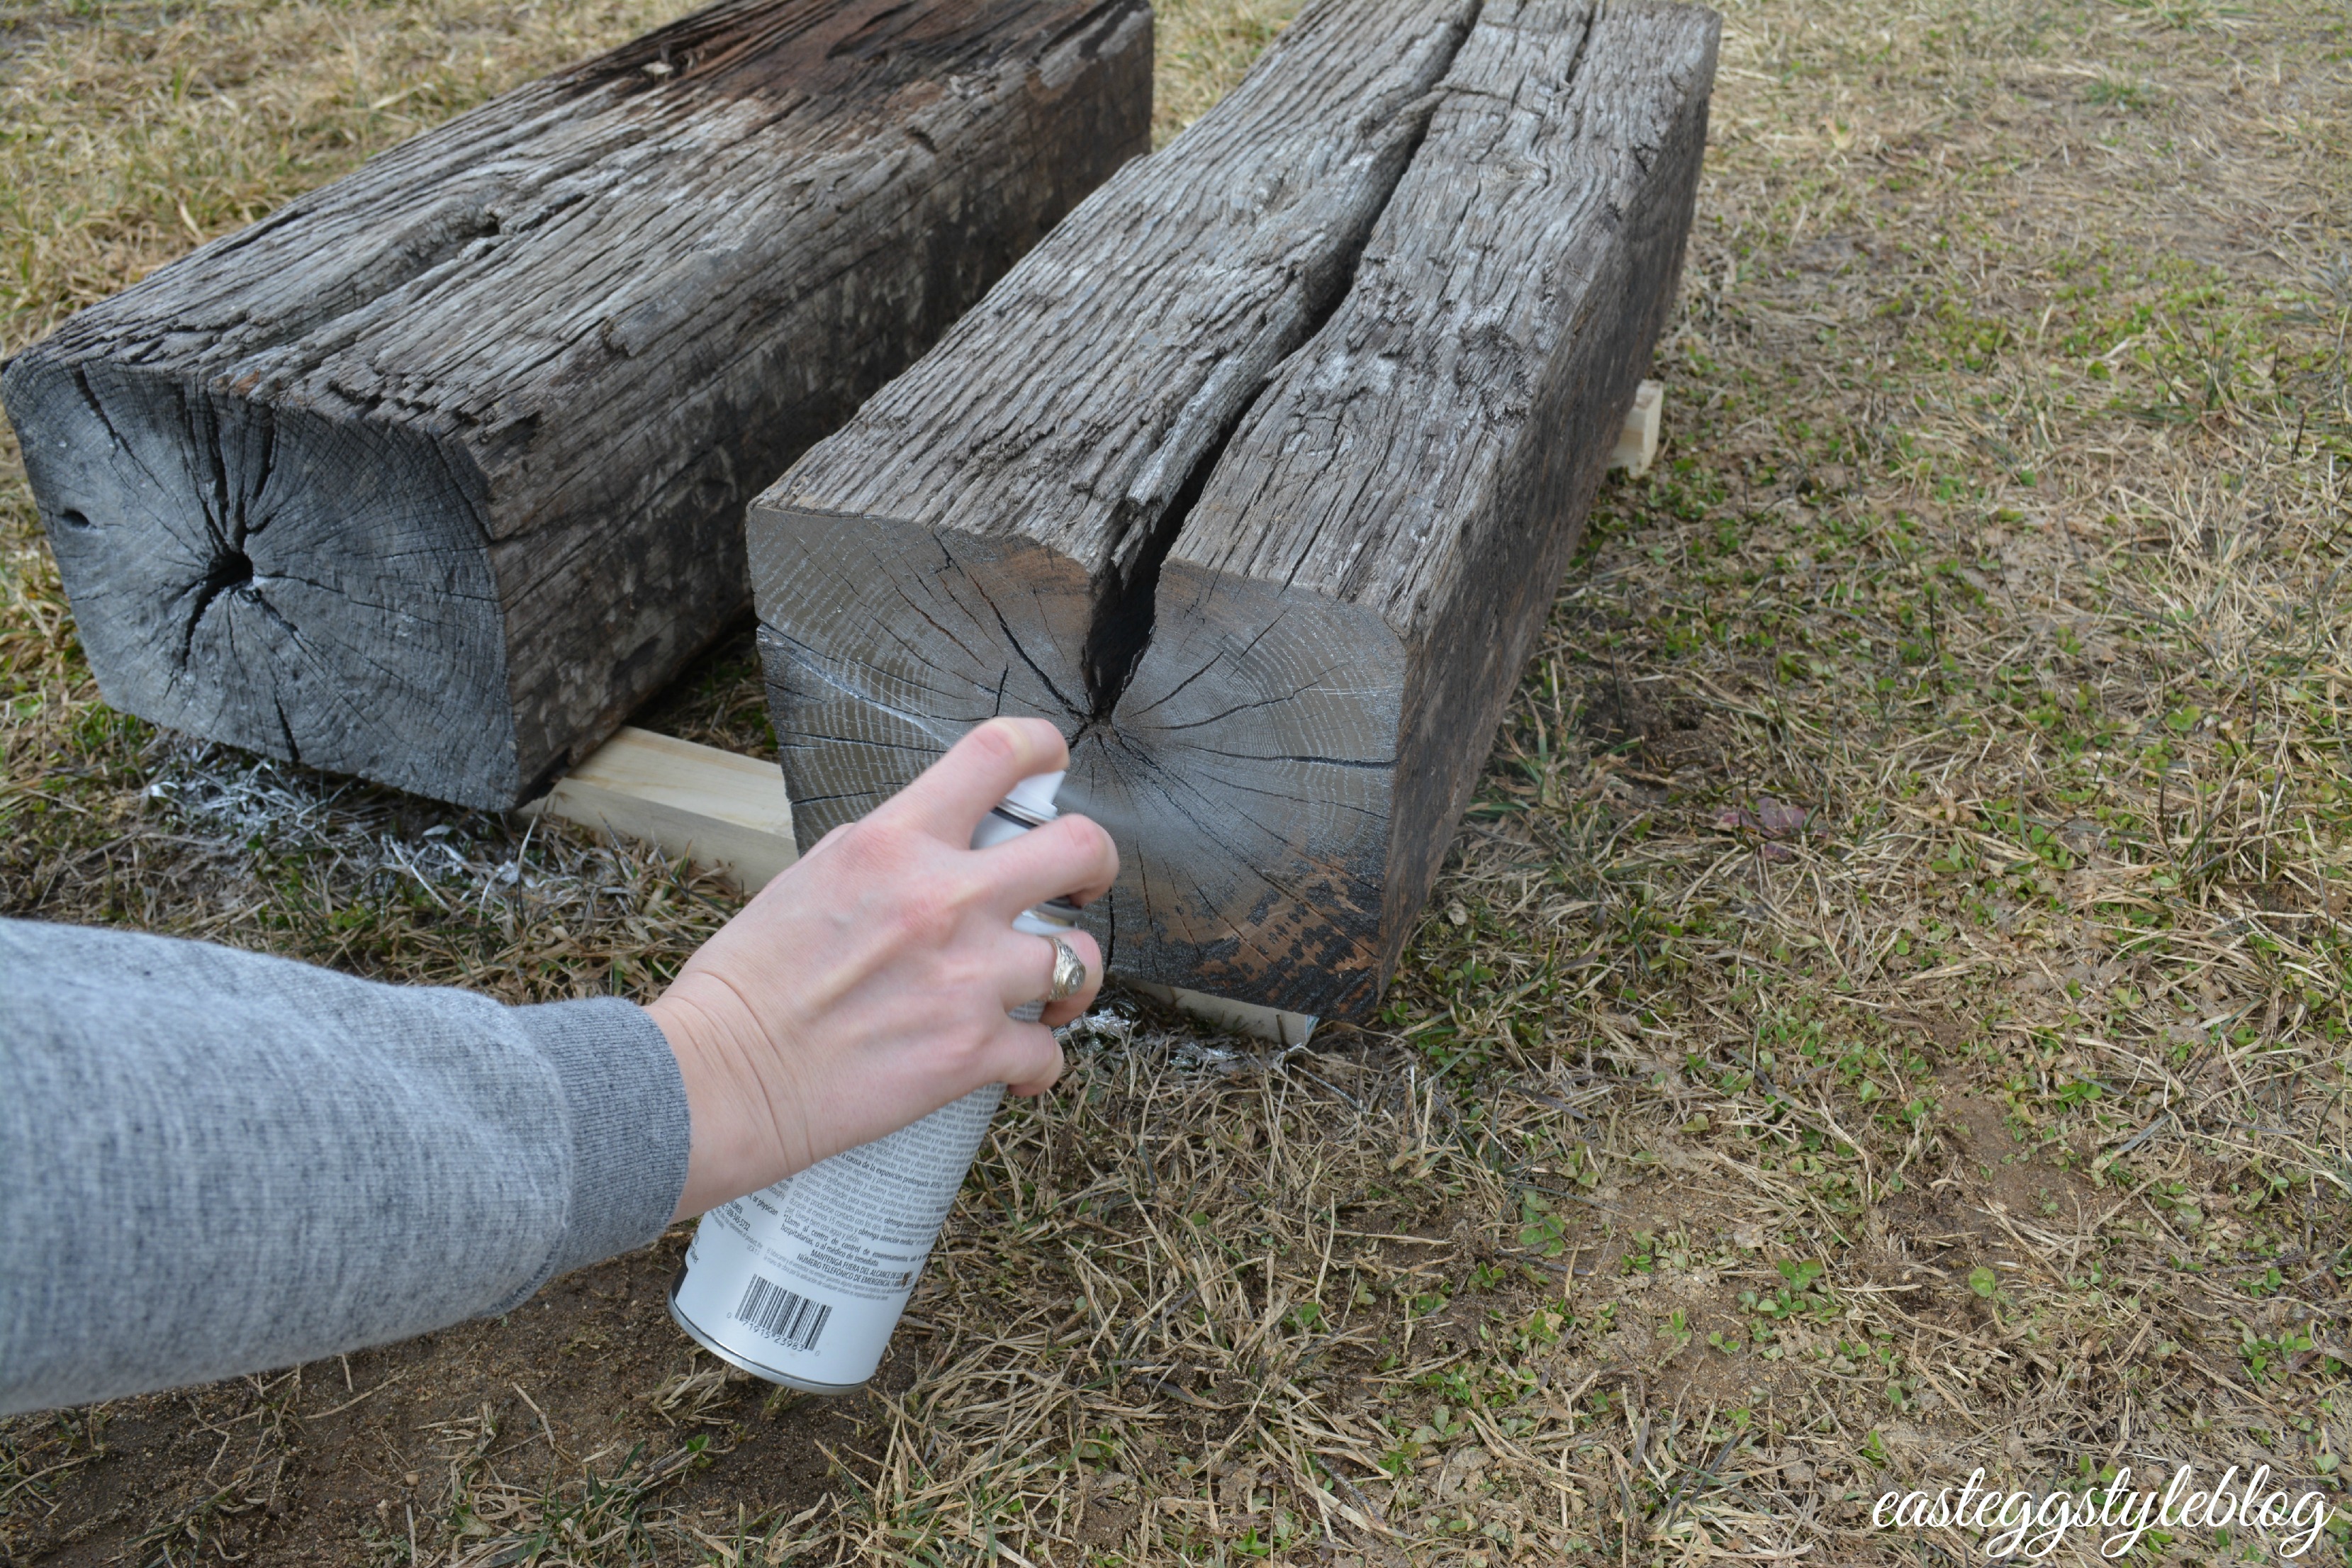
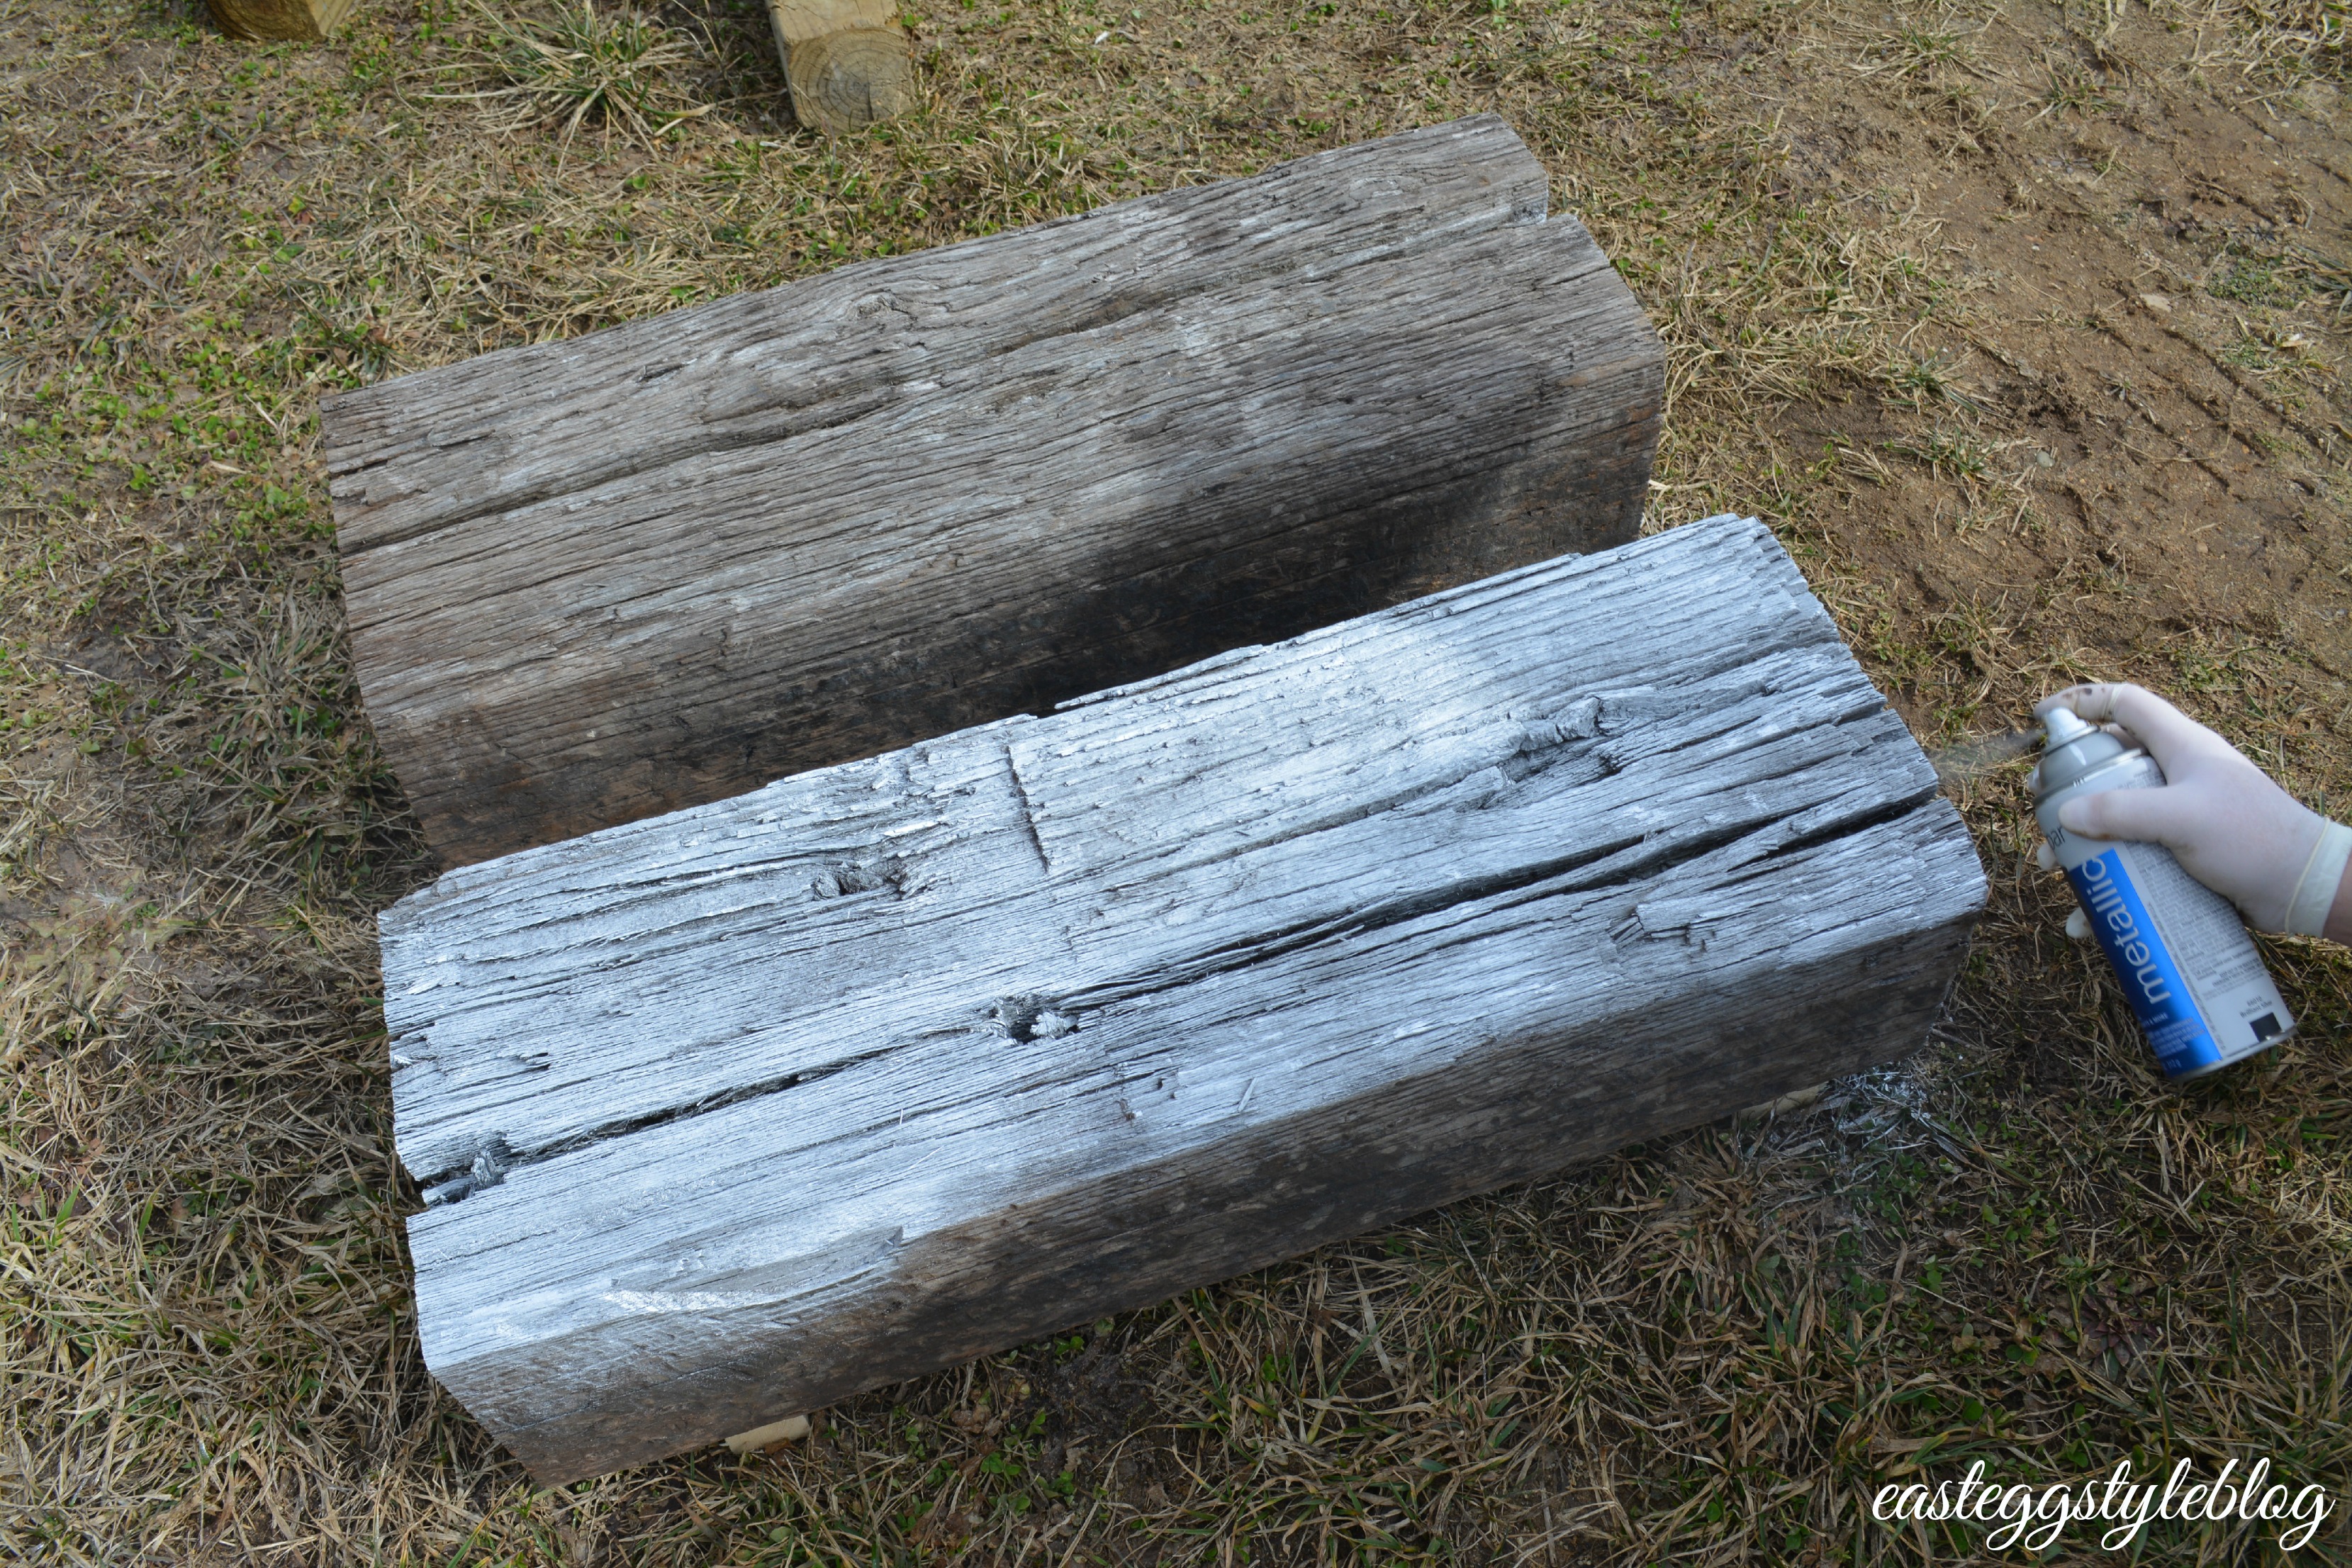
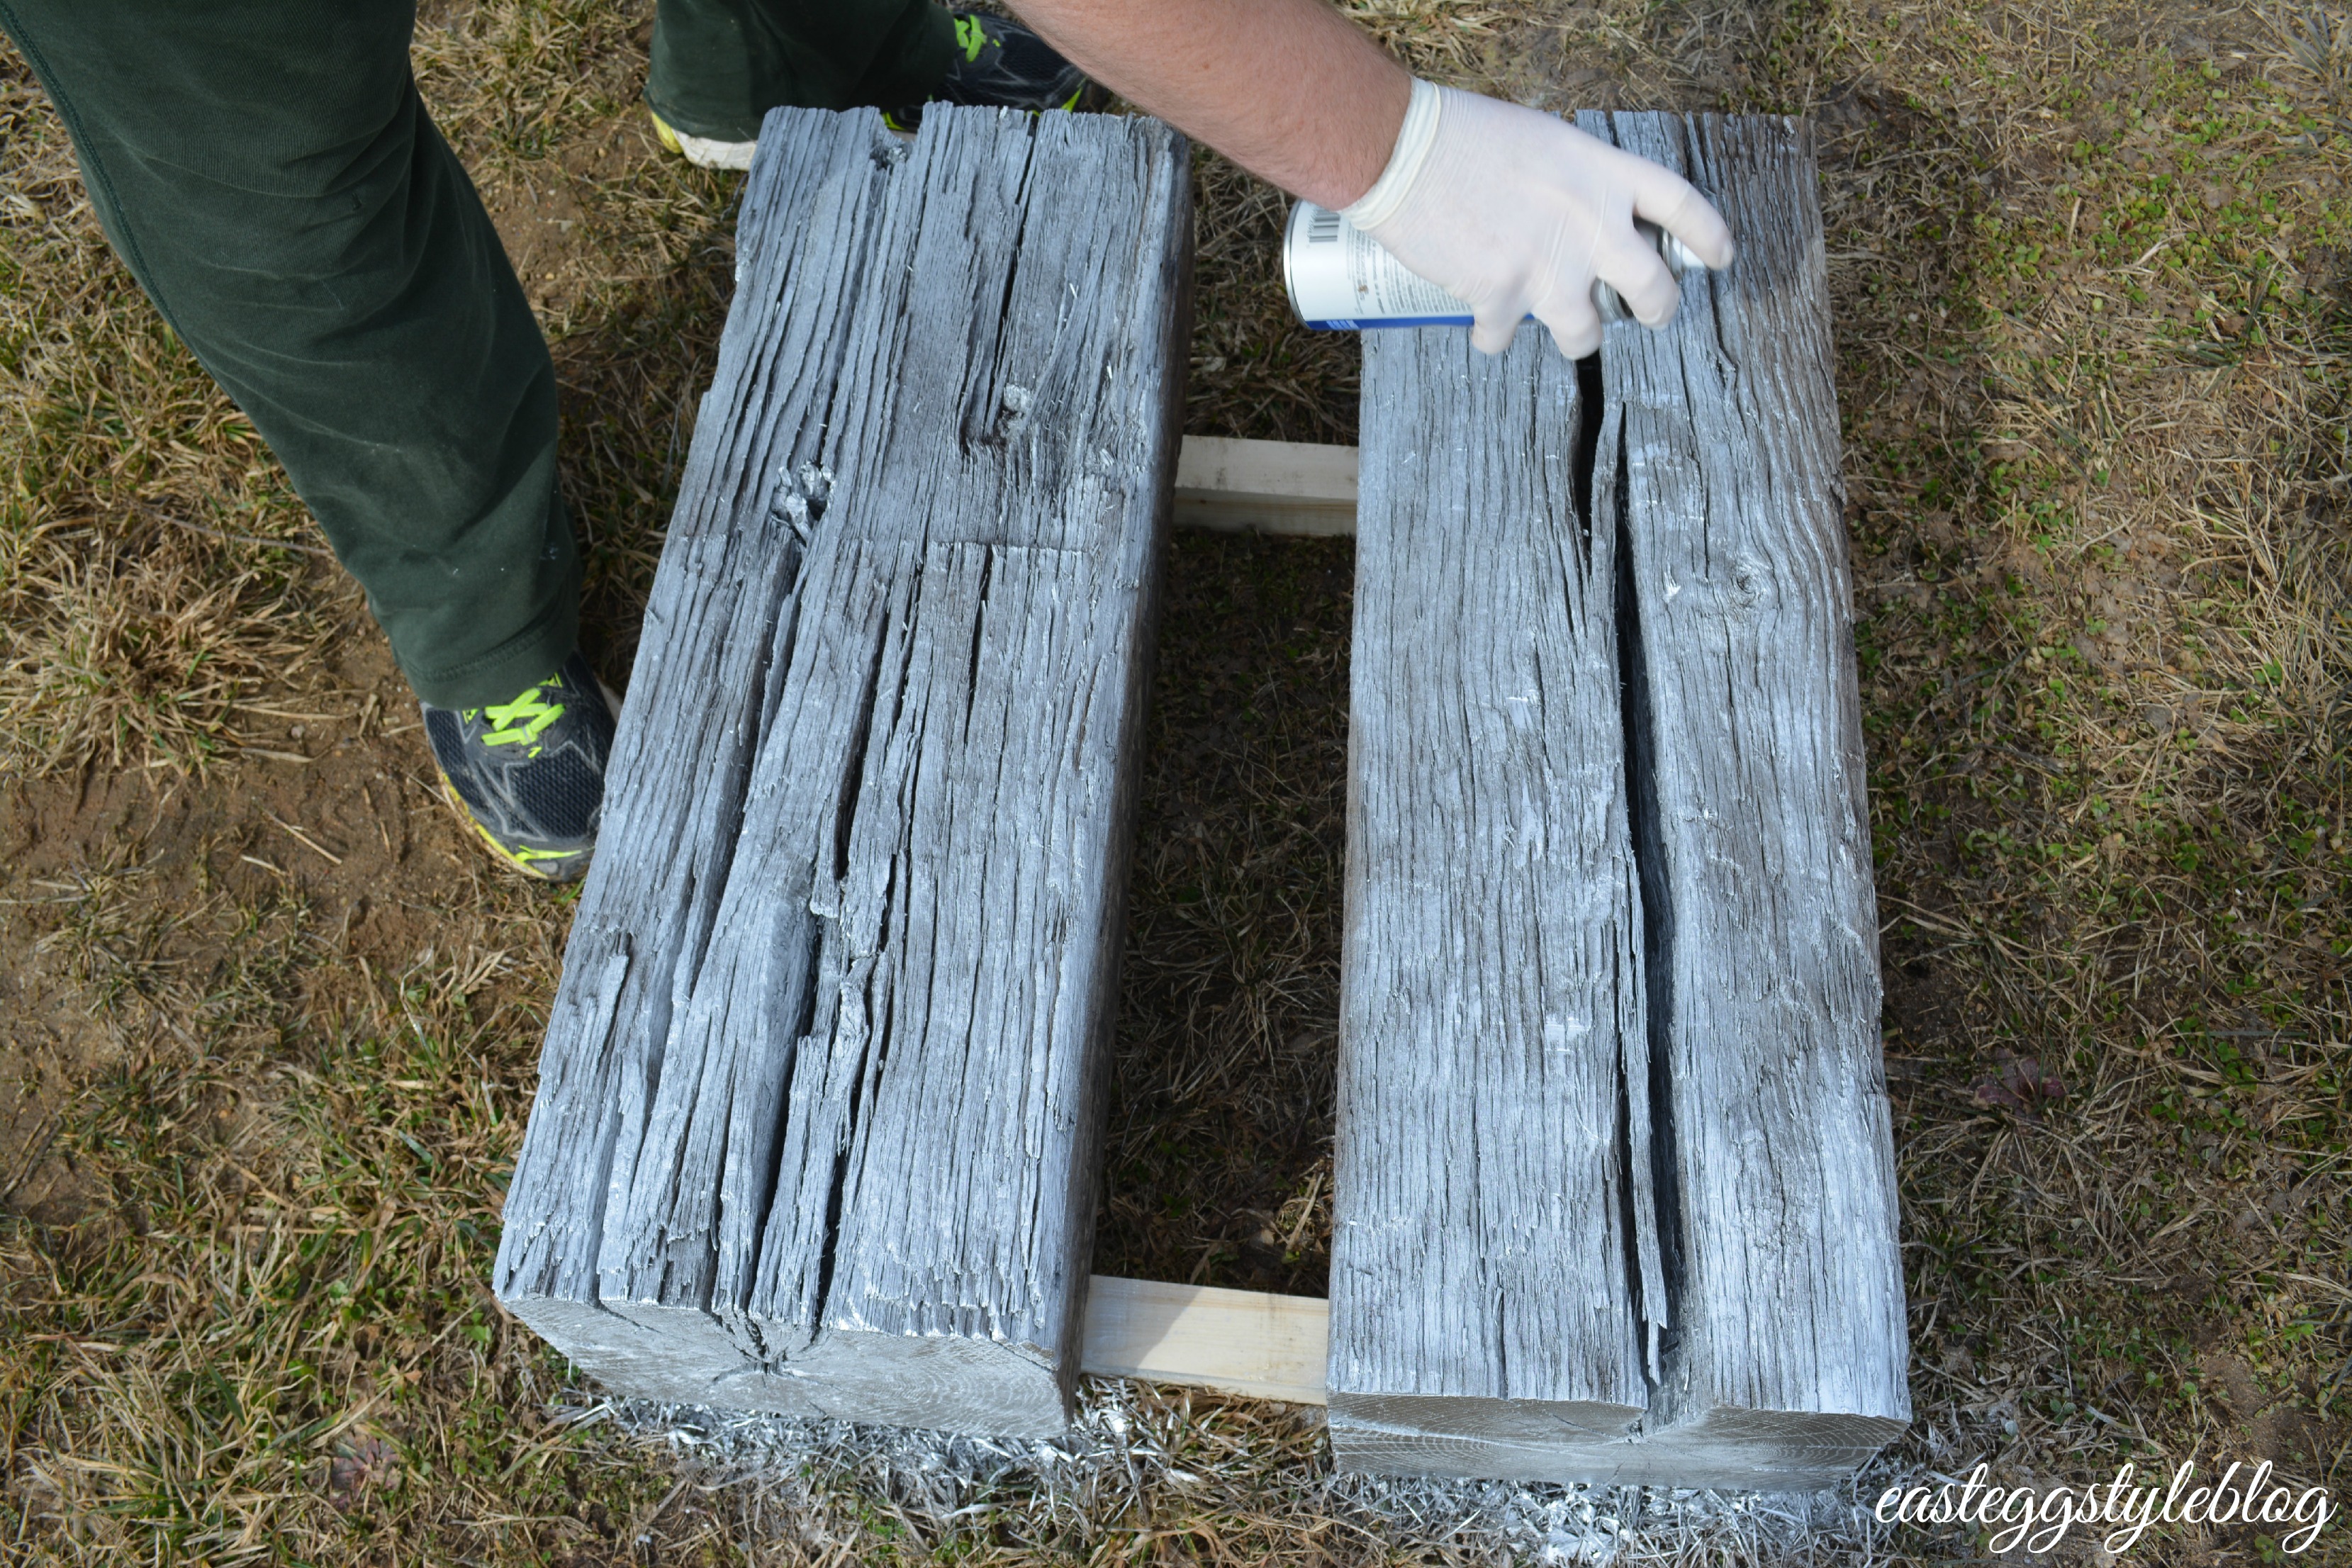
We then hauled all of the wood out into our front yard, and we got it ready to begin spray painting. I chose silver for the top, and black for the base, but you could certainly go with different colors. I forgot to take a picture while painting the base, but you didn’t miss anything too exciting! ; )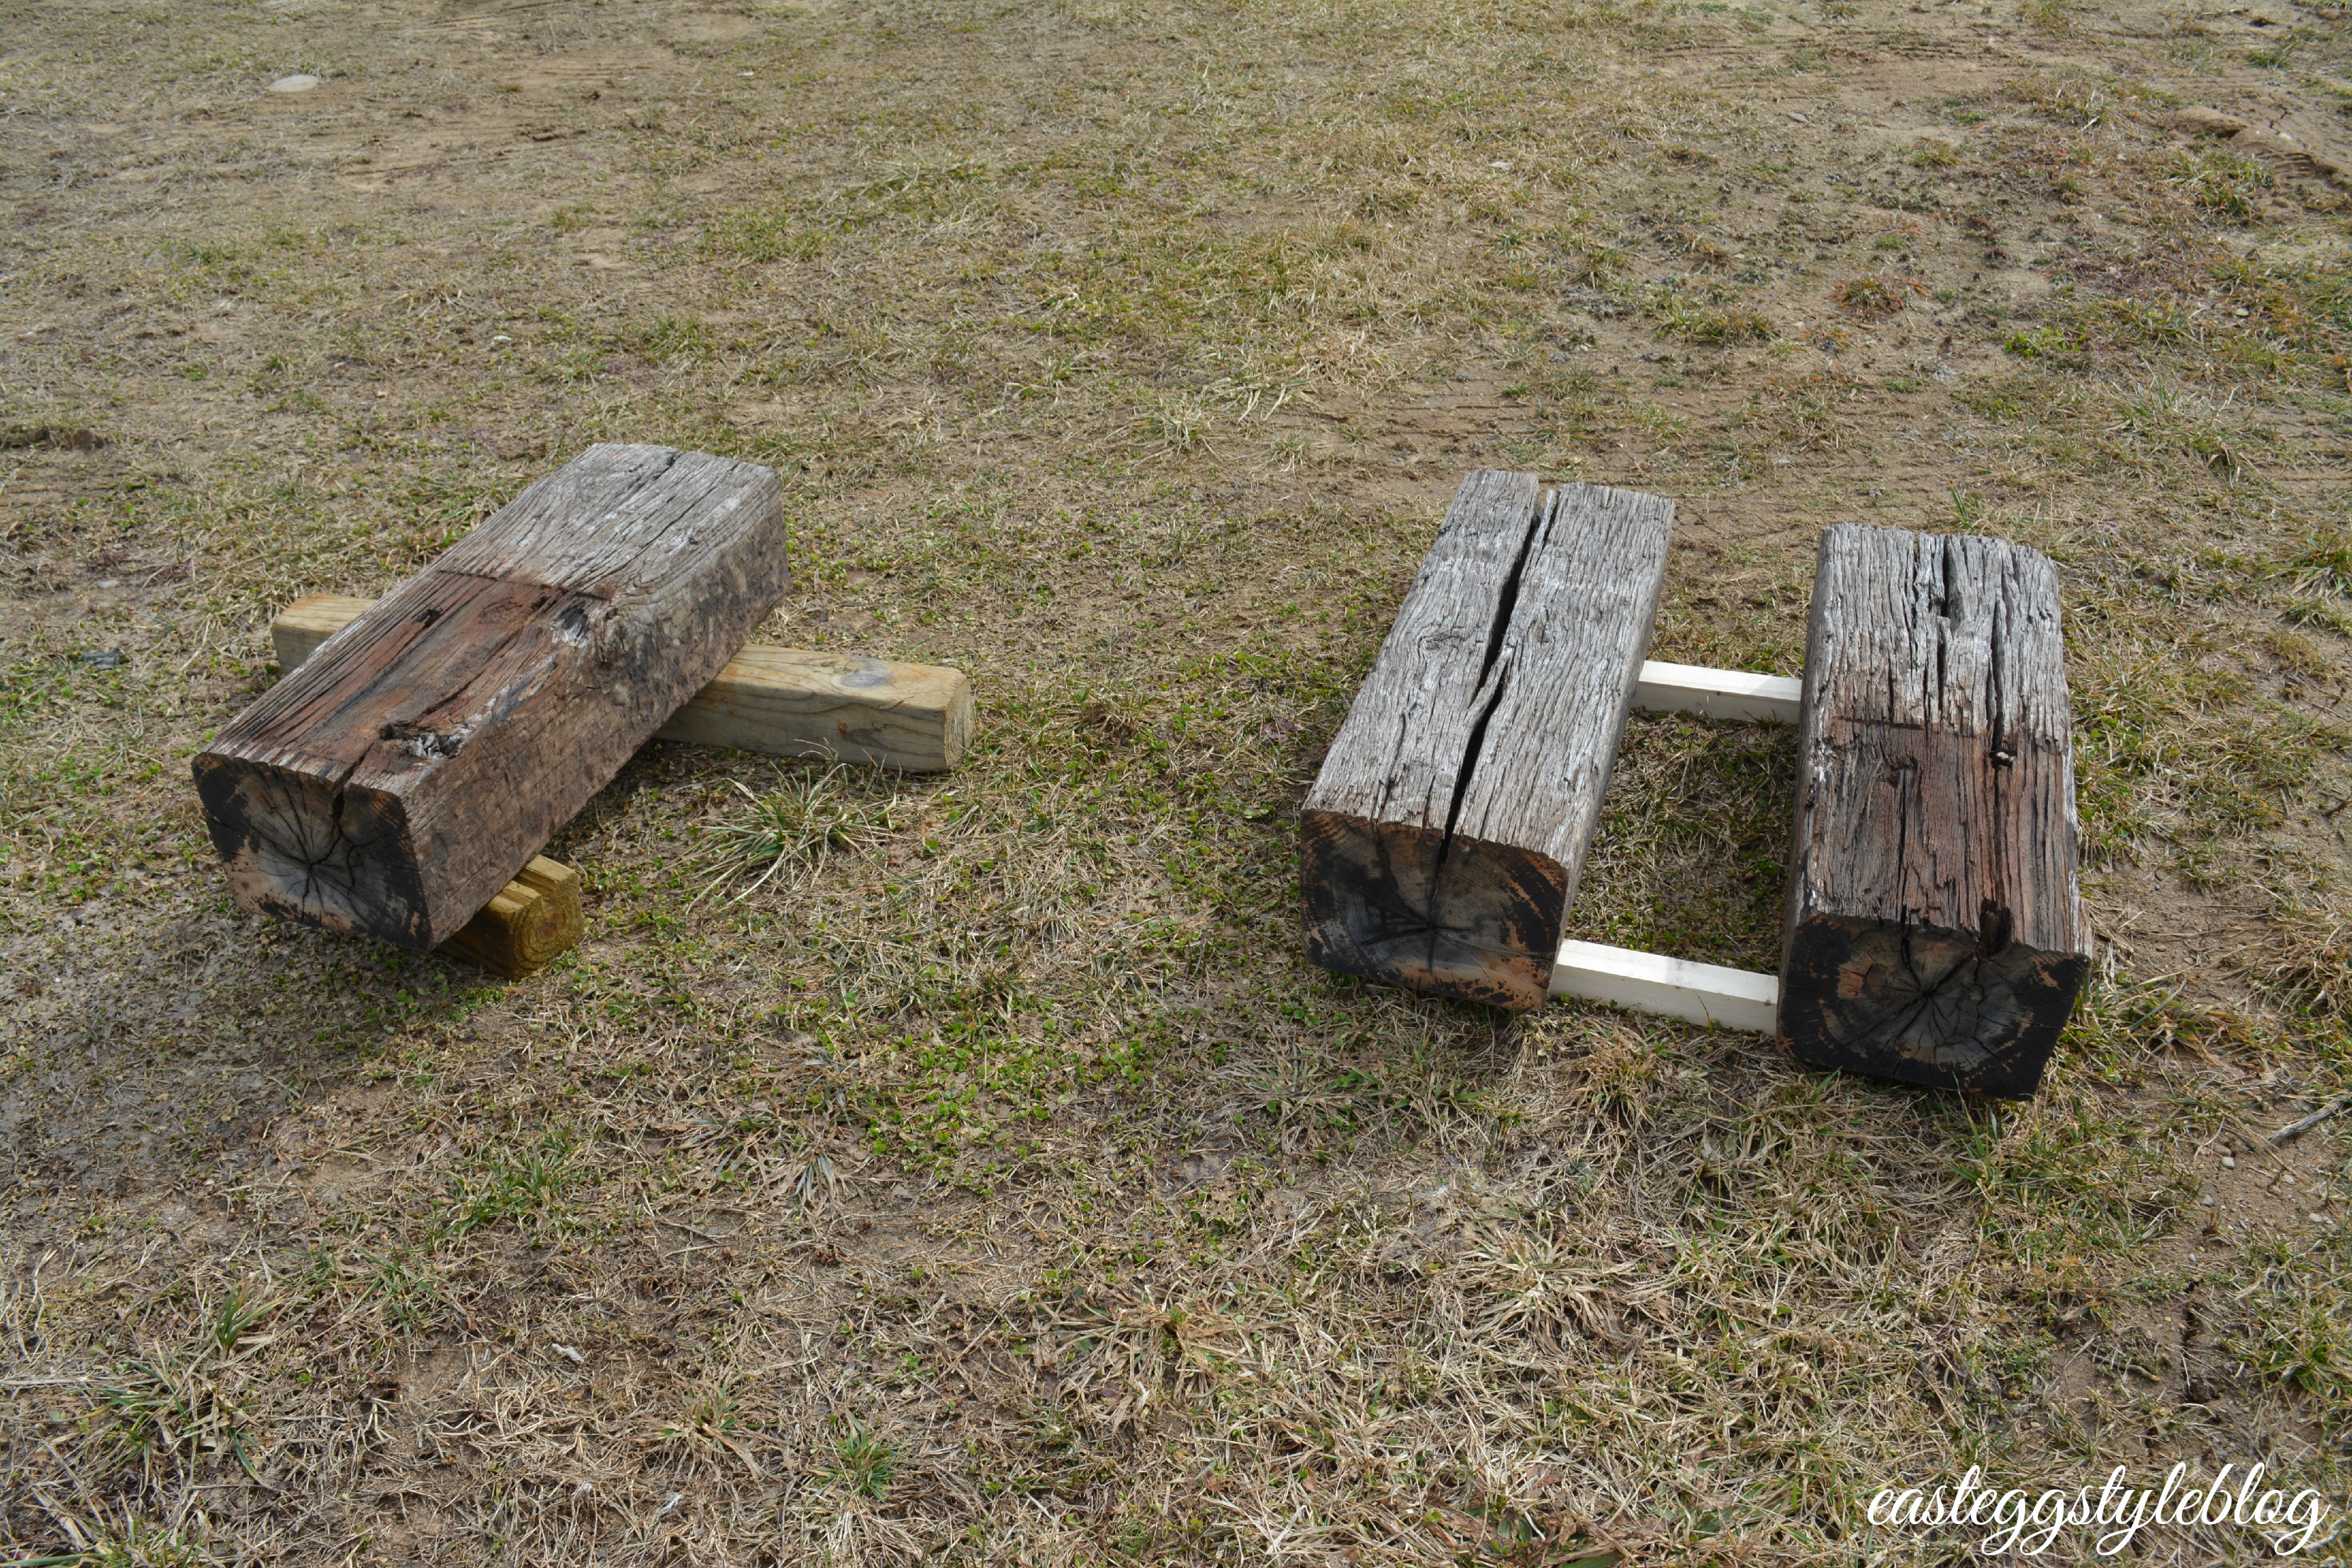
Once the paint was dry, we brought everything back inside, and began assembling the pieces. 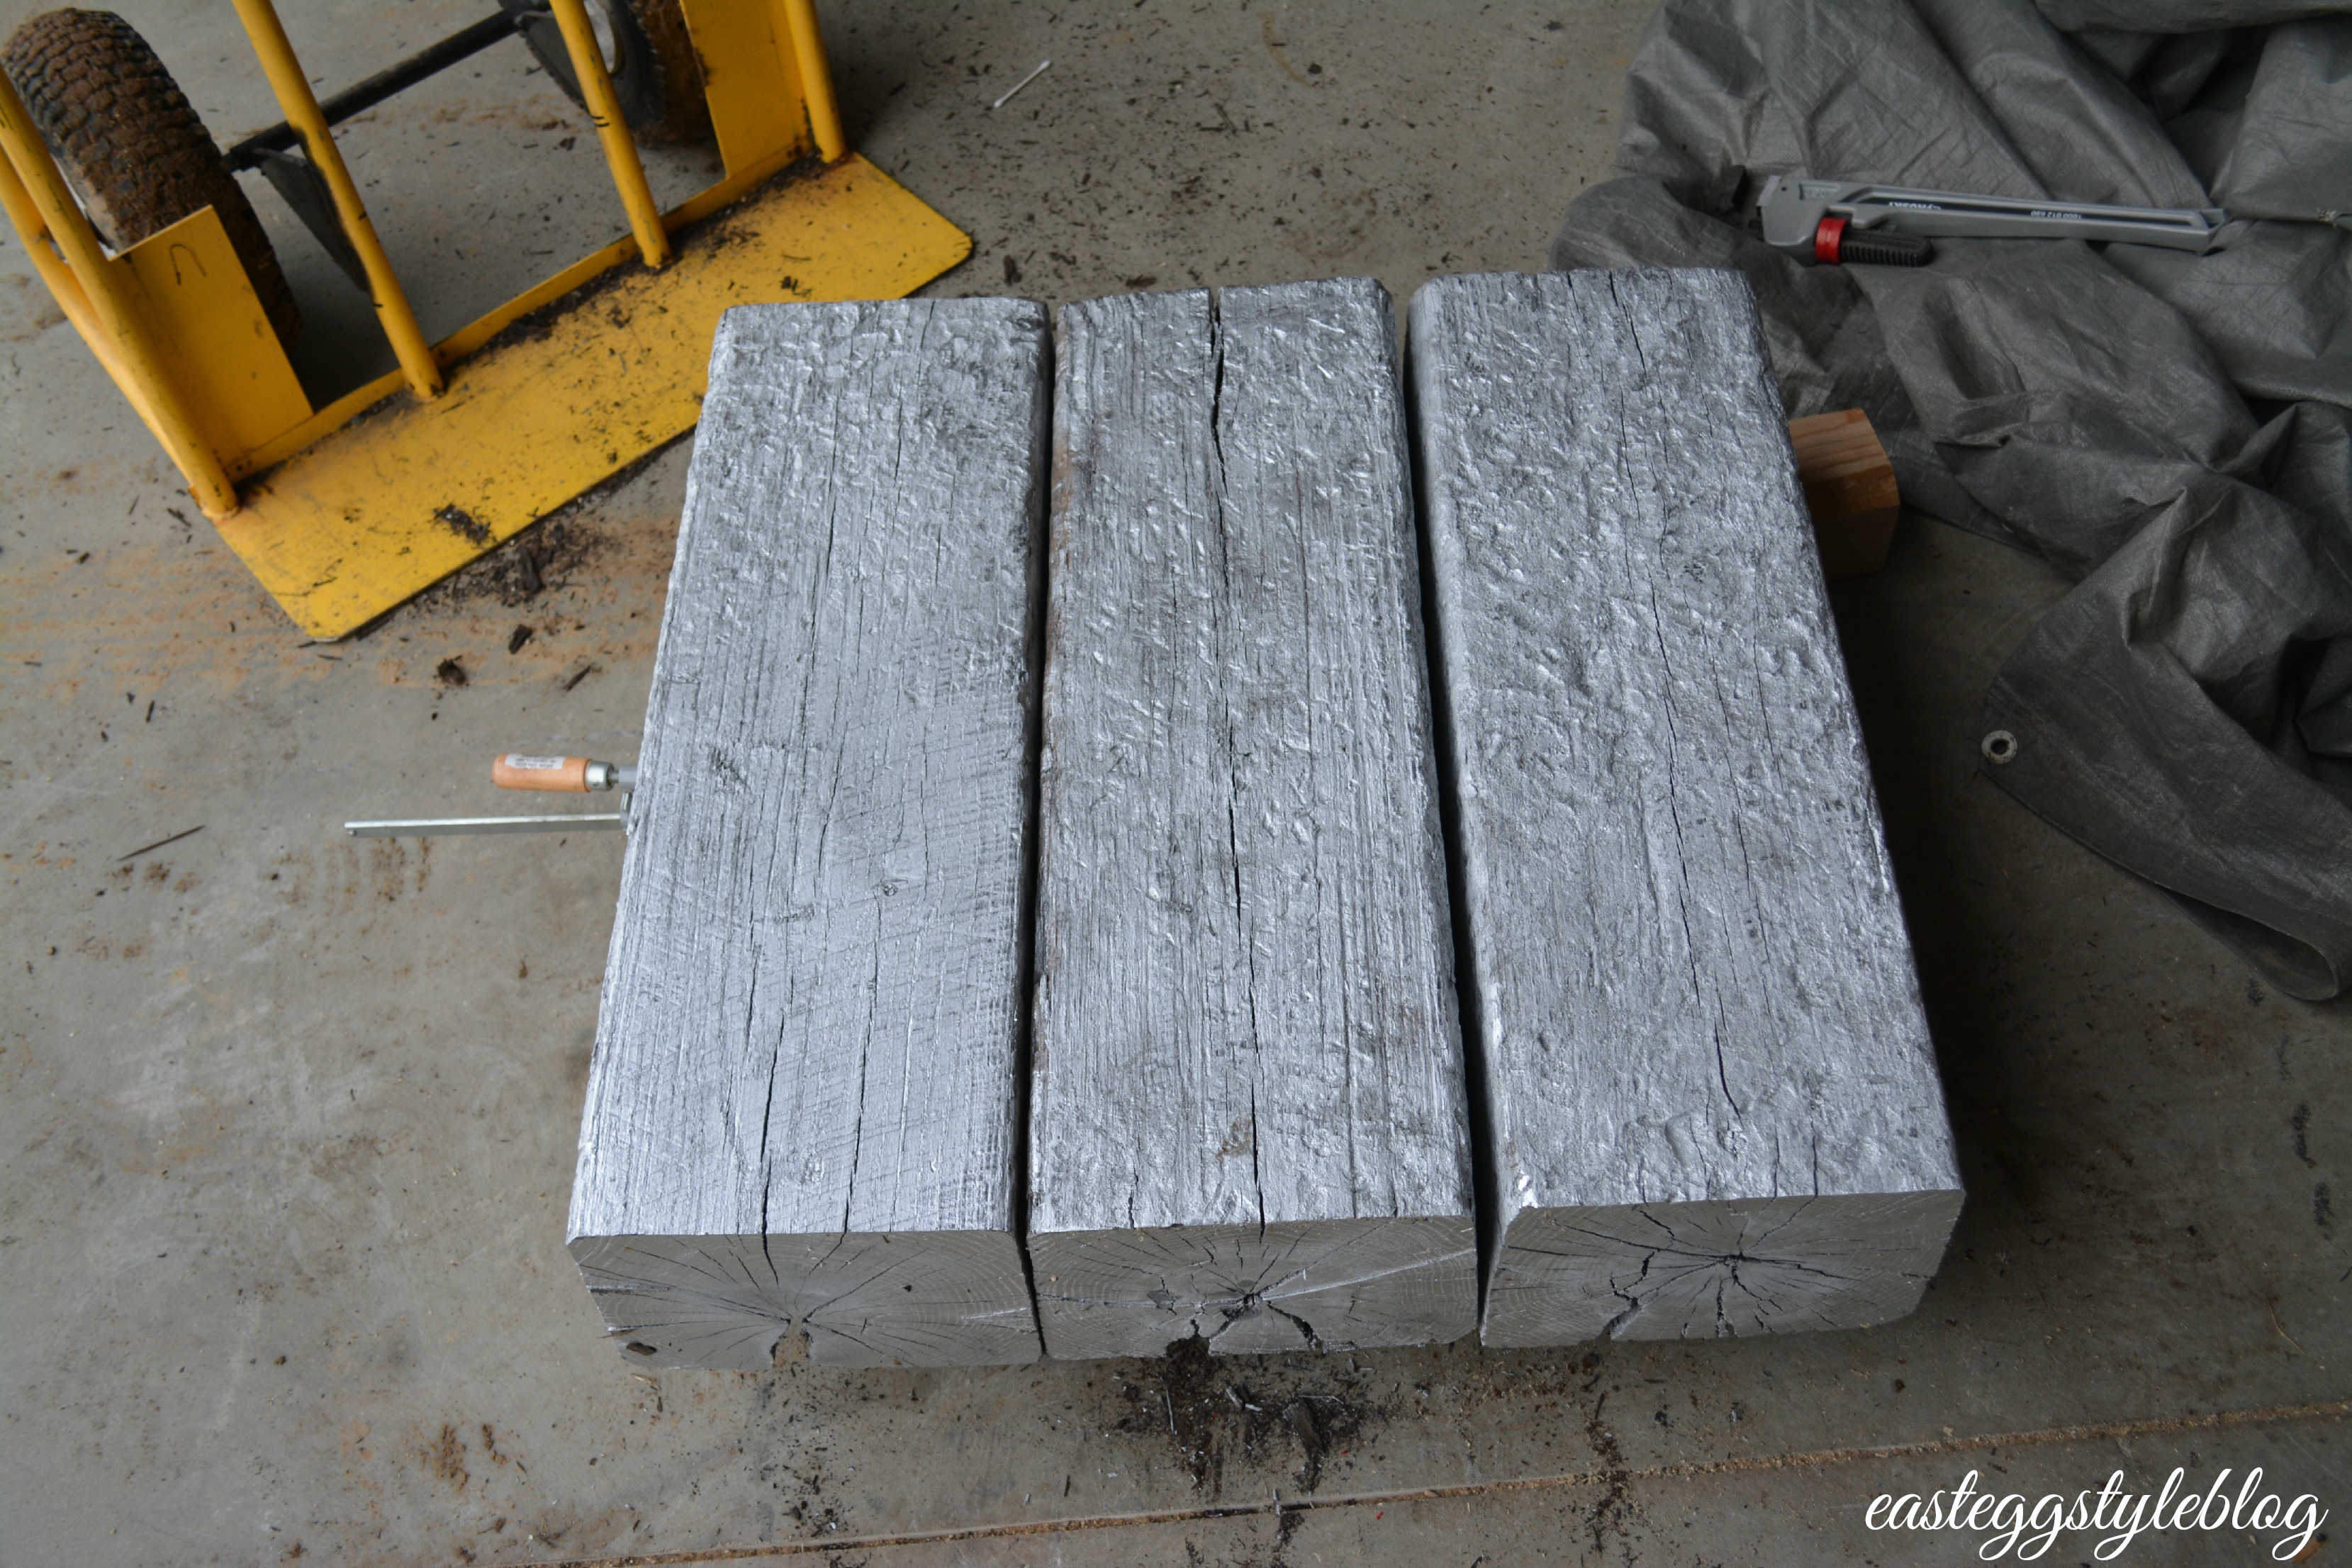
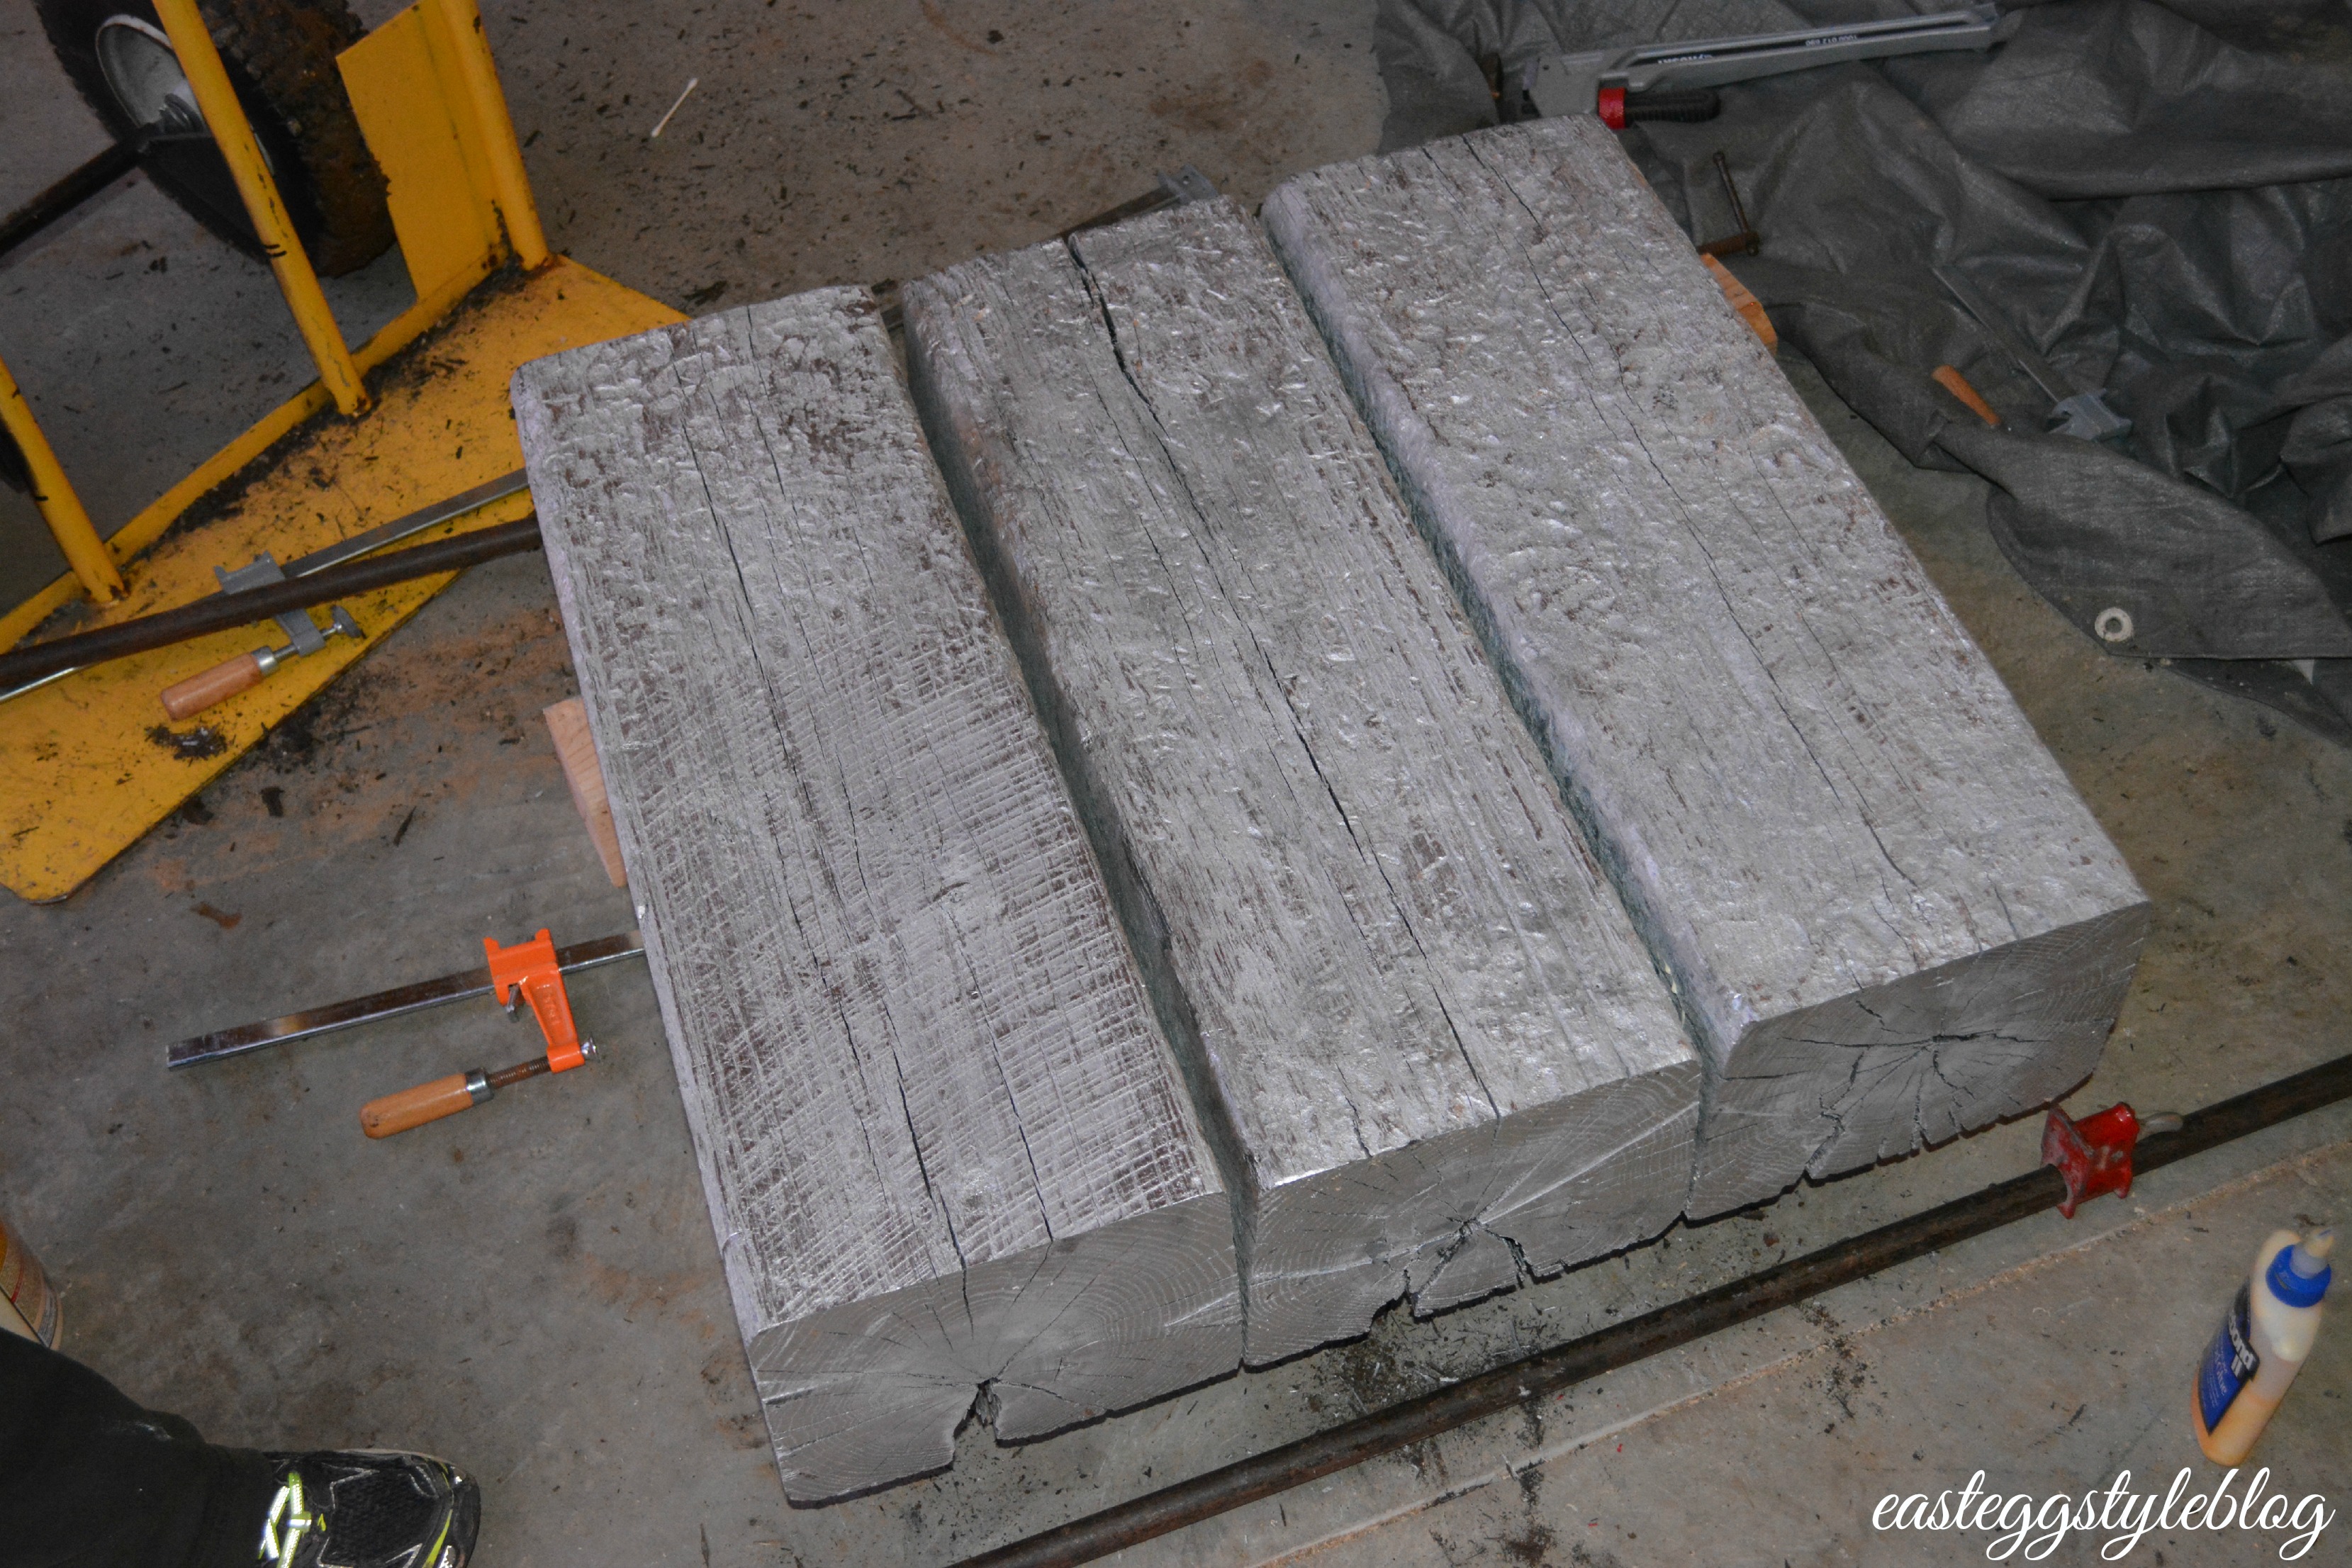
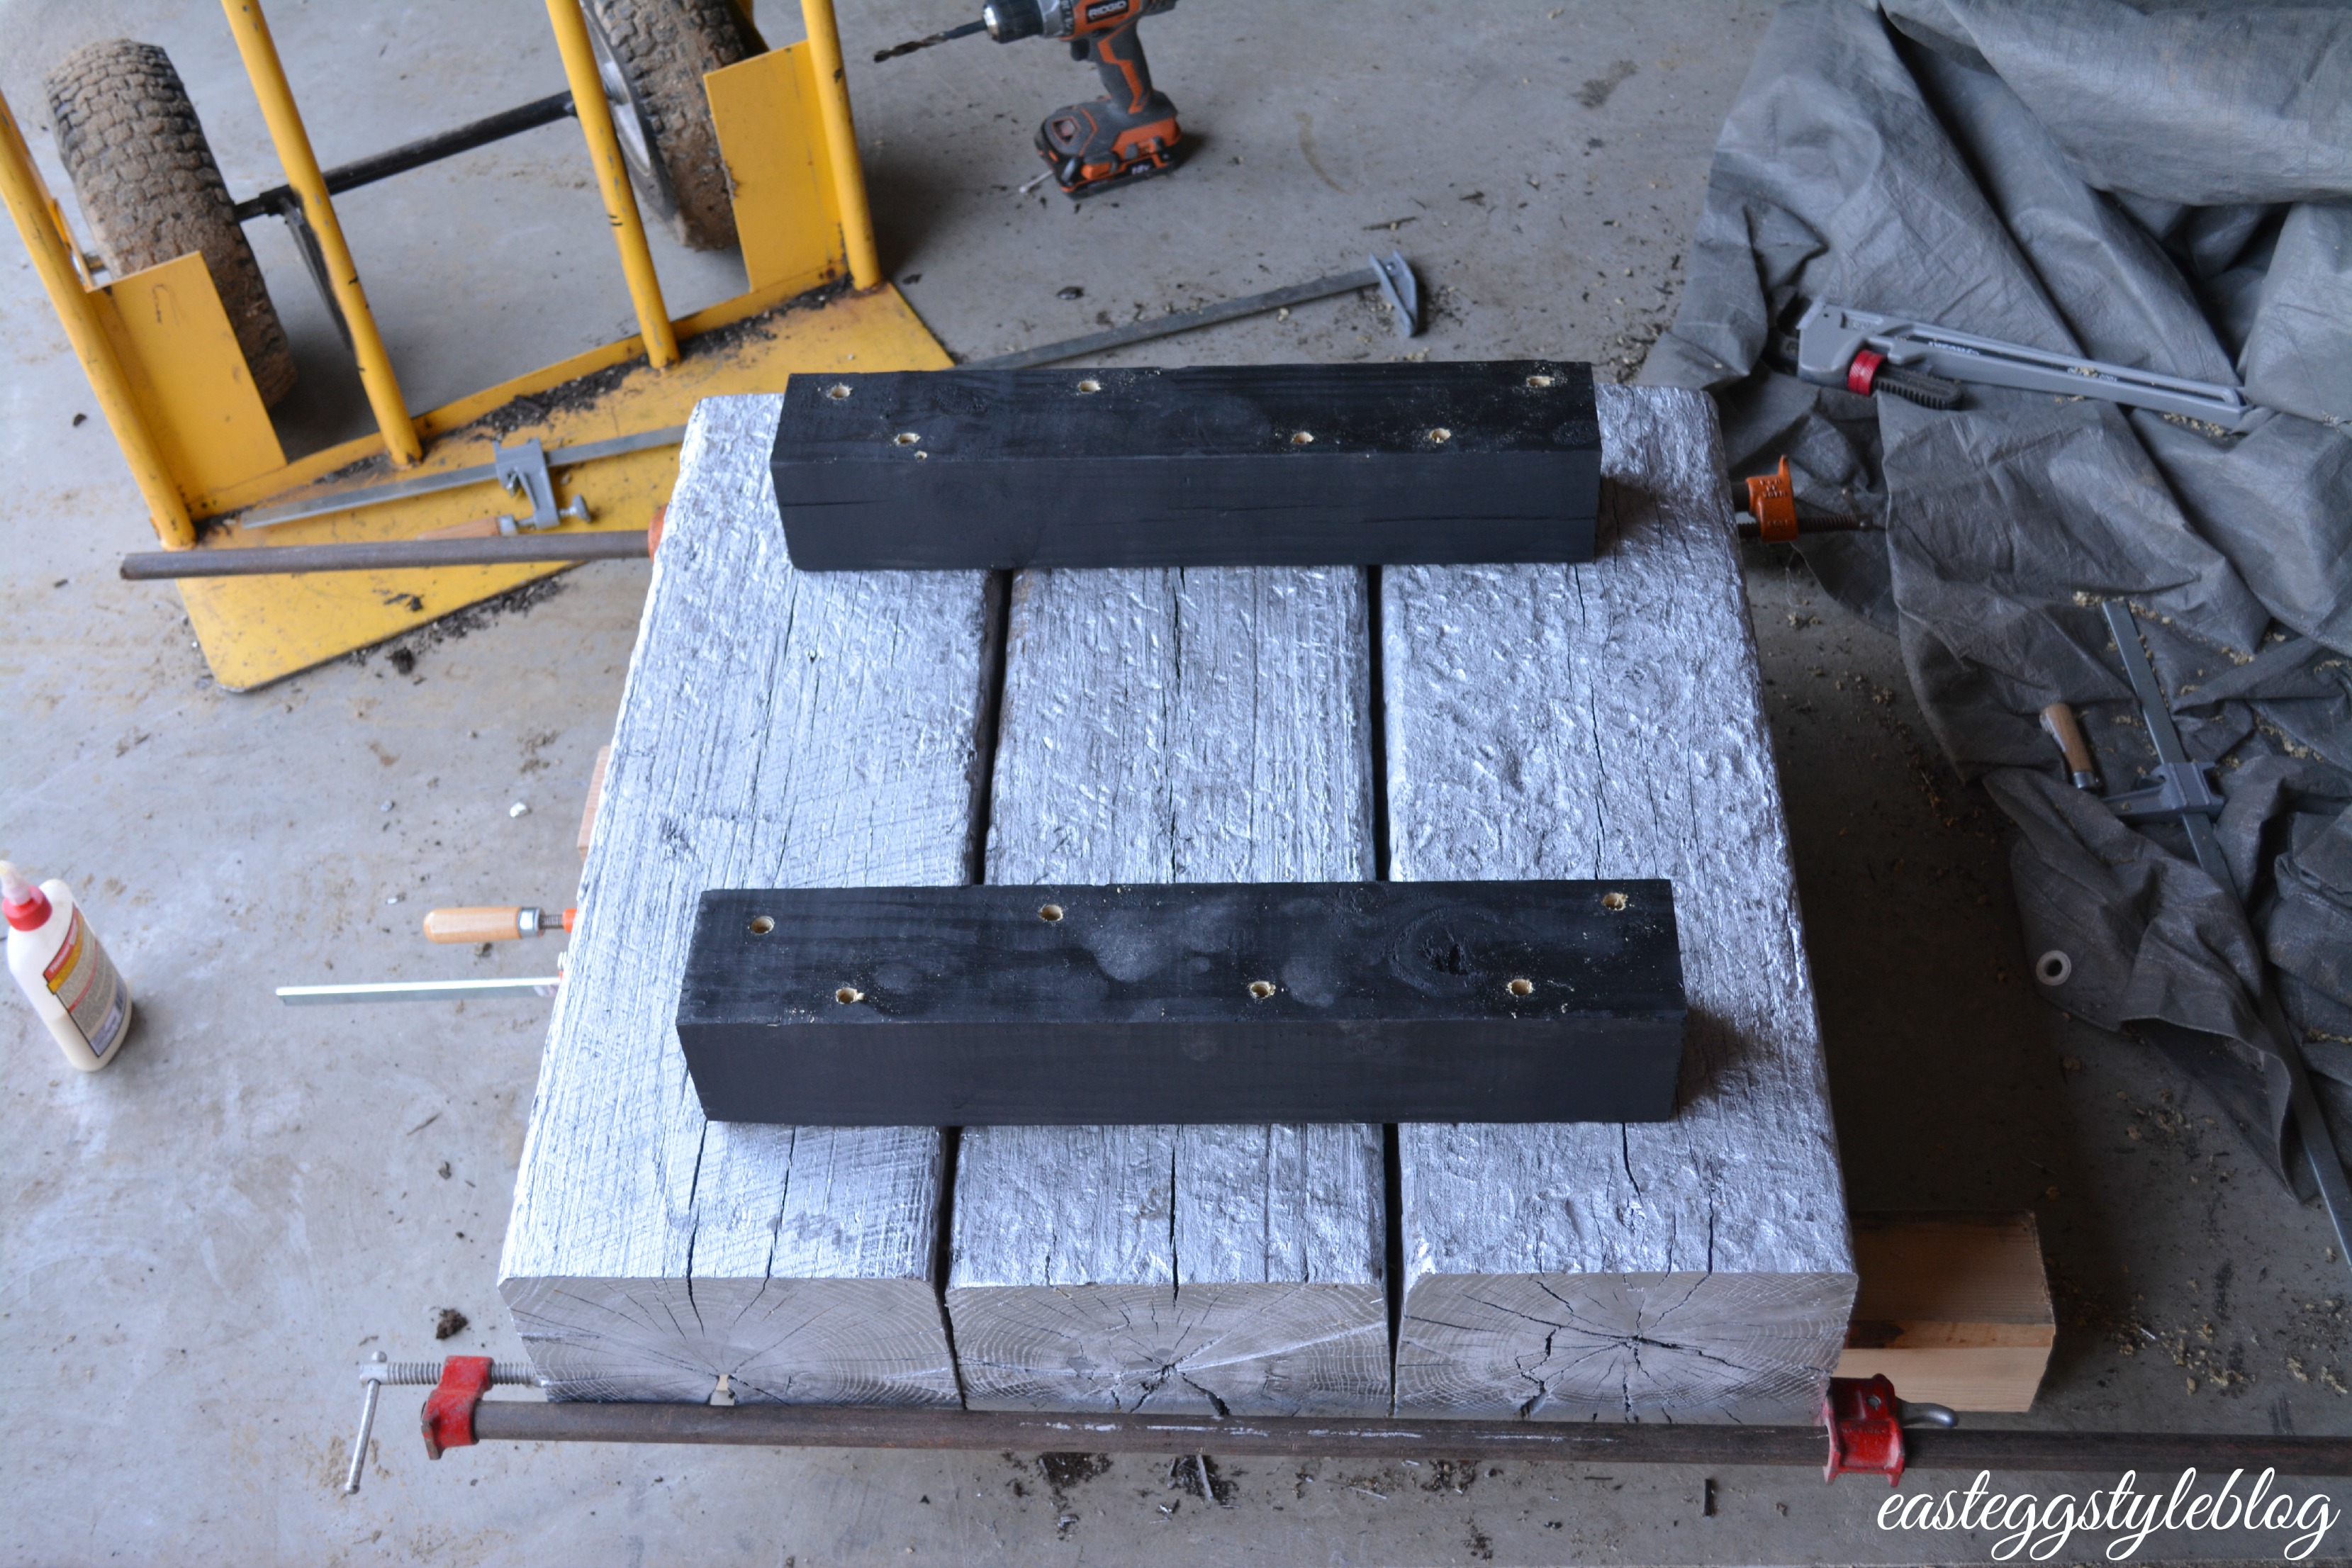
We used wood glue for just a little bit of extra support. After applying the glue, we clamped all three pieces of wood together to make sure that everything stayed tightly together.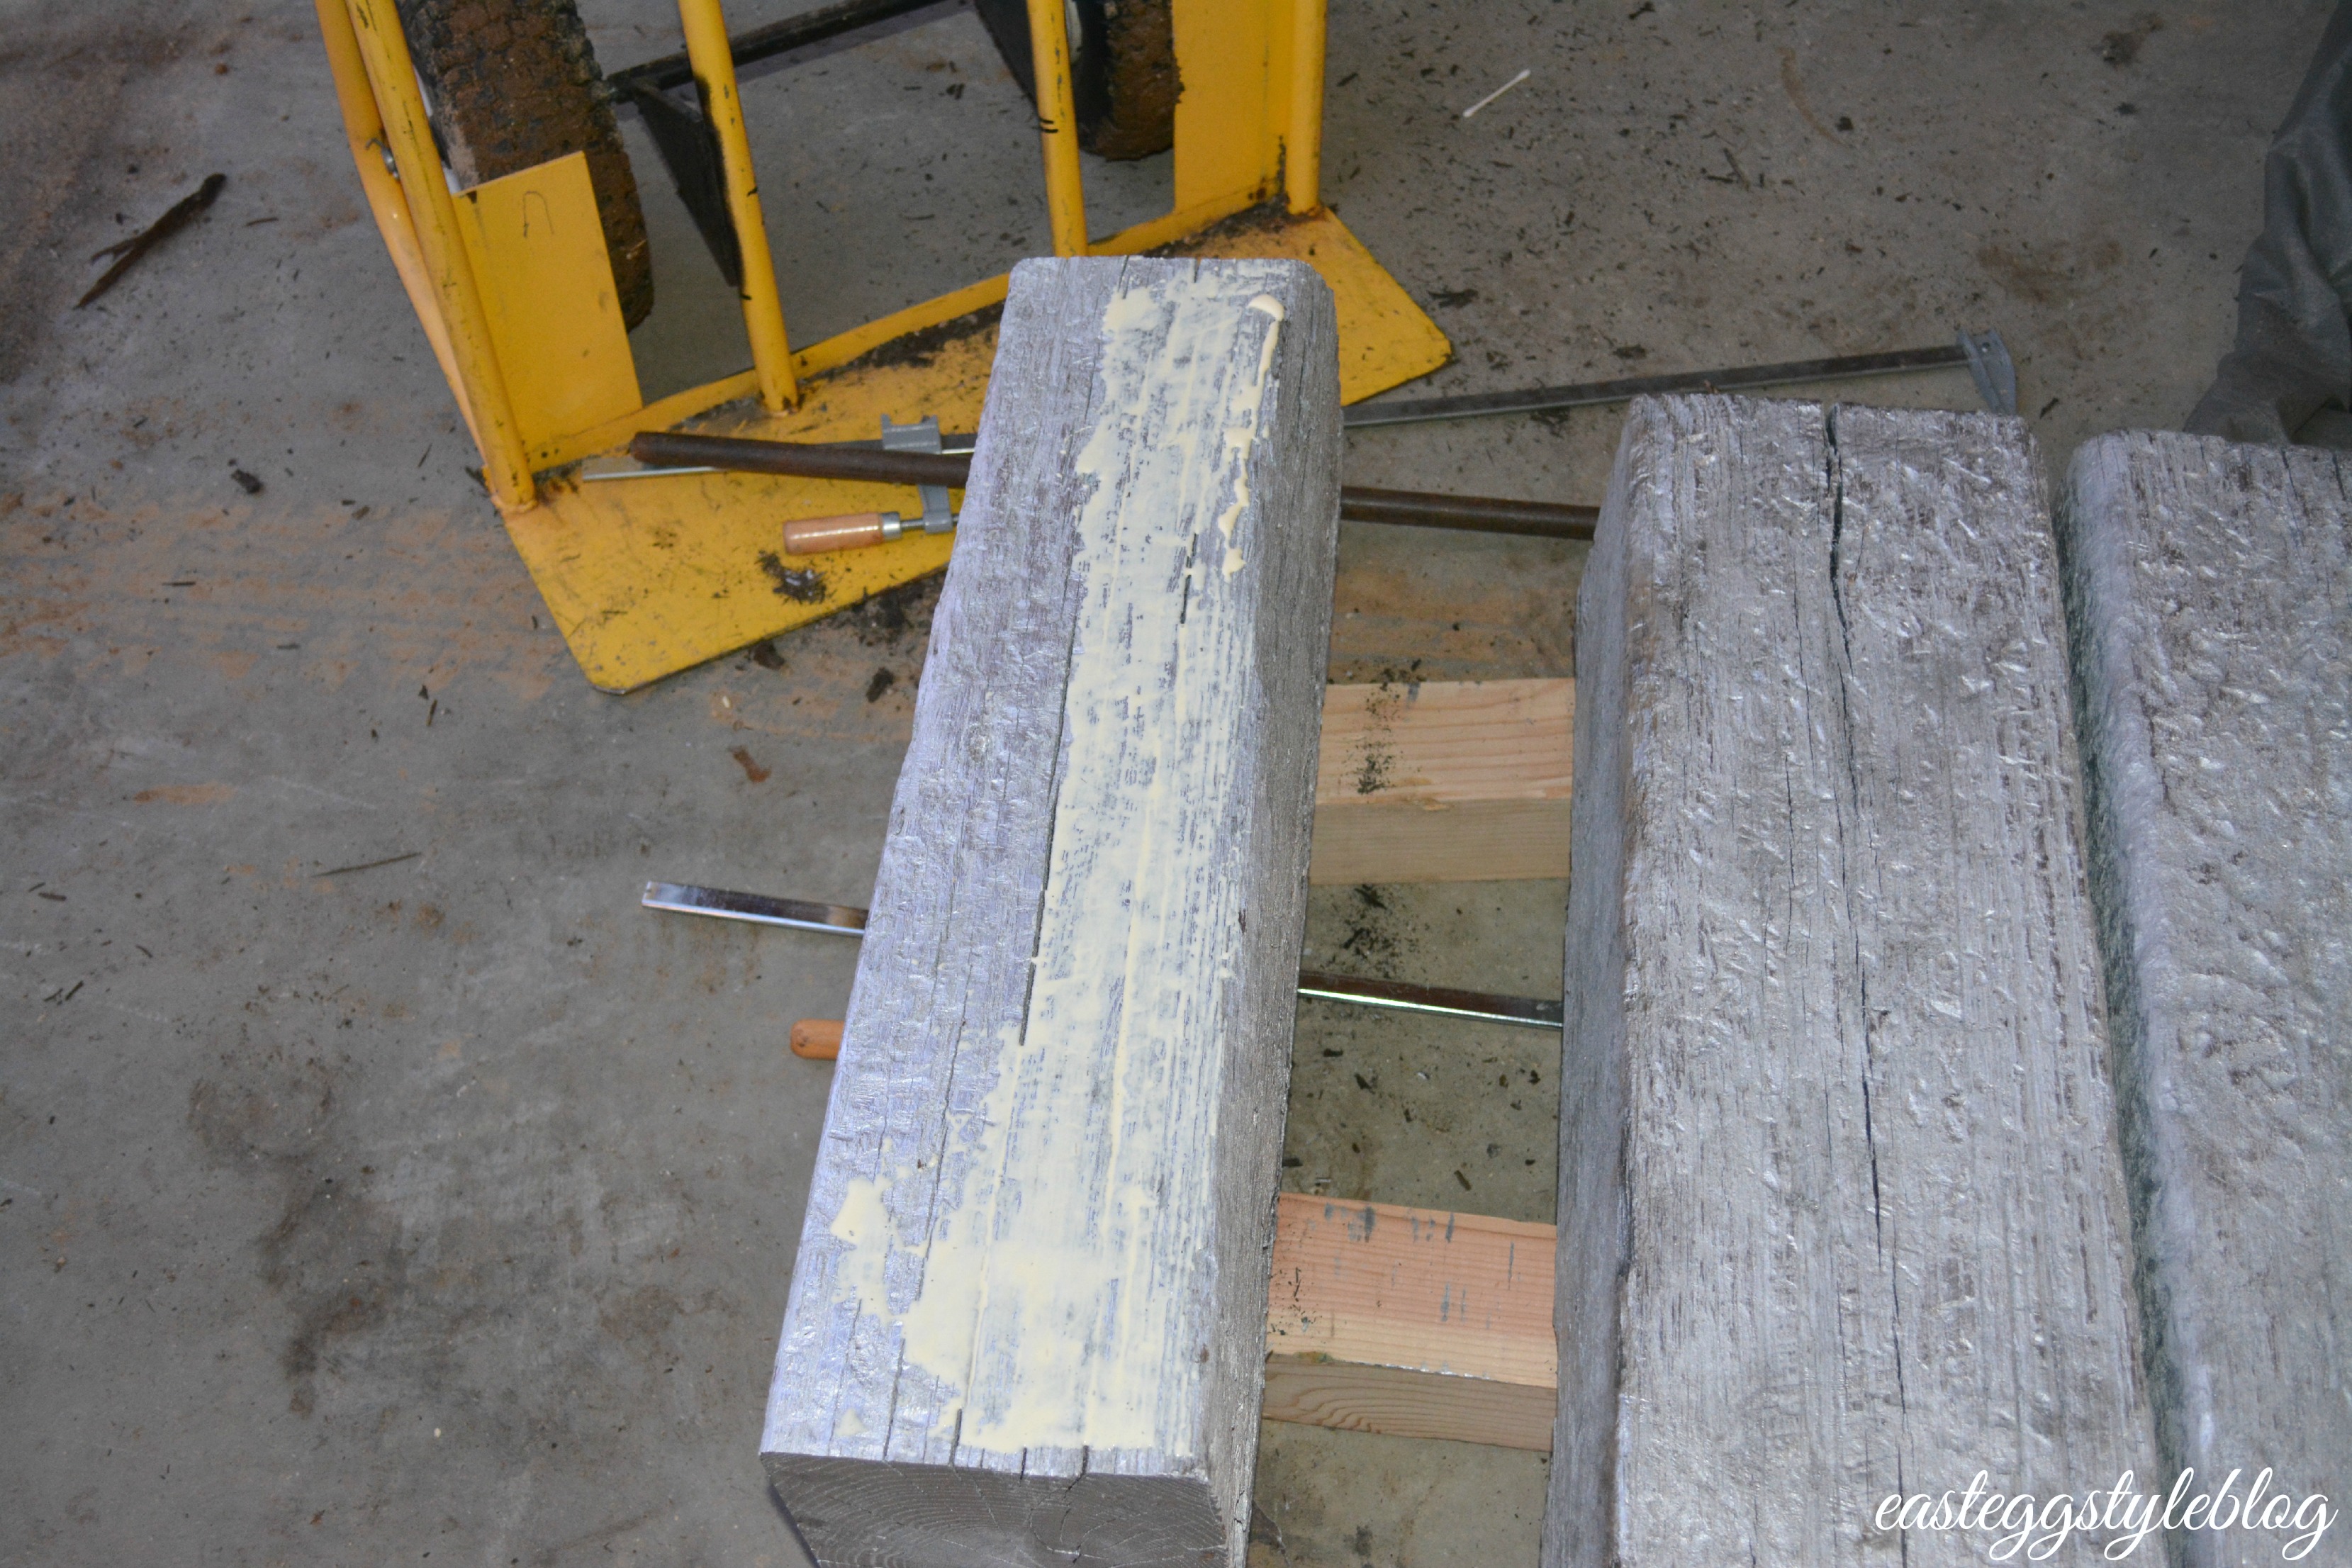

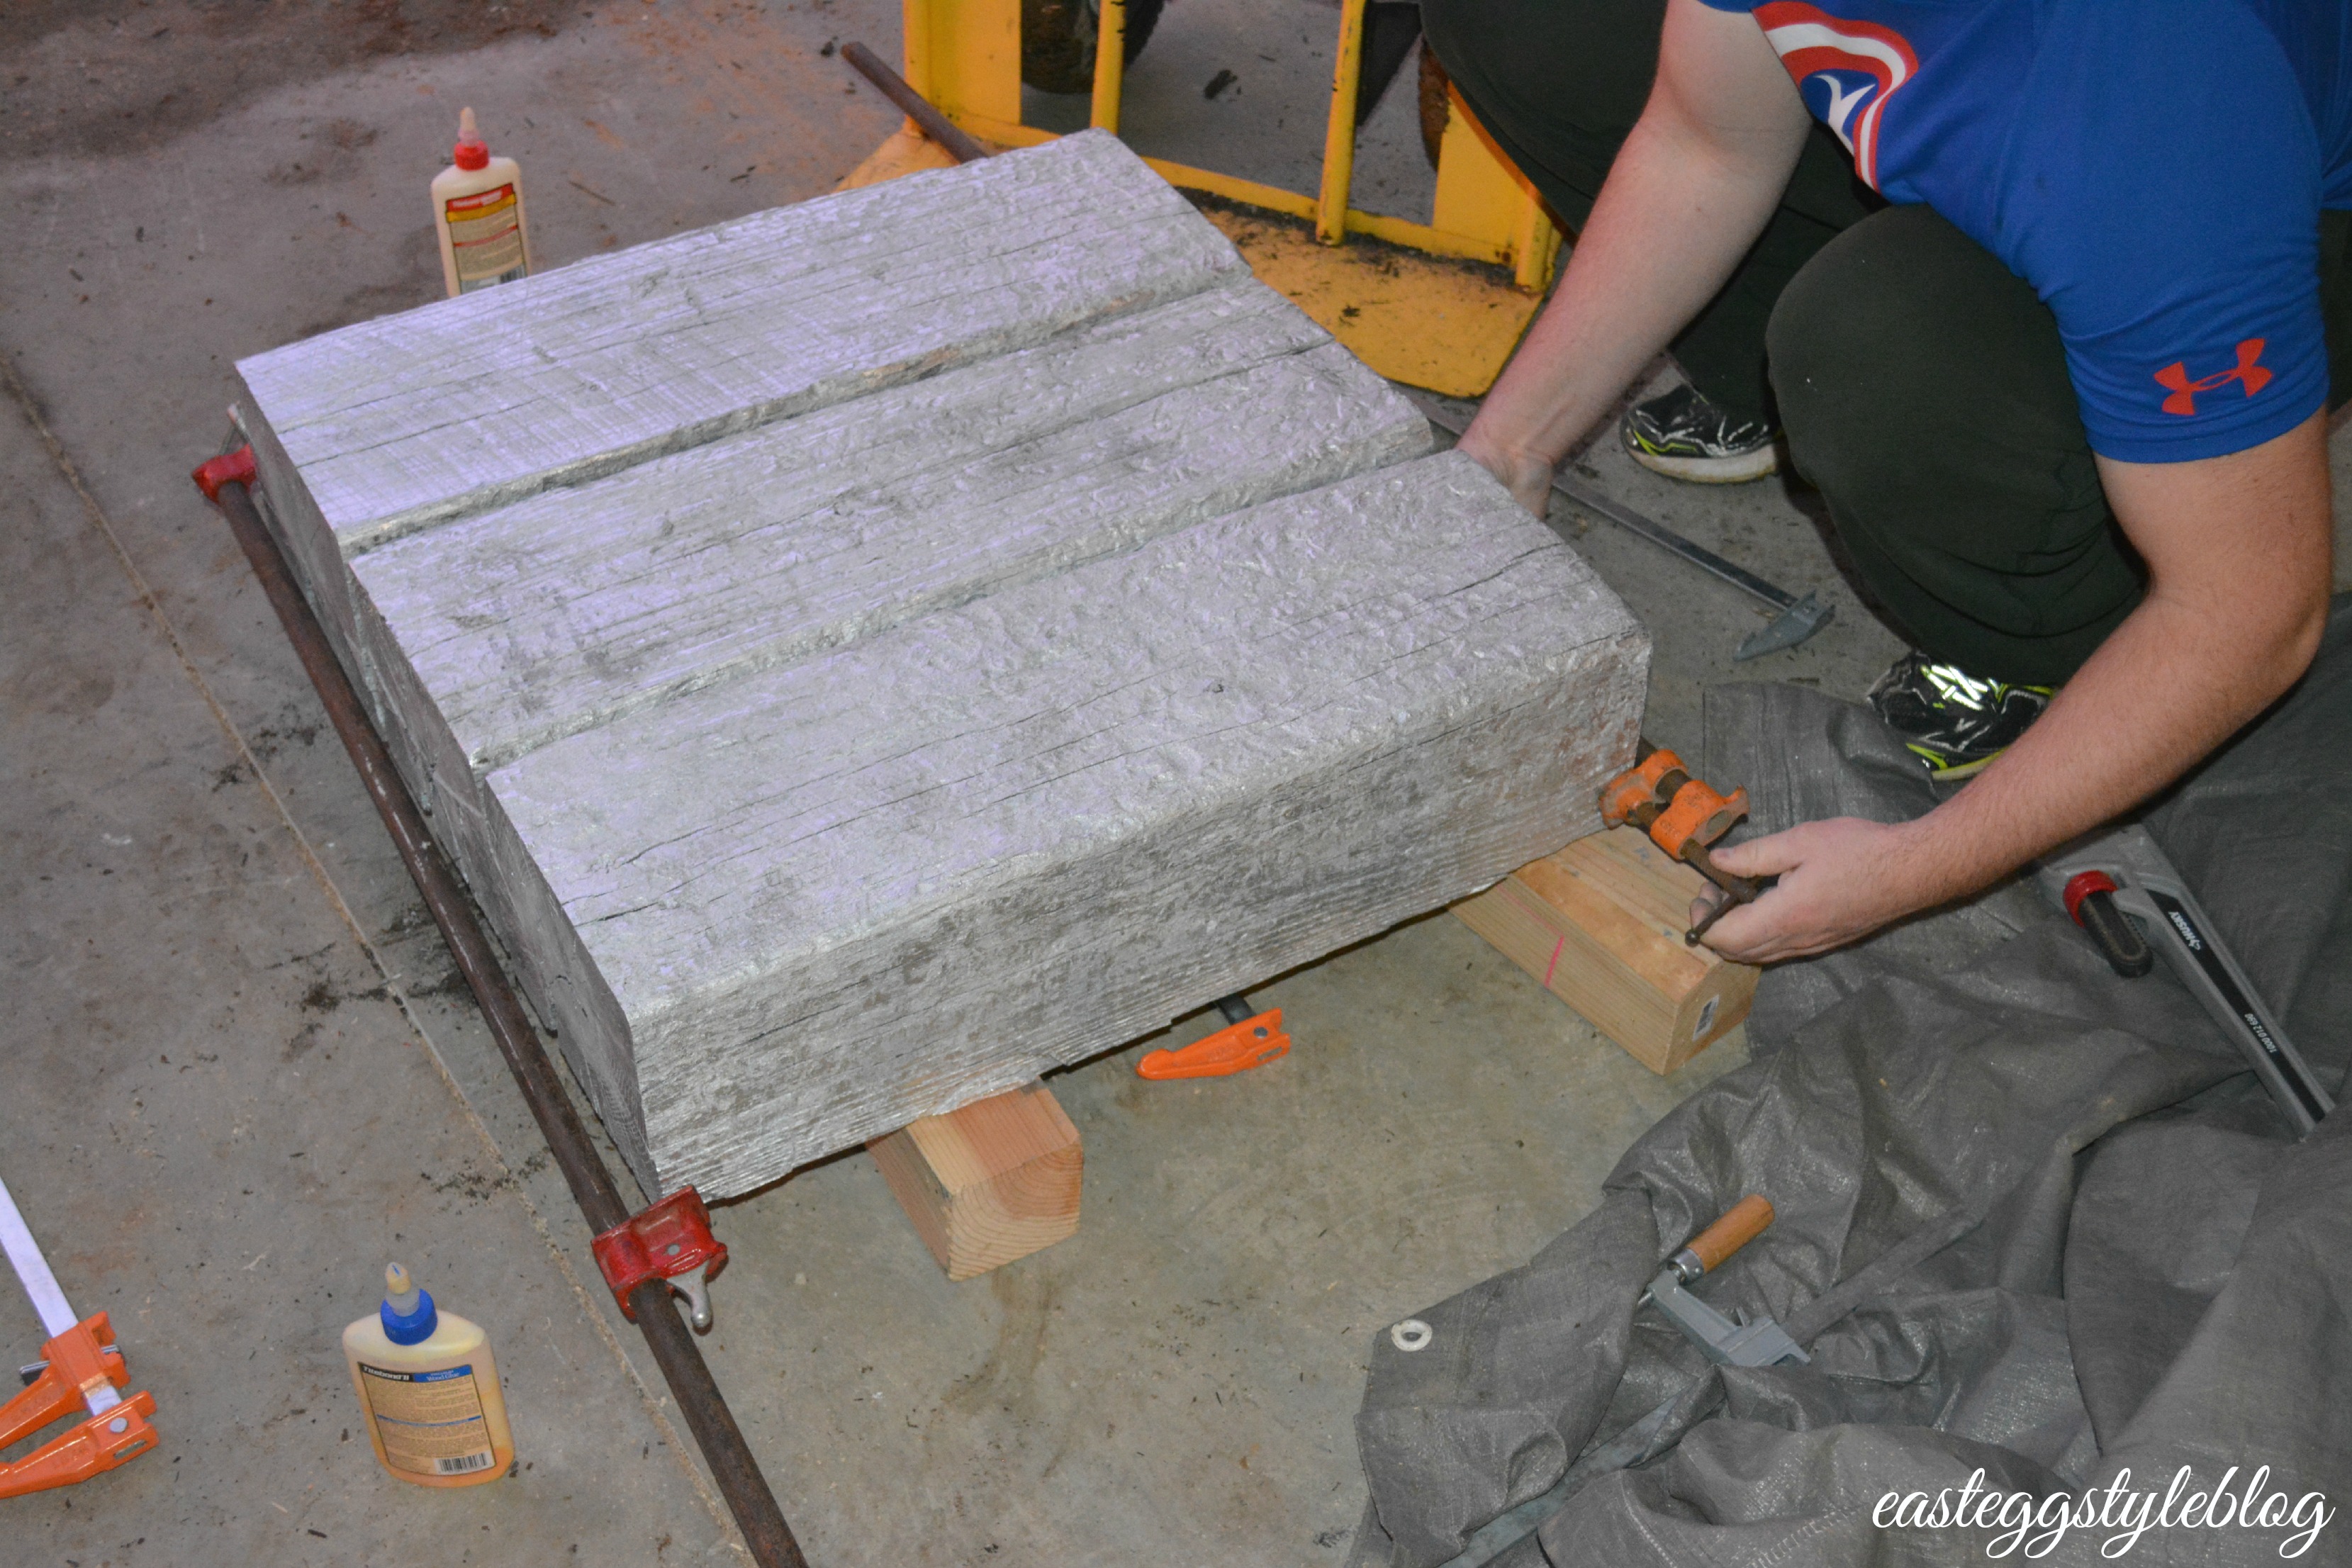
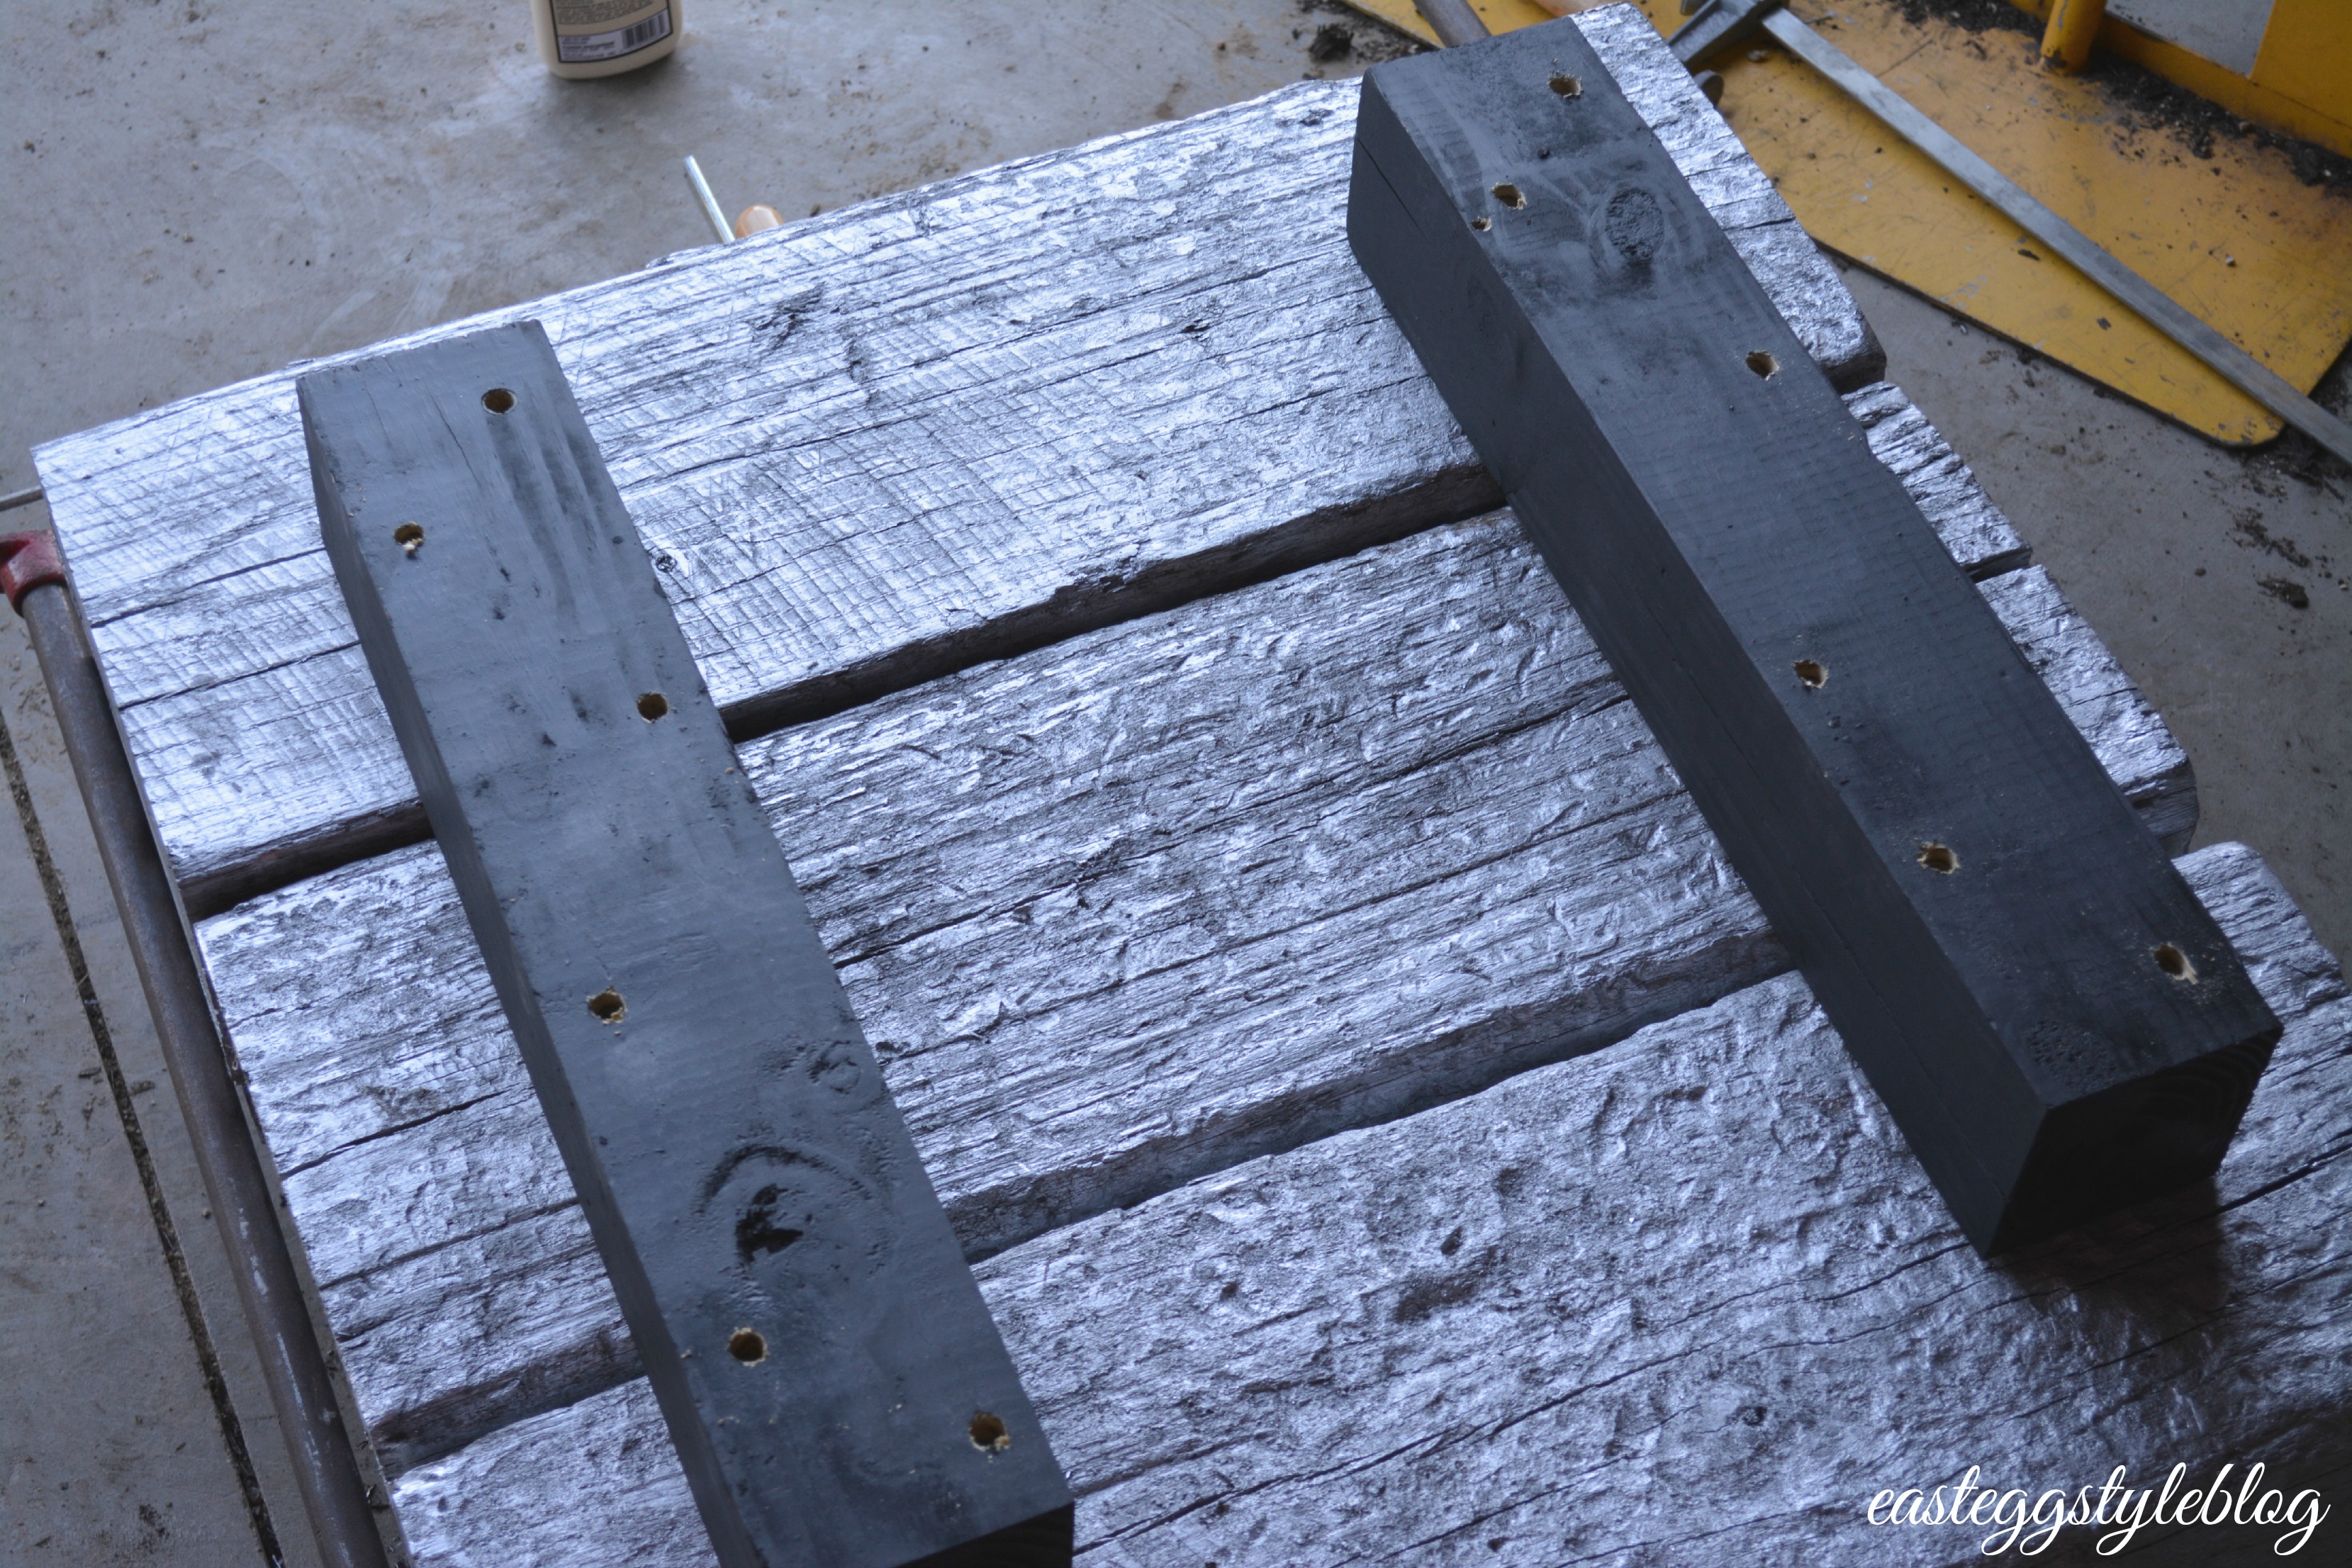
We then took our 4×4 pieces of wood, and placed them exactly where we wanted them. After they were in place, my husband drilled holed through the 4x4s, and into the railroad ties. We then used our screws to secure the base to the top. 
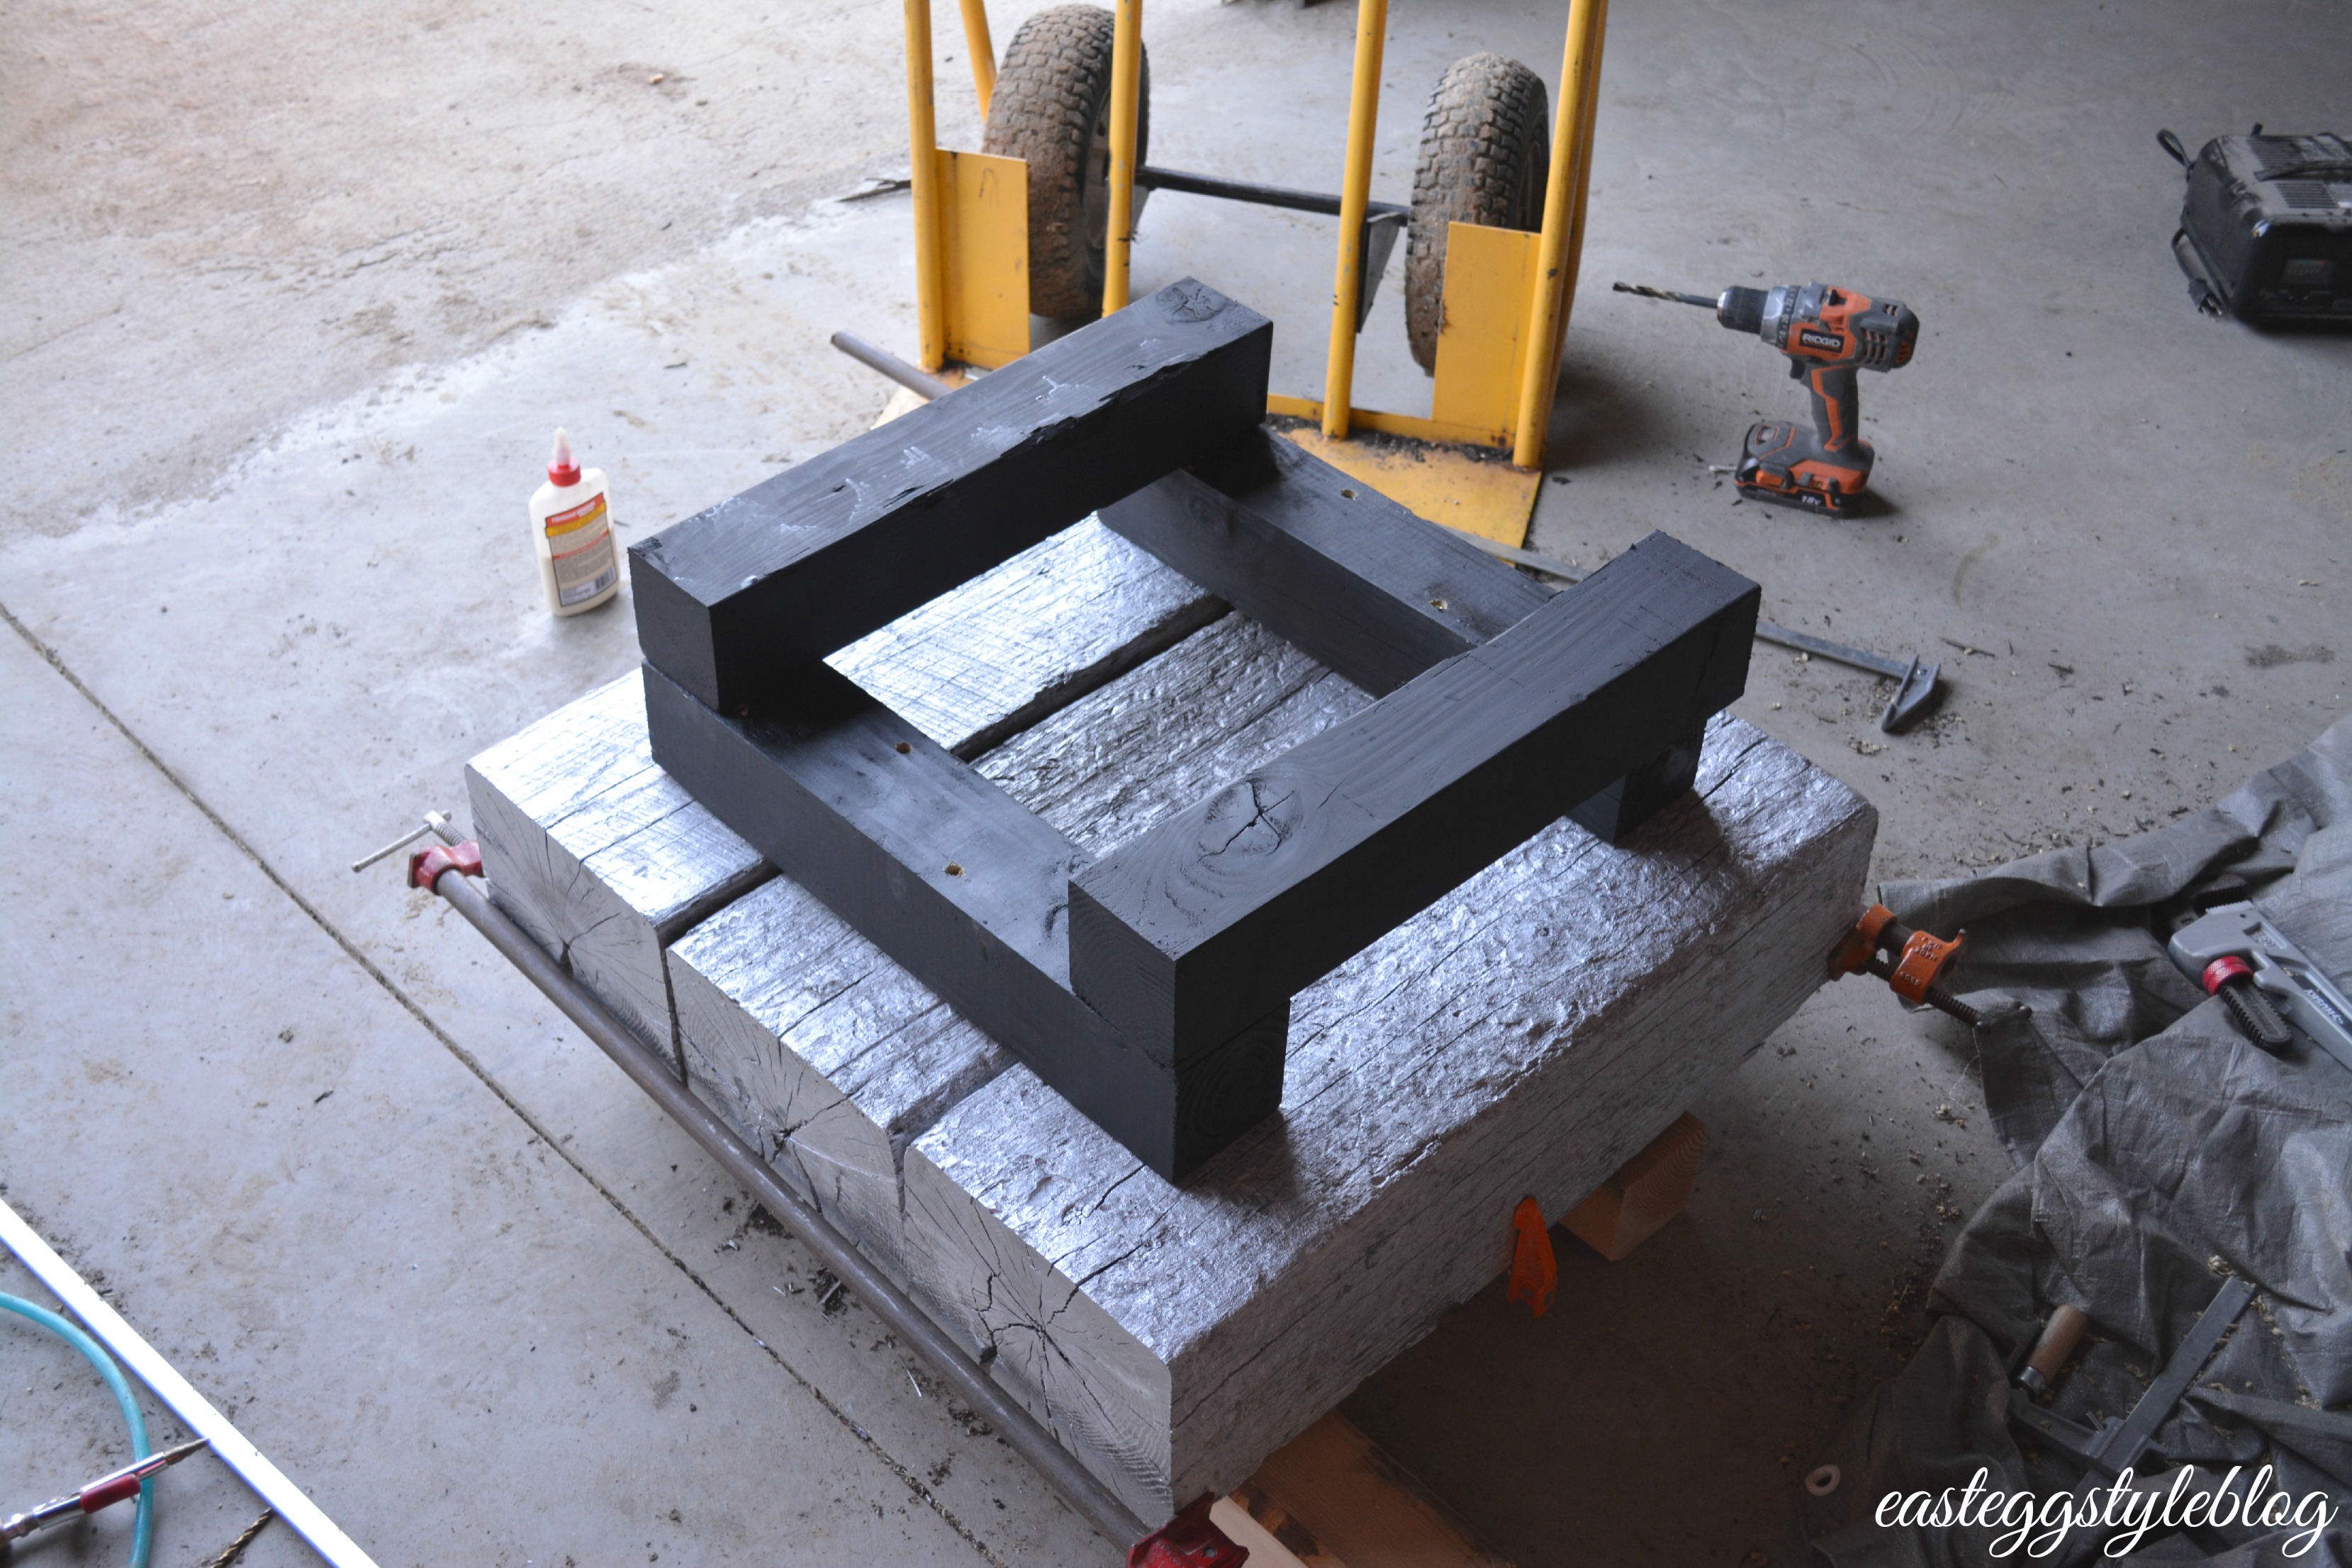
 After the first two pieces of 4×4 were in place, we screwed the second two to the first two, but running in the opposite direction. We left everything clamped together for about 24 hours before flipping the table over.
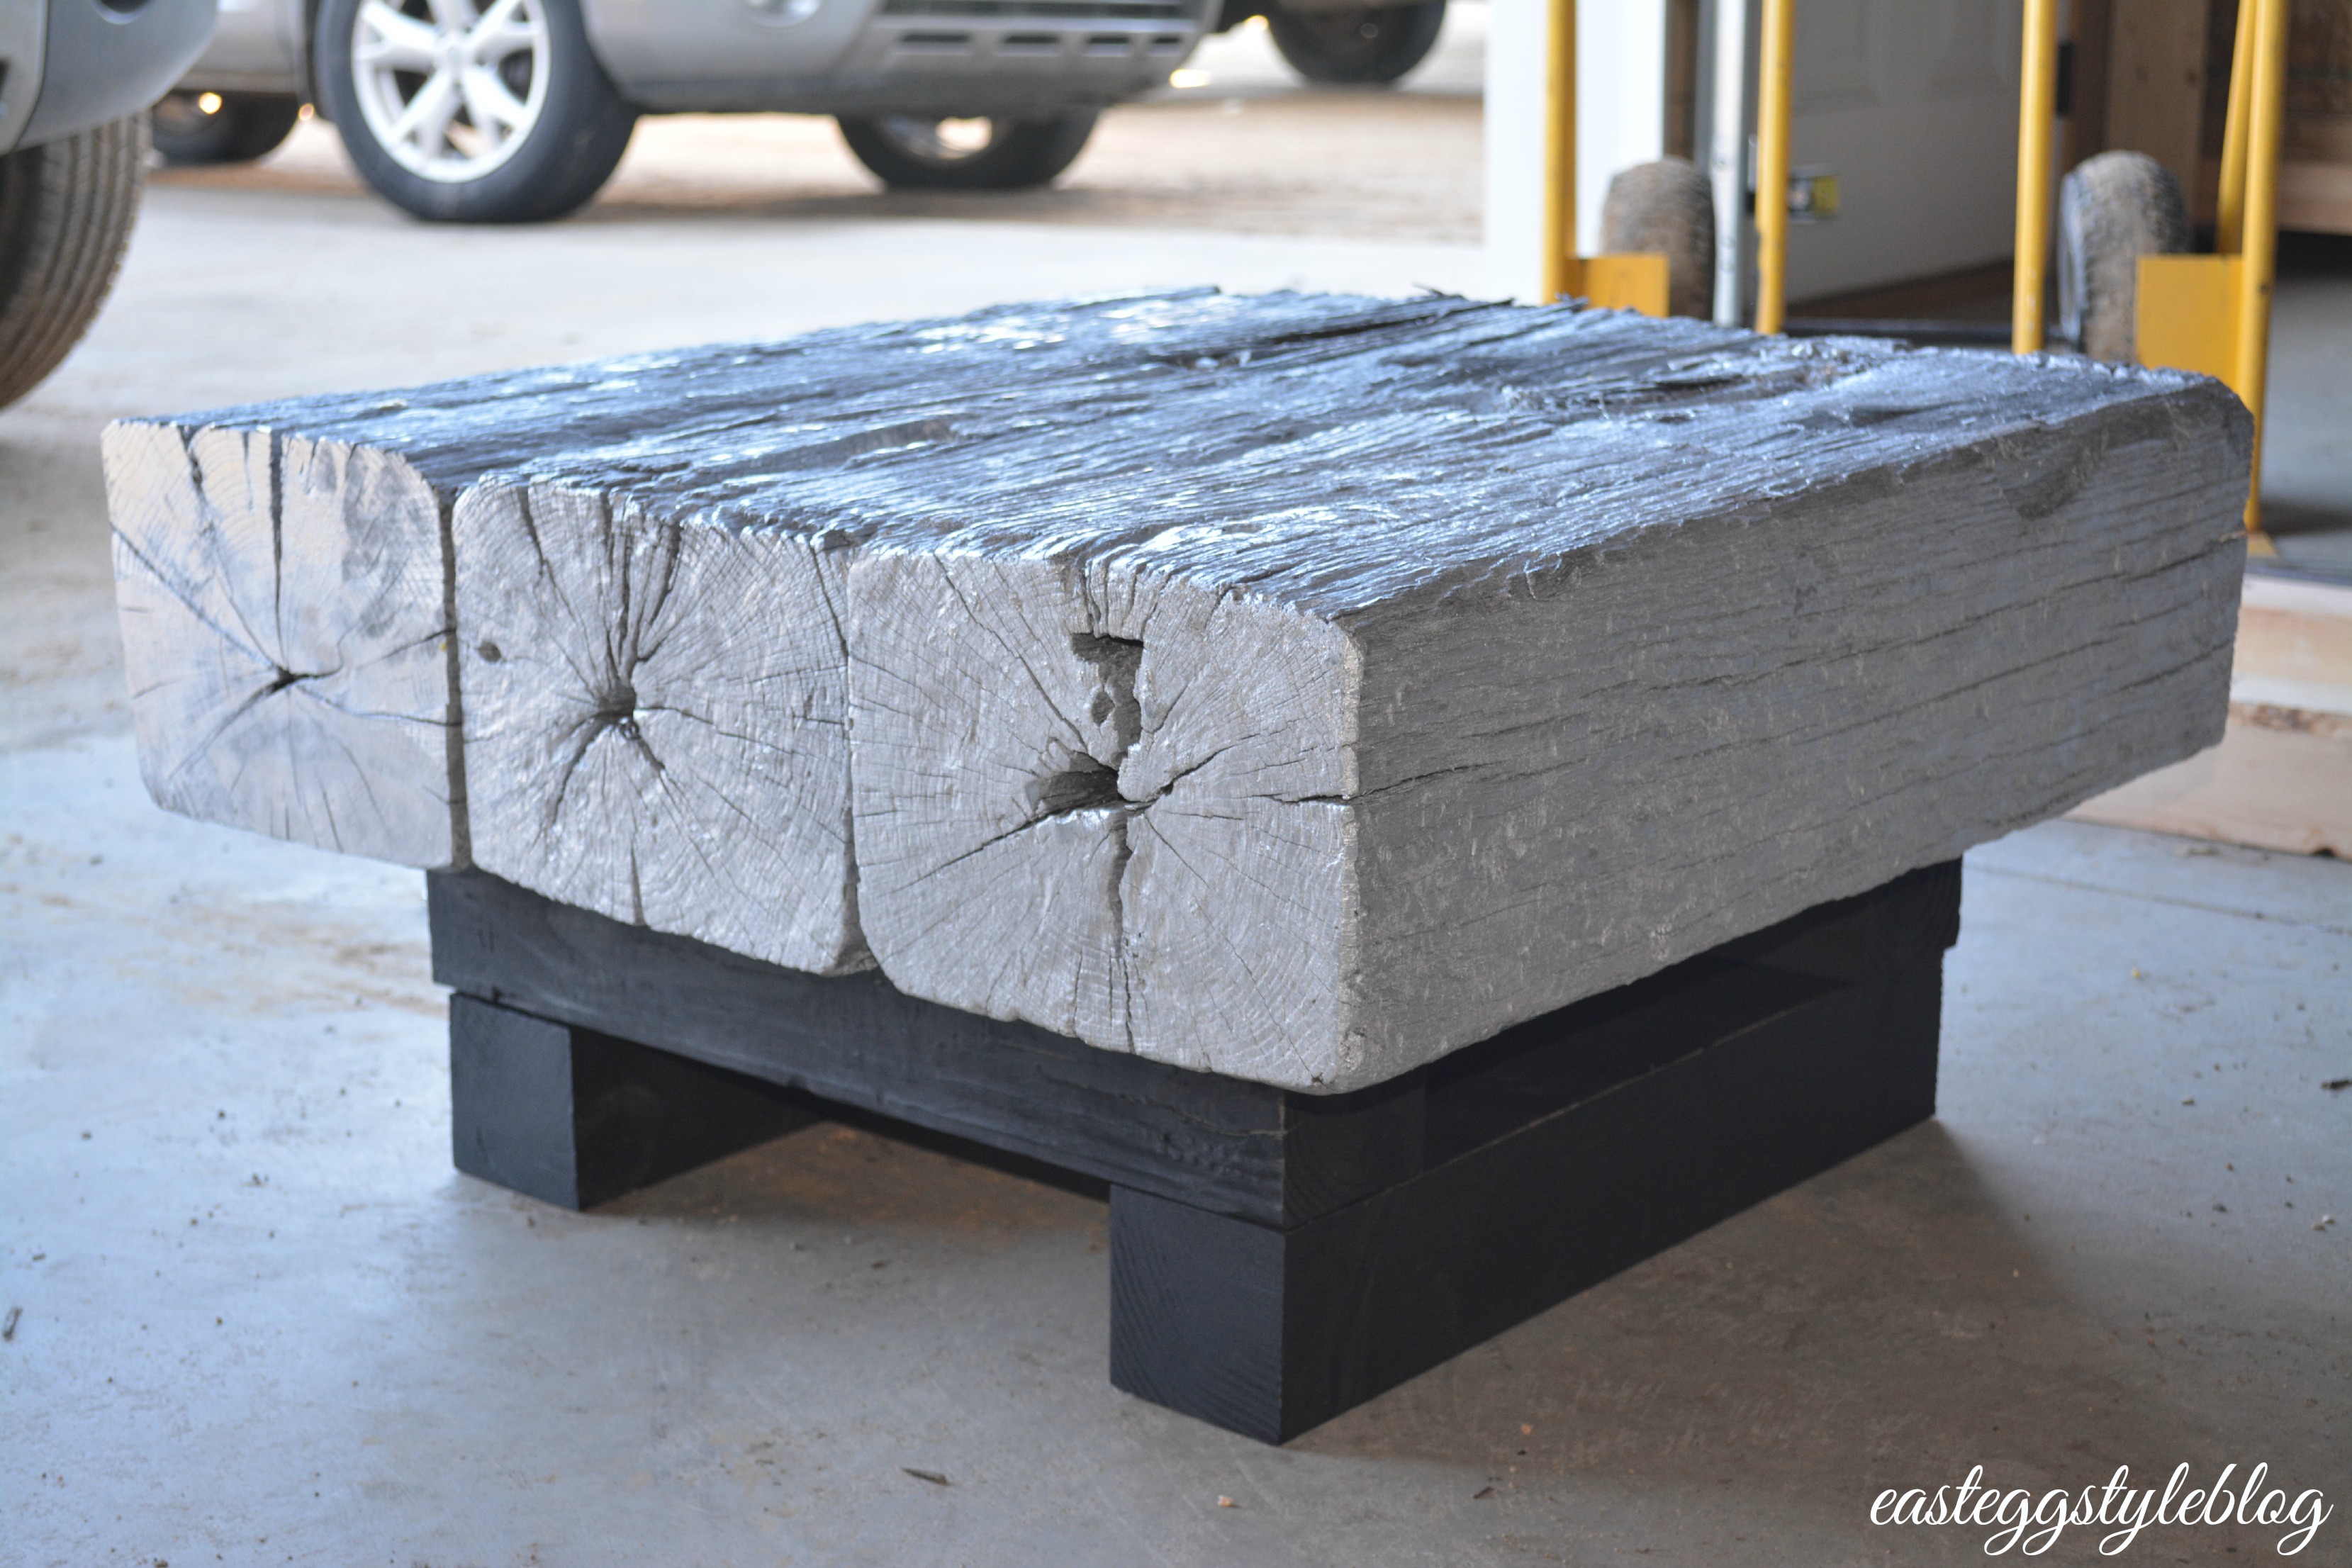
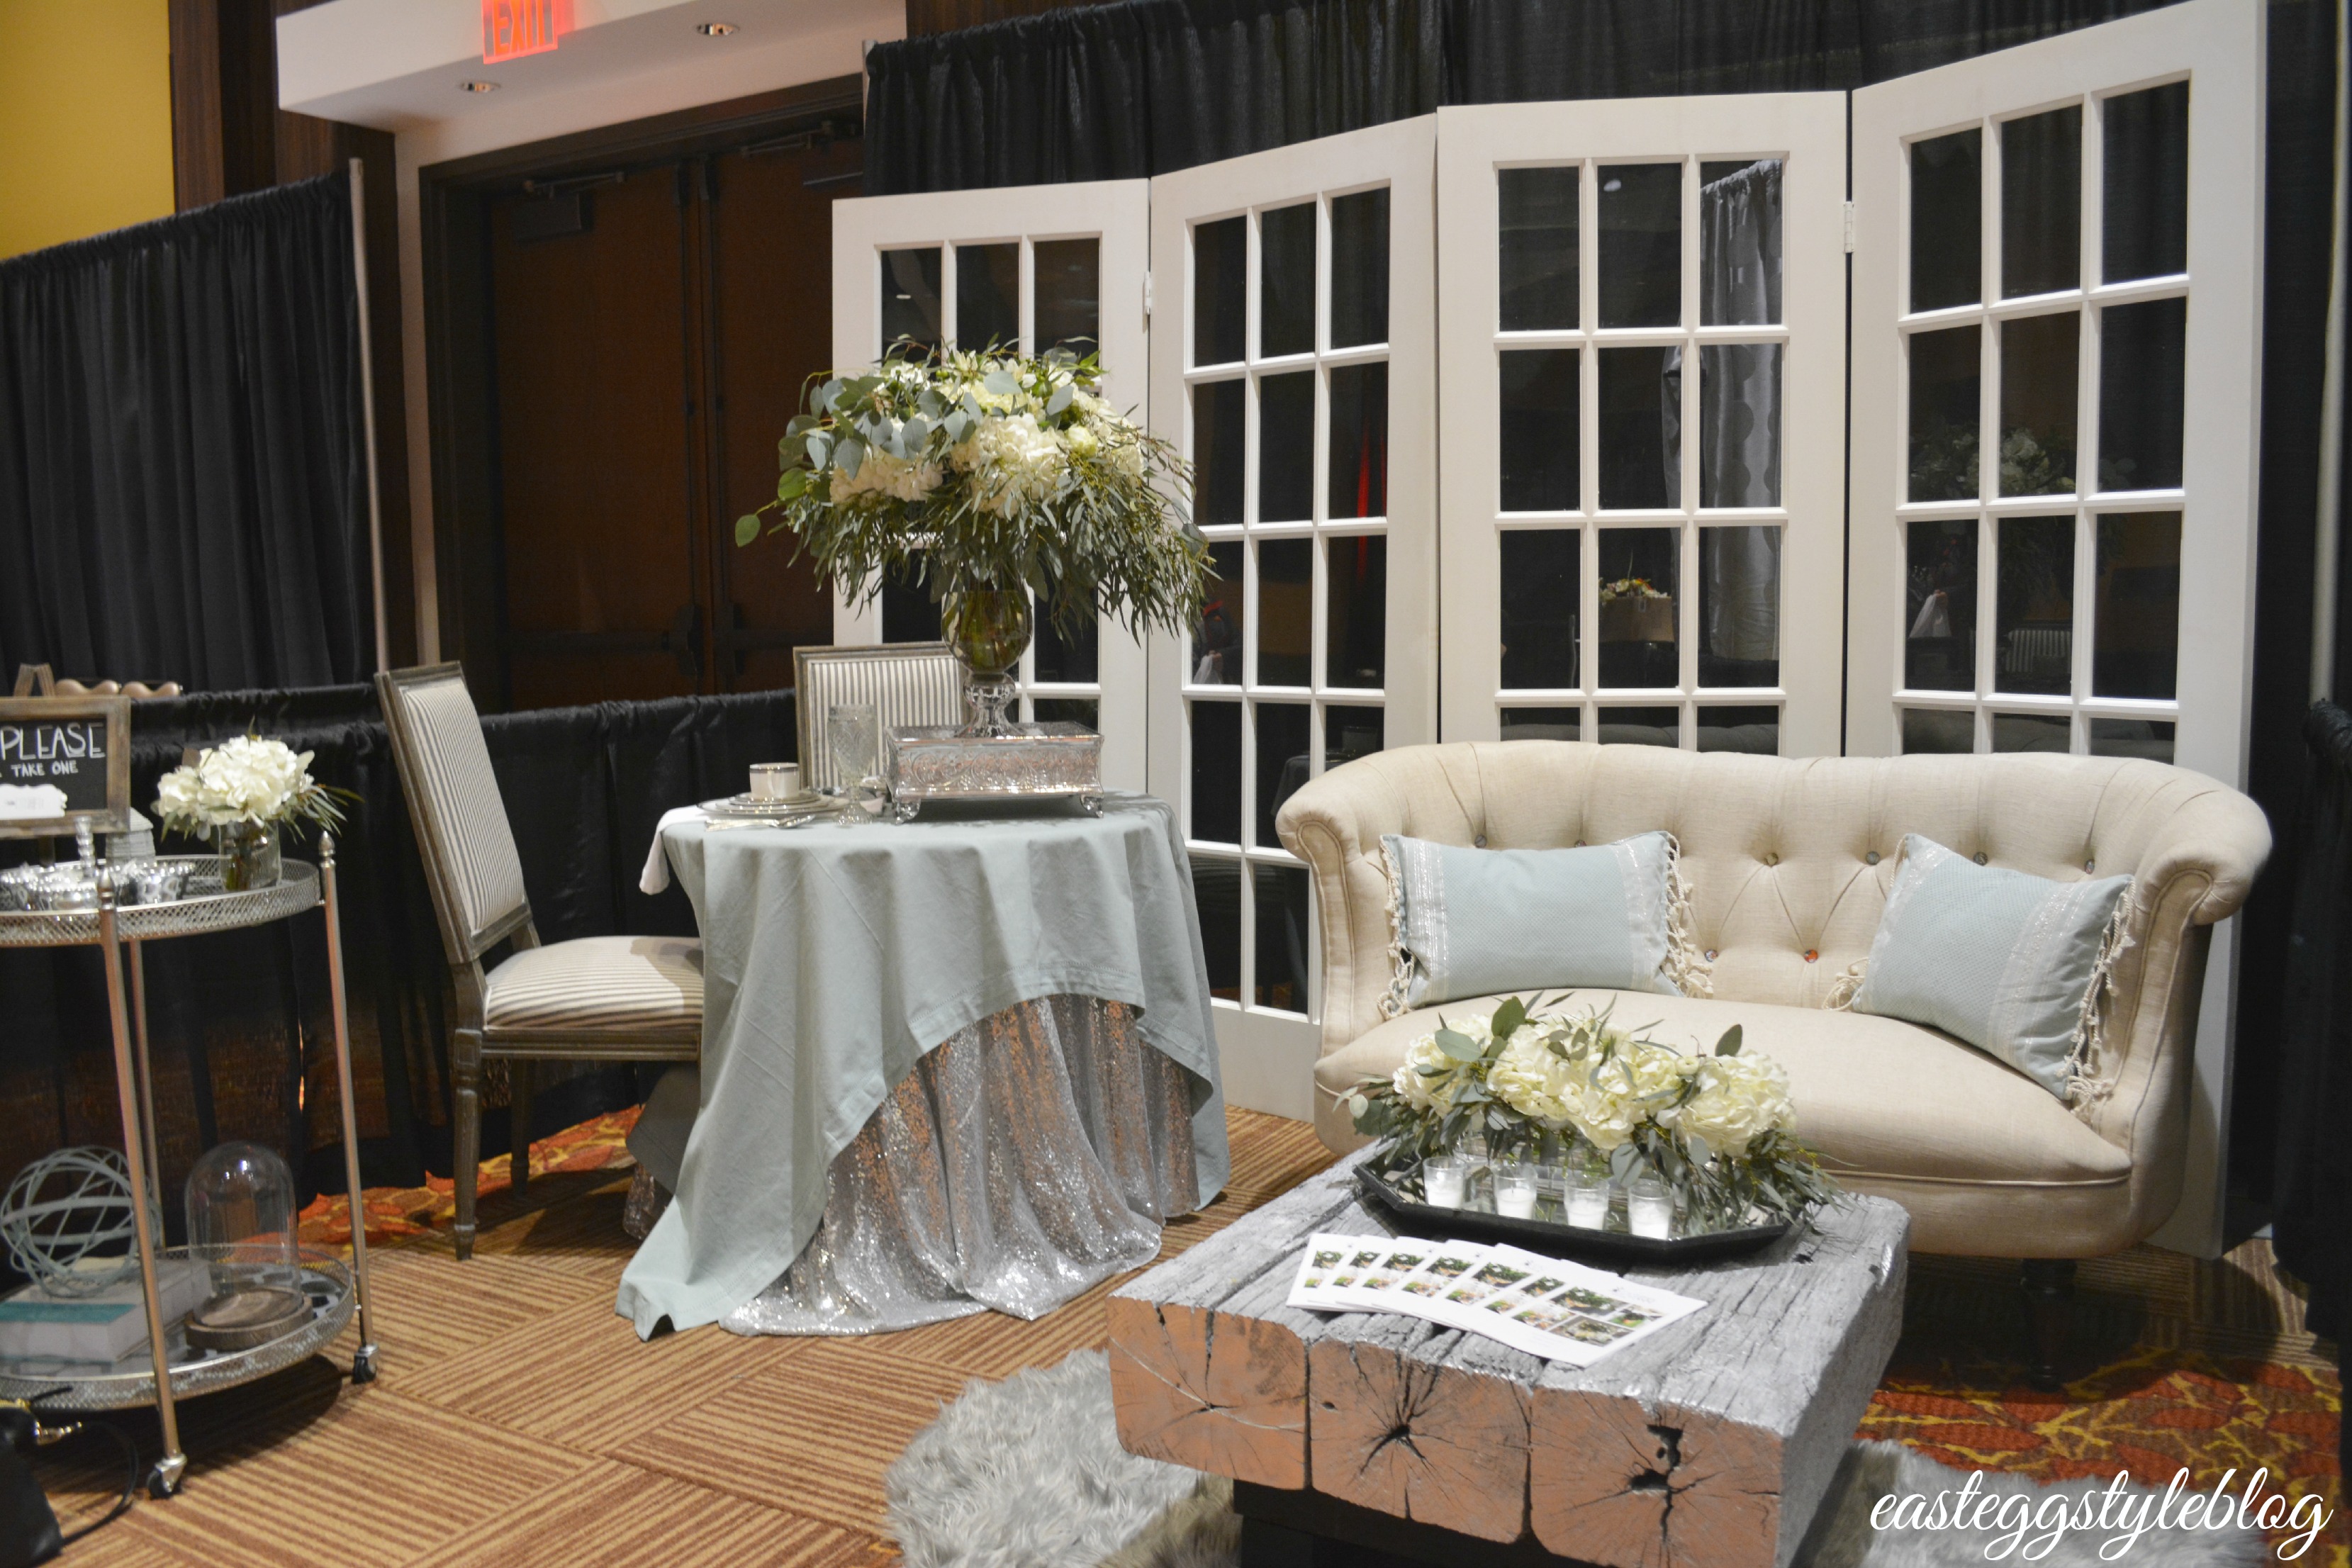
I used my new coffee table for my booth at a local bridal show, but I think it’s forever home will be up in our bedroom. I’ll get back to you on how we are going to haul this beastie up our spiral stairs. That will be fun! 😉
As always, please feel free to comment with any questions you might have. Also, don’t forget to subscribe if you want to get notifications each time I post new things. I don’t send out any other e-mails, so I promise I won’t bog down your inbox! Thanks so much for stopping by! 
Love the rustic look of this table! Nice job!
LikeLike
Thank you so much!
LikeLike
Did cutting the tie dull the saw blade due to the dirt and grit in the tie?
LikeLike
Not at all!
LikeLike